3-2-3-2 Tactic
3-2-3-2
To dominate possession and create chances through patient buildup. Strong central defense makes it difficult for opponents to penetrate.
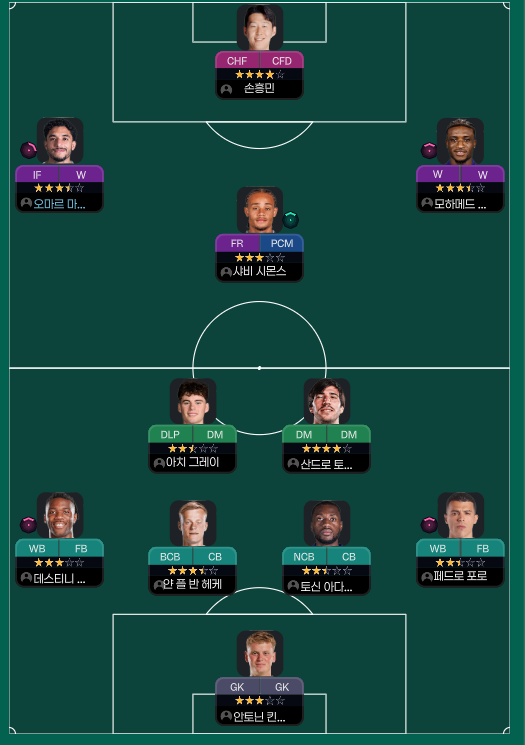
Loading tactical analysis...
Formation and style
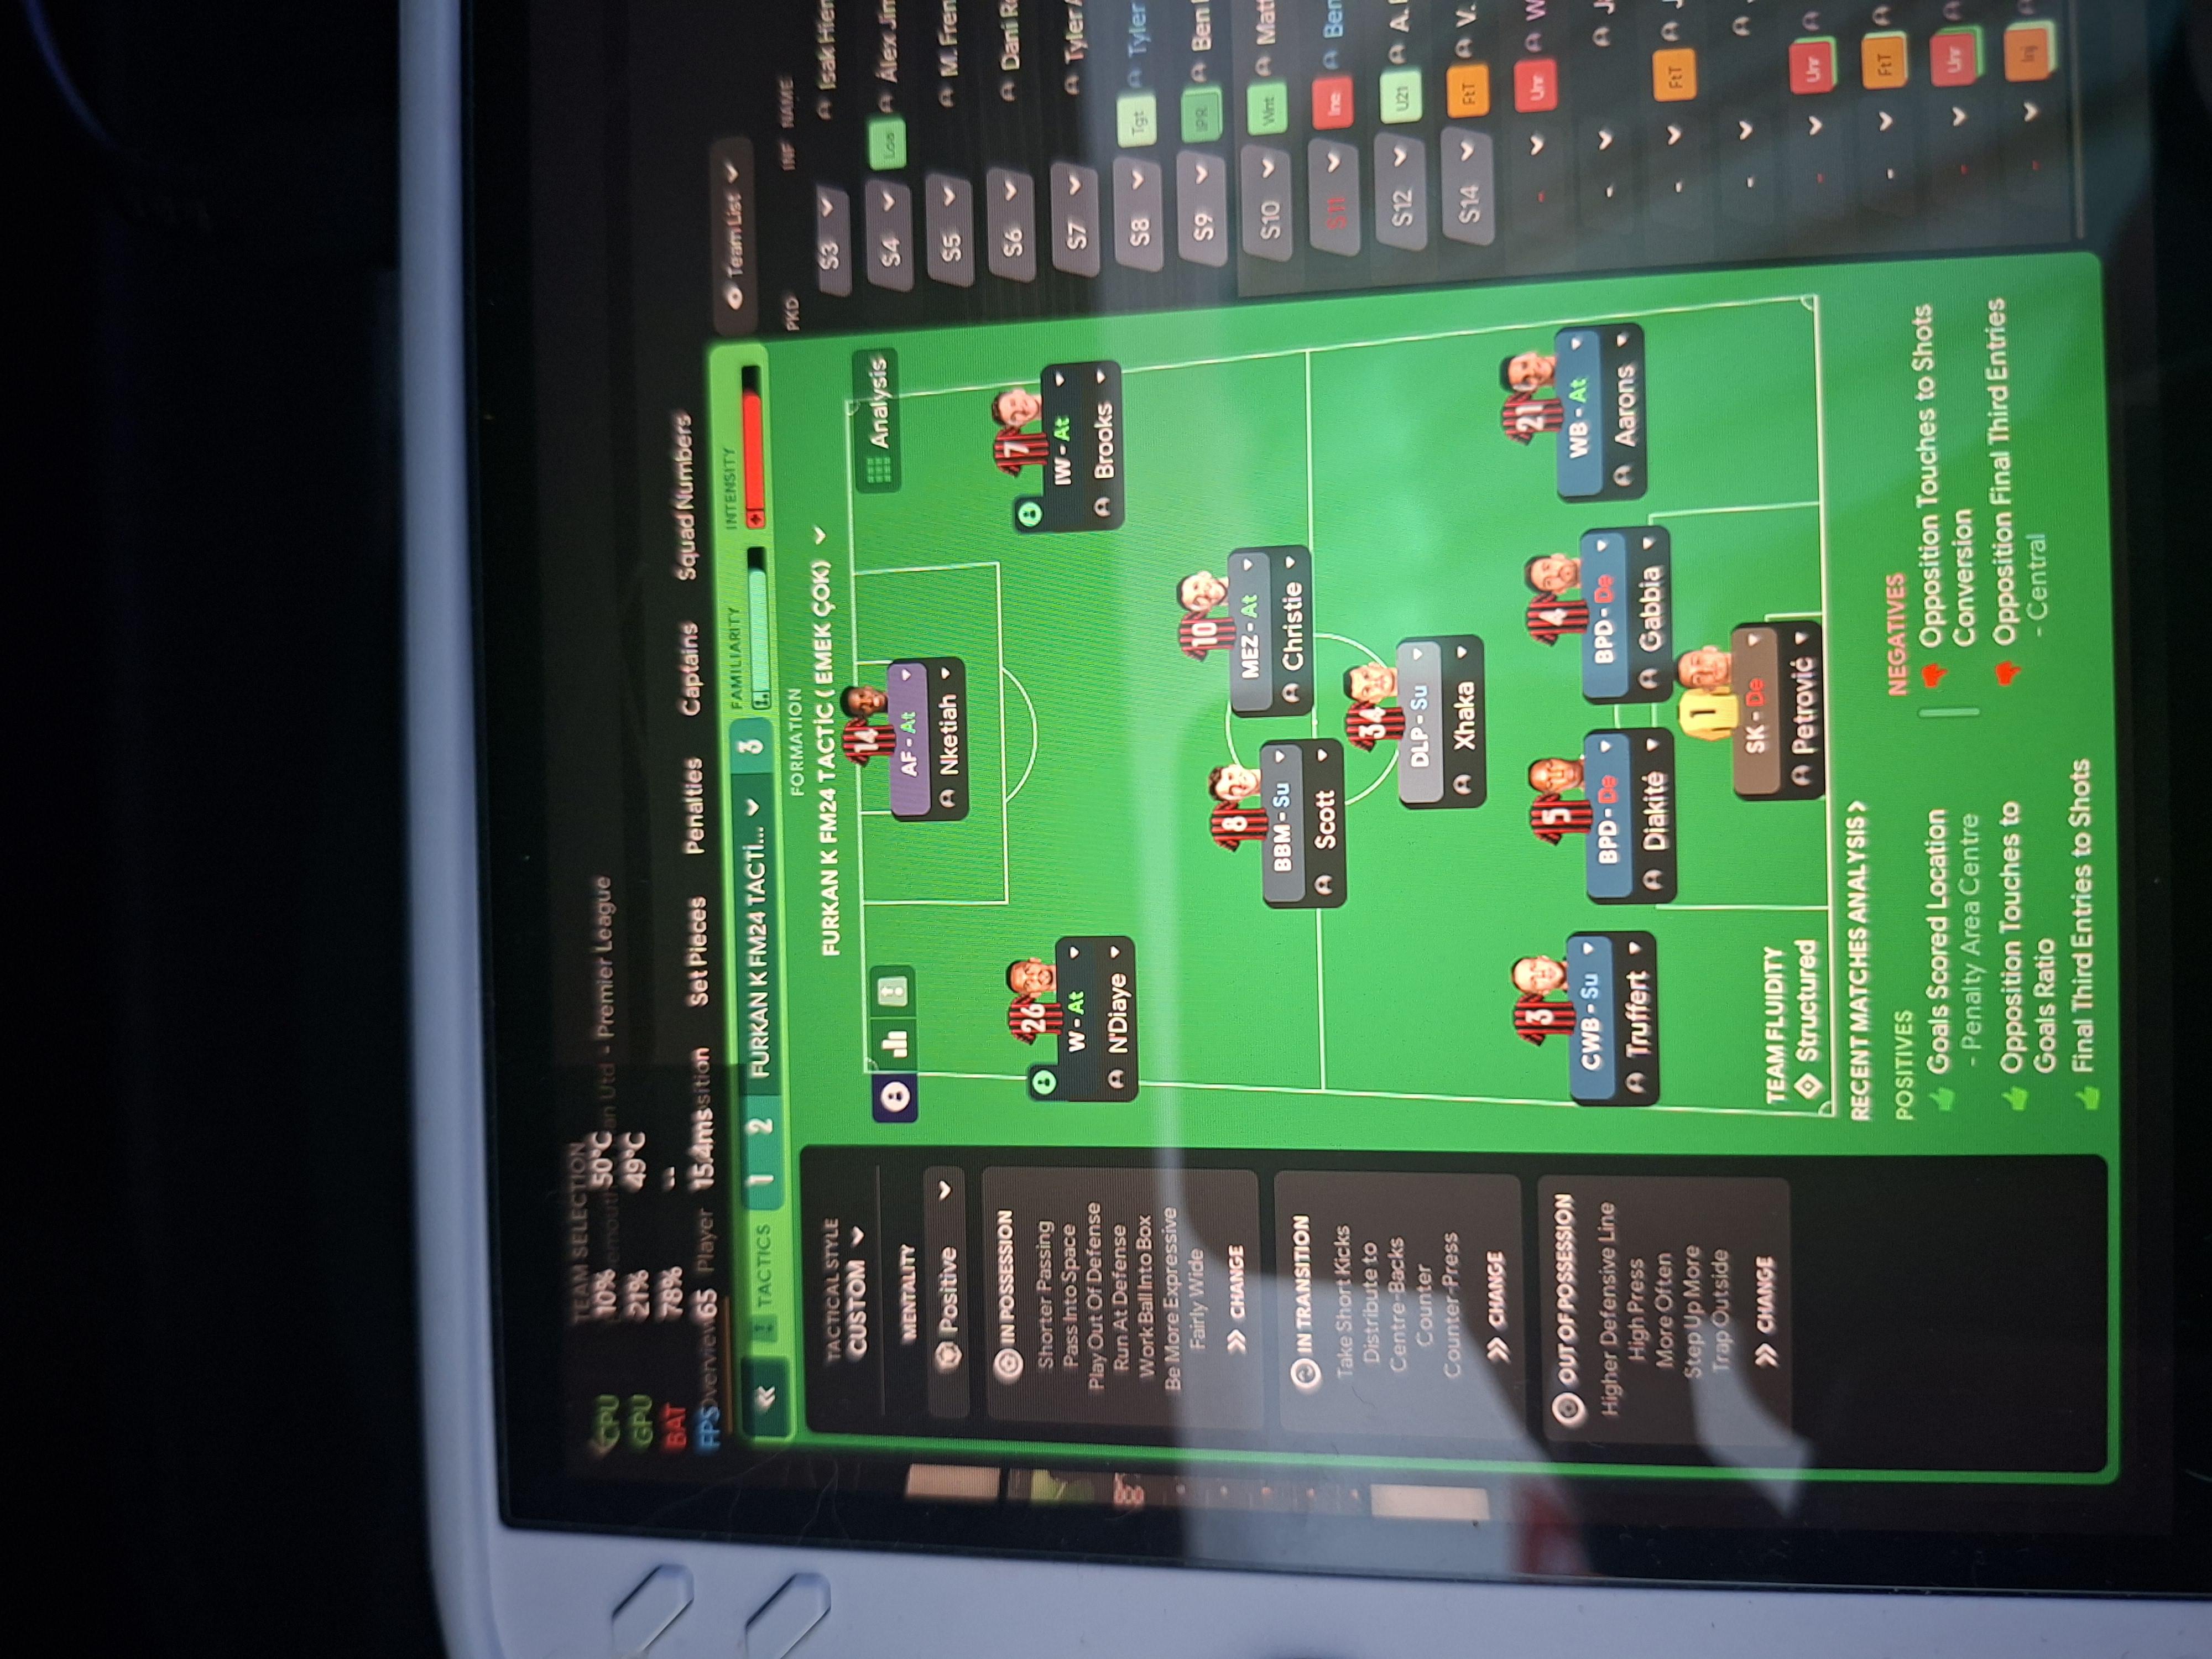
3-2-3-2
In possession
Work Ball Into Box
Play Out of Defence
Overlap Left
Overlap Right
In transition
Counter-Press
Counter
Out of possession
Higher Defensive Line
Higher Line of Engagement
Prevent Short GK Distribution
Player roles
GK
GK
De
Defence
CB
De
Defence
BPD
De
Defence
NCB
De
DM
DLP
Su
DM
DM
De
CM
DM
De
AM
IF
At
AM
W
At
ST
CF
At
ST
CHF
At
Phase description
Utilizes width effectively through overlapping full-backs and inside forwards.
Quickly shifts to a high pressing strategy to regain possession.
To dominate possession and create chances through patient buildup.
Team shape defence
Compact 3-Defender Setup
A compact defensive block minimizes spaces for spaces.
CB at [2,2] (Balanced), BPD at [2,3] (Creative), NCB at [2,4] (Defensive).
Team shape attack
Fluid Frontline with Strikers and Inside Forwards
Strikers and wingers interchange positions to create confusion for defenders.
IF at [6,1] & W at [6,2] with overlapping runs from wing-backs.
Key strengths
Defensive Resilience
Strong central defense makes it difficult for opponents to penetrate.
CB at [2,2], BPD at [2,3], NCB at [2,4] provide varied defensive attributes.
Wide Play Options
Wide players can stretch the opposition, creating space centrally.
W at [5,2] and IF at [5,1] enhancing width.
Conflicting tactics
High Defensive Line
Can be risky against pacey forwards, leading to potential counter-attacks.
Higher Defensive Line and Higher Line of Engagement may leave gaps.
Limited Depth in Midfield
Two dedicated defensive midfielders may lack creativity in transition.
DM at [3,2] defending while potentially limiting offensive support.
Risk exposures
Risk Exposures
Items
Counter-Attacks
High Defensive Line could lead to spaces exploited by fast attackers.
Higher Line Engagement risks being caught on break due to exposed defenders.
Transition Phases
Missing presses could leave midfield vulnerable during transitions.
Counter-Press strategy might fail if pressing triggers are inconsistent.
Role synergies
Role Synergies
Items
DLP-S and Inside Forward
DLP-S can create space for Inside Forward to exploit central areas.
DLP at [3,3] supports runs from IF at [5,1], enhancing attacking options.
CB and Wing-Back
CB provides security while Wing-Backs push forward to create width.
BPD at [2,3] can support WB at [4,1].
Suggested questions
How can I ensure that my wing-backs are utilized effectively without compromising the center?
What would be the best way to rotate midfield duties to maintain creativity?
Are there specific opposition tactics I should prepare for based on this setup?
Related Tactics
Guides for this tactic
The tactical theory behind the 3-2-3-2: roles, instructions, and the trade-offs that decide whether the system holds up.
Playing styles
Tiki-Taka vs Positional Play
Why circulation density and zonal occupation aren't the same thing in FM, and the half-space occupation rule that decides build-up.
Read guide
Foundations
Defensive Transitions
The five seconds after losing the ball decide most matches. Counter-press, drop-and-recover, and how to know which one you should be doing.
Read guide
Match preparation
Set Piece Mastery
Routines, takers, and target picks. How to turn corners and free-kicks into a reliable third of your goal output.
Read guide