Control Possession 3-2-3-2 (Balanced) Tactic
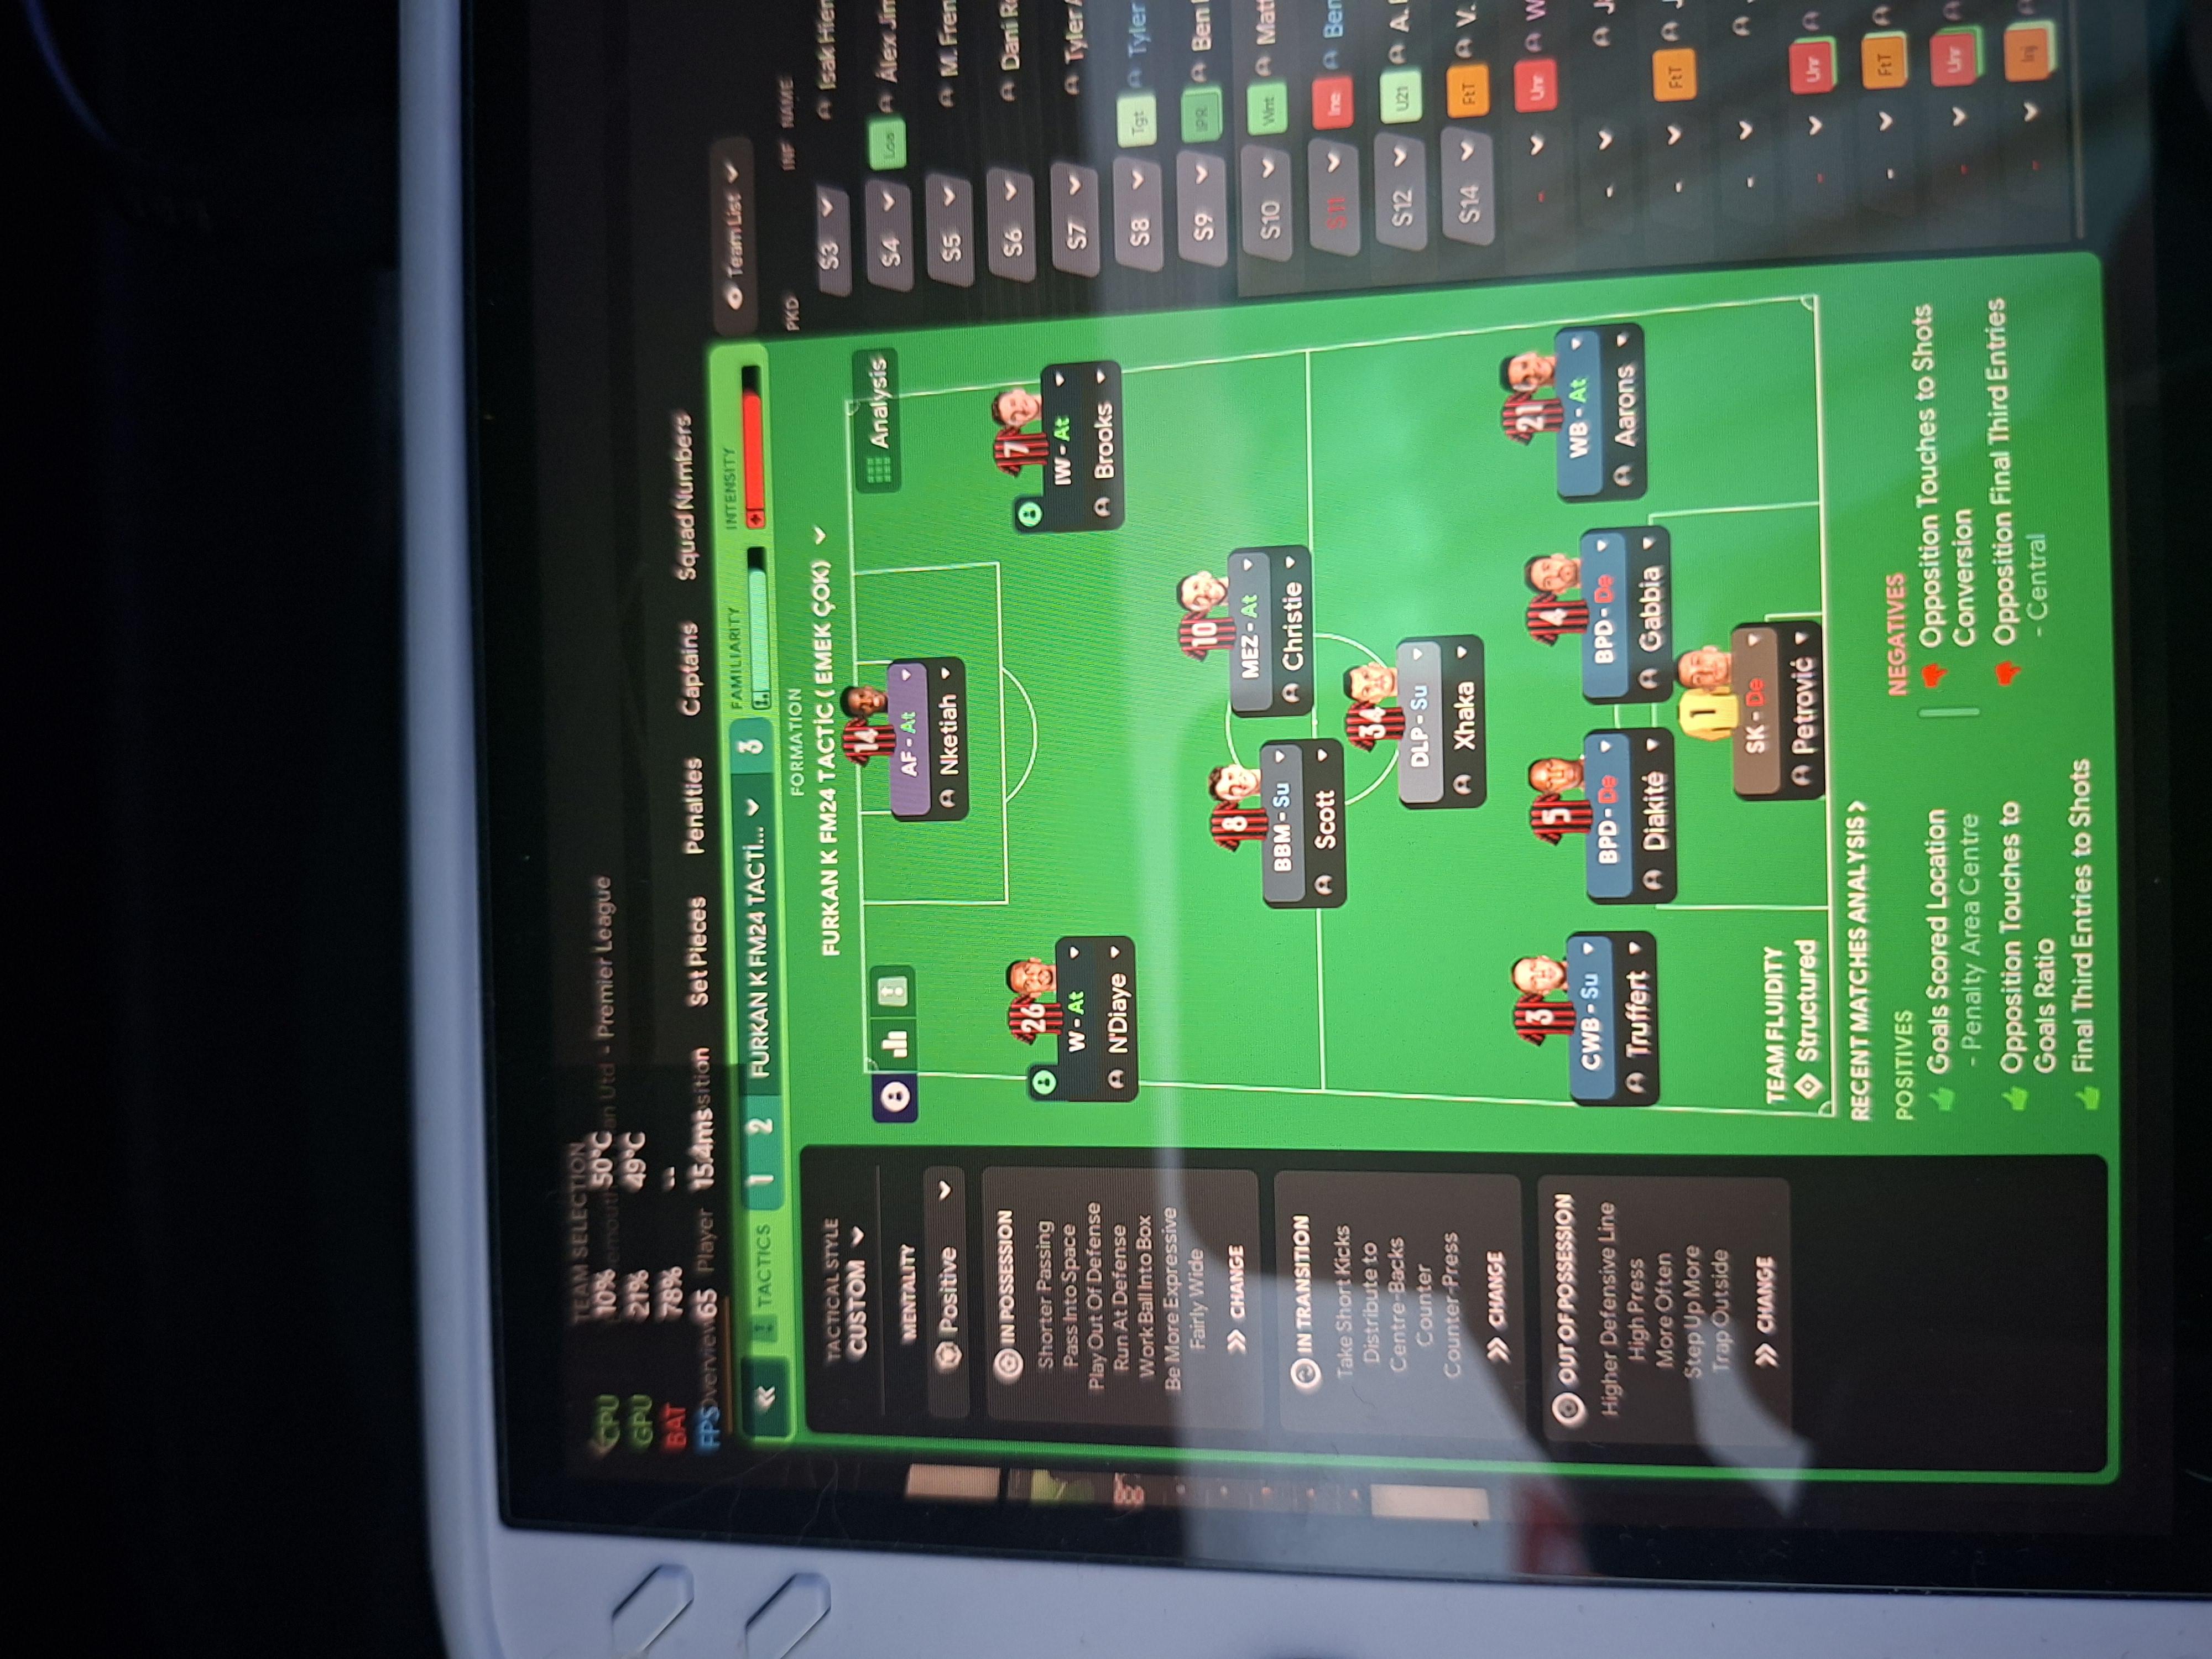
3-2-3-2
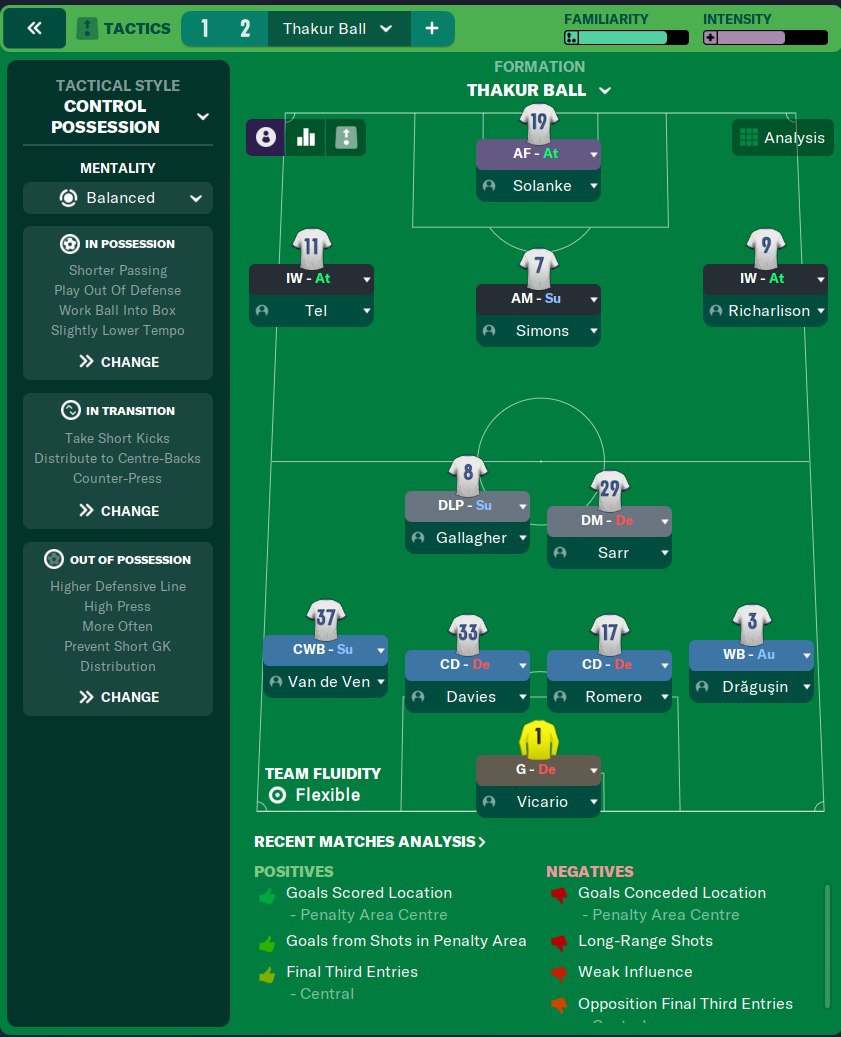
Utilizing short passing and creative movement to create goal-scoring opportunities. The two IWs stretch the opposing defense, creating space for the…
Loading tactical analysis...
Formation and style
Control Possession
Balanced
3-2-3-2
Flexible
In possession
Shorter Passing
Play Out Of Defense
Work Ball Into Box
Slightly Lower Tempo
In transition
Take Short Kicks
Distribute to Centre-Backs
Counter-Press
Out of possession
Higher Defensive Line
High Press
Prevent Short GK Distribution
Player roles
GK
G
De
Defender
CD
De
Defender
CD
De
Defender
CWB
Su
Defender
WB
Au
Defensive Midfield
DM
De
Midfield
DLP
Su
Attack Midfield
AM
Su
Winger
IW
At
Winger
IW
At
Striker
AF
At
Phase description
The focus is on maintaining possession while gradually advancing towards goal.
Employing a Counter-Press strategy to regain possession quickly after losing the ball.
Utilizing short passing and creative movement to create goal-scoring opportunities.
Team shape defence
3-2
The team maintains a compact shape with three central defenders shielding the goal.
CD at [2,2], [2,3], [2,4] and DM at [3,3].
Team shape attack
3-2
Attacking structure focuses on wide movement from IWs and a central AF.
IW at [6,1] and [6,5] with an AF at [6,3].
Key strengths
Effective Use of Width
The two IWs stretch the opposing defense, creating space for the attacking midfielders.
IWs at [6,1] and [6,5] provide width.
Strong Midfield Control
With both a DLP and a DM, the midfield is well-equipped for possession and defensive duties.
DLP at [4,3] and DM at [3,3] maintain midfield stability.
Conflicting tactics
Vulnerability to Long Shots
A higher defensive line may expose the goalkeeper to long-range shots.
Negatives indicate vulnerability to 'Long-Range Shots'.
Central Concessions
The formation may invite central attacks due to its compact shape.
Negatives cite 'Goals Conceded Location - Penalty Area Centre'.
Risk exposures
Risk Exposures
Items
Central Defensive Space
The formation allows for potential vulnerabilities in central defense.
Negatives in analysis mention conceded goals in central zones.
Long-Range Shot Vulnerability
A high defensive line can result in an increased risk from long shots.
Analysis highlights 'Goals Conceded from Long-Range Shots'.
Role synergies
Role Synergies
Items
DLP-S and DM-D
The DLP can control possession while the DM provides defensive security.
DLP at [4,3] with 'Support' and DM at [3,3] with 'Defend'.
IWs and AF
IWs can create width and space for an AF to exploit centrally.
IWs at [6,1] and [6,5] provide support for AF at [6,3].
Suggested questions
How can I reduce vulnerabilities in the central defense?
What adjustments can strengthen our response to counter-attacks?
Are there specific teams or systems I should be wary of with this setup?
Related Tactics
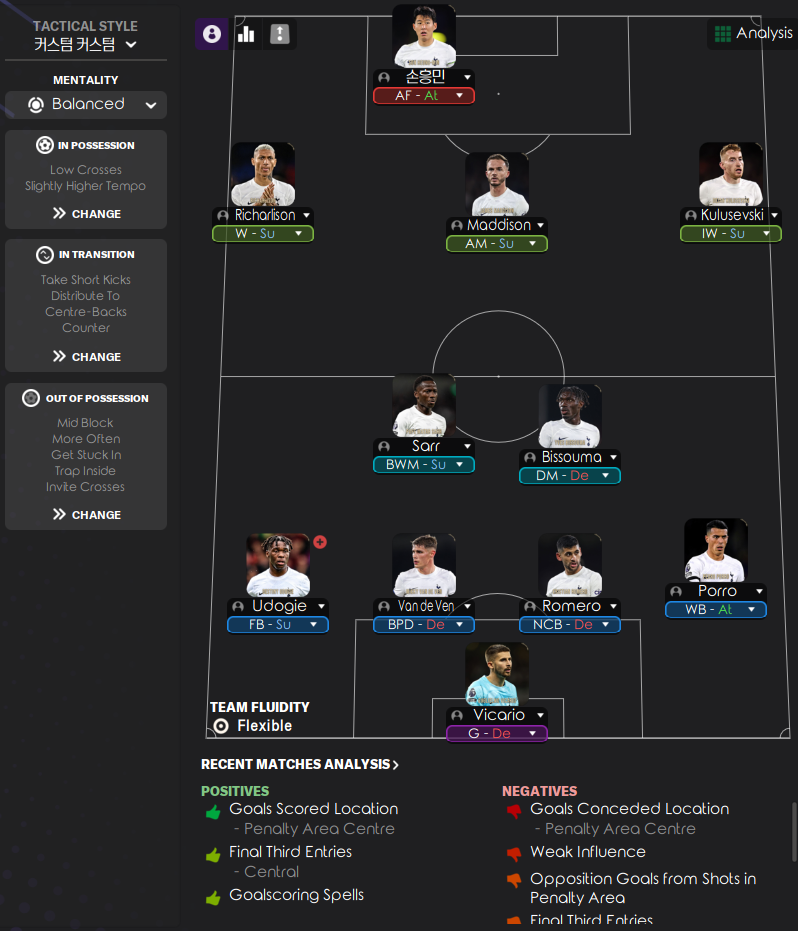
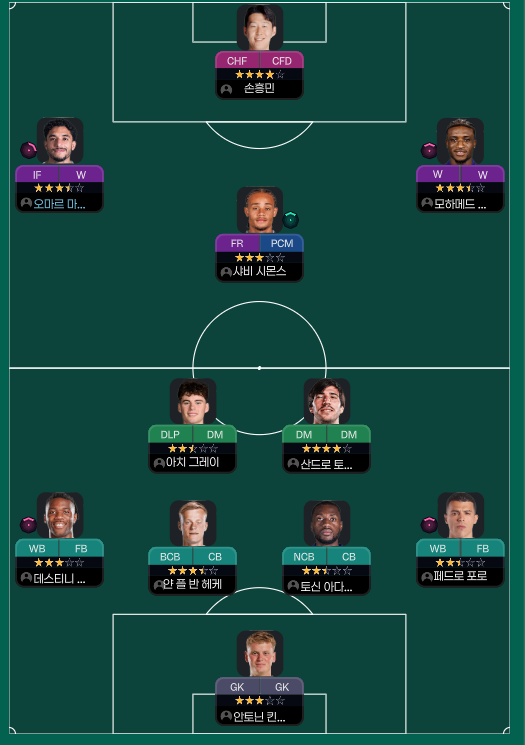
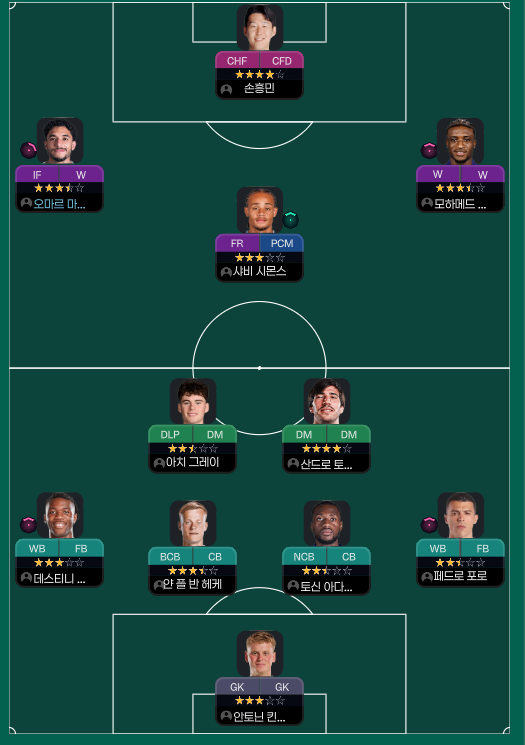
More Control Possession tactics
Guides for this tactic
The tactical theory behind the 3-2-3-2: roles, instructions, and the trade-offs that decide whether the system holds up.
Playing styles
Tiki-Taka vs Positional Play
Why circulation density and zonal occupation aren't the same thing in FM, and the half-space occupation rule that decides build-up.
Read guide
Match preparation
Set Piece Mastery
Routines, takers, and target picks. How to turn corners and free-kicks into a reliable third of your goal output.
Read guide
Match preparation
Game-State Tactics
Protect a 1-0, chase a 1-0, hold a draw away. How to manage game state in FM through duties and roles, not by lurching to Defensive.
Read guide