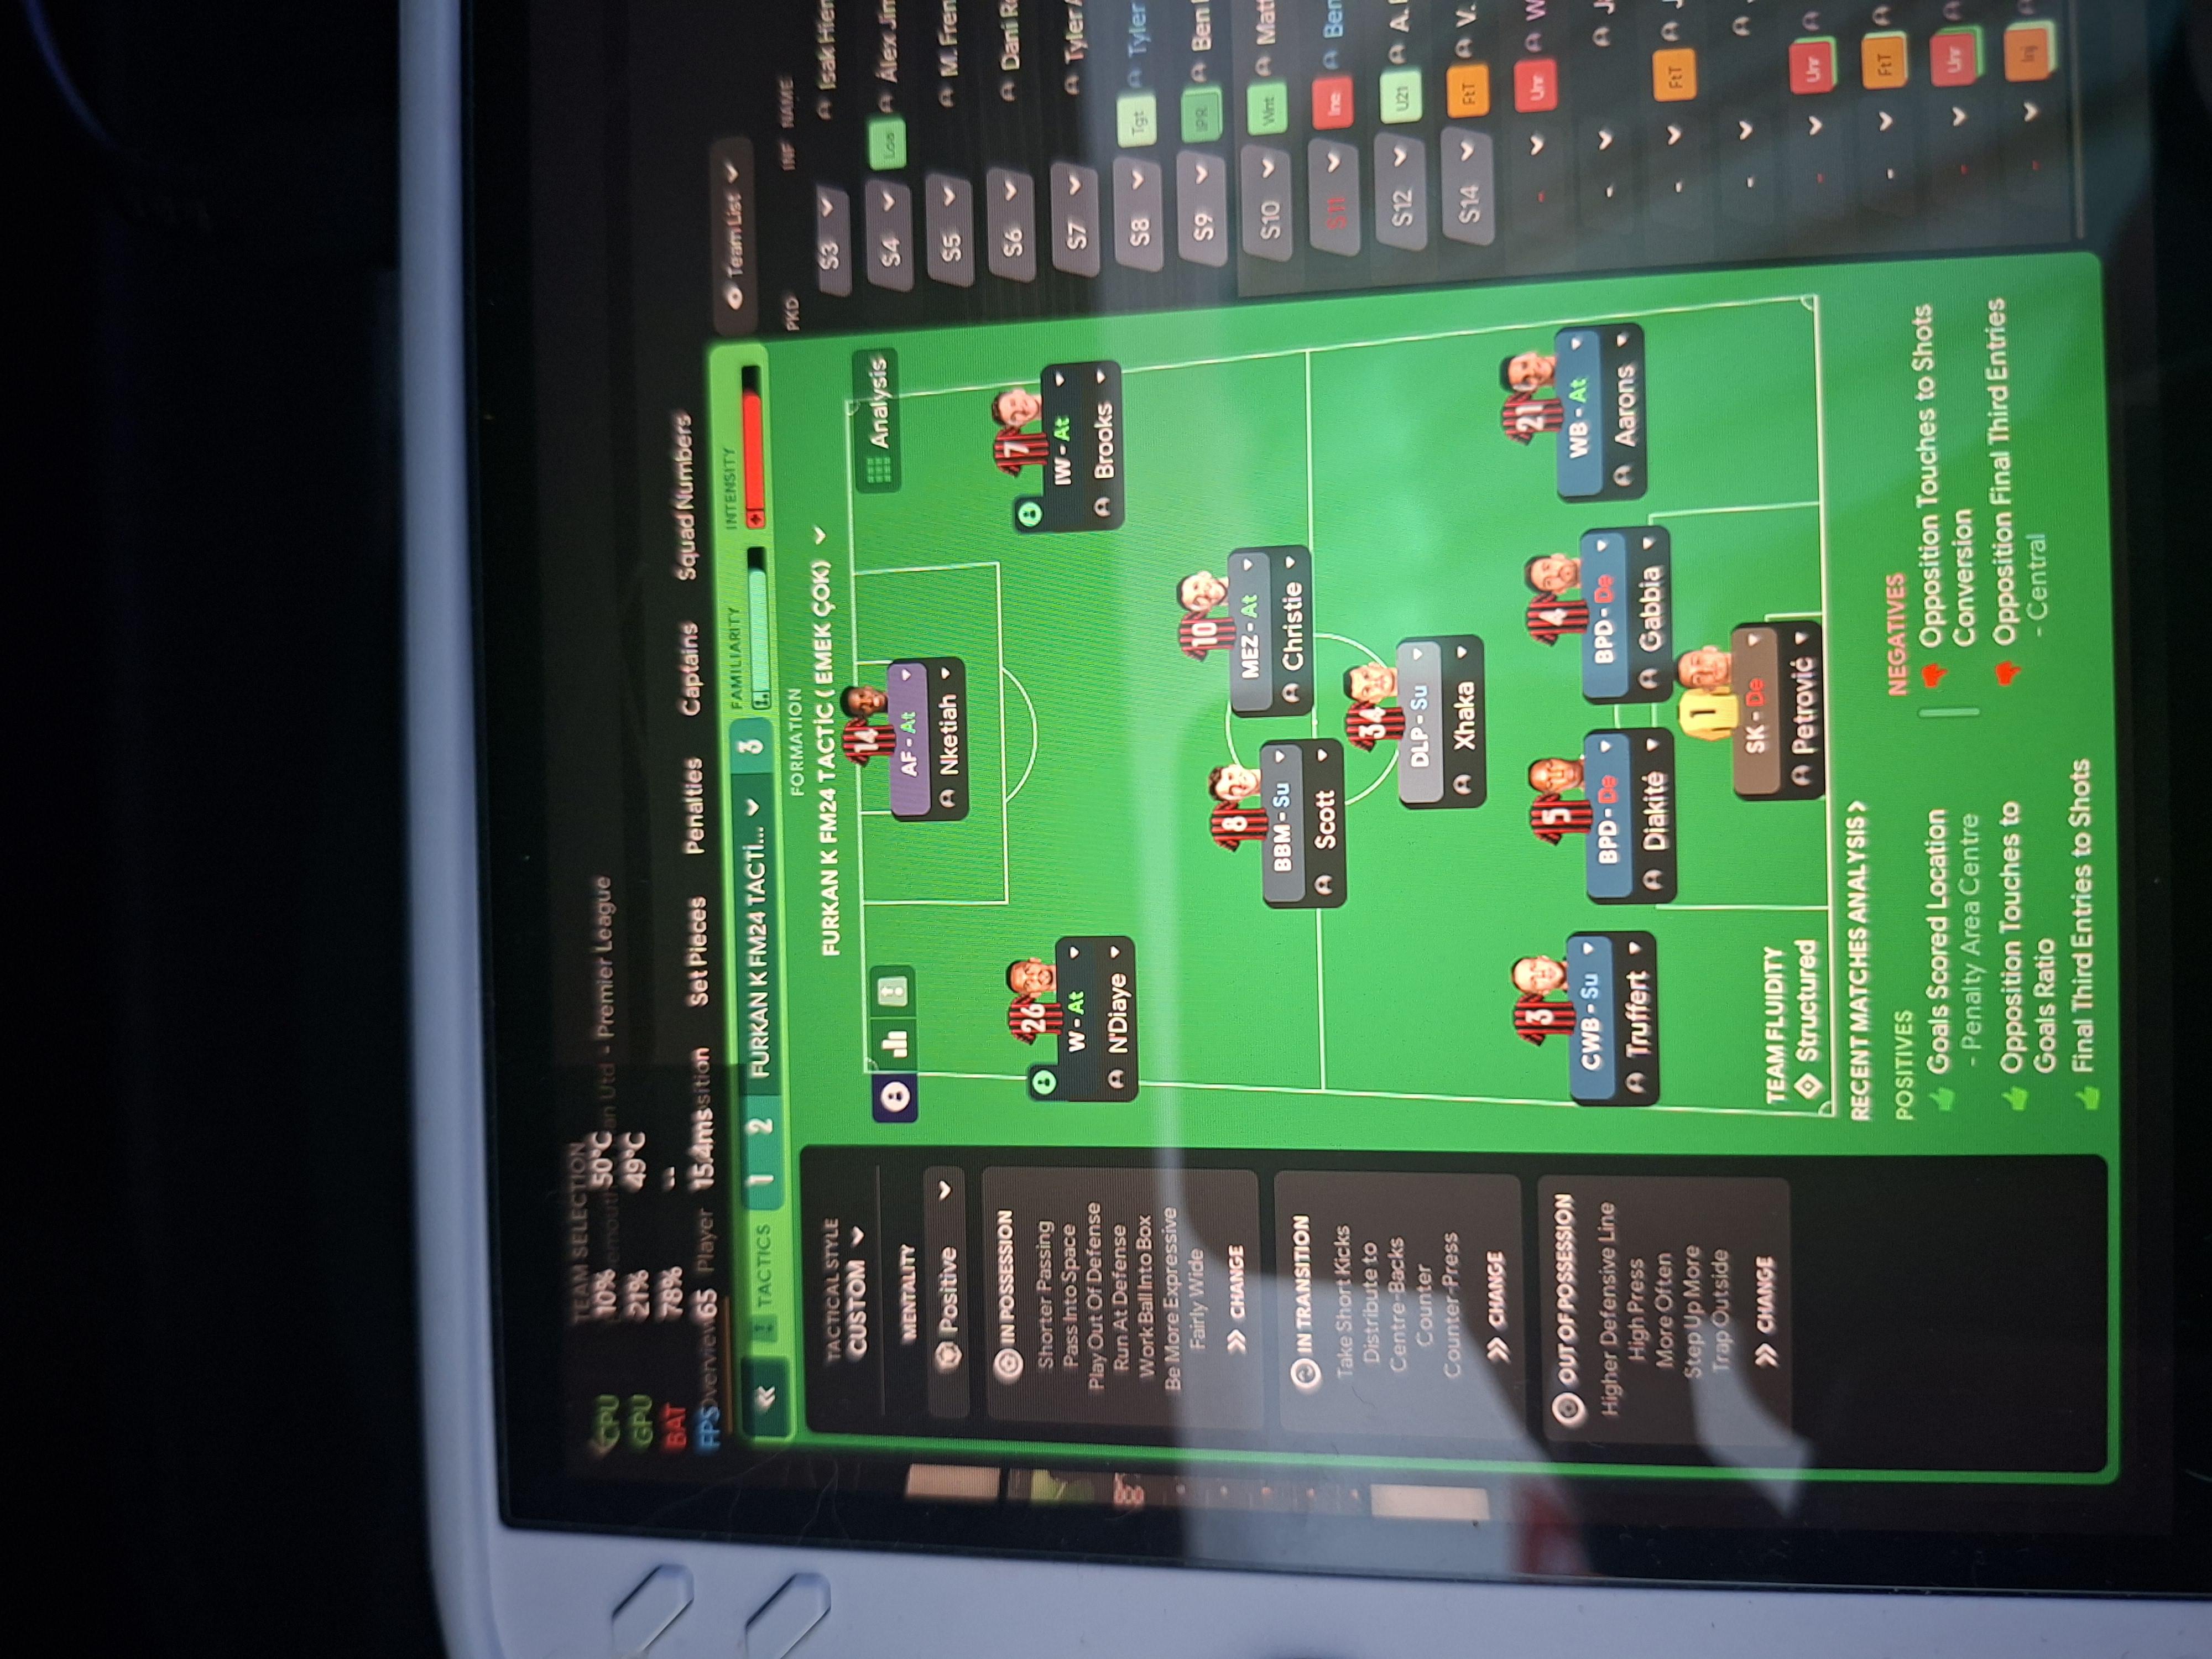
3-2-3-2 Tactic
3-2-3-2
Combine wide play with central creativity from the midfield. Utilizing a DLP to control tempo and link play.
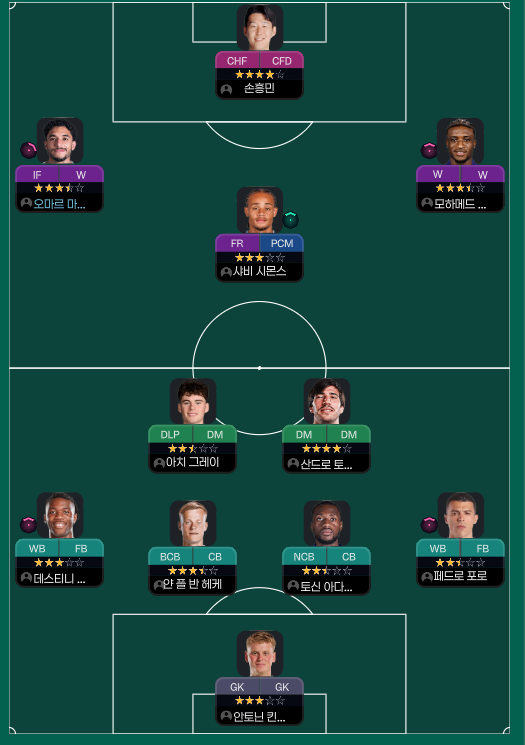
Loading tactical analysis...
Formation and style
3-2-3-2
In possession
Play Out of Defence
Work Ball Into Box
Cross More Often
Pass Into Space
In transition
Counter-Press
Counter
Out of possession
Higher Defensive Line
Higher Line of Engagement
Prevent Short GK Distribution
Player roles
GK
G
CB
CB
De
CB
NCB
De
CB
BPD
De
DM
DLP
Su
DM
DM
De
IF
IF
At
W
W
At
W
W
At
PCM
PCM
Su
CF
CF
At
CHF
CHF
At
Phase description
Utilizing width through the wingers and inside forwards to create space and openings.
Swarming the ball quickly with immediate press upon losing possession.
Combine wide play with central creativity from the midfield.
Team shape defence
Compact
The three center-backs and two defensive midfielders form a compact shape to limit opposition space.
CB at [2,2], NCB at [2,3], BPD at [2,4], supported by DLP at [3,3] and DM at [3,4].
Team shape attack
Dynamic
Aiming for quick transitions and using width to stretch defenses with overlapping runs.
IF at [5,1], W at [5,2] and [5,3], and CF at [6,2] creating width.
Key strengths
Strong Central Midfield Control
Utilizing a DLP to control tempo and link play.
DLP-S at [3,3] with 'Play Out of Defence'.
Attacking Versatility
The combination of width from wingers and inside forward stretching the defense.
IW at [5,1], W at [5,2] and [5,3] with 'Cross More Often'.
Conflicting tactics
Lack of Defensive Midfield Cover
Offensive-minded midfield setup may leave spaces.
DM at [3,4], with potential gaps due to a high line of engagement.
Risk of Counter Attacks
High pressing might lead to vulnerabilities if possession is lost.
Counter-Pressing style may leave defenders exposed.
Risk exposures
Risk Exposures
Items
Central Midfield
Potential overloads due to lack of cover.
With two DM setups, transition can expose midfield space.
Defensive Vulnerability
Higher line may leave space behind for quick counter-attacks.
Higher Defensive Line at risk from pacey forwards.
Role synergies
Role Synergies
Items
DLP and Wingers
DLP can provide through balls for wingers.
DLP-S at [3,3] linked to IF and W positions.
CB and NCB
NCB provides added cover and distribution options.
NCB at [2,3] supports BPD at [2,4].
Suggested questions
How can we improve defensive transitions during counter-attacks?
Are substitutions needed to maintain fresh legs in the attack?
Should we adapt our pressing style based on opponent strengths?
Related Tactics
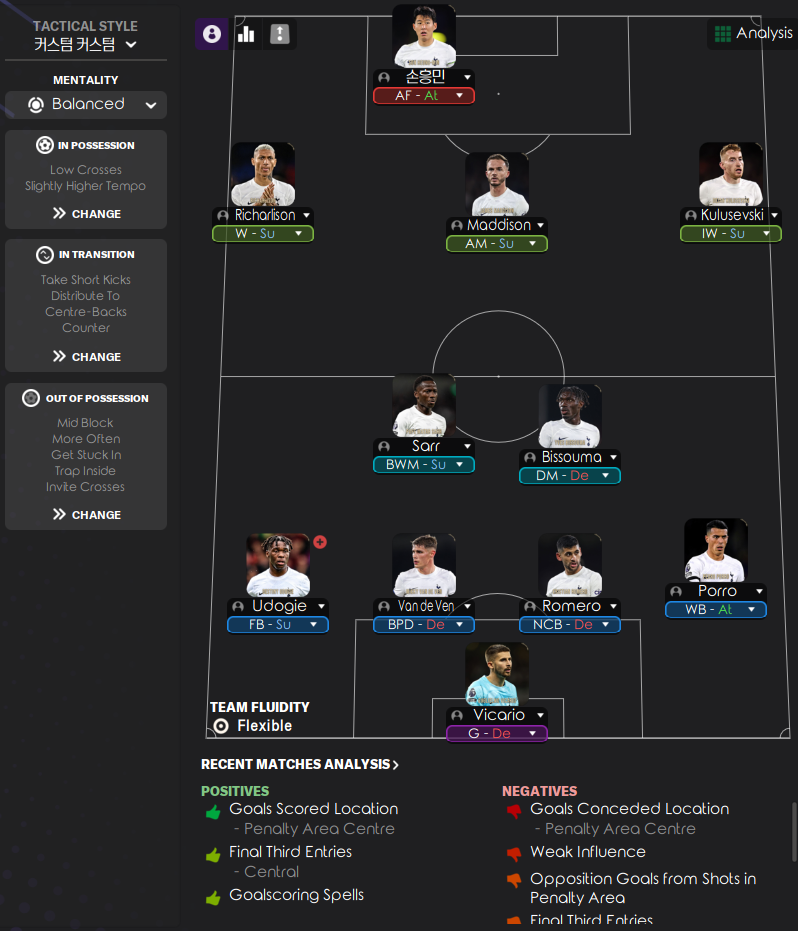
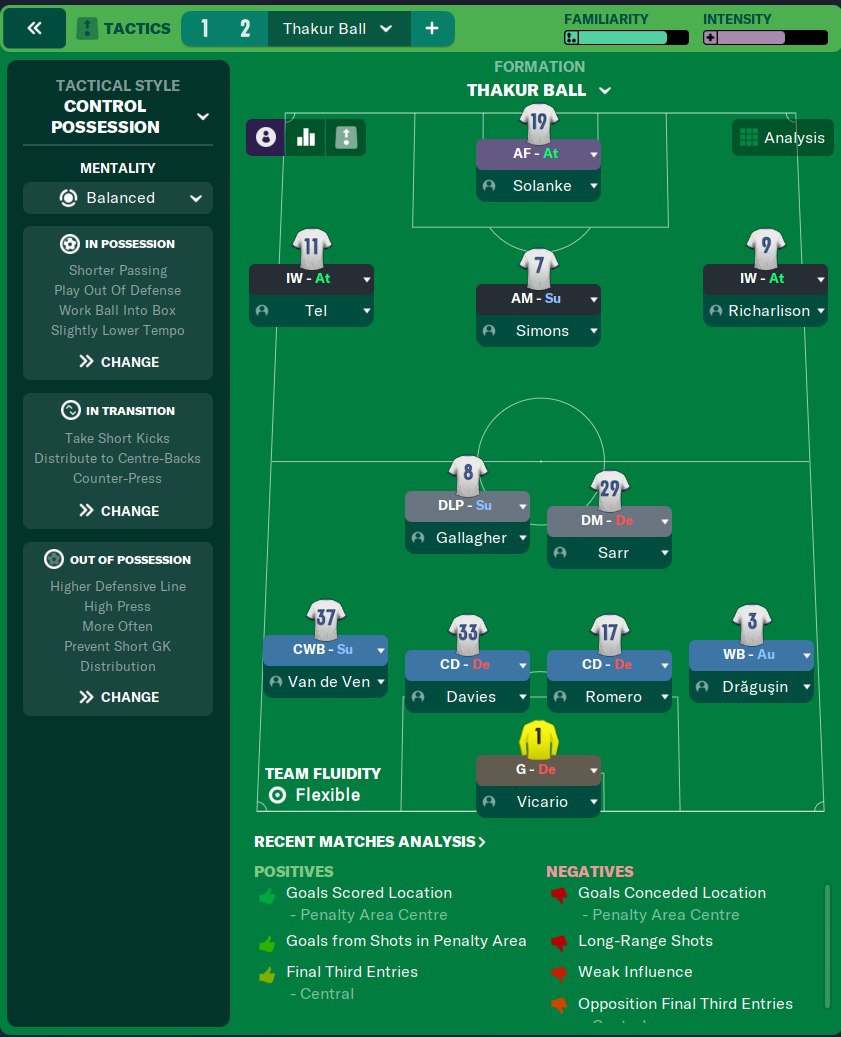
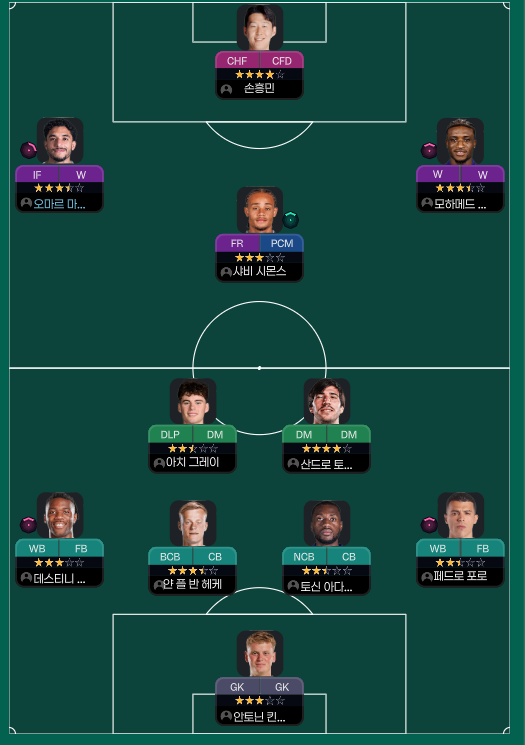
Guides for this tactic
The tactical theory behind the 3-2-3-2: roles, instructions, and the trade-offs that decide whether the system holds up.
Playing styles
Tiki-Taka vs Positional Play
Why circulation density and zonal occupation aren't the same thing in FM, and the half-space occupation rule that decides build-up.
Read guide
Foundations
Pressing Triggers and Intensity
Counter-Press, Regroup, Stand Off, Trigger Press: what each pressing instruction does in FM and how to pair them without contradicting.
Read guide
Foundations
Defensive Line and Line of Engagement
The pairing rule for Defensive Line and Line of Engagement, all 9 combinations, and the gap that costs goals.
Read guide