Possession 4-2-3-1 (Control) Tactic
4-2-3-1
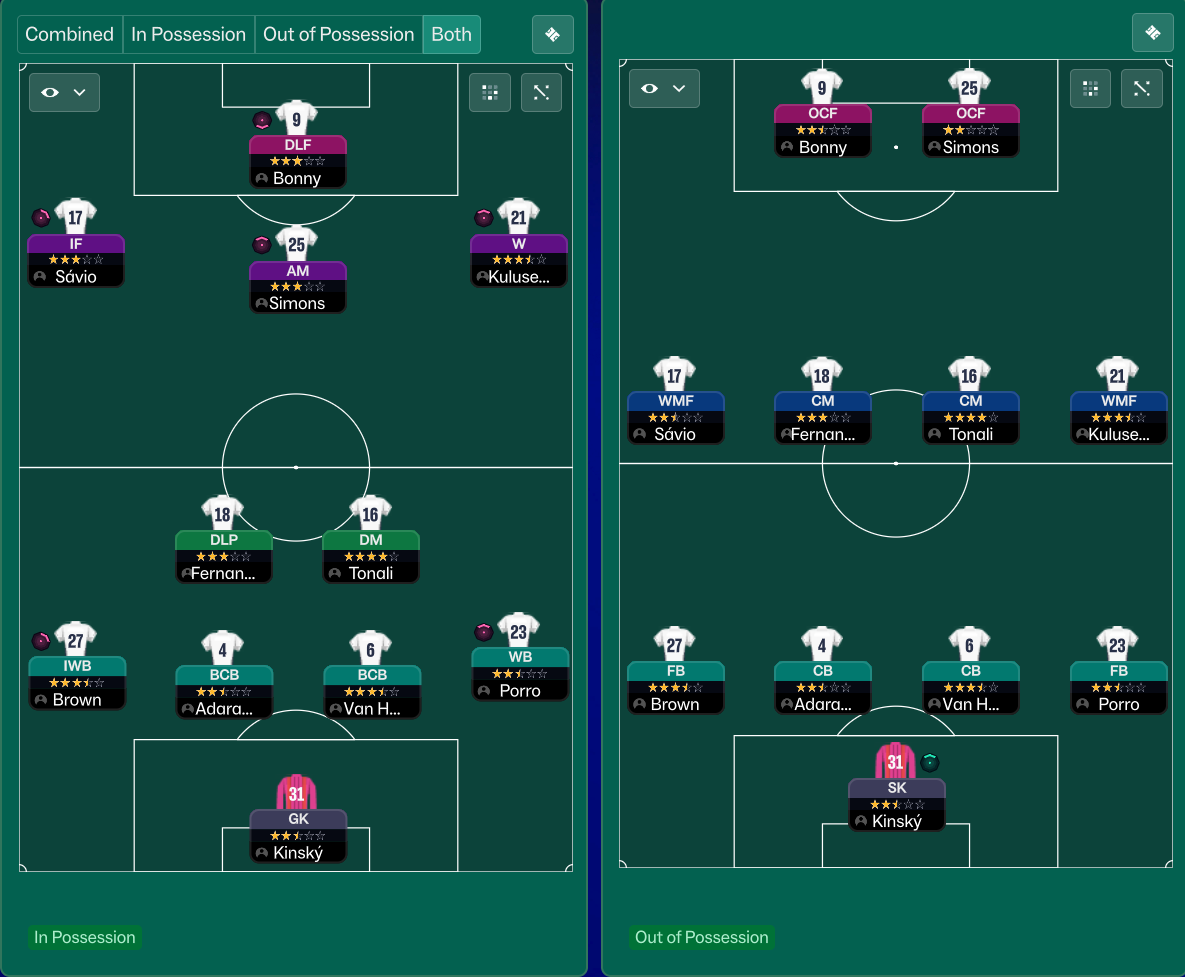
Dominating possession and creating goal-scoring opportunities through combination plays. The DLP and AP provide transition from defense to attack…
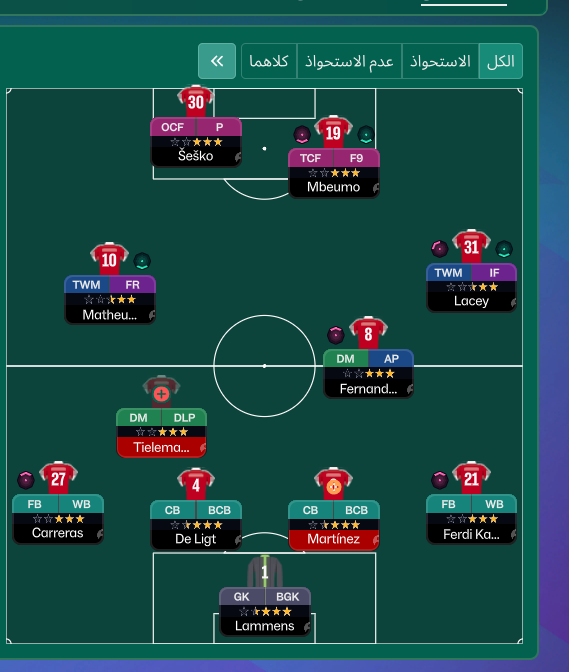
Loading tactical analysis...
Formation and style
Possession
Control
4-2-3-1
Structured
In possession
Work Ball Into Box
Play Out of Defence
Focus Play Down the Right
In transition
Counter-Press
Counter
Out of possession
Higher Line of Engagement
Much Higher Defensive Line
Prevent Short GK Distribution
Player roles
GK
GK
De
RB
FB
Su
CB
CB
De
CB
CB
De
LB
WB
At
DM
DLP
De
CM
DM
Su
AM
AP
Su
RW
TWM
At
LW
TWM
At
ST
F9
De
Phase description
Utilizes width through wingers and movement from the F9 to create space.
Immediate pressing upon losing possession to regain control.
Dominating possession and creating goal-scoring opportunities through combination plays.
Team shape defence
Compact 4-2-3-1
Maintains a tight formation, minimizing gaps for the opponents.
CB at [2,2] and [2,4] with DM roles providing cover.
Team shape attack
Stretched with wingers
Wingers pulling wide create space for the central striker and attacking midfielder.
TWM at [5,1] and [5,5] create width, allowing for central overload with AP.
Key strengths
Strong Through the Middle
The DLP and AP provide transition from defense to attack effectively.
DLP at [3,3] and AP at [5,3] facilitate ball progression.
Winger Impact
Wingers provide width and directness, causing defensive uncertainty.
TWM at [5,1] and [5,5] allowing for diagonal runs into the box.
Conflicting tactics
Possible Vulnerability to Counterattacks
High defensive line might expose the back line against fast counters.
Much Higher Defensive Line, leaving spaces behind for pacey attackers.
Central Midfield Overload
The reliance on two defensive midfielders limits attacking depth.
Two DM roles at [3,3] and [4,3] risk becoming too congested.
Risk exposures
Risk Exposures
Items
Defensive Depth
Single pivot in DM may lead to exposure against overload in central areas.
DLP at [3,3] operates as the sole defensive shield.
Waking Opponent's Press
Opponents may exploit spaces left behind the full-backs.
WB at [2,5] may push forward, creating gaps.
Role synergies
Role Synergies
Items
DLP and AP
Combination facilitates control and quick transitions while supporting attacks.
DLP at [3,3] and AP at [4,3].
FB and TWM
Full-backs supporting wingers enhance width and overlapping options.
FB at [2,5] and TWM at [5,5].
Suggested questions
How can we improve the defensive stability against direct counters?
Are there tactical adjustments needed against teams with strong midfield control?
What alternative strategies can we implement to diversify attacking patterns?
Related Tactics
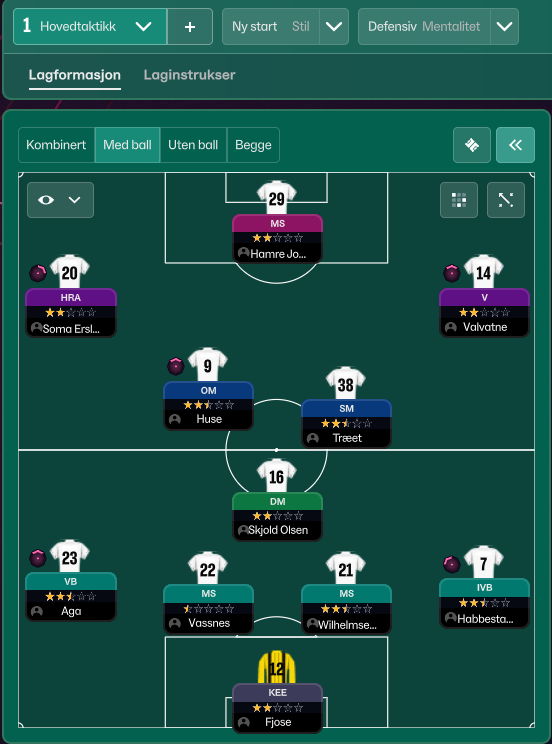
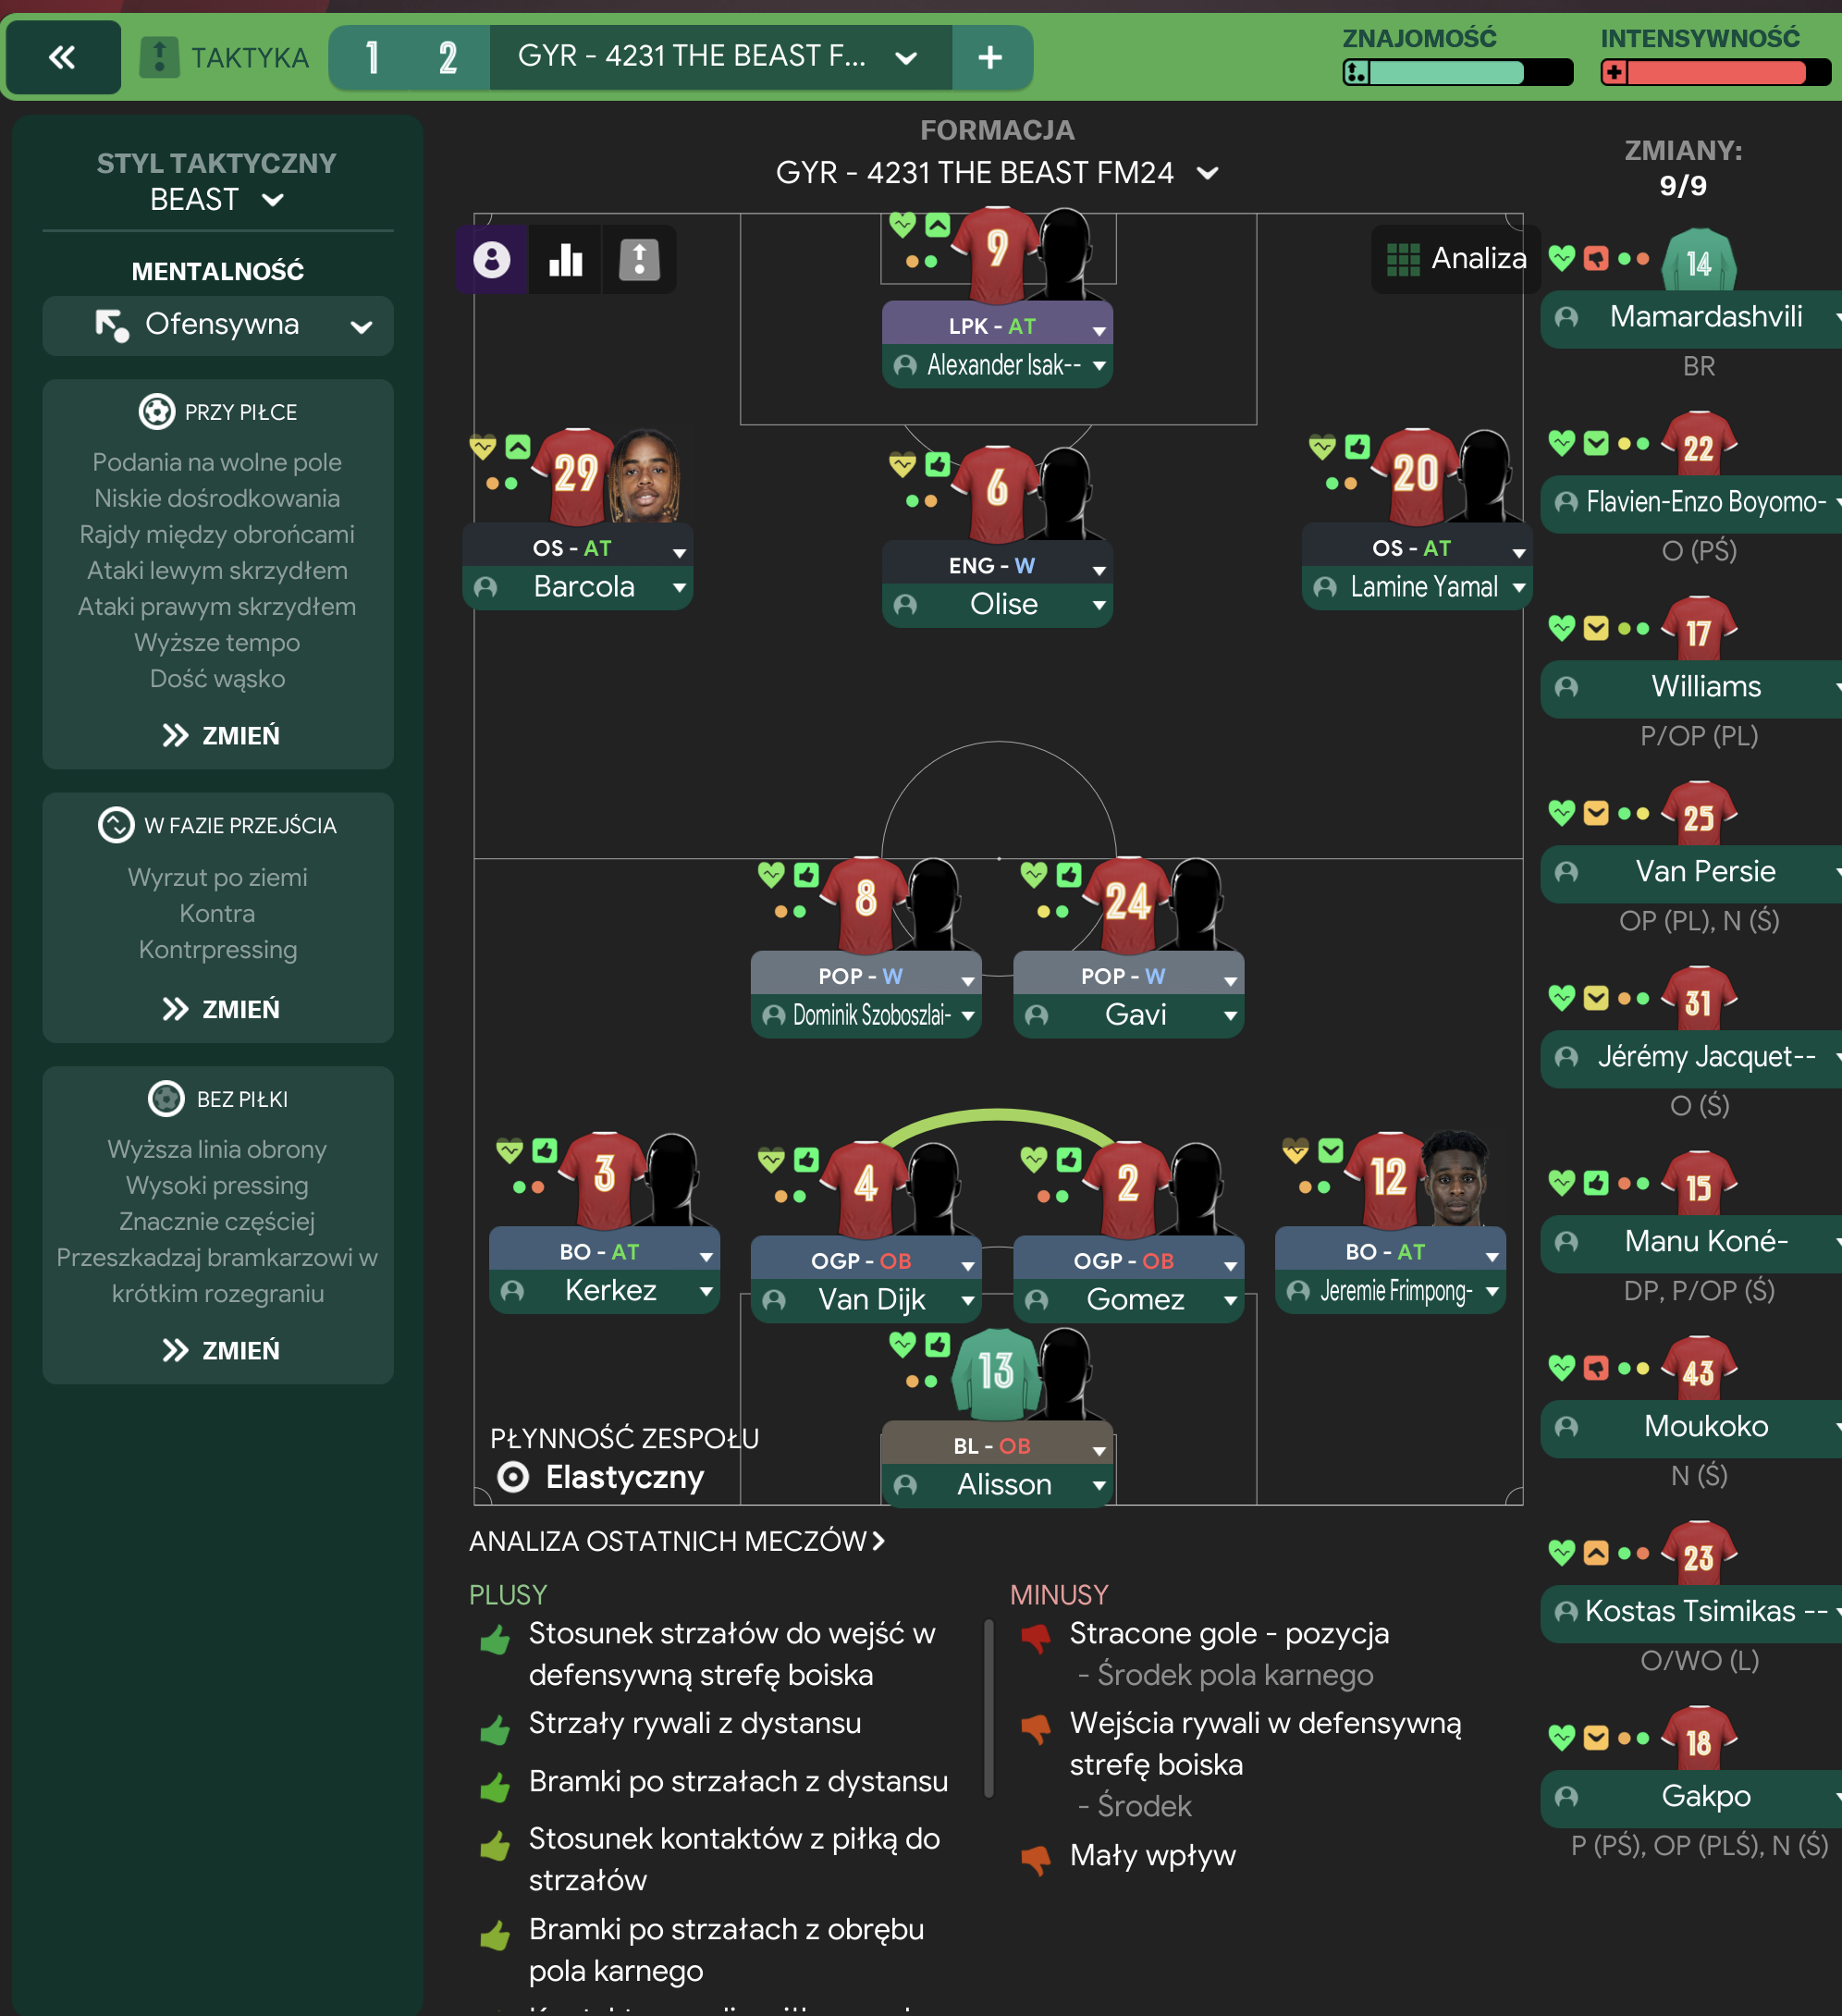
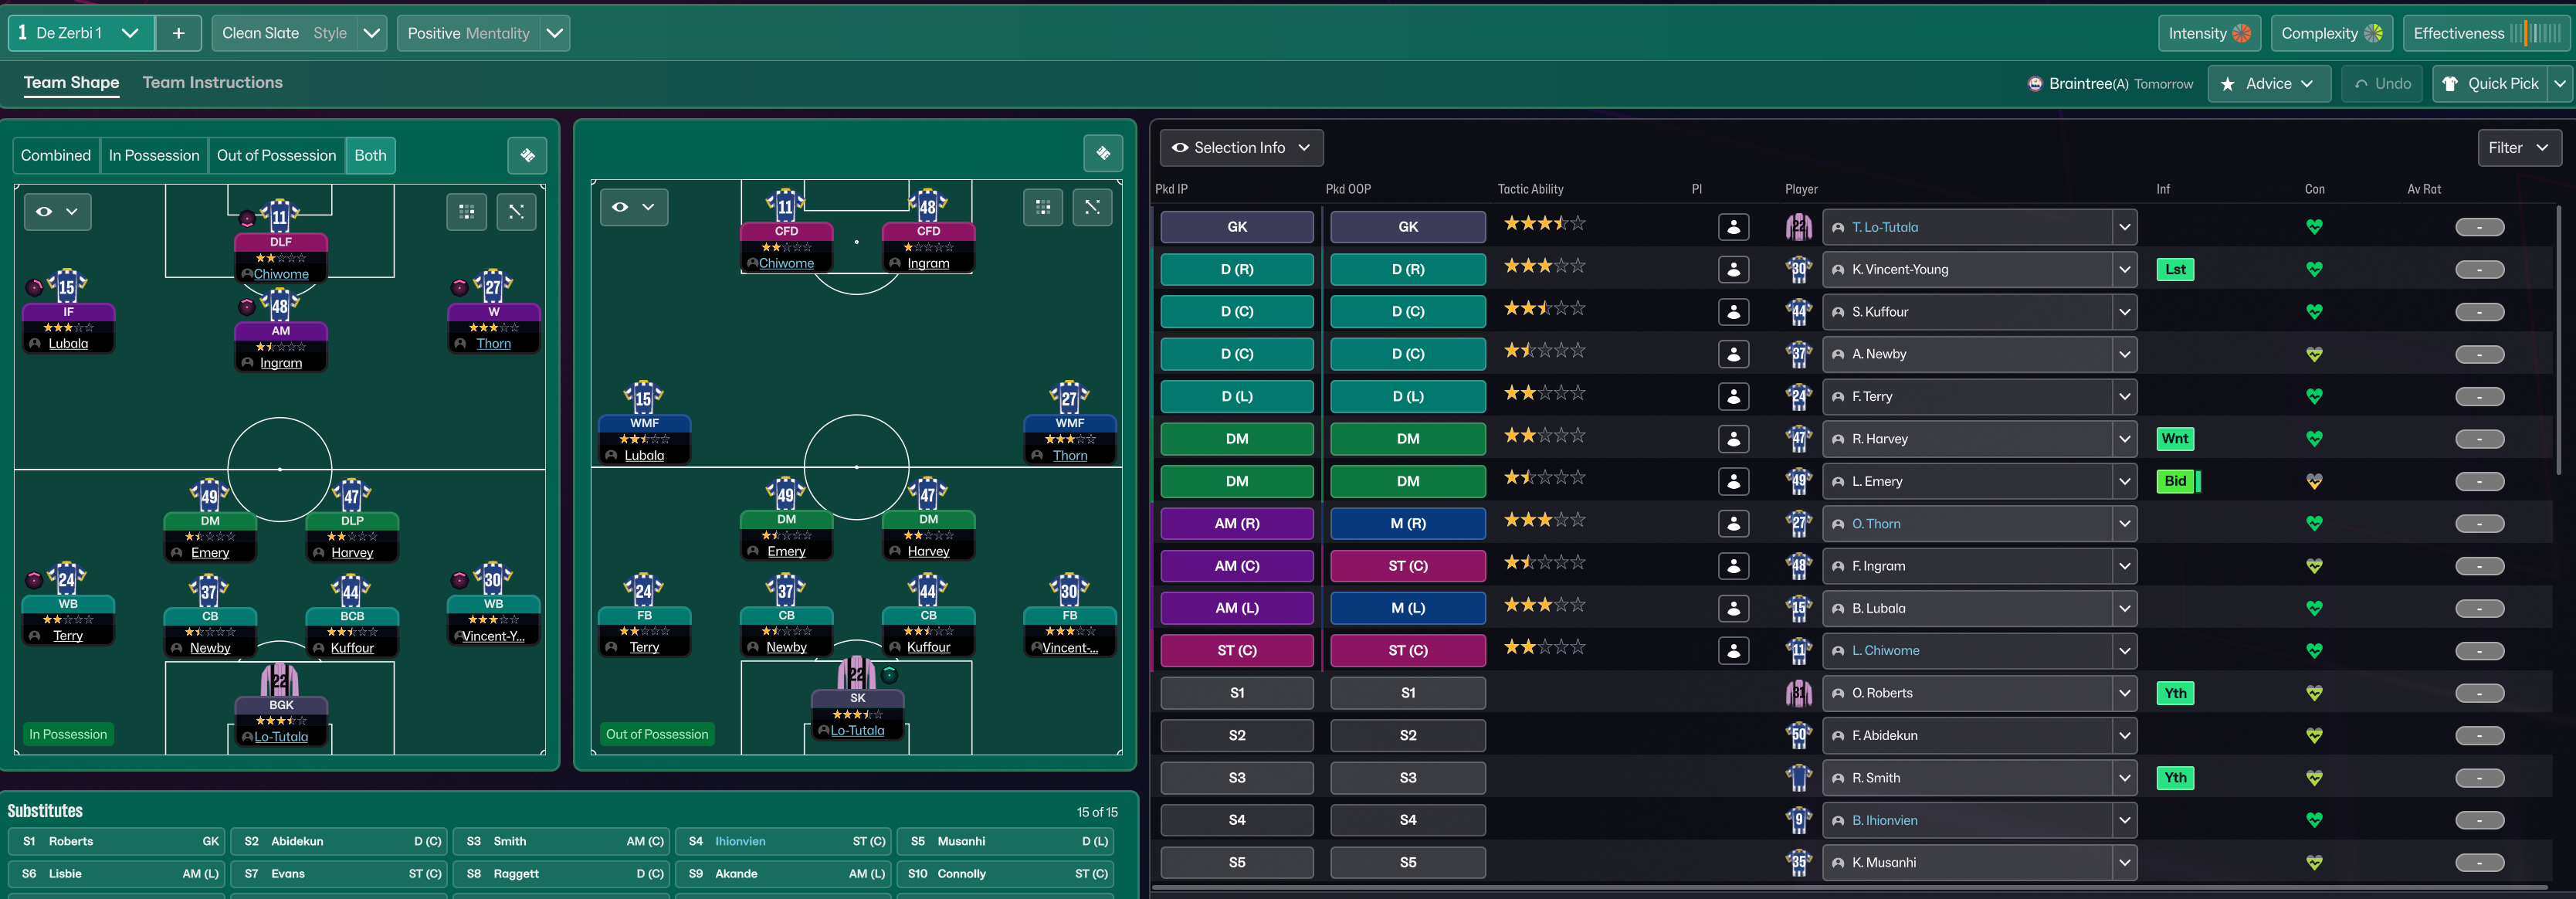
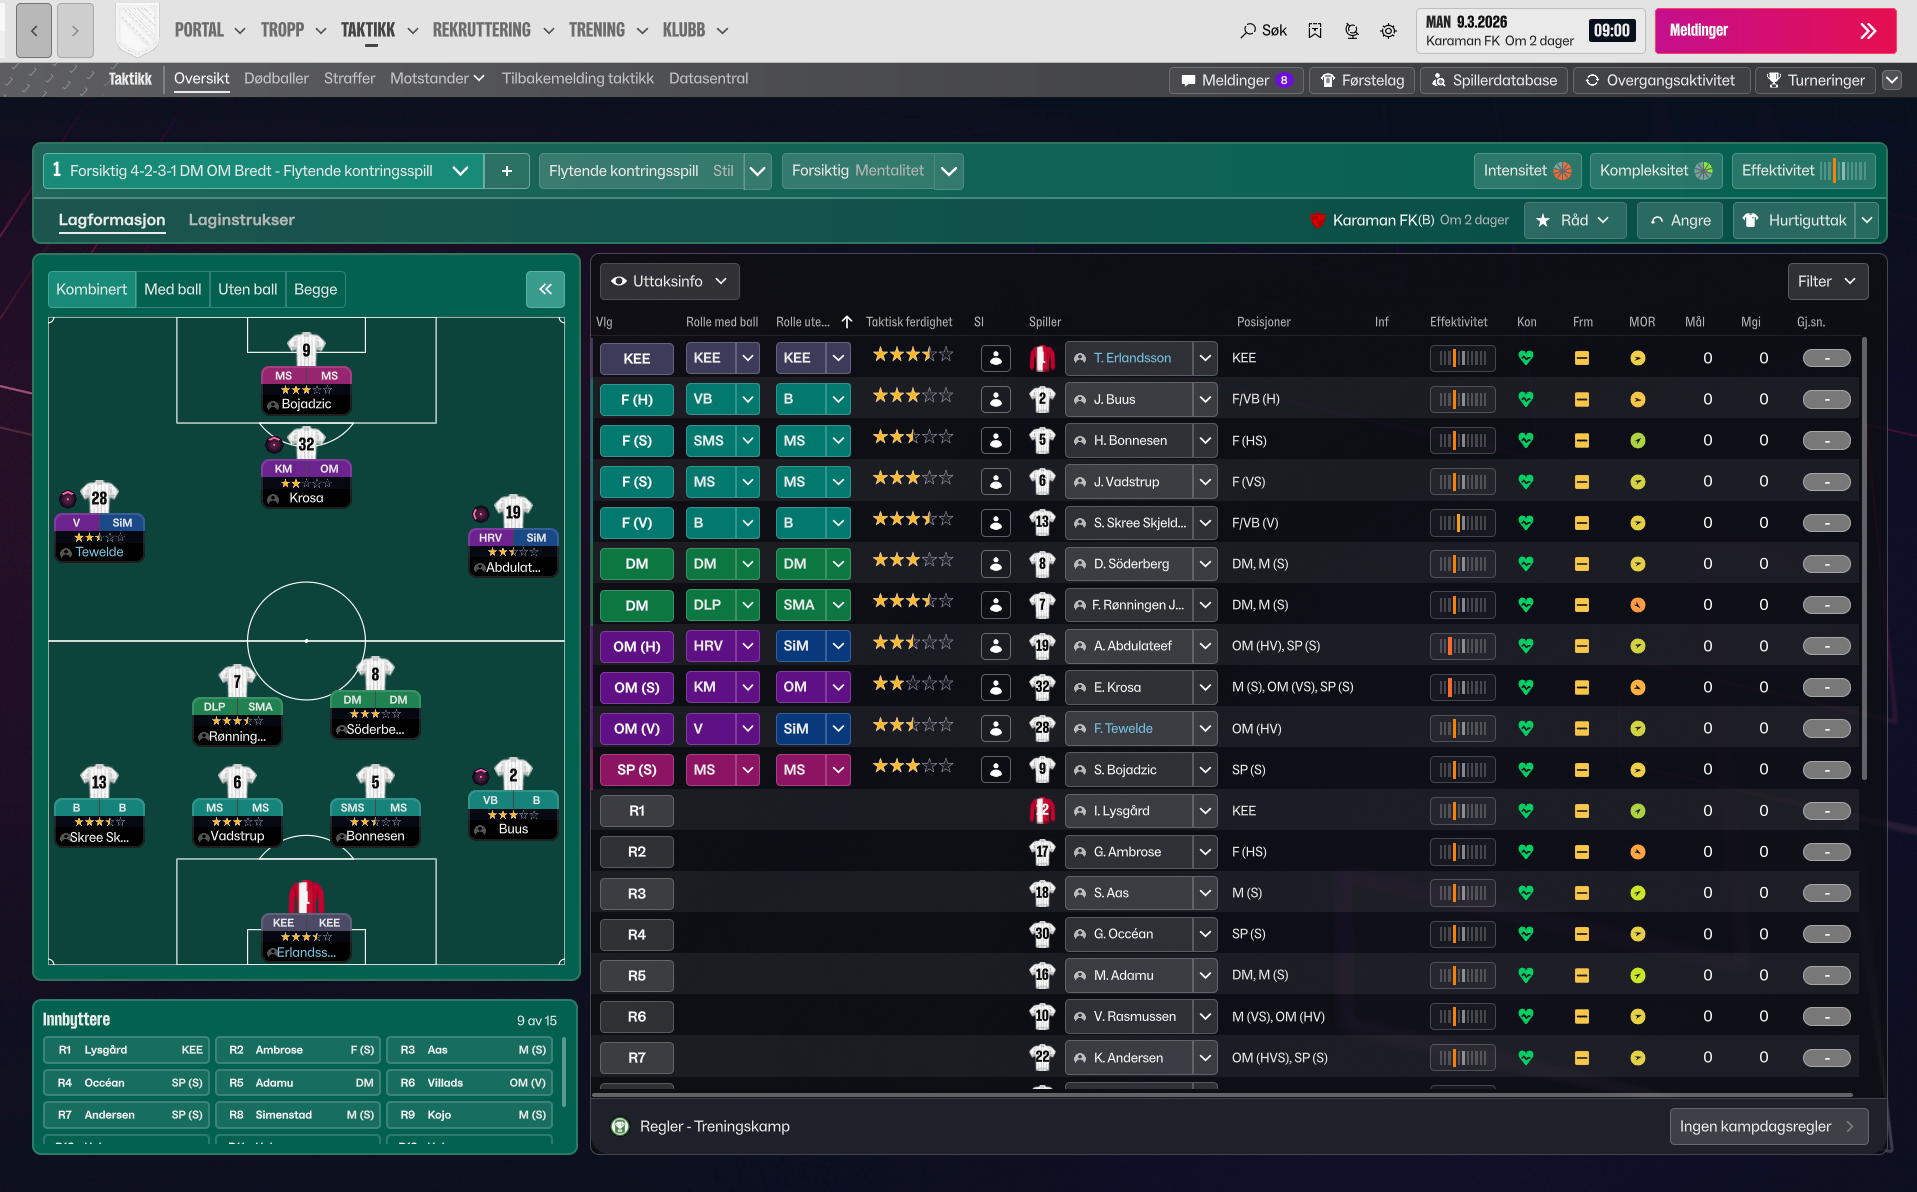
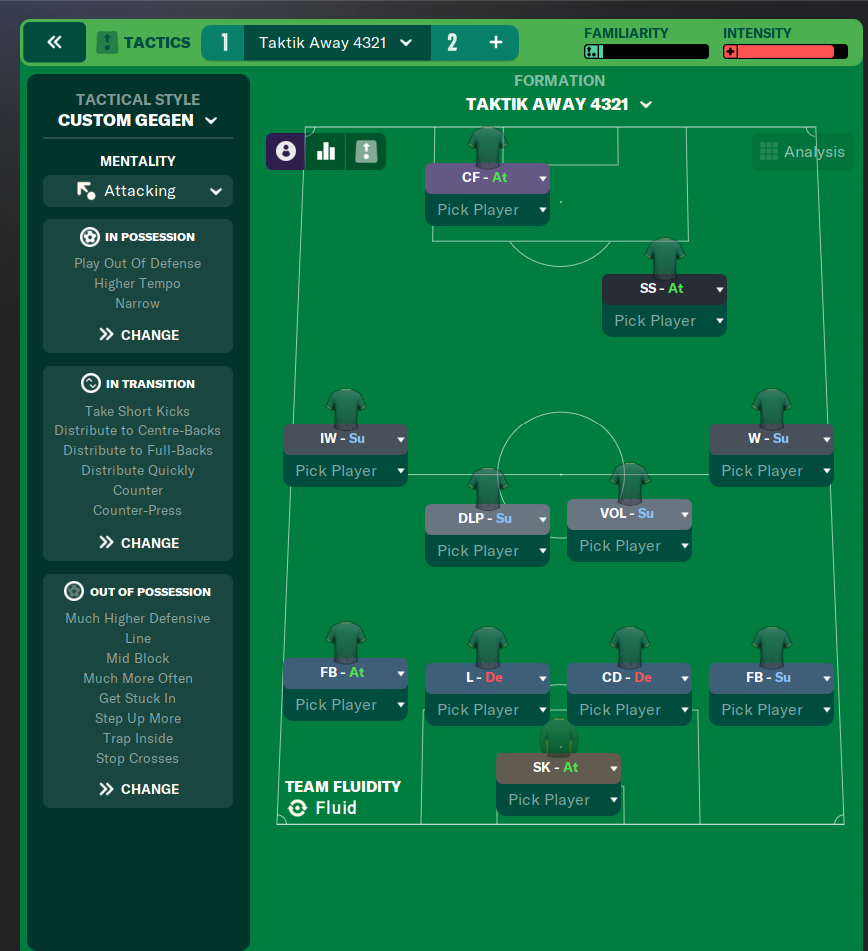
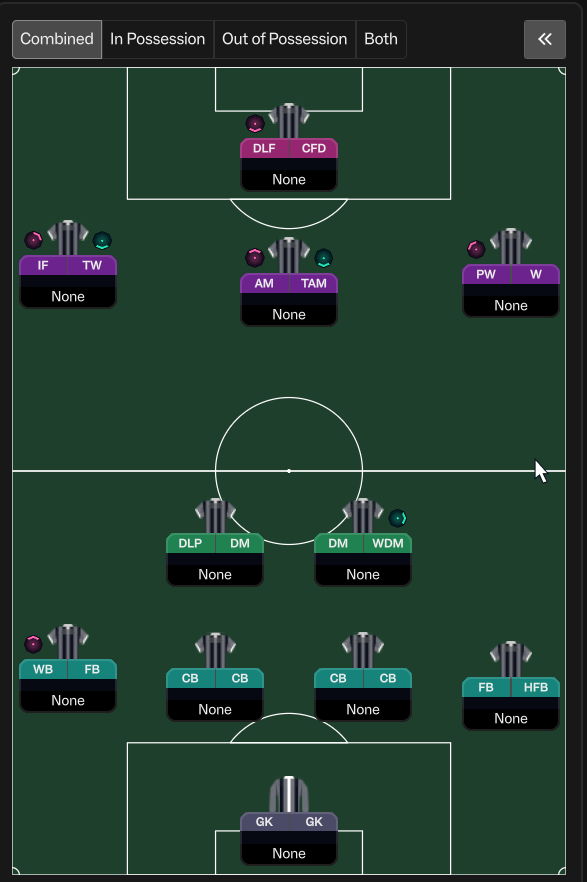
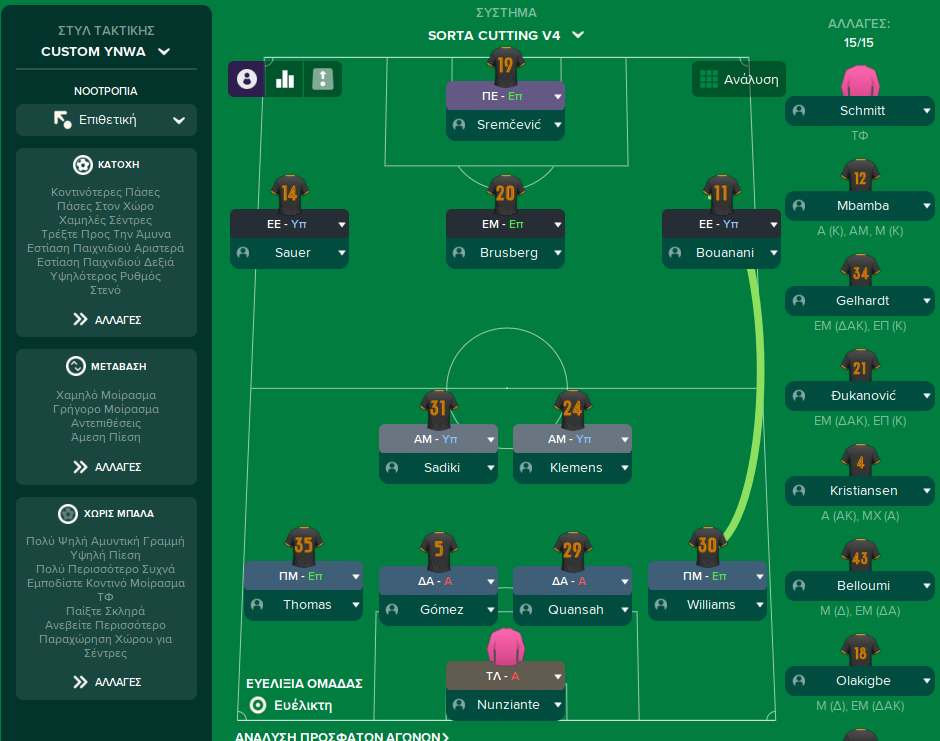
More Possession tactics
Guides for this tactic
The tactical theory behind the 4-2-3-1: roles, instructions, and the trade-offs that decide whether the system holds up.
Playing styles
Gegenpressing: A Full Guide
Klopp-style gegenpressing in FM, including squad profile, line-and-press pairing, sustainable workload, and the antipatterns to avoid.
Read guide
Player pairings
Midfield Pairs in 4-2-3-1 and 4-4-2
Double pivots and flat pairs in 4-2-3-1 and 4-4-2: when each pairing works, when it collapses, and the AMC unicorn that rescues both.
Read guide
Foundations
Wing Play vs Central Play
Build through the wide areas or through the middle? A working framework for picking the right one for your squad.
Read guide