Gegenpress 5-3-2 DM WB (Positive) Tactic
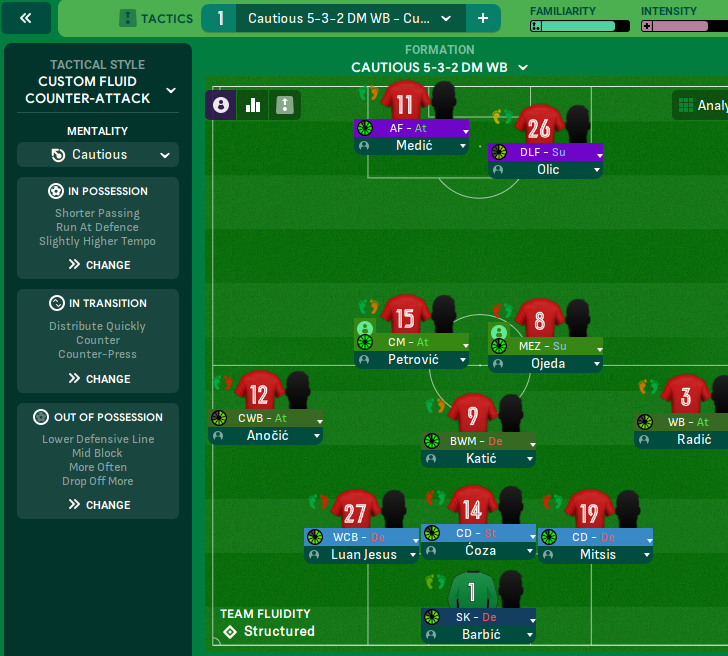
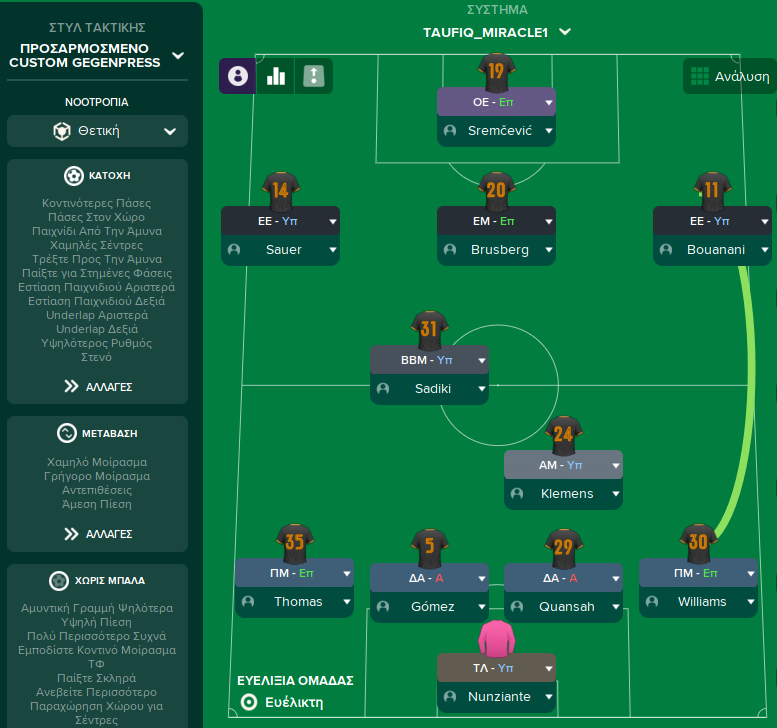
5-3-2 DM WB
Quick, vertical play targeting the strikers and exploiting space behind defenses. Combination of a Deep-Lying Playmaker, Box-to-Box Midfielder, and…
Loading tactical analysis...
Formation and style
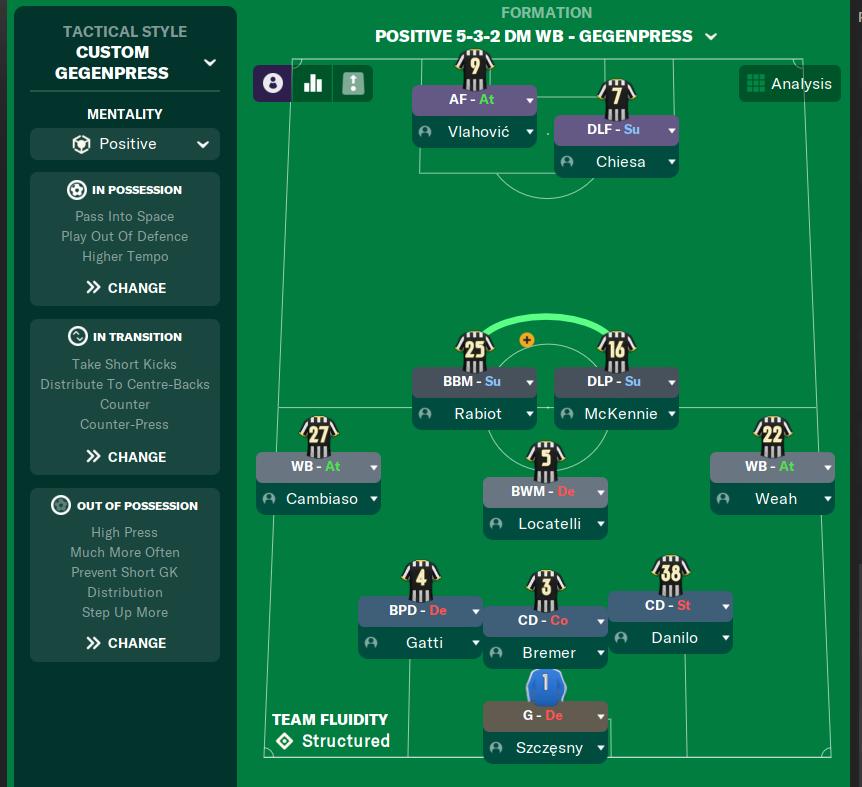
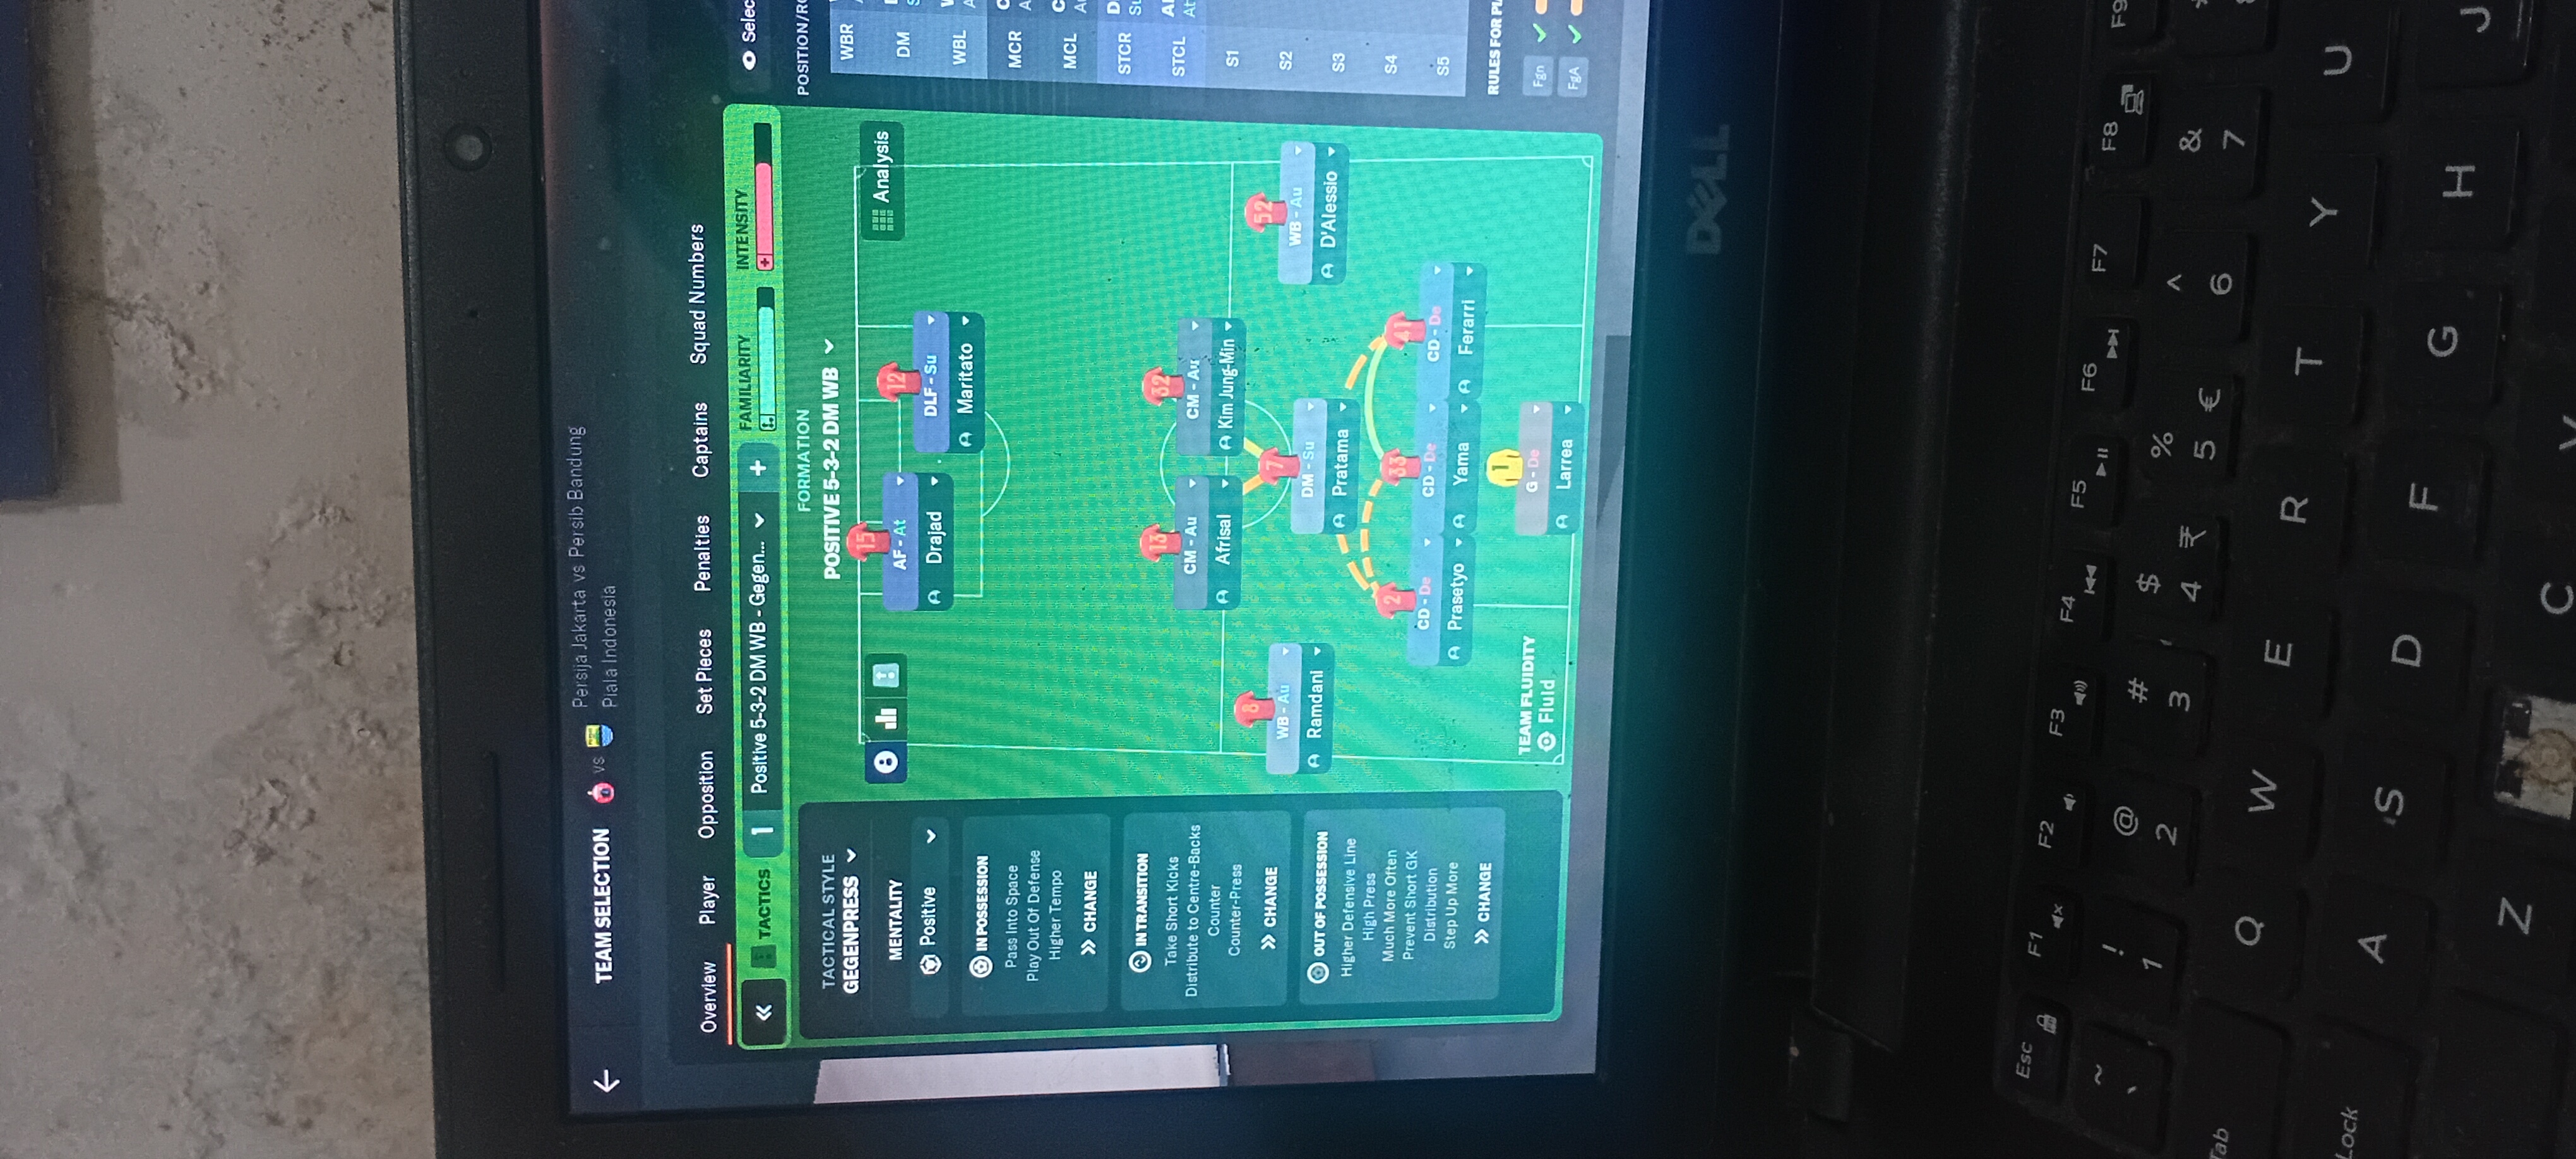
Custom Gegenpress
Positive
5-3-2 DM WB
Structured
In possession
Pass Into Space
Play Out Of Defence
Higher Tempo
In transition
Take Short Kicks
Distribute To Centre-Backs
Counter
Counter-Press
Out of possession
High Press
Much More Often
Prevent Short GK Distribution
Step Up
Player roles
GK
G
De
CB
BPD
De
CB
CD
Co
CB
CD
St
WB
WB
At
WB
WB
At
DM
BWM
De
CM
DLP
Su
CM
BBM
Su
ST
AF
At
ST
DLF
Su
Phase description
Focus on quick transitions and utilizing width through overlapping wing-backs.
Immediate press to recover possession post-loss, leveraging high pressing.
Quick, vertical play targeting the strikers and exploiting space behind defenses.
Team shape defence
Compact 5-3-2
Defensive shape remains compact, with wing-backs tucking in when under pressure.
BWM at [3,2] provides support to the defensive line and helps in transitioning maintenance.
Team shape attack
Fluid 5-3-2
Wing-backs push up to create width while forwards interchange positions for flexibility.
AF at [6,2] stretches the defence while the DLF occupy spaces behind, creating mismatches.
Key strengths
Dynamic Midfield Trio
Combination of a Deep-Lying Playmaker, Box-to-Box Midfielder, and Ball-Winning Midfielder allows for both creativity and defensive stability.
DLP-S at [4,3], BBM-S at [4,2], and BWM-D at [3,2] enhance both attacking and defensive transitions.
High Pressing Game
The tactical approach employs a high press, forcing opponents into mistakes.
High Press instruction complements the BWM at [3,2] and the formation’s compactness.
Conflicting tactics
Vulnerability to Counterattacks
With aggressive pressing, the team may be vulnerable to quick counters if possession is lost.
High line and pressing tactics may leave the back three exposed, especially if midfielders push forward.
Limited Forward Depth
With two strikers, there's limited depth in attack if not supported well by midfielders.
The reliance on AF at [6,2] and DLF at [6,3] may stall attacks if midfielders are not involved.
Risk exposures
Risk Exposures
Items
Counterattacking Threat
Fast opponents could exploit the space left by advanced wing-backs.
High press coupled with high WB duties might leave central defenders at risk if caught out.
Midfield Overload
If outnumbered in midfield, the team may struggle to recover possession.
Opposition formations that use three or more midfielders may pose a threat.
Role synergies
Role Synergies
Items
BBM with DLP
BBM can push forward to exploit gaps, while DLP orchestrates play from deep.
BBM-S at [4,2] linking with DLP-S at [4,3] maintains attacking momentum.
WBs with AF and DLF
Wing-backs provide width that complements inside movement from forwards.
WB-At at [2,1] and [2,5] creating overlap with AF at [6,2] and DLF at [6,3].
Suggested questions
How do we adapt to teams with stronger central midfield presence?
Can the wing-backs be trusted defensively against faster wingers?
Are the forwards effectively taking advantage of created spaces throughout the match?
Related Tactics
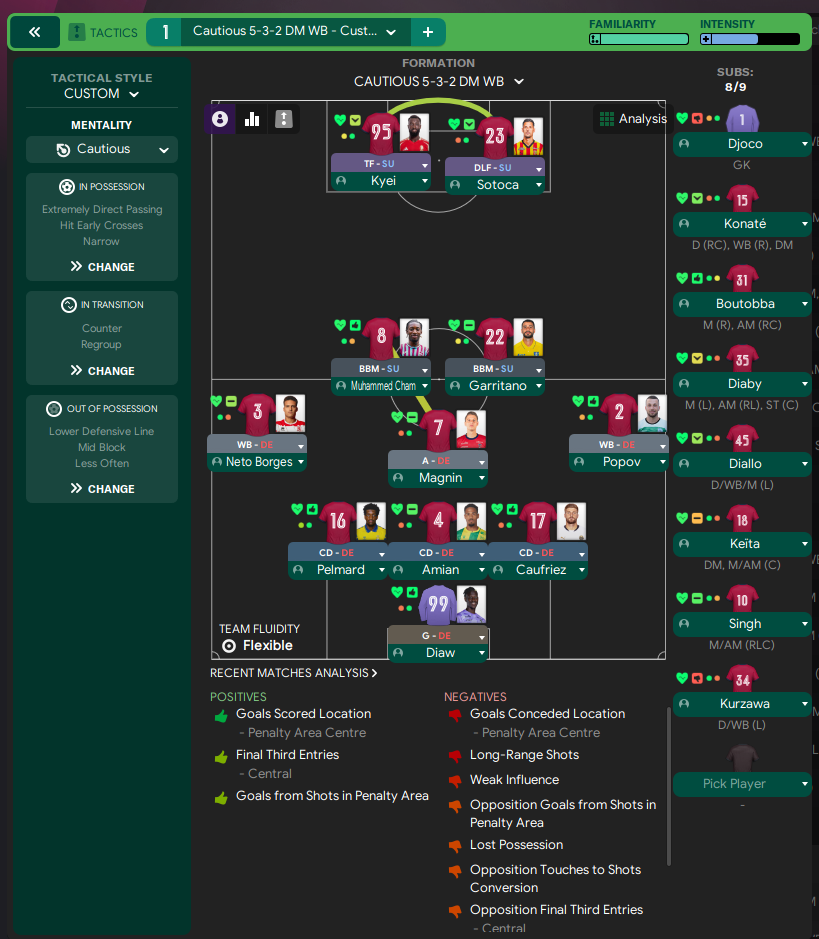
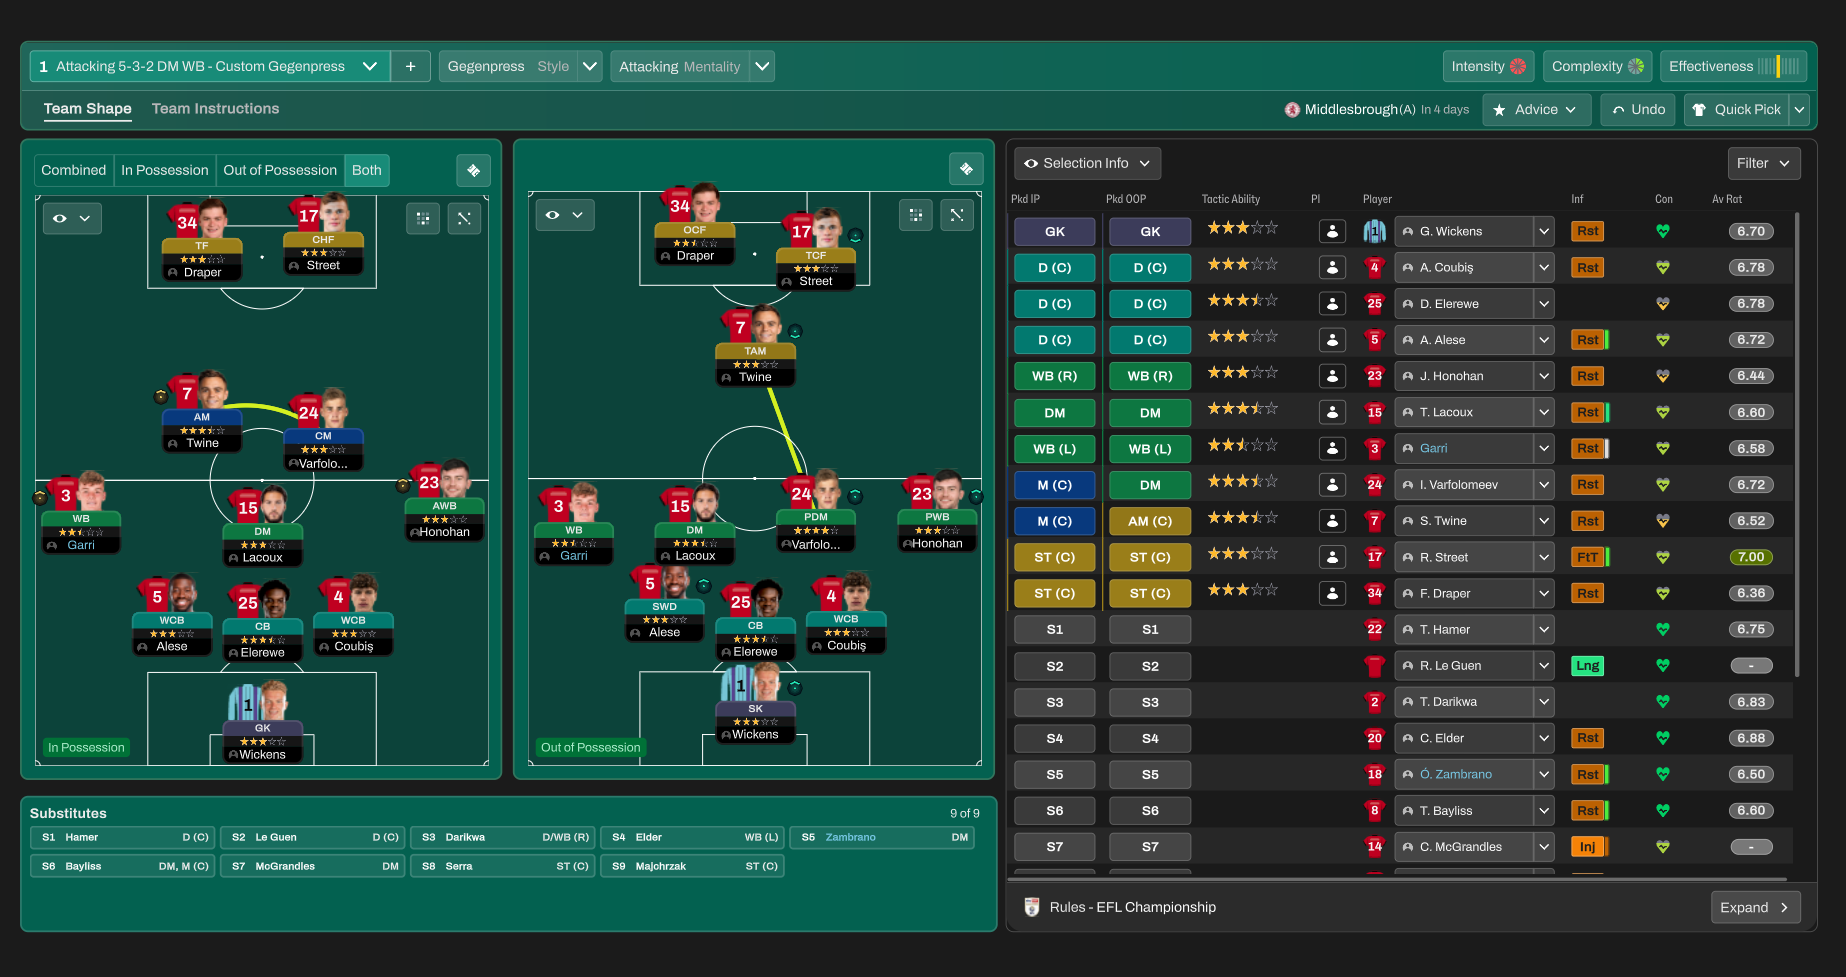
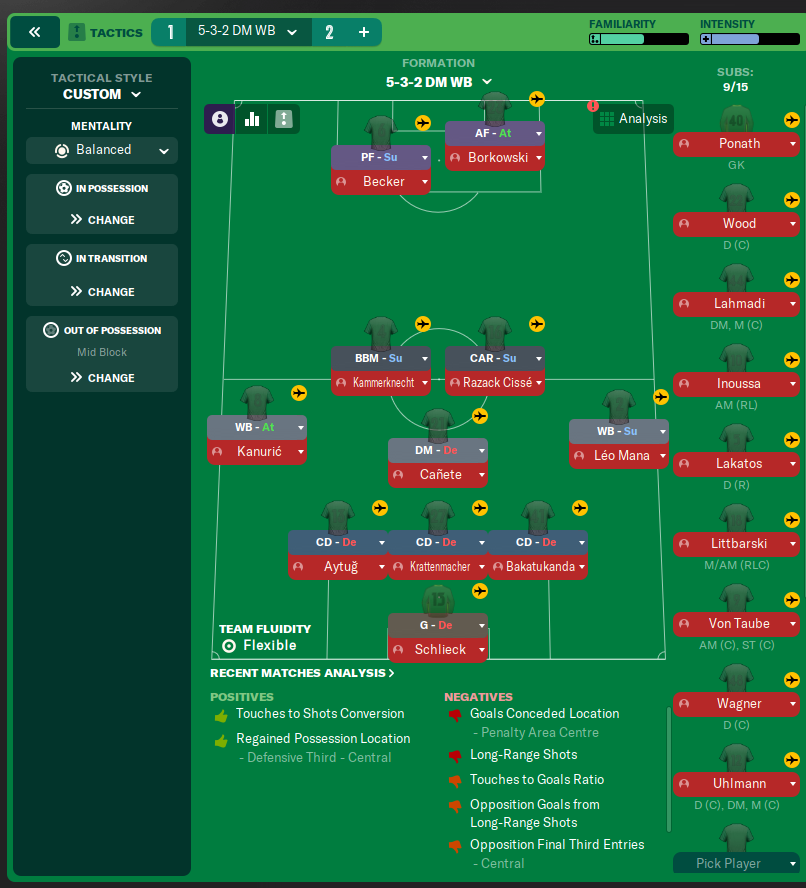
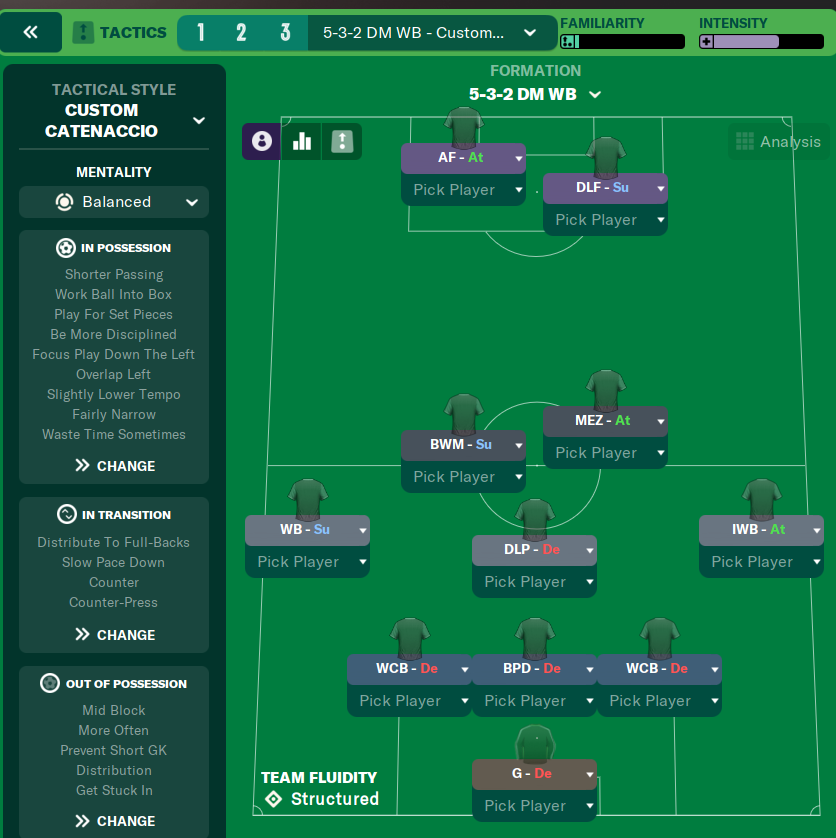
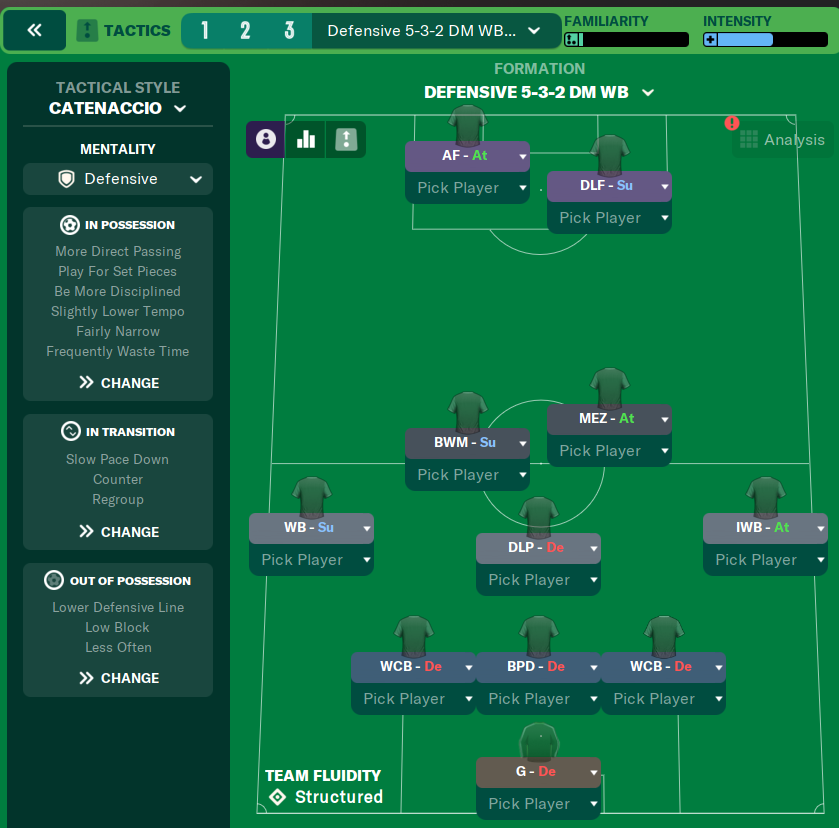
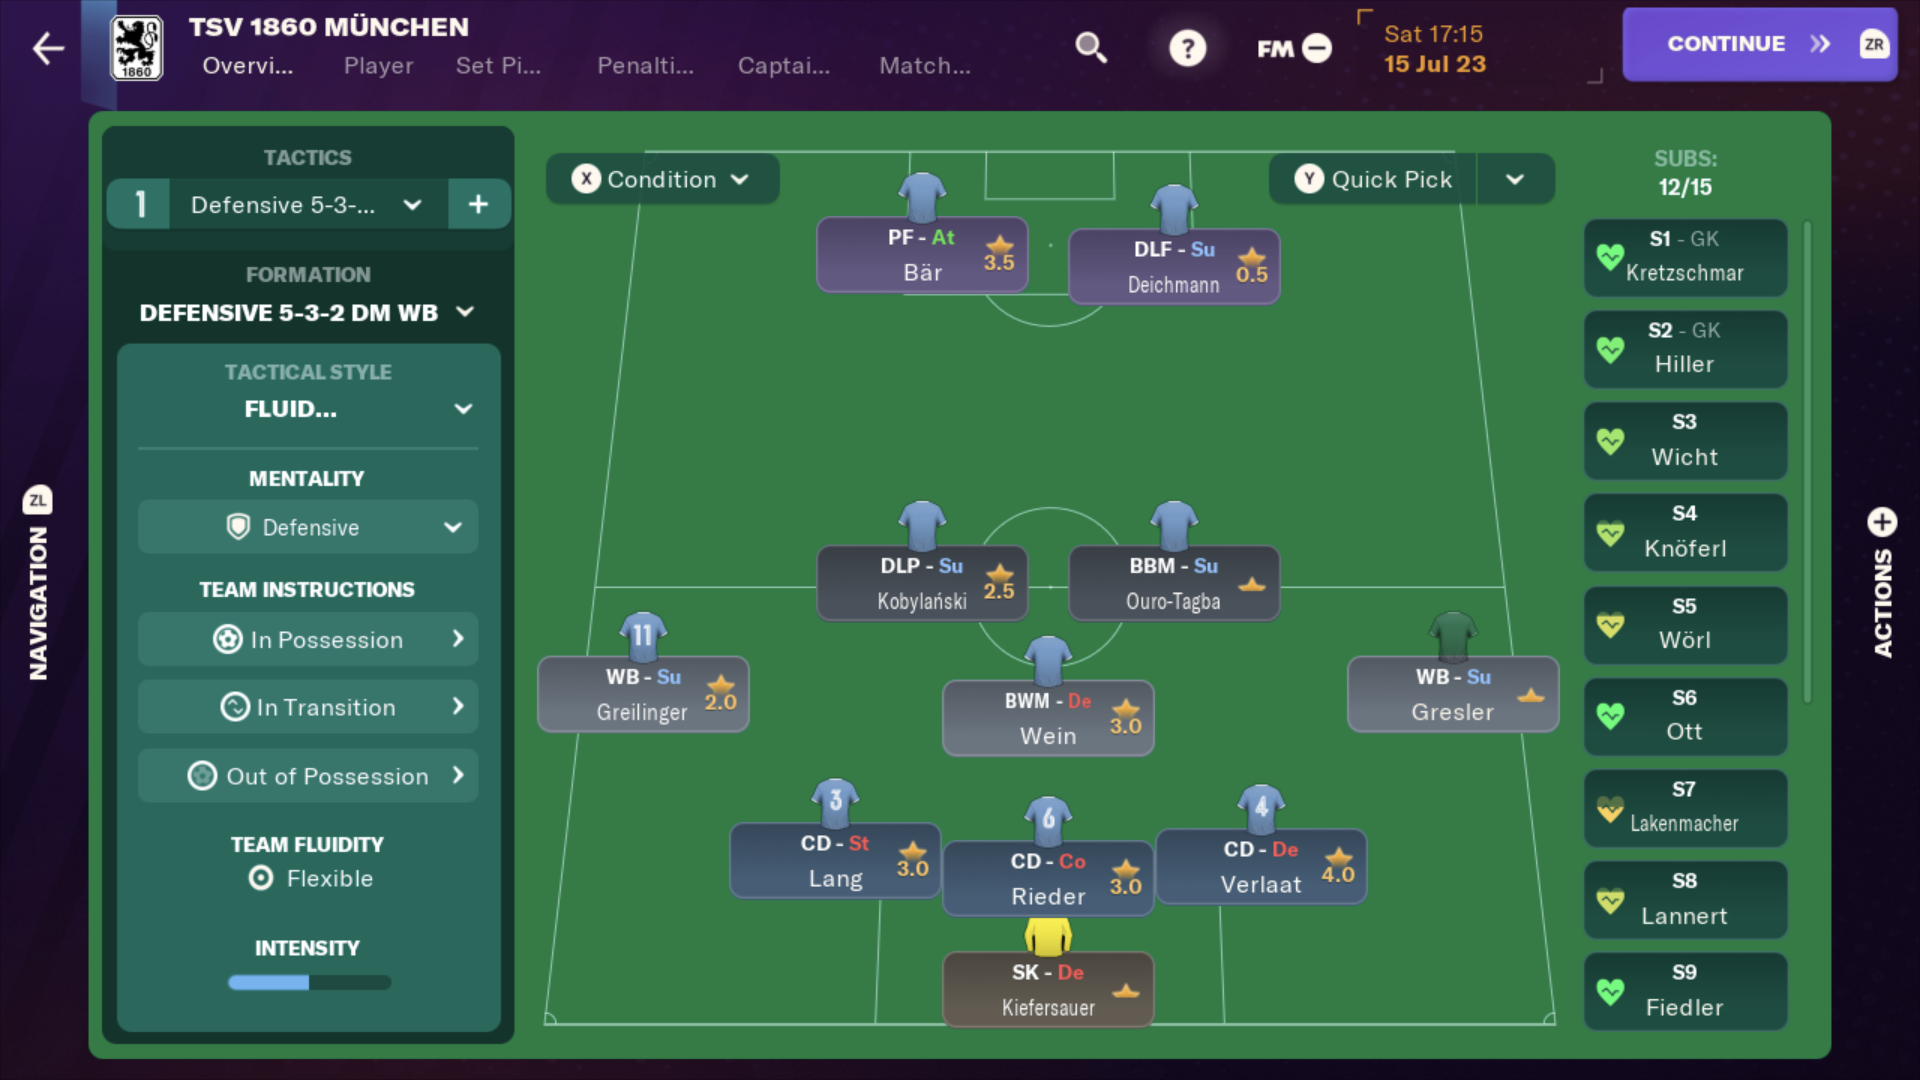
More Custom Gegenpress tactics
Guides for this tactic
The tactical theory behind the 5-3-2 DM WB: roles, instructions, and the trade-offs that decide whether the system holds up.
Playing styles
Low Block: Park the Bus
The deliberate underdog tactic in FM: formation choices, duty distribution, and why Counter-Press is exactly wrong inside a low block.
Read guide
Foundations
FM27 Tactics: What Changed from FM26
FM27 keeps FM26's tactic system. Here is what stays the same, the small changes that can catch you out, and what the new Tactical Effectiveness system asks of you.
Read guide
Foundations
Mentality, Duty & Roles
How Mentality, Duty, and Role interact in FM, why duty trumps mentality every time, and the role-on-top-of-duty composition rules.
Read guide