Gegenpress 5-3-2 DM WB (Attacking) Tactic
5-3-2 DM WB
Utilize width from wing-backs and quick transitions to exploit defensive spaces. Three central defenders provide a sturdy line against attacks.
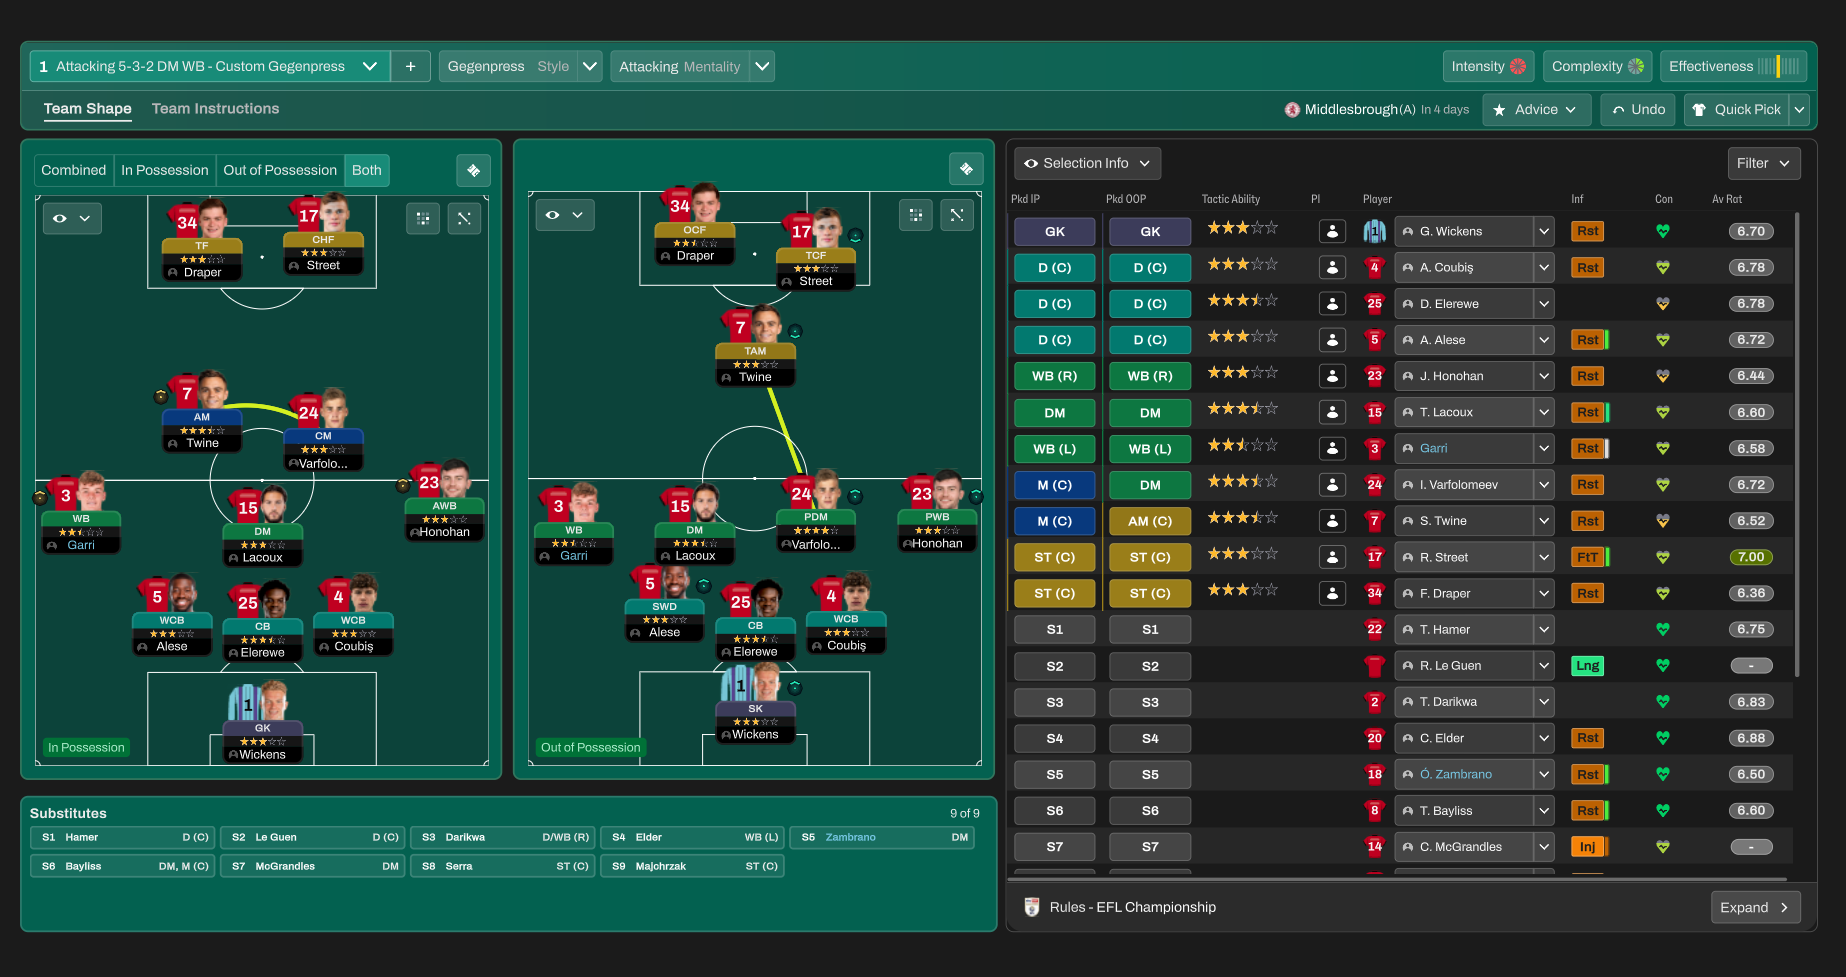
Loading tactical analysis...
Formation and style
Gegenpress
Attacking
5-3-2 DM WB
In possession
Be More Expressive
Play Out of Defence
Work Ball into Box
In transition
Counter-Press
Counter
Out of possession
Higher Line of Engagement
Higher Defensive Line
Prevent Short GK Distribution
Trigger Press More Often
Player roles
GK
Sweeper Keeper
Support
CB
Ball-Playing Defender
Defend
CB
No-Nonsense Centre-Back
Defend
CB
No-Nonsense Centre-Back
Defend
WB
Wing-Back
Attack
WB
Wing-Back
Support
DM
Deep-Lying Playmaker
Defend
CM
Central Midfielder
Support
AM
Attacking Midfielder
Attack
TF
Target Forward
Attack
ST
Complete Forward
Attack
Phase description
Prioritize maintaining possession and creating chances through central play, utilizing wing-backs for support.
Immediately counter-press the opponent upon losing the ball to recover possession quickly.
Utilize width from wing-backs and quick transitions to exploit defensive spaces.
Team shape defence
5-3-2
Compact defensive shape with wing-backs contributing to both defensive duties and width when transitioning to attack.
Higher Defensive Line and Higher Line of Engagement enhance pressure on the opponent’s ball carriers.
Team shape attack
3-1-2-2
Focused through midfield and utilizing width from wing-backs to stretch the opposition.
Work Ball into Box and Play Out of Defence maximize attacking efficiency while maintaining possession.
Key strengths
Strong Defensive Solidity
Three central defenders provide a sturdy line against attacks.
3 CBs (BPD at [2,3], NCB at [2,2], NCB at [2,4])
Quick Transition Play
Effective counter-press allows swift transition to attack when possession is regained.
Counter-Press instruction aligns with a fast-paced attacking approach.
Conflicting tactics
High Defensive Line vs Quick Opponent Strikers
A higher defensive line may expose back three to pacey attackers.
Higher Defensive Line instruction could lead to vulnerability in behind.
Attacking Mentality vs Defensive Stability
An attacking mentality might compromise defensive structure if not controlled.
Gegenpress demand for high intensity may stretch players thin defensively.
Risk exposures
Risk Exposures
Items
Defensive Depth
Vulnerability exists if wing-backs are caught high and the ball is lost.
High engagement and pressing instructions can leave back line exposed.
Transition Phase
Counter-press can be risky if the team is outnumbered during a counter-attack.
Counter-pressing relies on immediate recovery, which can fail under quick opposition breaks.
Role synergies
Role Synergies
Items
BPD + DM
The Ball-Playing Defender supports the Deep-Lying Playmaker by enhancing build-up play.
BPD at [2,3] operates effectively alongside DM at [3,1].
Wing-Backs + Midfielders
Active wing-backs can stretch the play while midfielders provide passing options.
Wing-Backs at [2,1] and [2,5] create space for AM and CM.
Suggested questions
How can I further optimize the synergy between my wing-backs and midfielders?
What adjustments should I consider against teams with strong counter-attacking capabilities?
Are there specific match situations where I should alter my approach to pressing?
Related Tactics
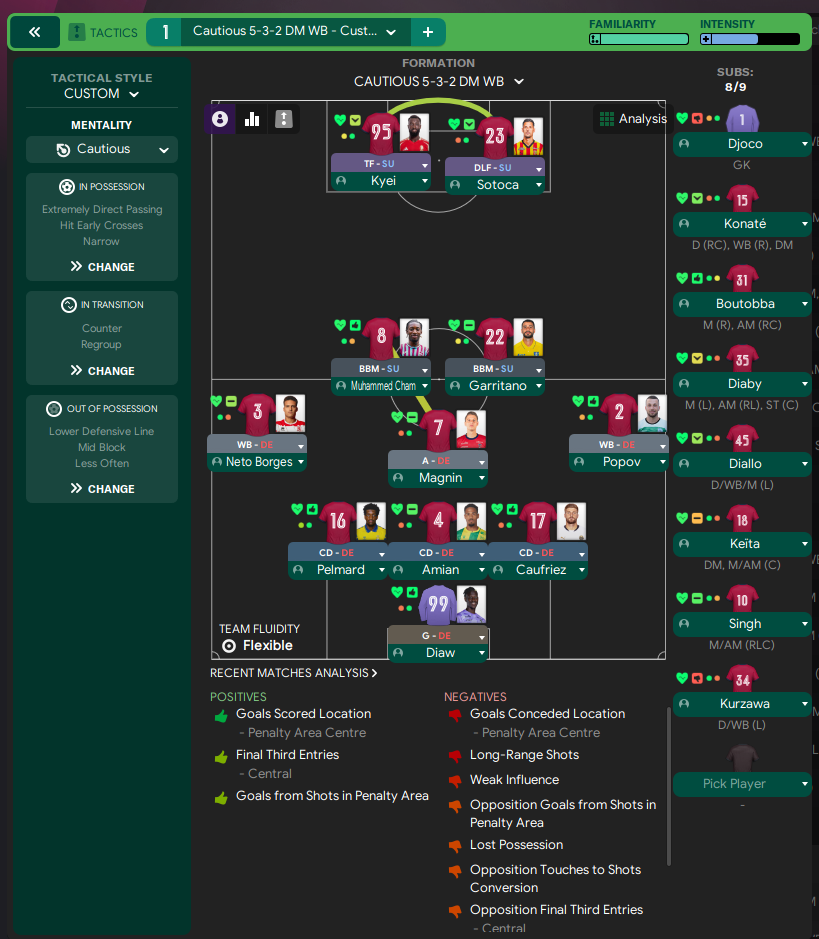
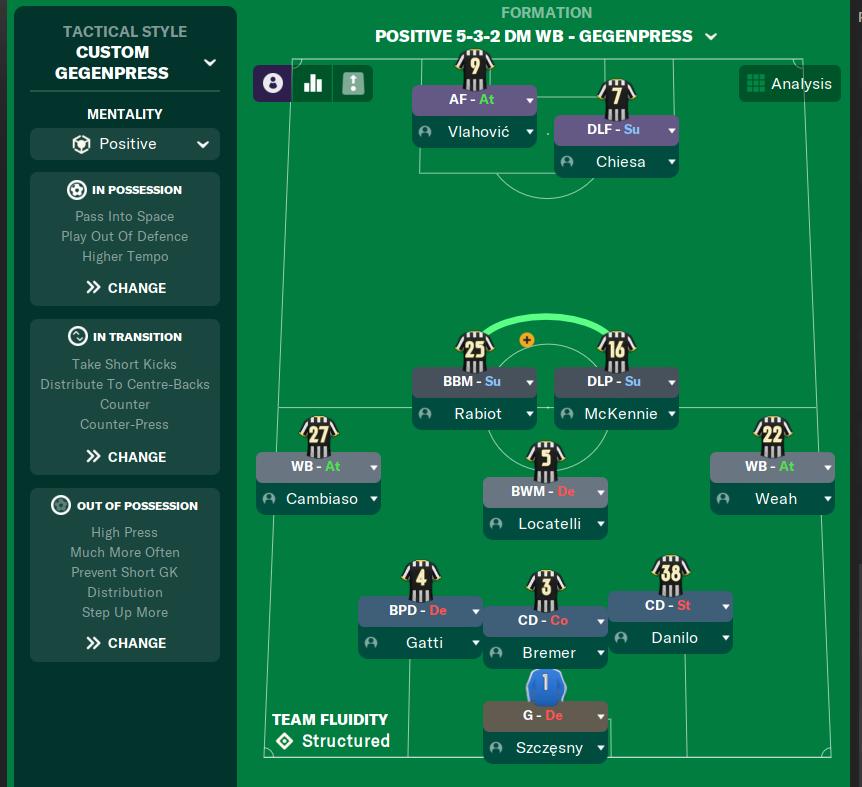
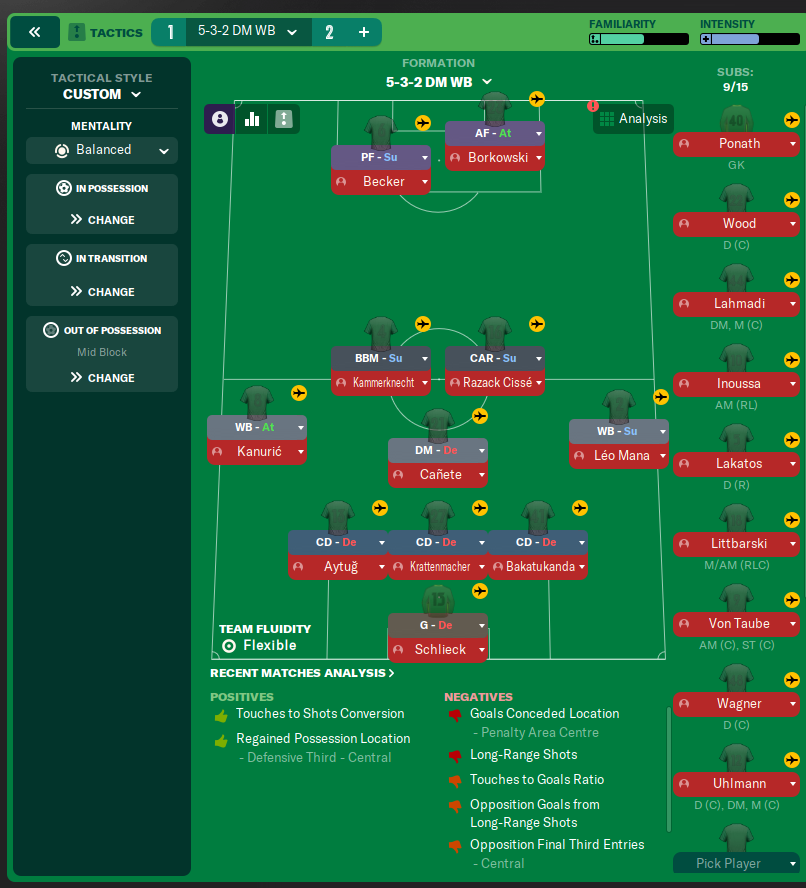
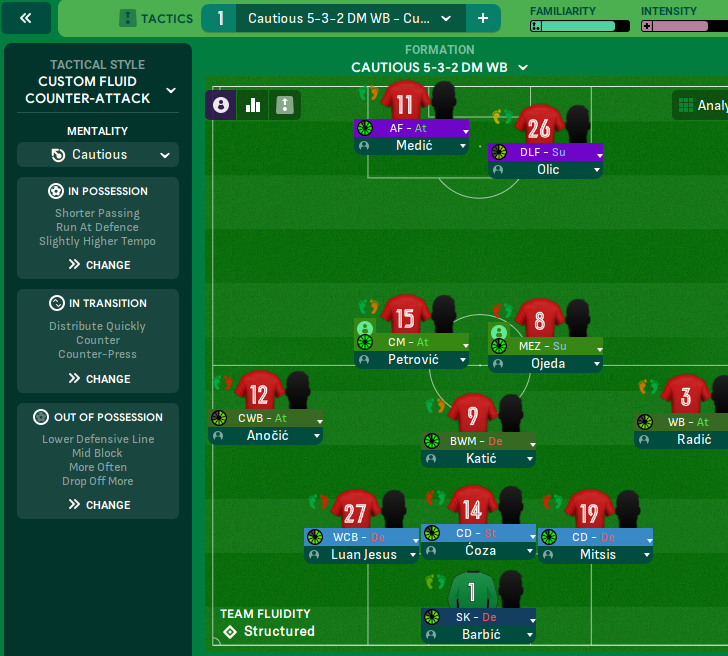
More Gegenpress tactics
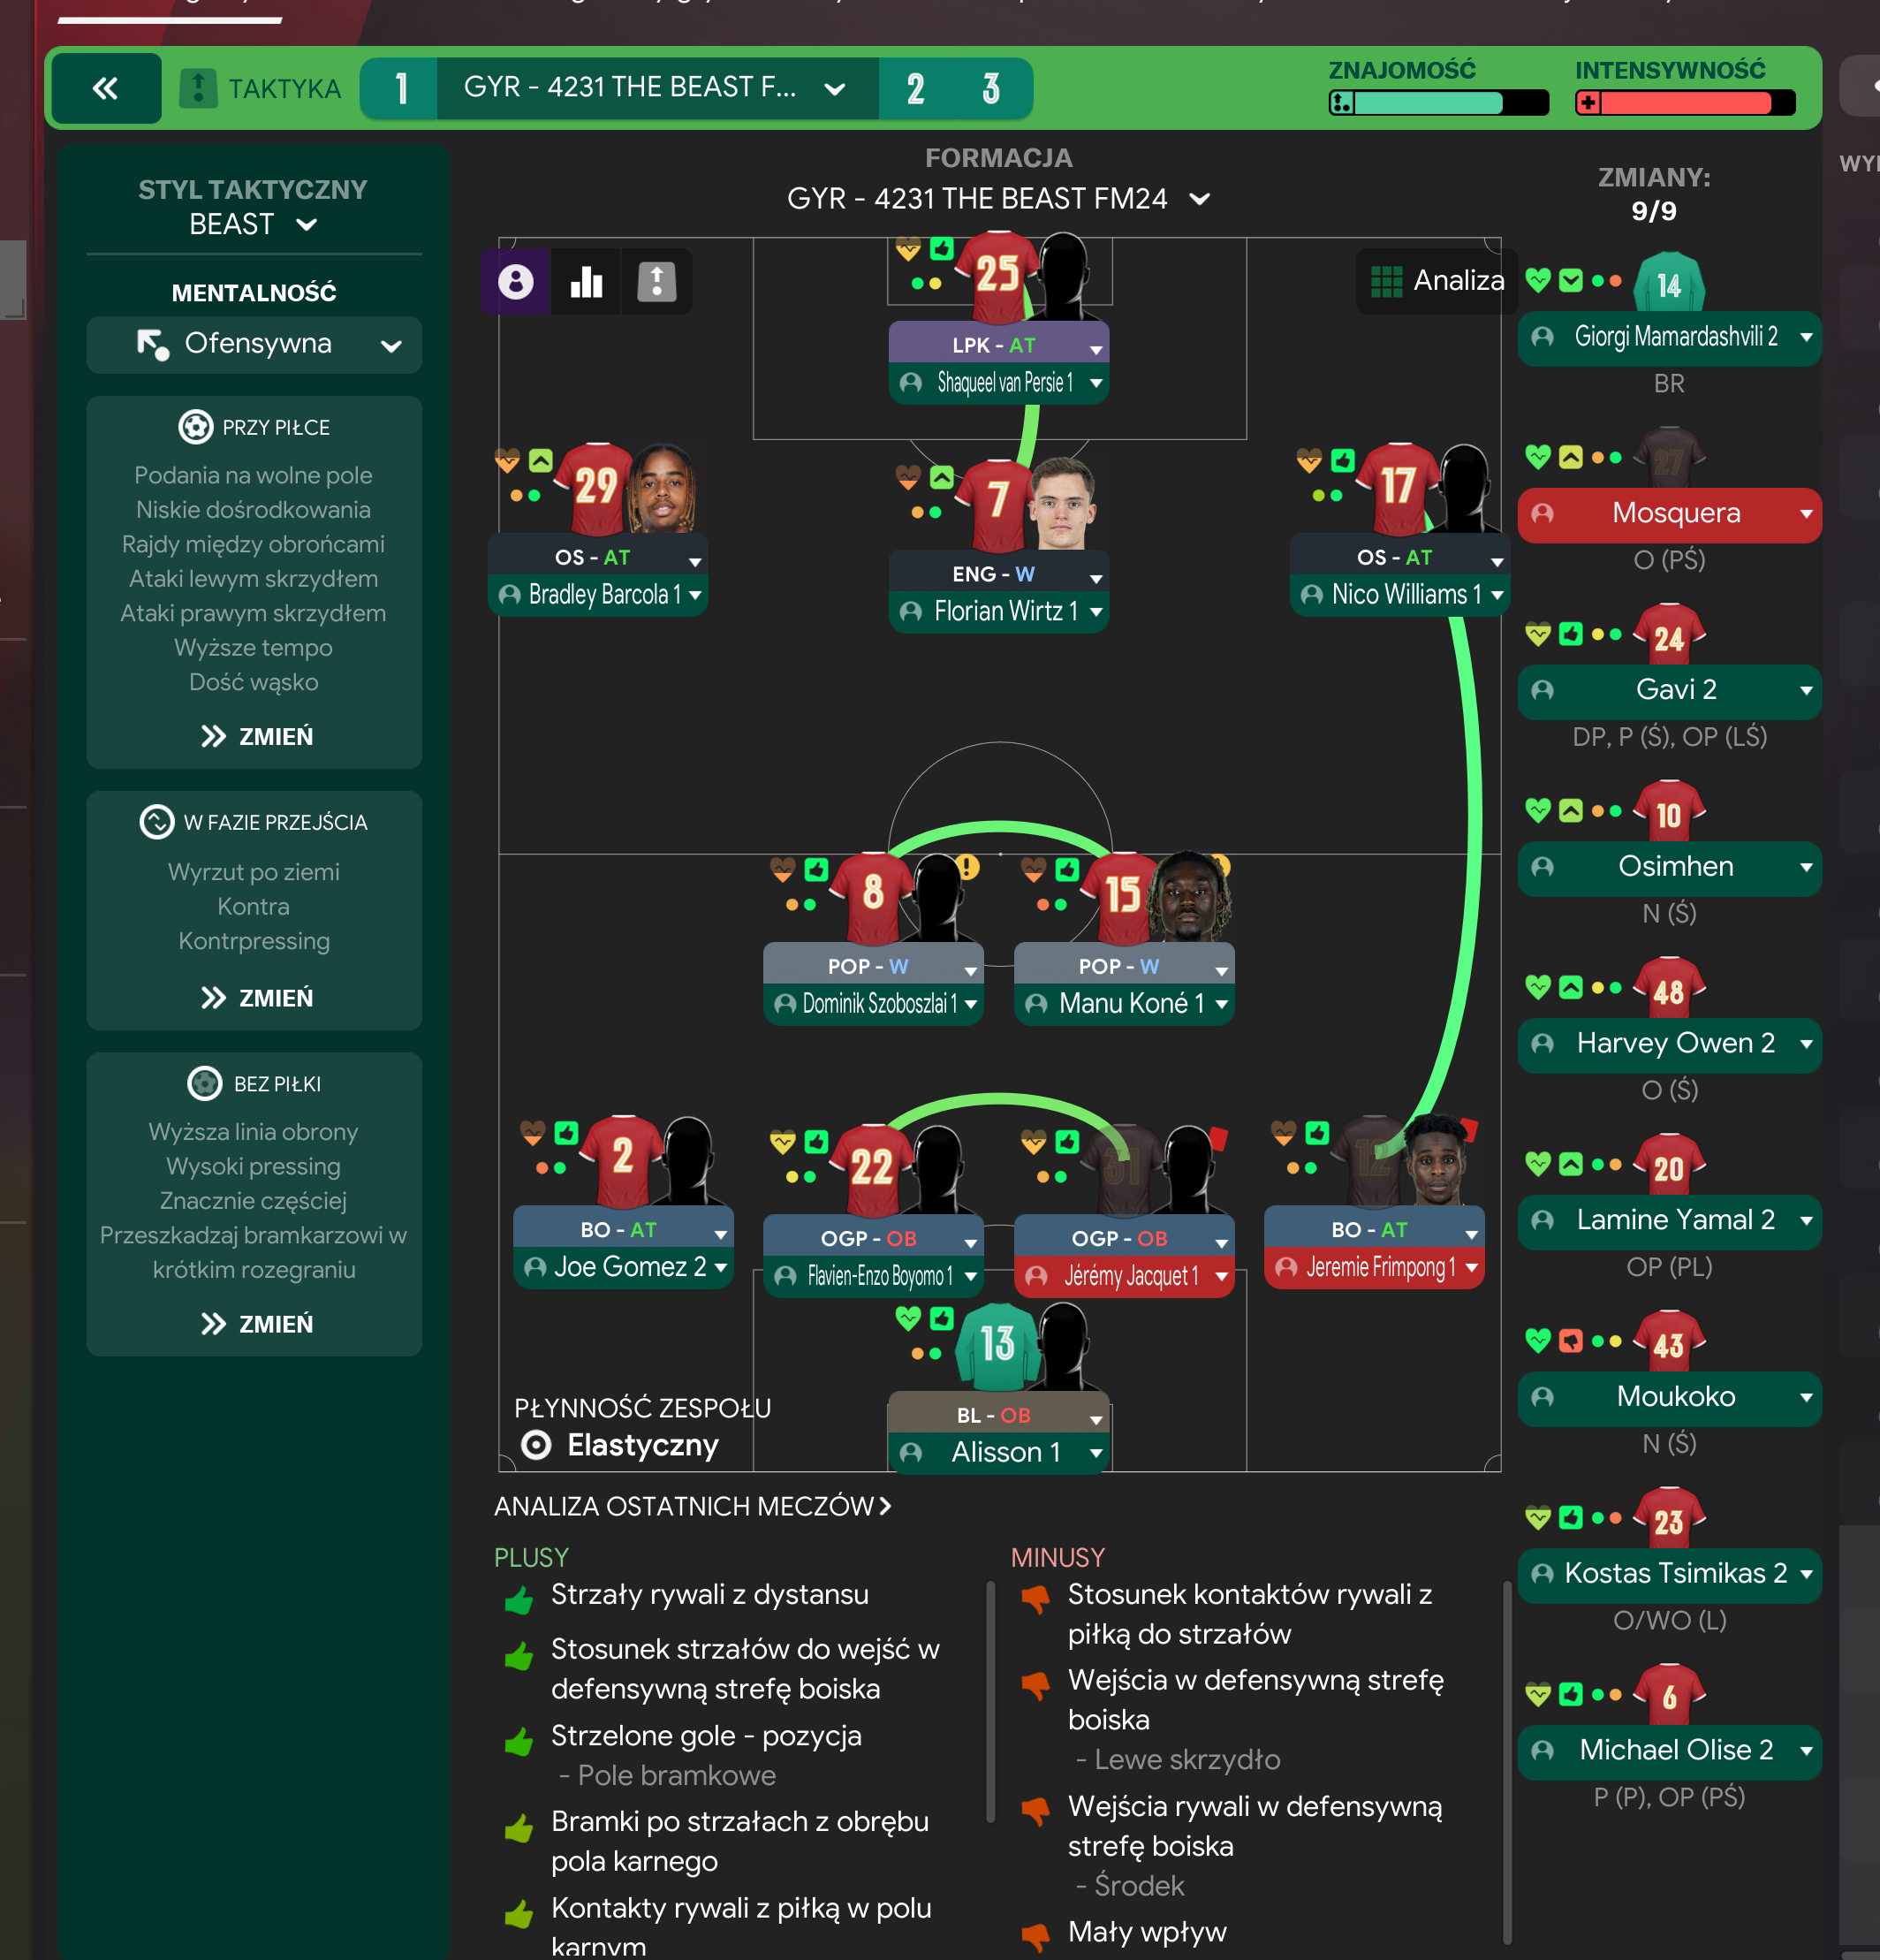
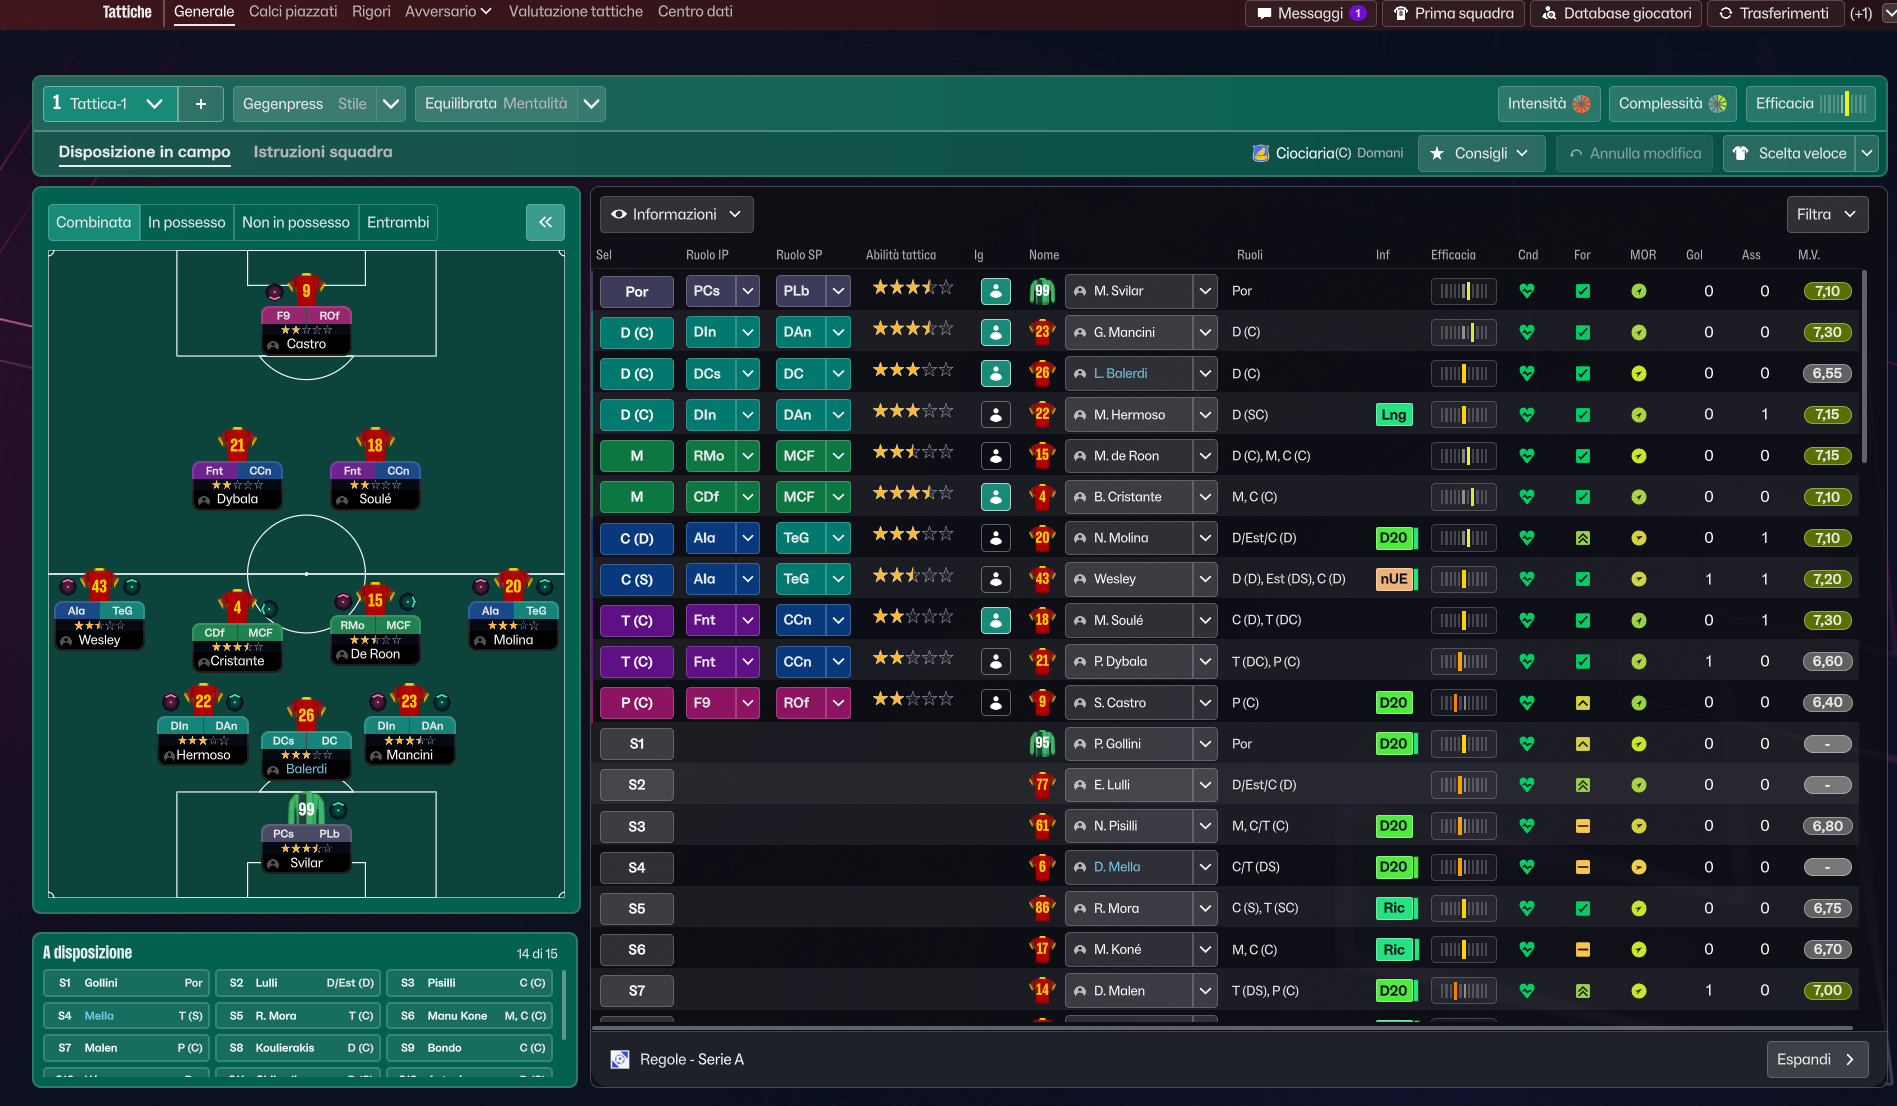
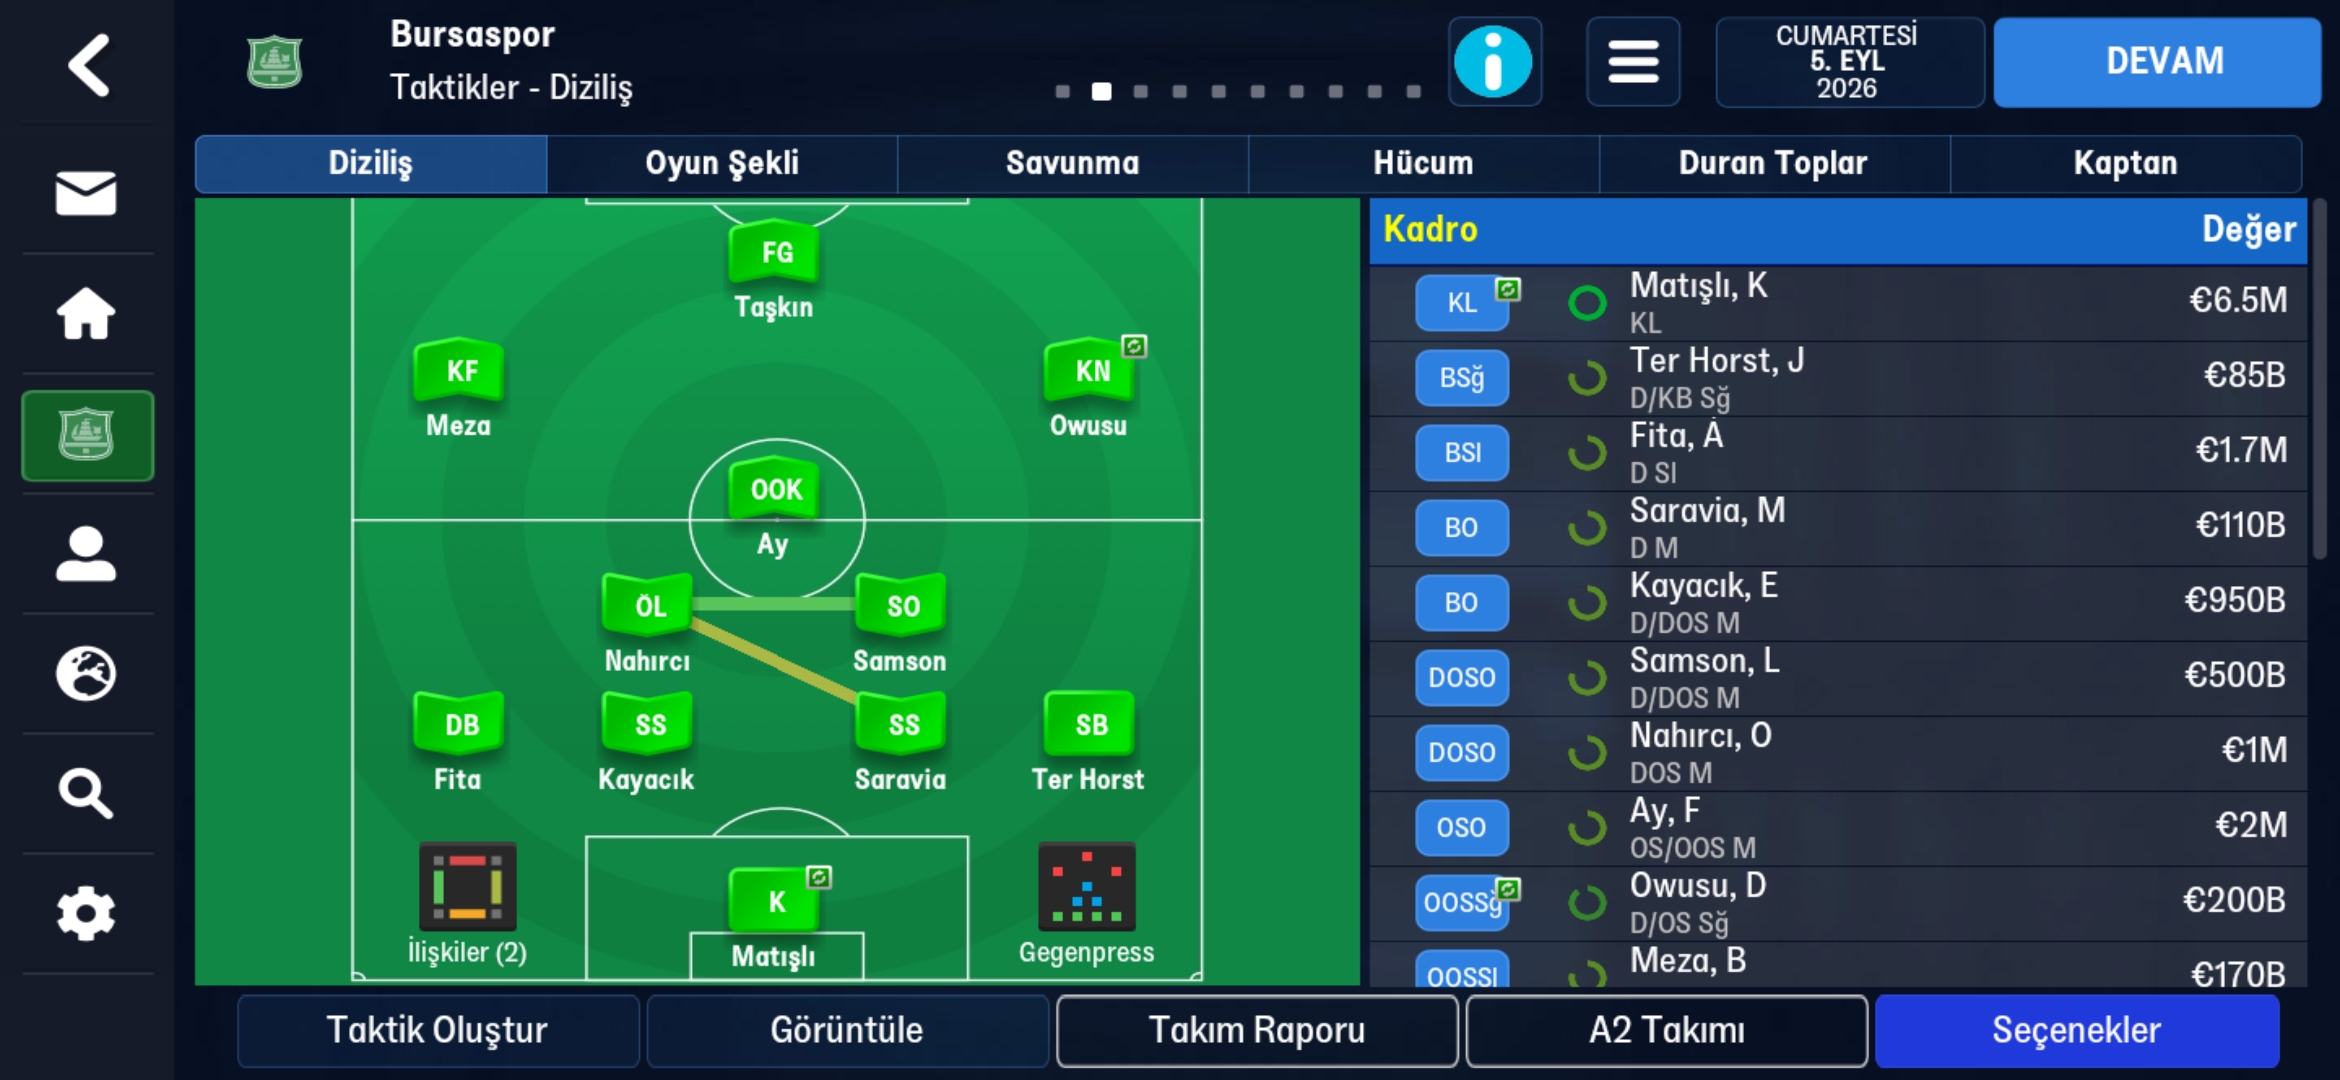
Guides for this tactic
The tactical theory behind the 5-3-2 DM WB: roles, instructions, and the trade-offs that decide whether the system holds up.
Playing styles
Low Block: Park the Bus
The deliberate underdog tactic in FM: formation choices, duty distribution, and why Counter-Press is exactly wrong inside a low block.
Read guide
Foundations
Defensive Transitions
The five seconds after losing the ball decide most matches. Counter-press, drop-and-recover, and how to know which one you should be doing.
Read guide
Match preparation
Set Piece Mastery
Routines, takers, and target picks. How to turn corners and free-kicks into a reliable third of your goal output.
Read guide