Direct Play 4-3-2-1 (Positive) Tactic
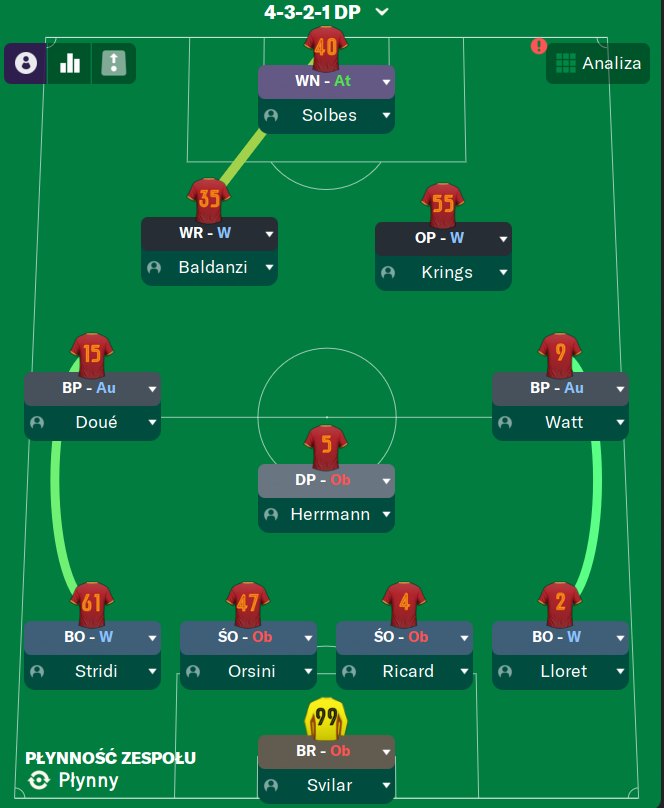
4-3-2-1
Encourage attacking play down the flanks to exploit defensive weaknesses. Wing-backs and wingers provide width and crossing options, crucial for creating…
Loading tactical analysis...
Formation and style
Direct Play
Positive
4-3-2-1
Fluid
In possession
Work Ball Into Box
Play Out of Defence
Focus Play Down the Wings
In transition
Counter
Counter Press
Out of possession
Higher Line of Engagement
Higher Defensive Line
Prevent Short GK Distribution
Player roles
GK
Goalkeeper
Defend
RB
Wing-Back
Attack
CB
Ball-Playing Defender
Support
CB
Ball-Playing Defender
Support
LB
Wing-Back
Attack
CM
Deep-Lying Playmaker
Support
CM
Box-to-Box Midfielder
Attack
AM
Winger
Attack
AM
Winger
Support
ST
Wide NForward
Attack
Phase description
Utilizes width from wing-backs and support from midfielders to create crossing opportunities and penetrate defenses.
Focus on fast recovery and counter-pressing to regain possession quickly after losing the ball.
Encourage attacking play down the flanks to exploit defensive weaknesses.
Team shape defence
Compact
Maintains a compact shape to deny space in central areas, leveraging wing-backs for width.
RB and LB are set as Wing-Backs on Attack duty at [2,5] and [2,1] respectively.
Team shape attack
Attacking Width
Expands during attacking phases, stretching opposition defensive lines.
Wingers in attacking positions at [5,2] and [5,3] maximize width.
Key strengths
Dynamic Wing Play
Wing-backs and wingers provide width and crossing options, crucial for creating goal-scoring opportunities.
WBs at [2,1] and [2,5], and WN at [6,2] enhance flank attacks.
Midfield Control
The midfield triangle allows for both defensive work and forward support, enhancing transition fluidity.
DLP-S at [3,2] and BBM at [4,3] contribute to ball retention and progression.
Conflicting tactics
Over-Reliance on Width
Heavy reliance on wing play may leave the central areas vulnerable during transitions and defensive duties.
Winger and Wing-Back positions extend high, potentially exposing the central midfielders.
High Defensive Line Risks
A higher defensive line can be exploited by fast counter-attacks if possession is lost.
Higher Defensive Line instruction may make the team susceptible to through balls.
Risk exposures
Risk Exposures
Items
Defensive Transitions
Fast opposition counter-attacks could exploit the high line and lack of cover.
CBs setup as BPD-S at [2,2] and [2,3] without a solid anchor may leave defensive gaps.
Central Defensive Areas
Wing-backs pushing high may leave central defenders isolated.
High positioning of WBs at [2,1] and [2,5] can create numerical disadvantages.
Role synergies
Role Synergies
Items
DLP-S + BBM-A synergy
This duo can control tempo and provide options for both defensive coverage and attacking support.
DLP-S at [3,2] and BBM-A at [4,3] complement each other well.
Wingers + Wing-Backs combination
Wingers can create space for overlapping runs by wing-backs, enhancing crossing opportunities.
WN at [6,1] can exploit space created by attacking WBs.
Suggested questions
How effectively is the team adjusting during transitioning phases?
What specific adjustments can be made to mitigate risks on defensive transitions?
How well are the wing-backs integrating with the midfield and attack?
Related Tactics
Fluid Counter-Attack 4-3-2-1
Fluid Counter Attack
Fluid Counter-Attack 4-3-2-1
Fluid Counter-Attack
Fluid Counter-Attack 4-3-2-1
Fluid Counter-Attack
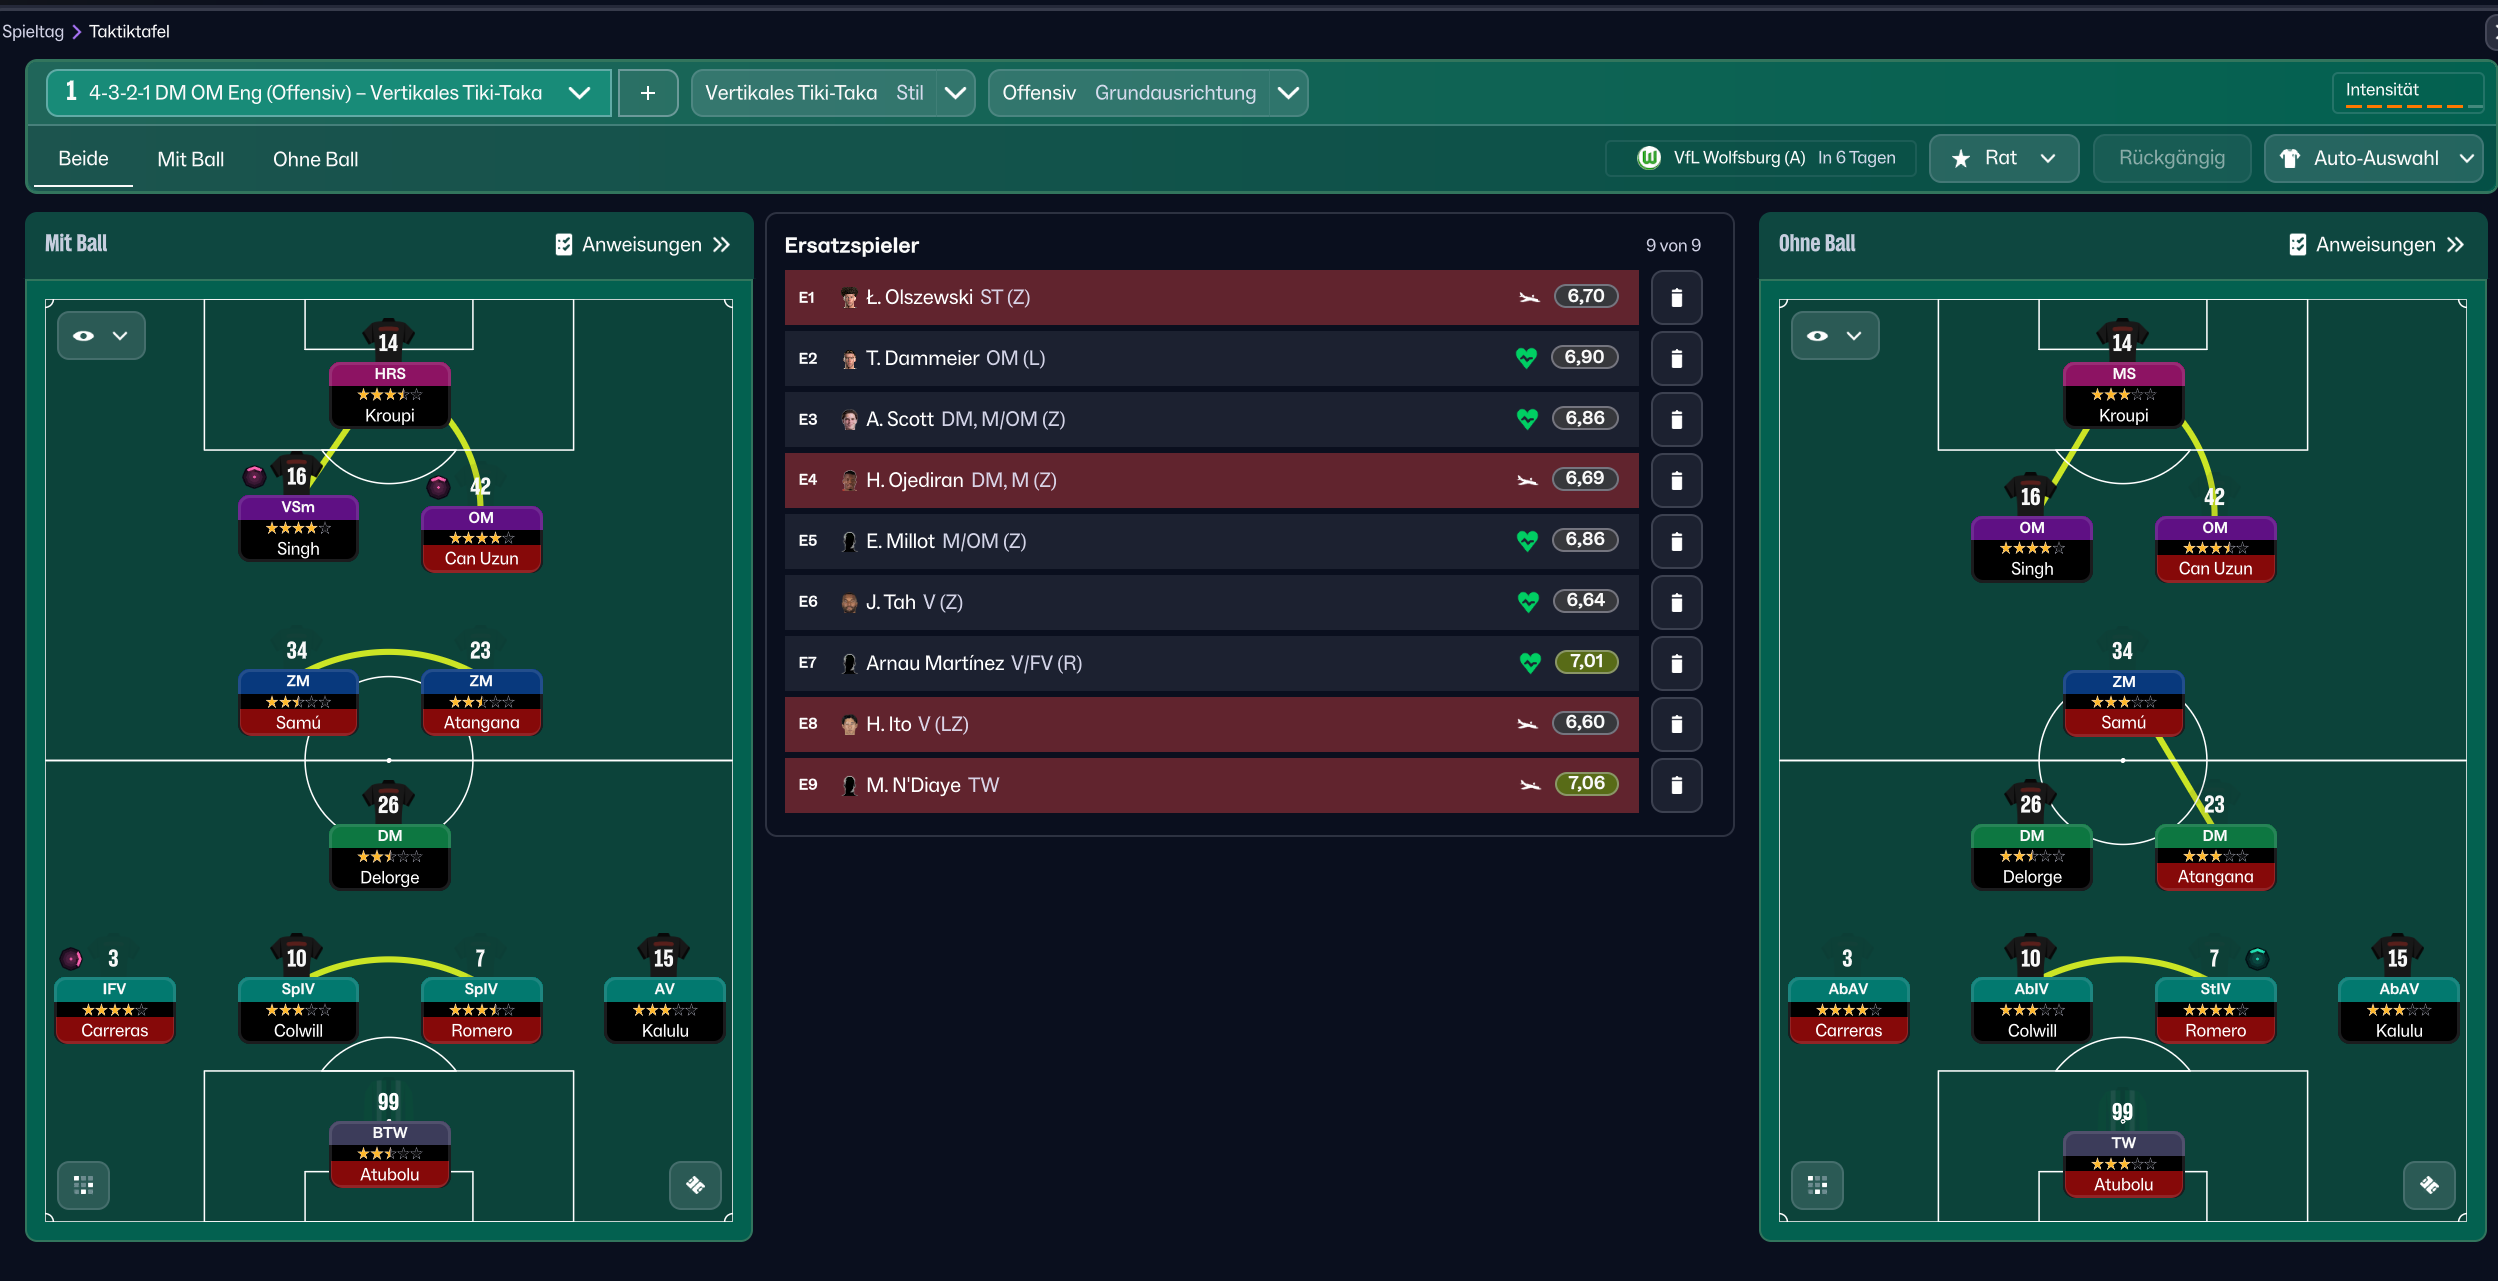
Vertical Tiki-Taka 4-3-2-1
Vertical Tiki-Taka
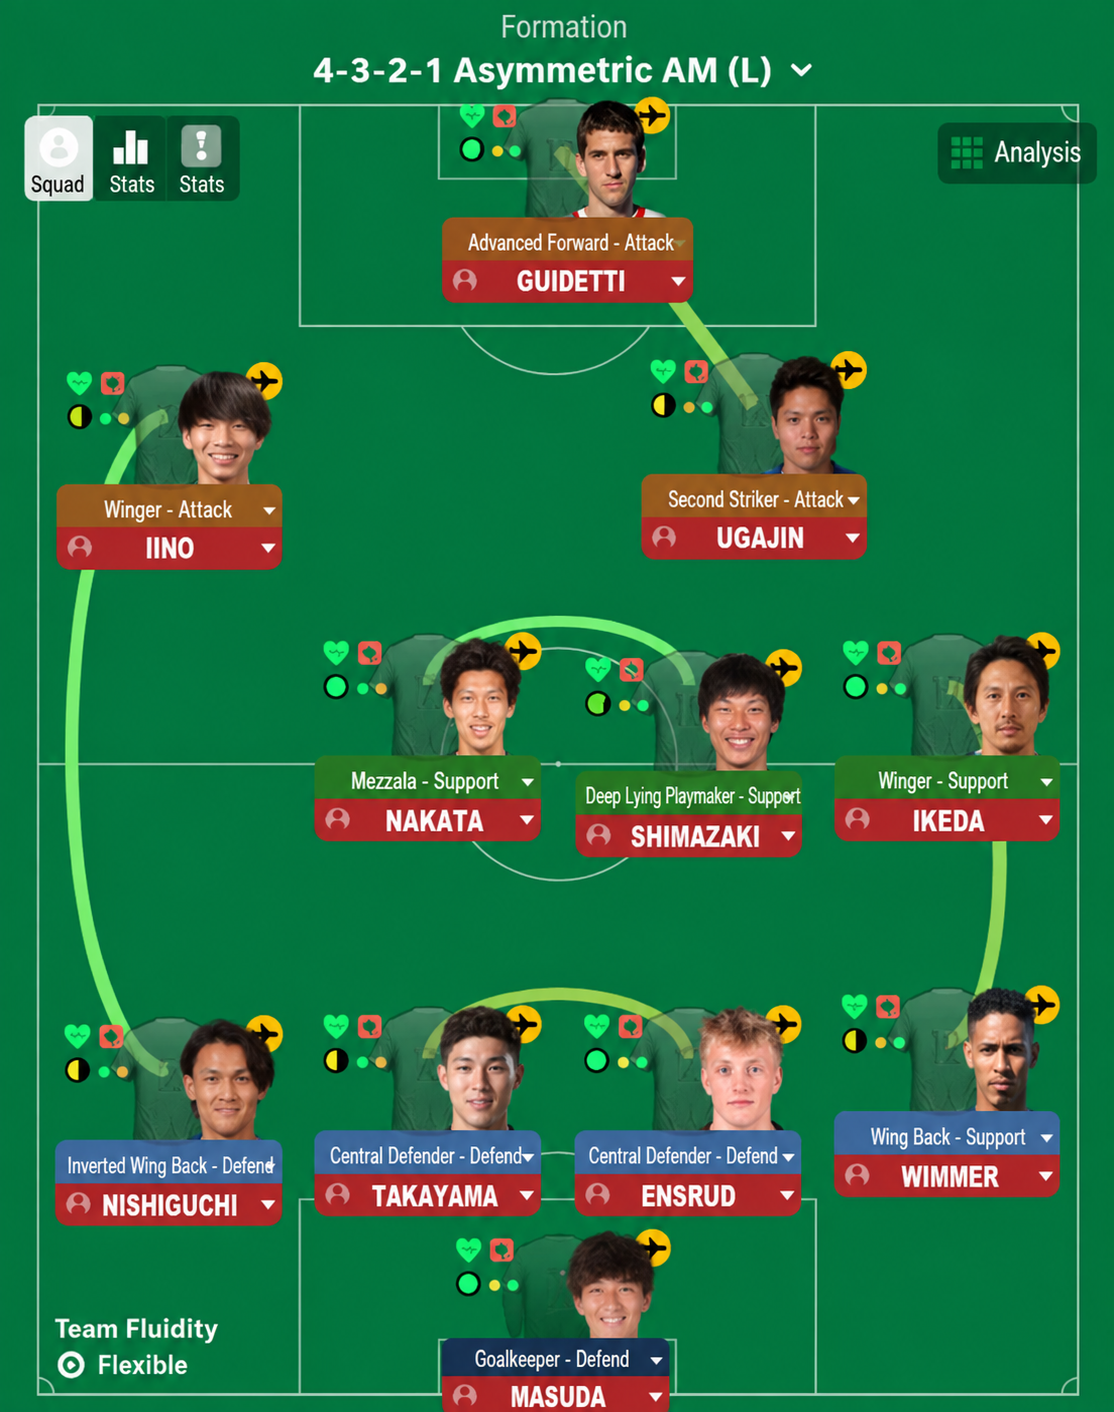
4-3-2-1 Formation
Asymmetrical
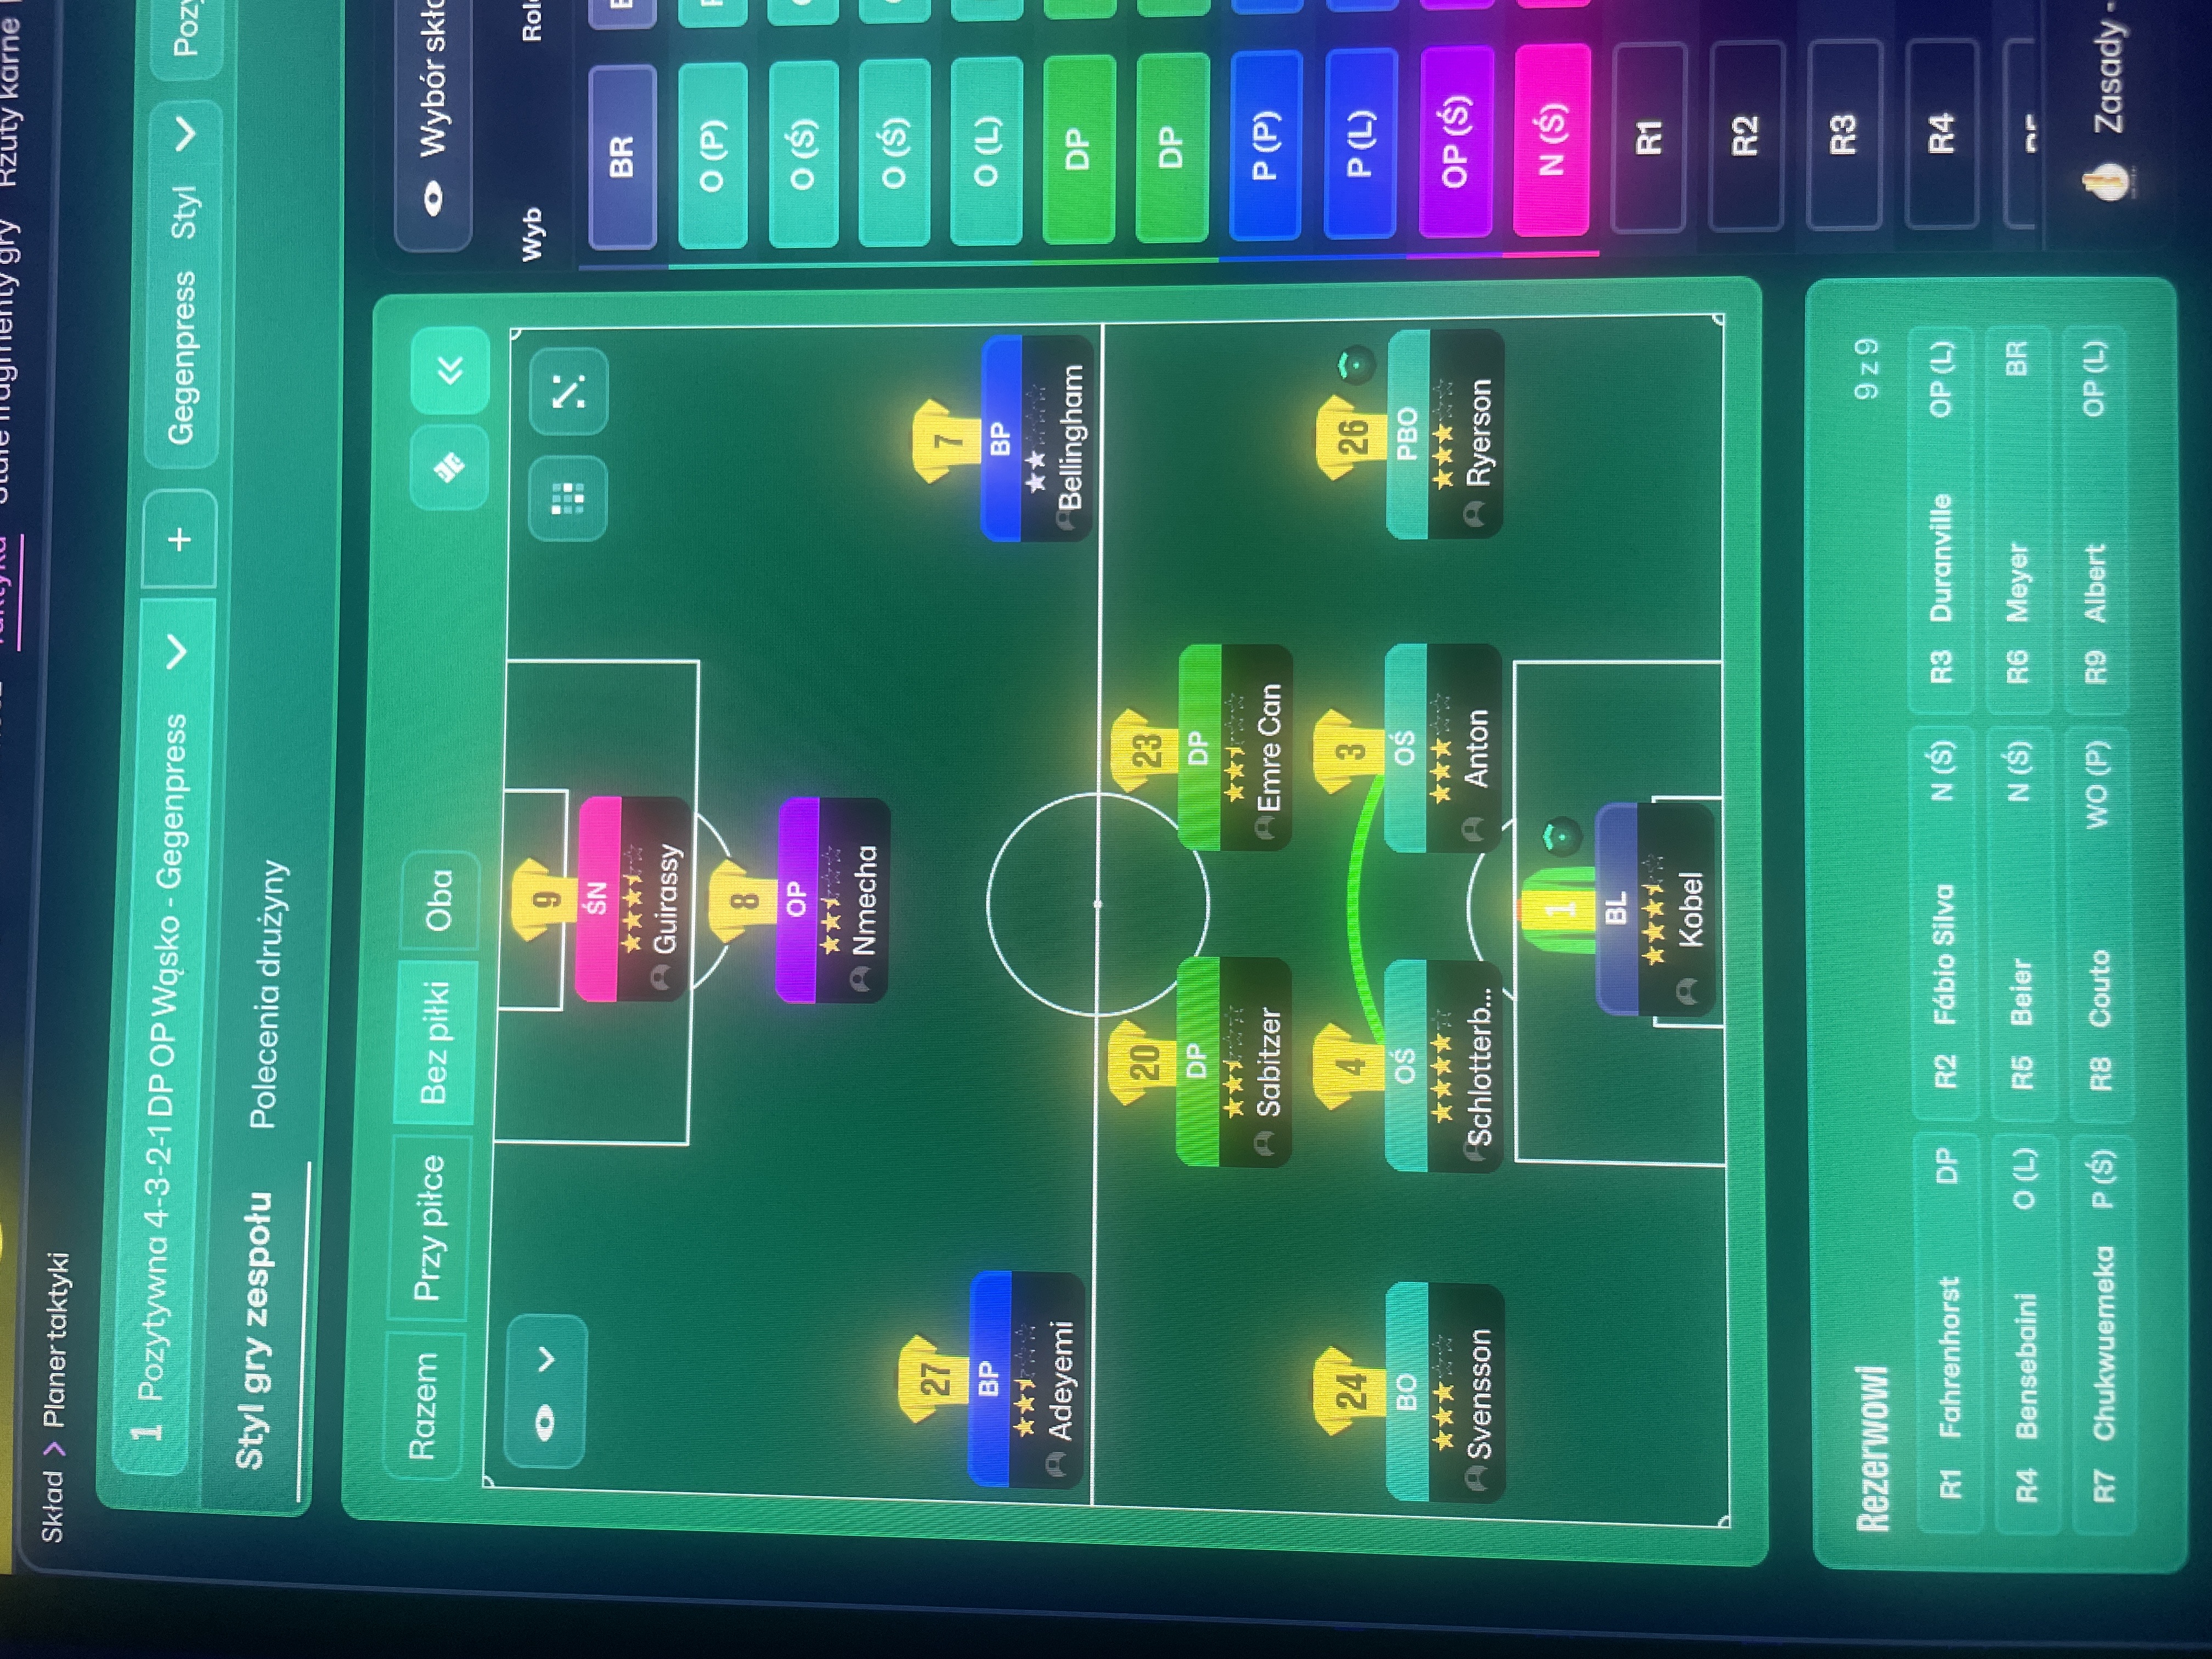
Gegenpress 4-3-2-1
Gegenpress
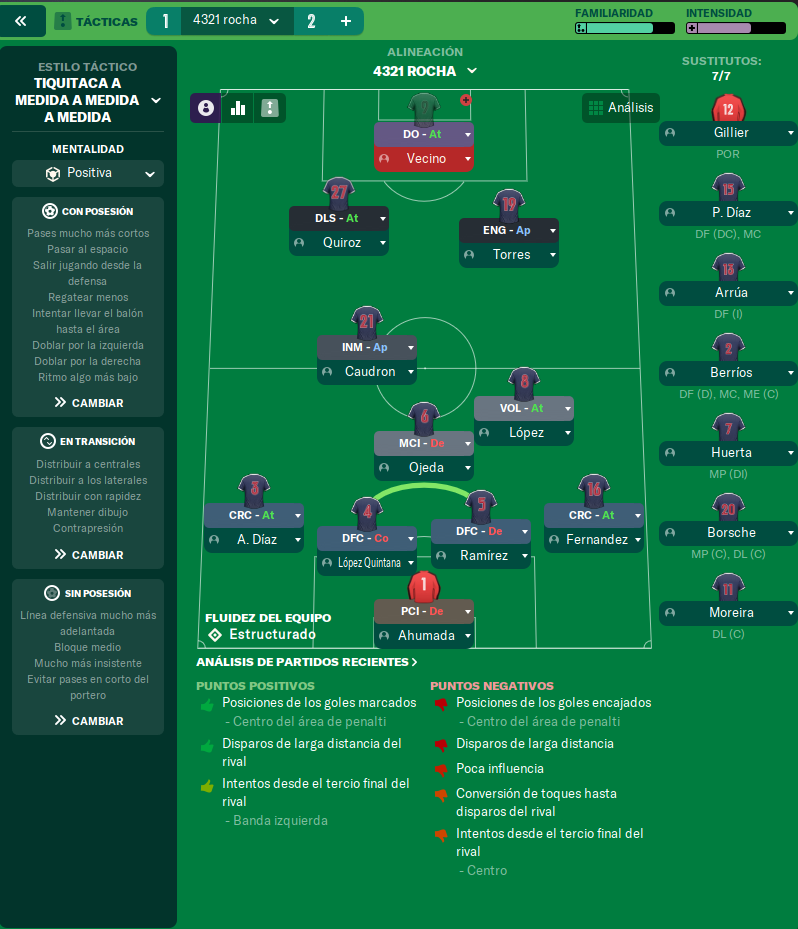
Tiki-Taka 4-3-2-1
Tiki-Taka
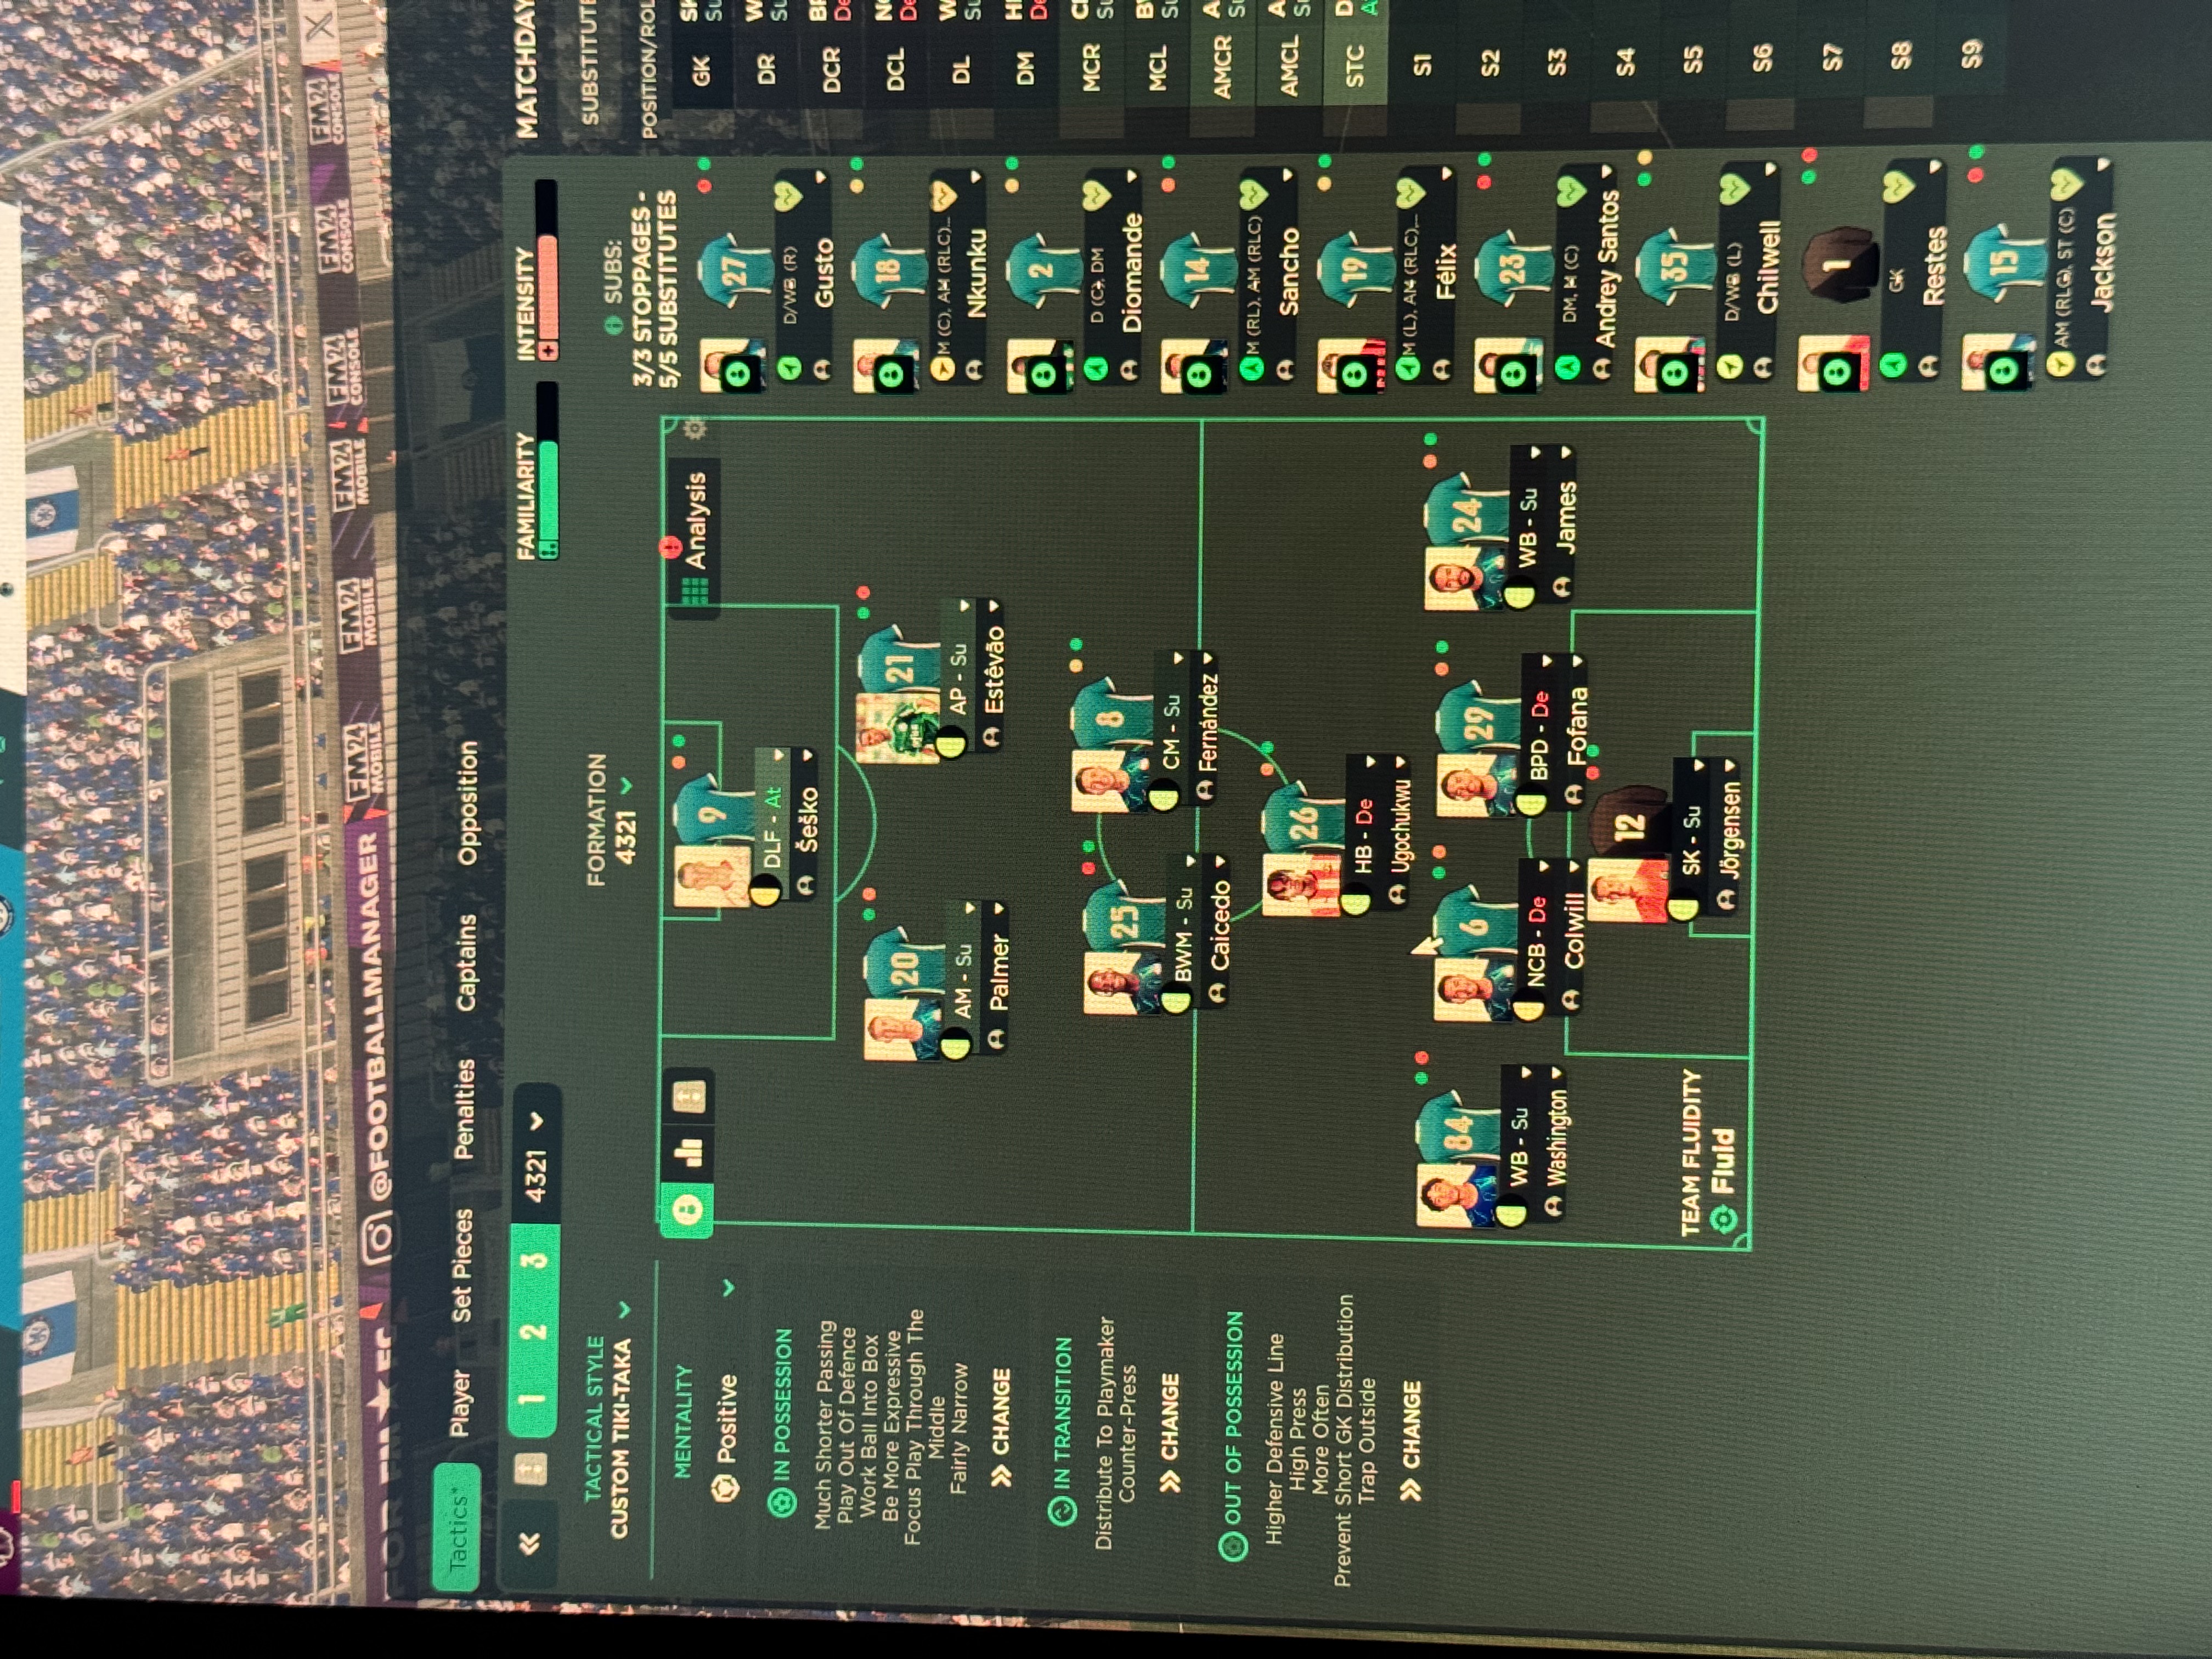
Tiki-Taka 4-3-2-1
Custom Tiki-Taka
Guides for this tactic
The tactical theory behind the 4-3-2-1: roles, instructions, and the trade-offs that decide whether the system holds up.
Match preparation
Game-State Tactics
Protect a 1-0, chase a 1-0, hold a draw away. How to manage game state in FM through duties and roles, not by lurching to Defensive.
Read guide
Match preparation
In-Match Tactical Changes
Mentality, duty, role, instruction, sub. The change hierarchy from lightest to heaviest intervention, and 60th-minute patterns by game state.
Read guide
Match preparation
Reading the Match Tablet
Pass map, average position, xG, possession by zone: what each tablet panel tells you in FM and the tactical change it should trigger.
Read guide