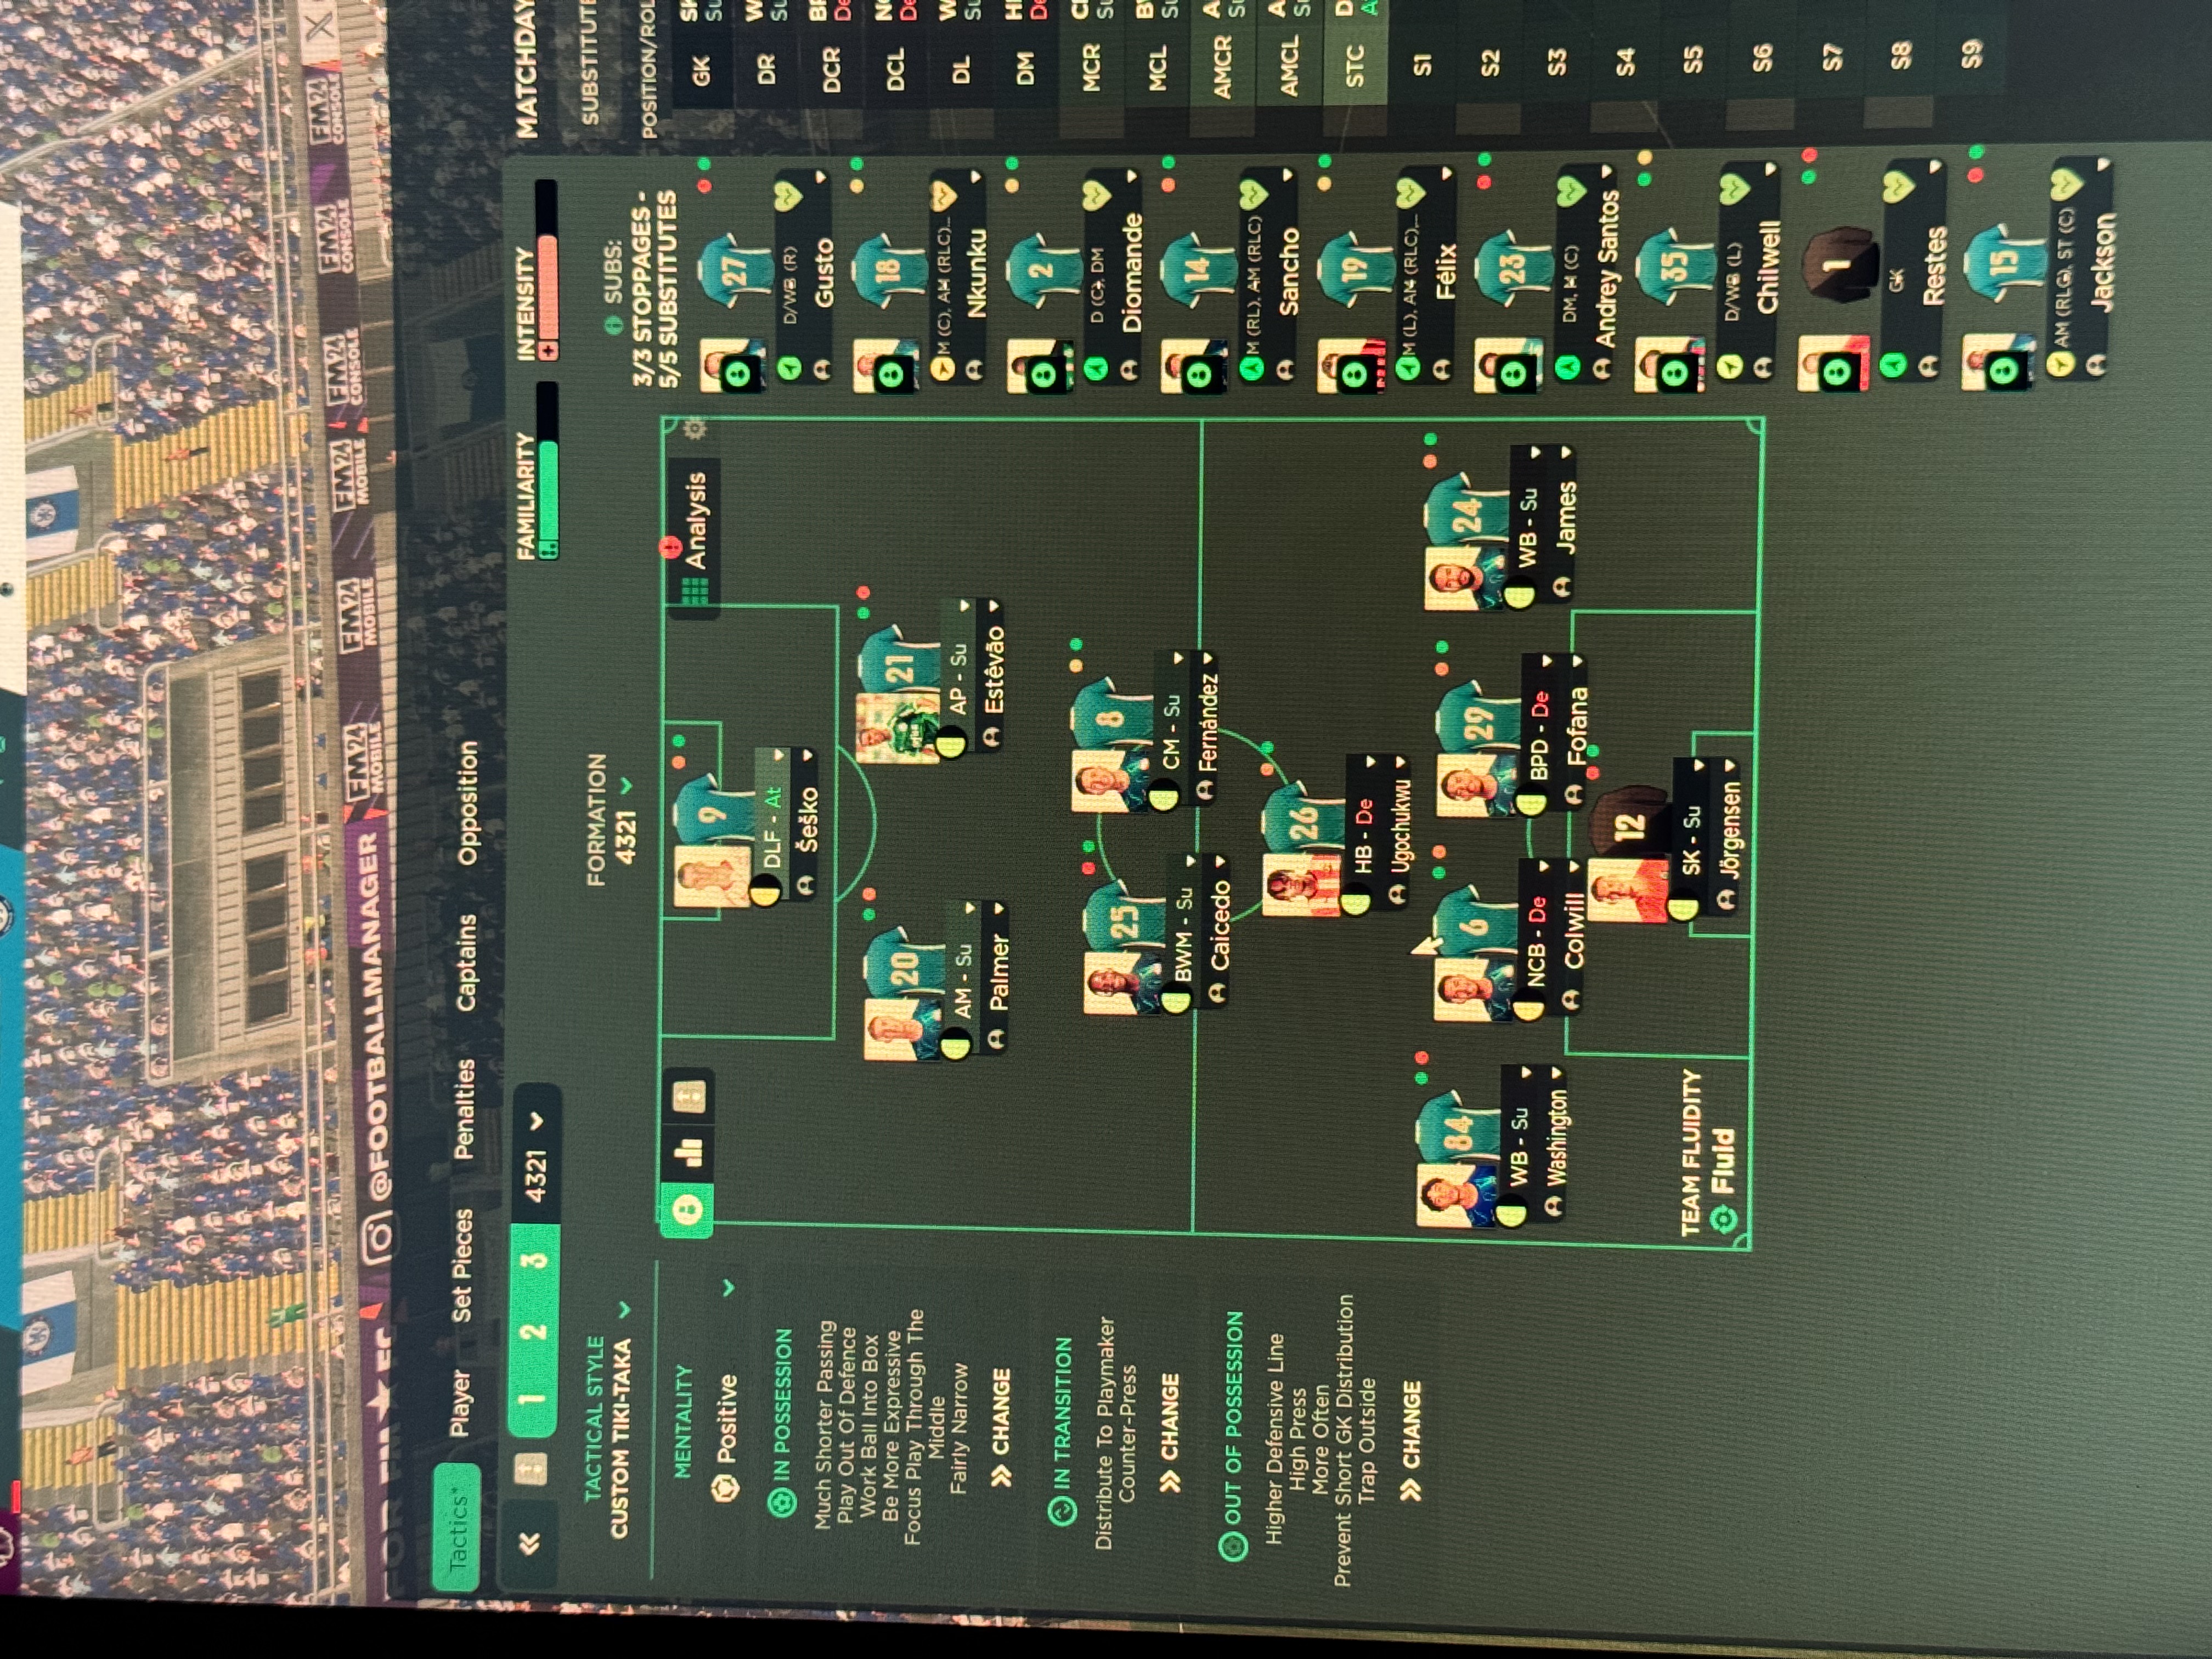
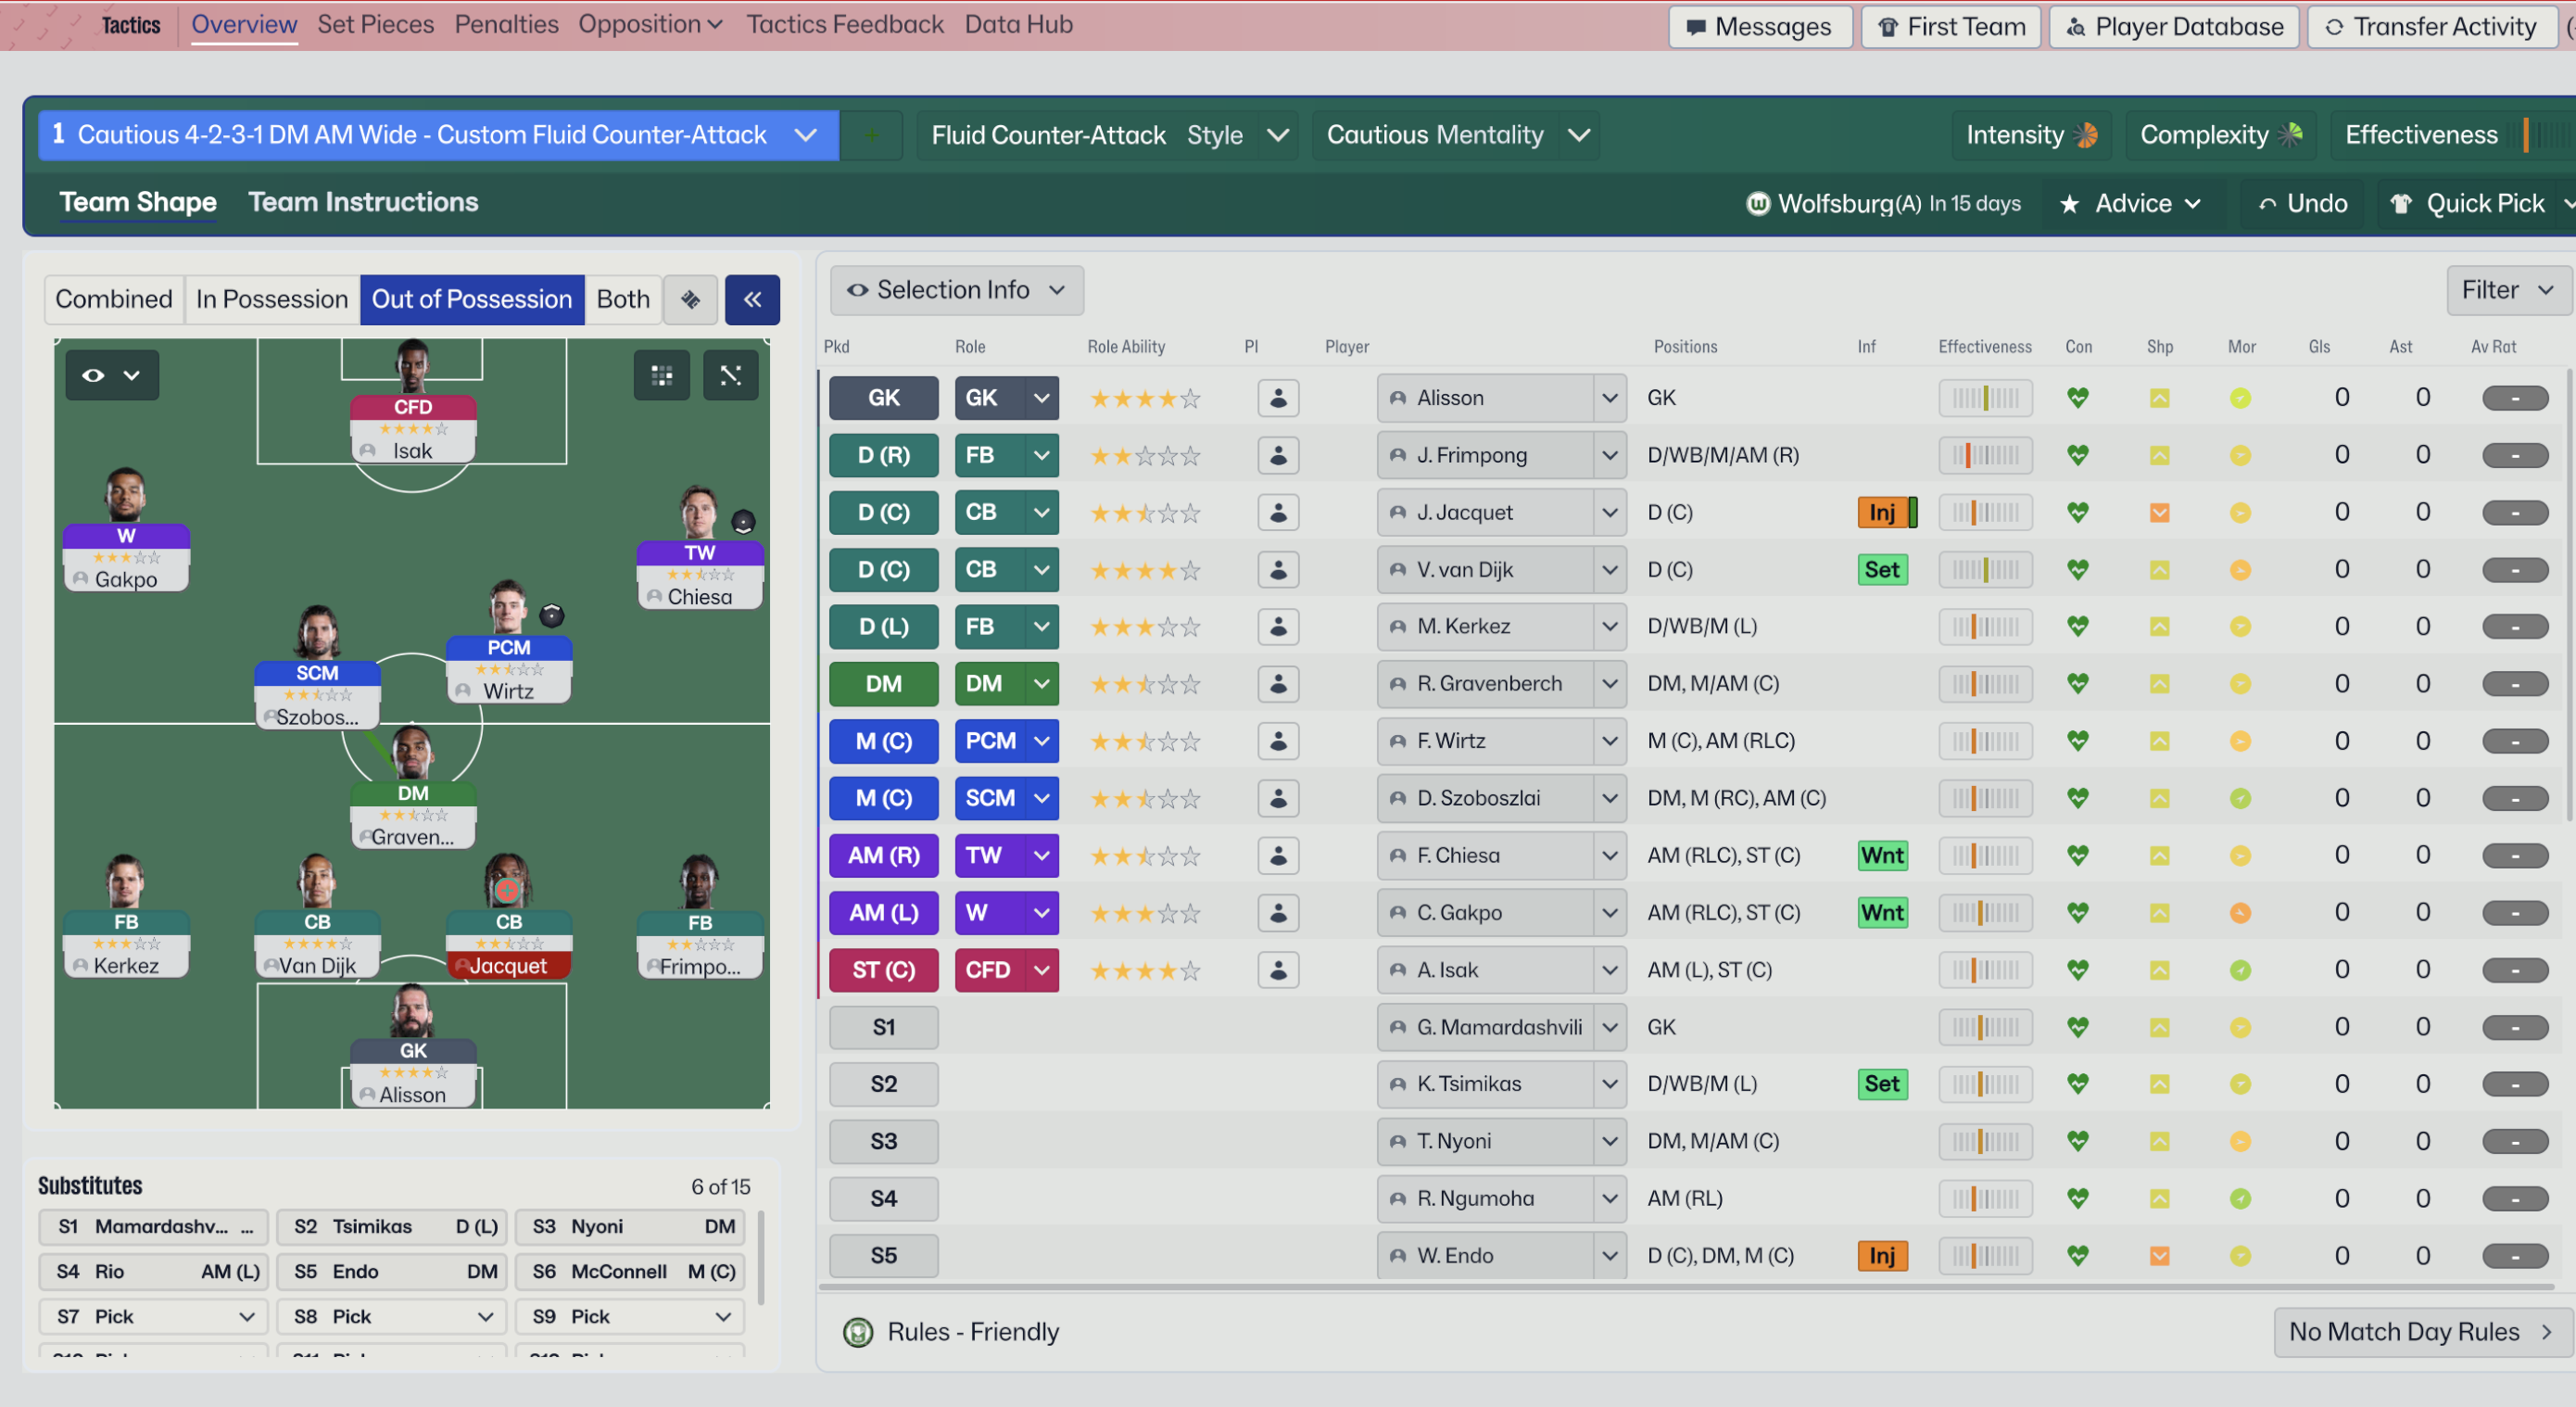
Fluid Counter-Attack 4-3-2-1 (Positive) Tactic
4-3-2-1
Utilizing width and low crosses to exploit defensive weaknesses. The three midfielders provide strong support in both attack and defense.
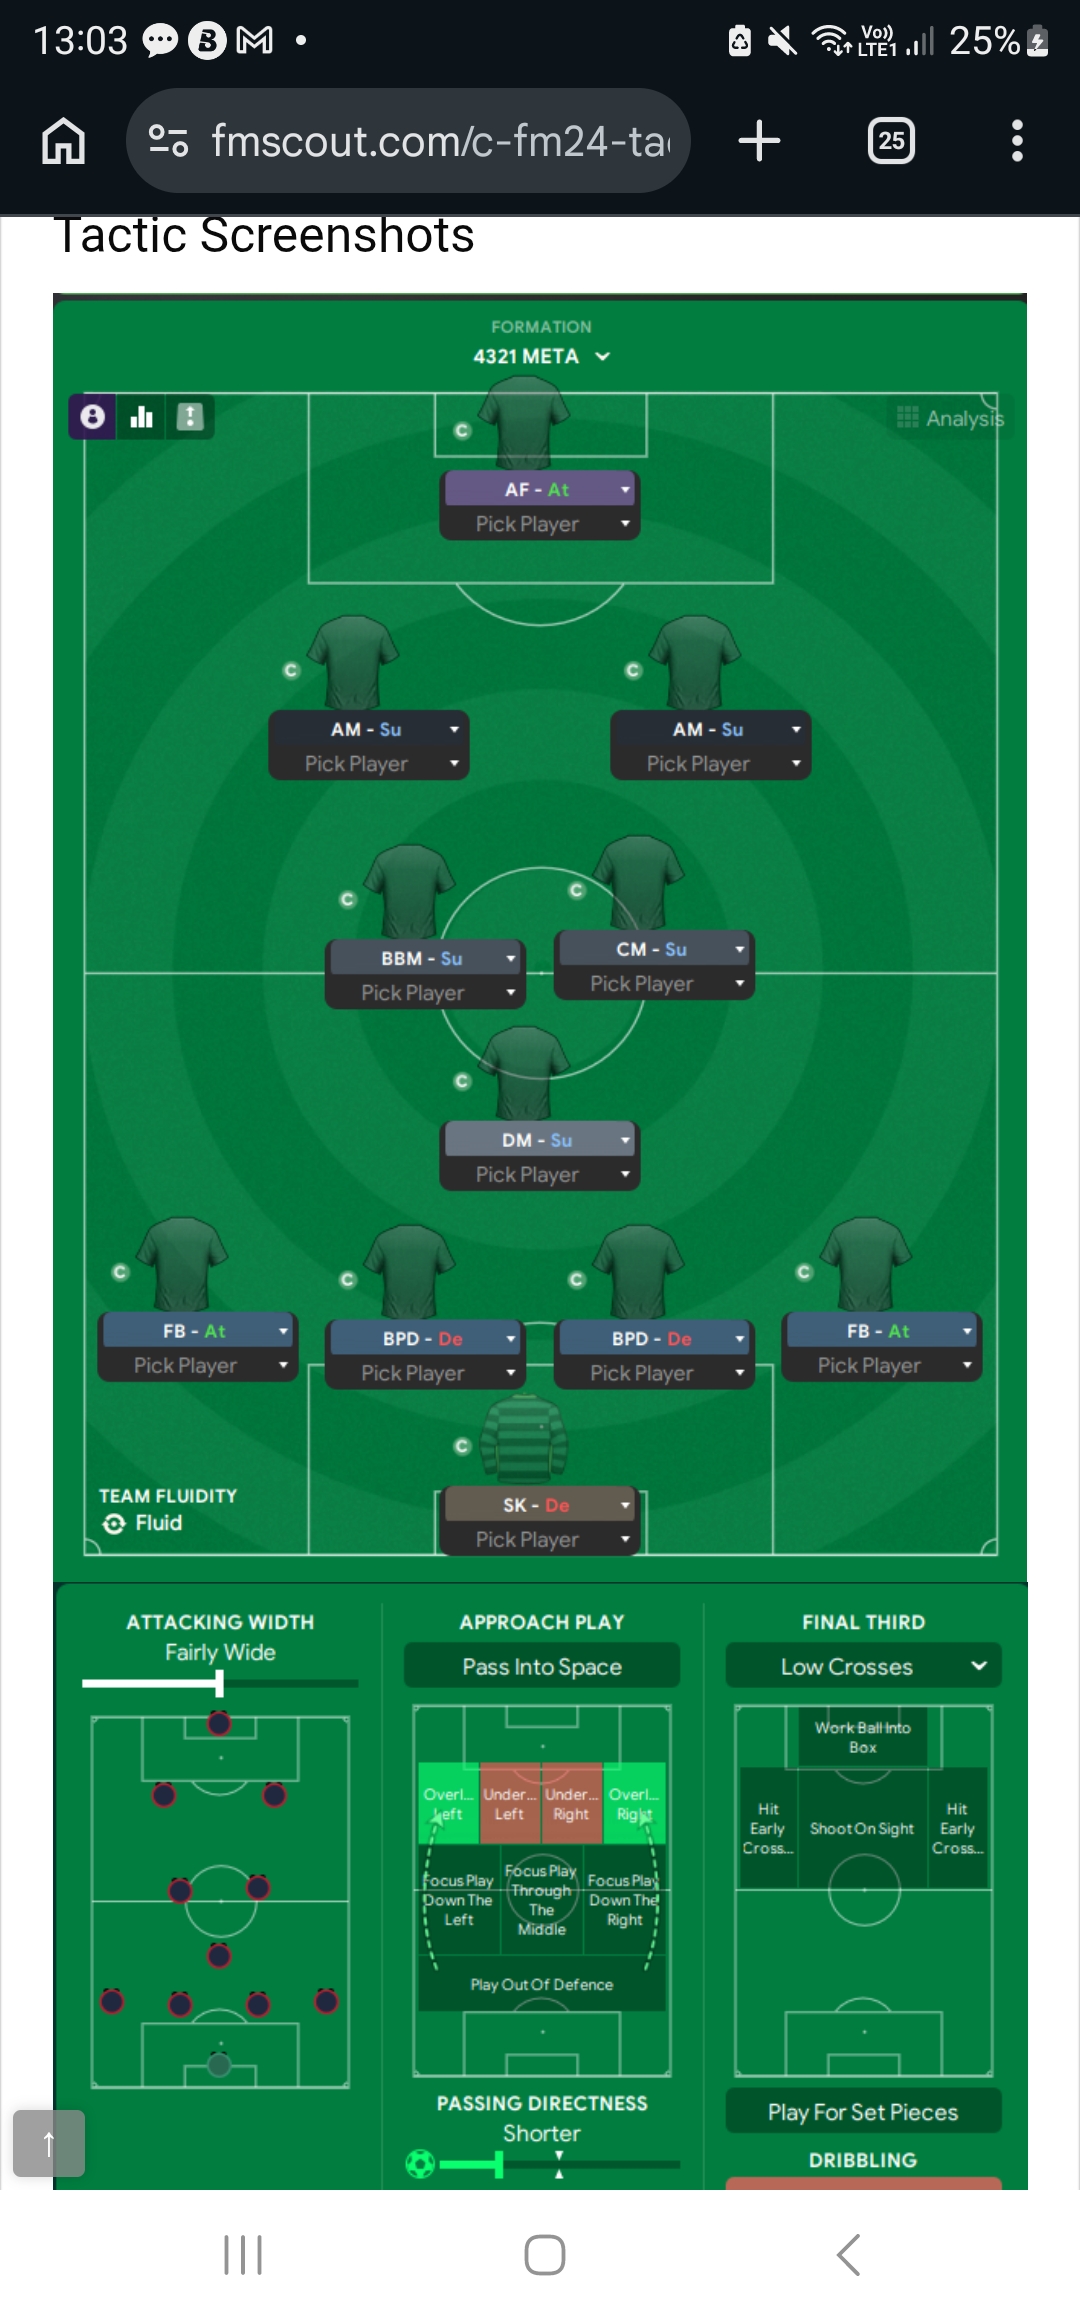
Loading tactical analysis...
Formation and style
Fluid Counter-Attack
Positive
4-3-2-1
Fluid
In possession
Pass Into Space
Work Ball Into Box
Low Crosses
In transition
Counter
Hold Shape
Out of possession
Higher Line of Engagement
Higher Defensive Line
Trigger Press More Often
Player roles
GK
Sweeper Keeper
Defend
RB
Full-Back
Attack
CB
Ball-Playing Defender
Defend
CB
Ball-Playing Defender
Defend
LB
Full-Back
Attack
DM
Defensive Midfielder
Support
CM
Central Midfielder
Support
BBM
Box-to-Box Midfielder
Support
AM
Attacking Midfielder
Support
AM
Attacking Midfielder
Support
ST
Advanced Forward
Attack
Phase description
Focuses on quick transitions with an advanced forward supported by attacking midfielders.
Quick retreat to maintain defensive shape after losing possession.
Utilizing width and low crosses to exploit defensive weaknesses.
Team shape defence
4-3-2-1
A compact shape with two banks of four and a three-man midfield.
Two full-backs at [2,4] and [2,2] and two defensive midfielders at [3,3] and [4,2] provide cover.
Team shape attack
4-3-2-1
The structure allows for versatility in attack while maintaining defensive stability.
An advanced forward at [6,3] with support from two attacking midfielders at [5,2] and [5,4].
Key strengths
Dynamic Midfield Structure
The three midfielders provide strong support in both attack and defense.
BBM-S at [4,3] and DLP-S at [3,3] can interchange effectively.
Effective Wing Play
Full-backs support attacks, providing width and crossing options.
FB-A at [2,2] and FB-A at [2,4] enable low crosses into the box.
Conflicting tactics
Defensive Vulnerability on High Line
The higher defensive line may lead to vulnerabilities against fast forwards.
Higher Defensive Line could expose FB-A at [2,2] and FB-A at [2,4].
Midfield Overload
Opponents may overcrowd the midfield, limiting passing options.
Compact formation might face complications against teams employing a three-man midfield.
Risk exposures
Risk Exposures
Items
Defensive Gaps
Higher defensive line may leave gaps for quick attackers.
FB-A and CBs at [2,2] and [2,4] exposed during counter-attacks.
Midfield Control
Opponents may dominate central areas with a superior midfield shape.
Teams employing a 4-1-4-1 could exploit midfield weaknesses.
Role synergies
Role Synergies
Items
BBM-S and CM-S
Box-to-Box Midfielder complements a more static Central Midfielder.
BBM-S at [4,3] can transition forward effectively while CM-S provides stability.
Full-Backs and Wingers
Overlapping full-backs create width and stretch defenses.
FB-A at [2,4] and AM-S at [5,2] utilize space to create opportunities.
Suggested questions
How can I better manage possession against a team with a strong midfield?
What adjustments can I make to enhance my set-piece defending?
Are my full-backs providing enough support without compromising defense?
Related Tactics
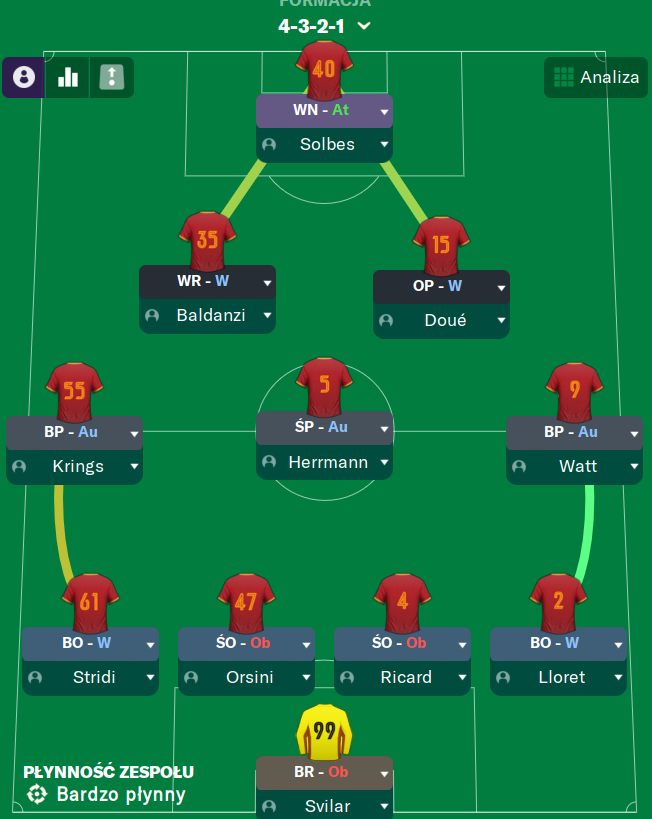
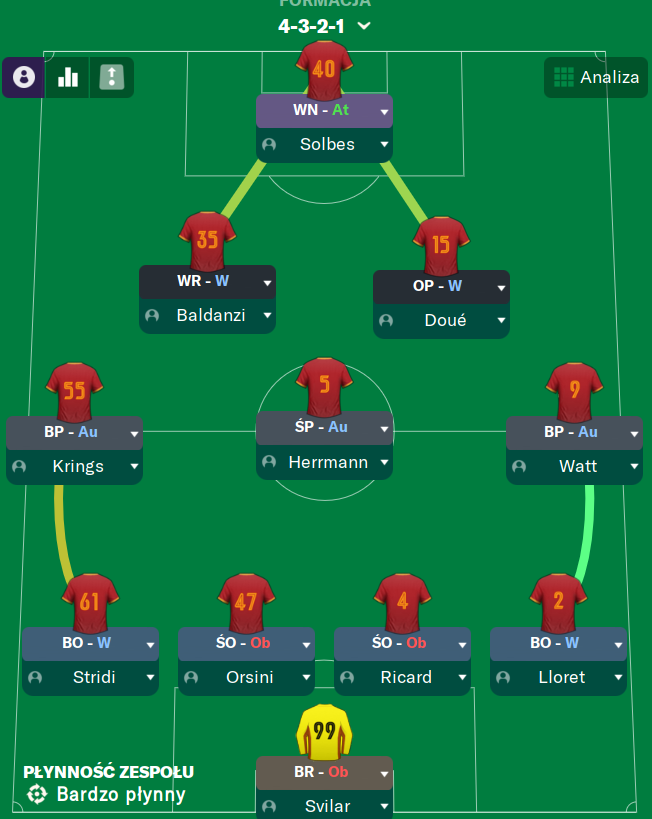
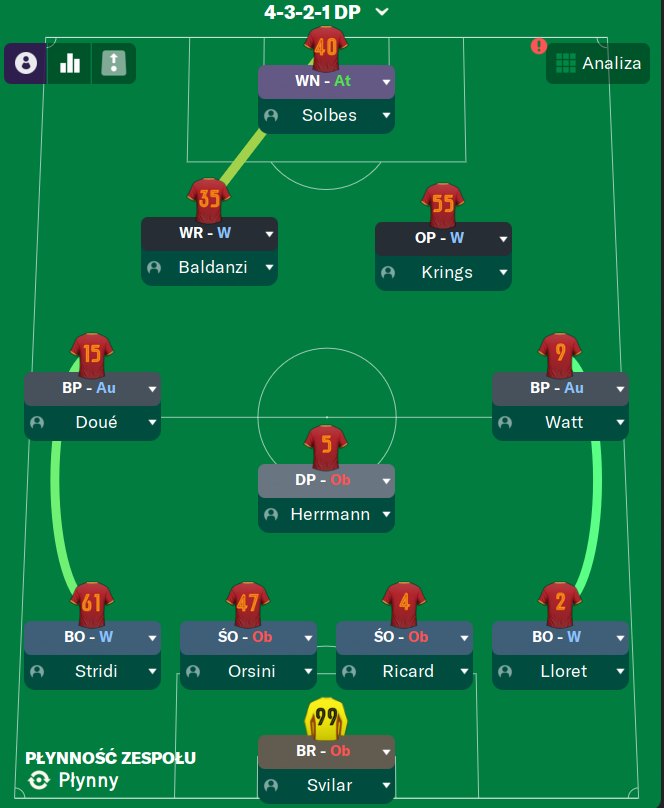
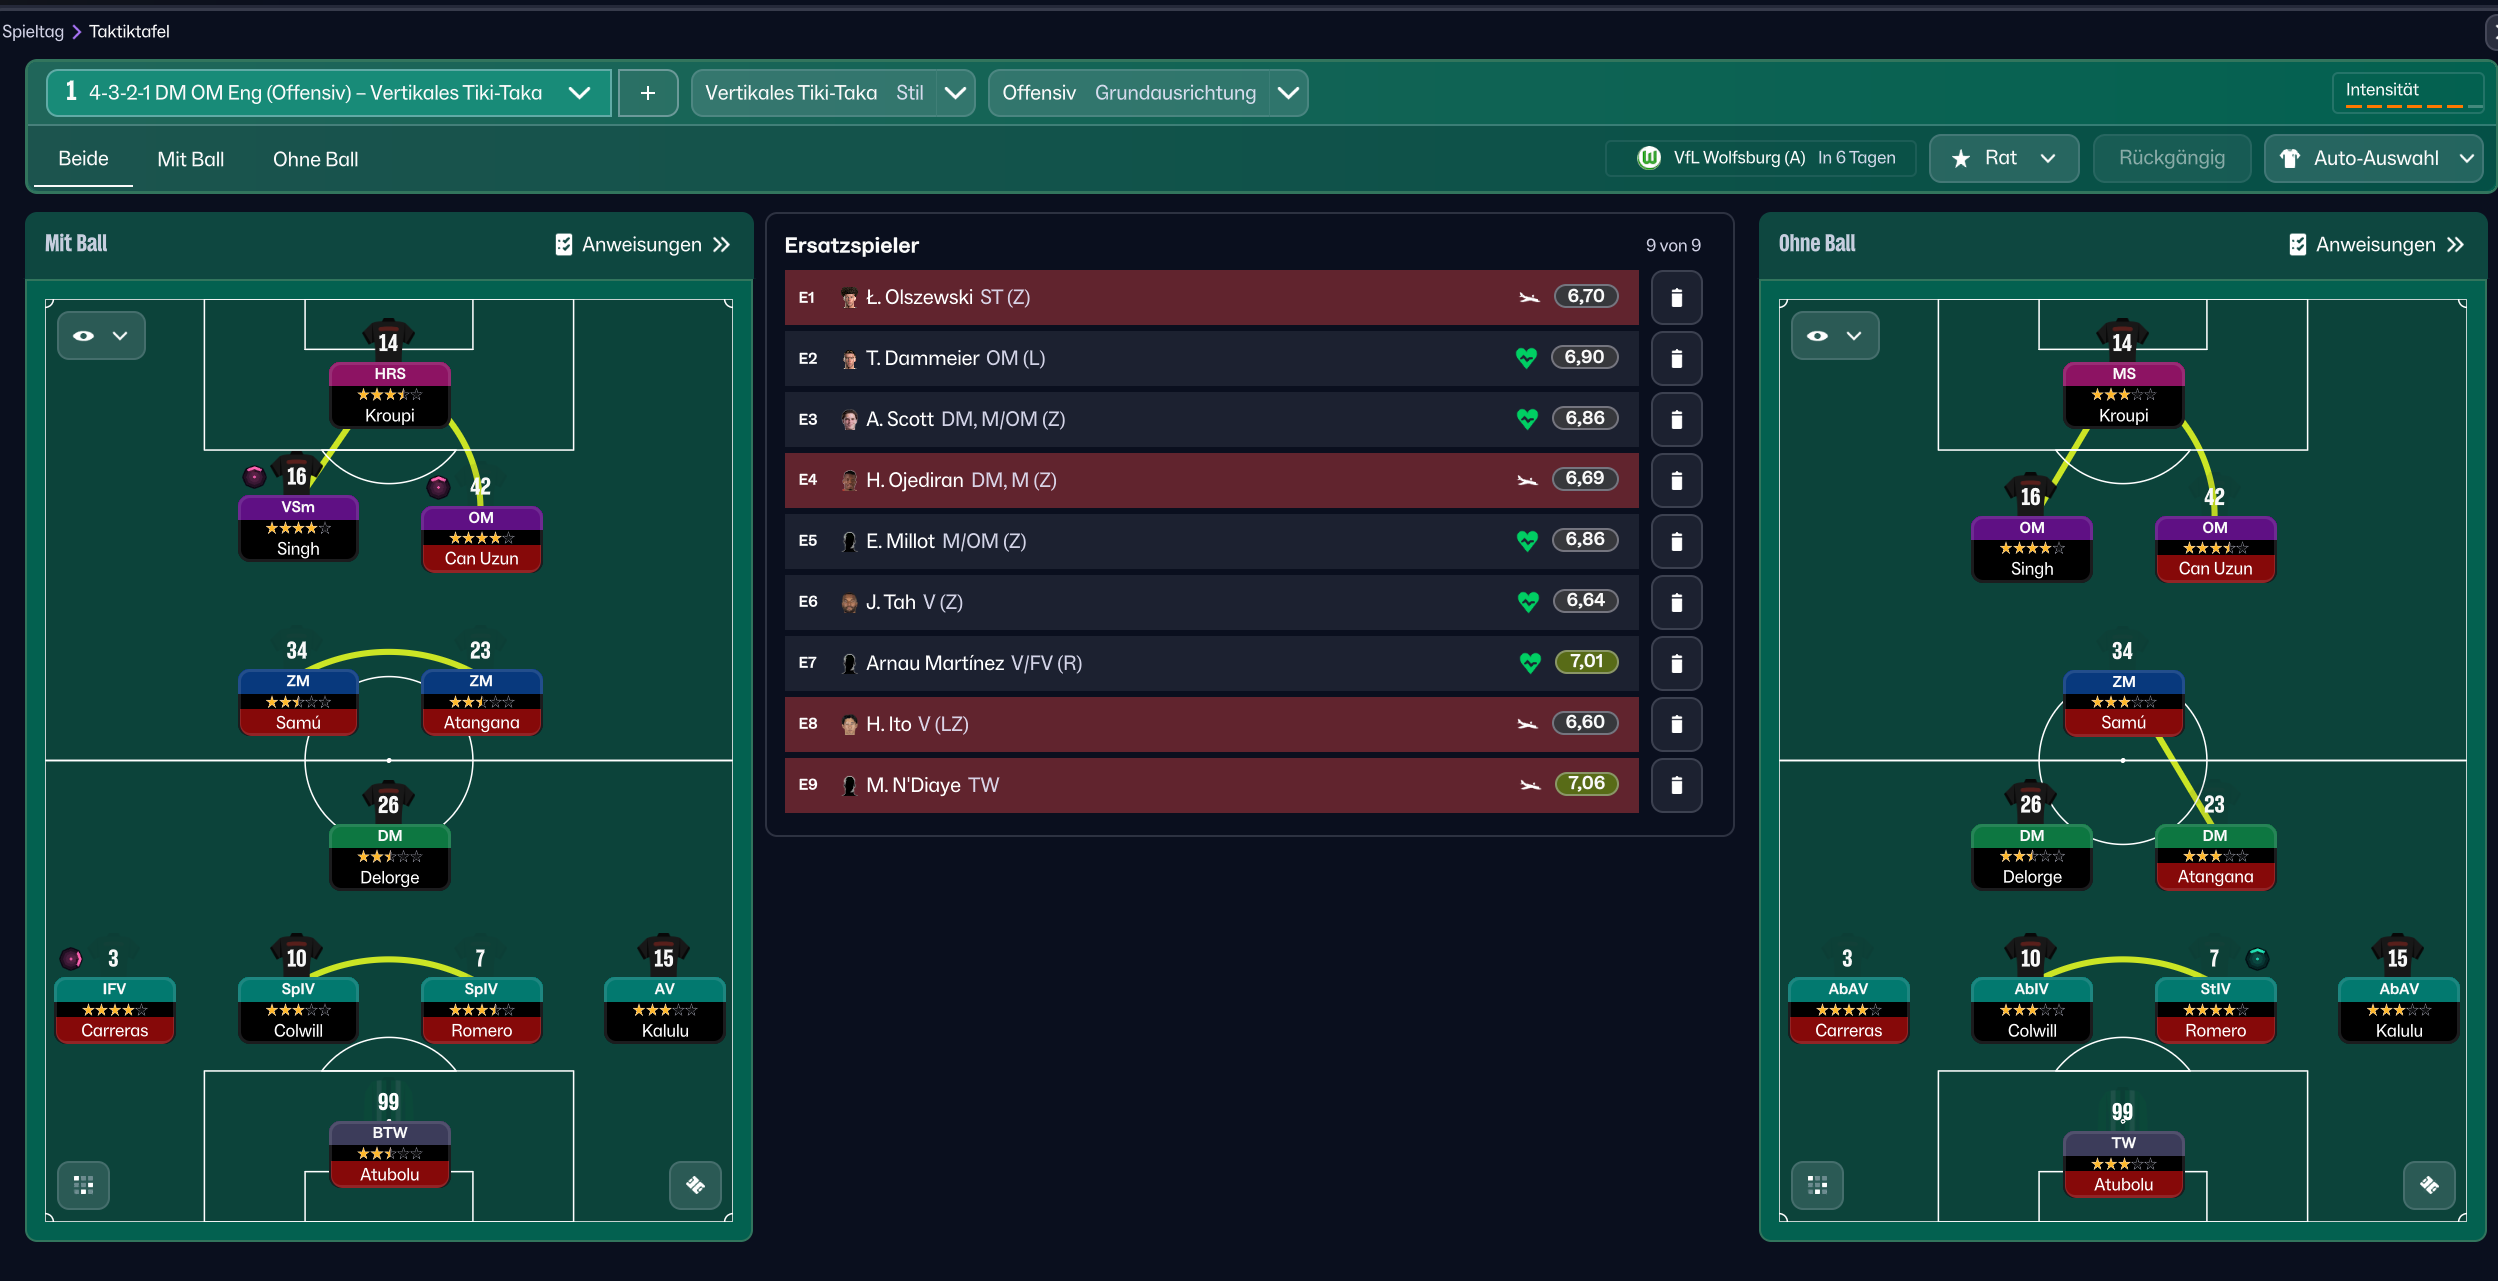
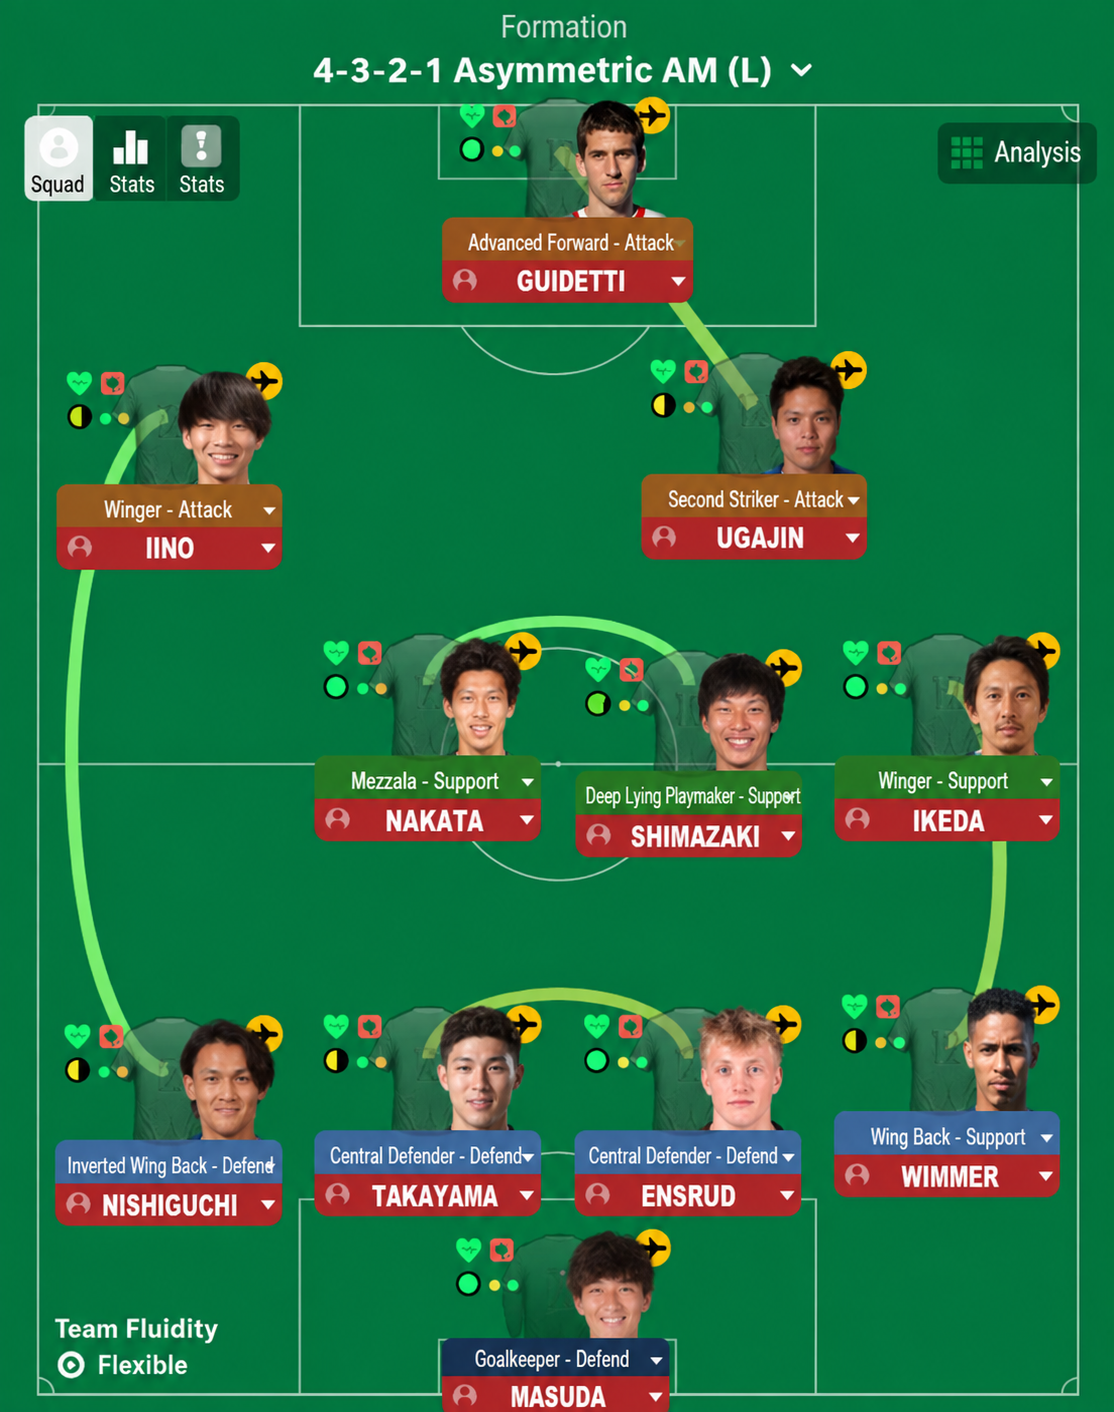
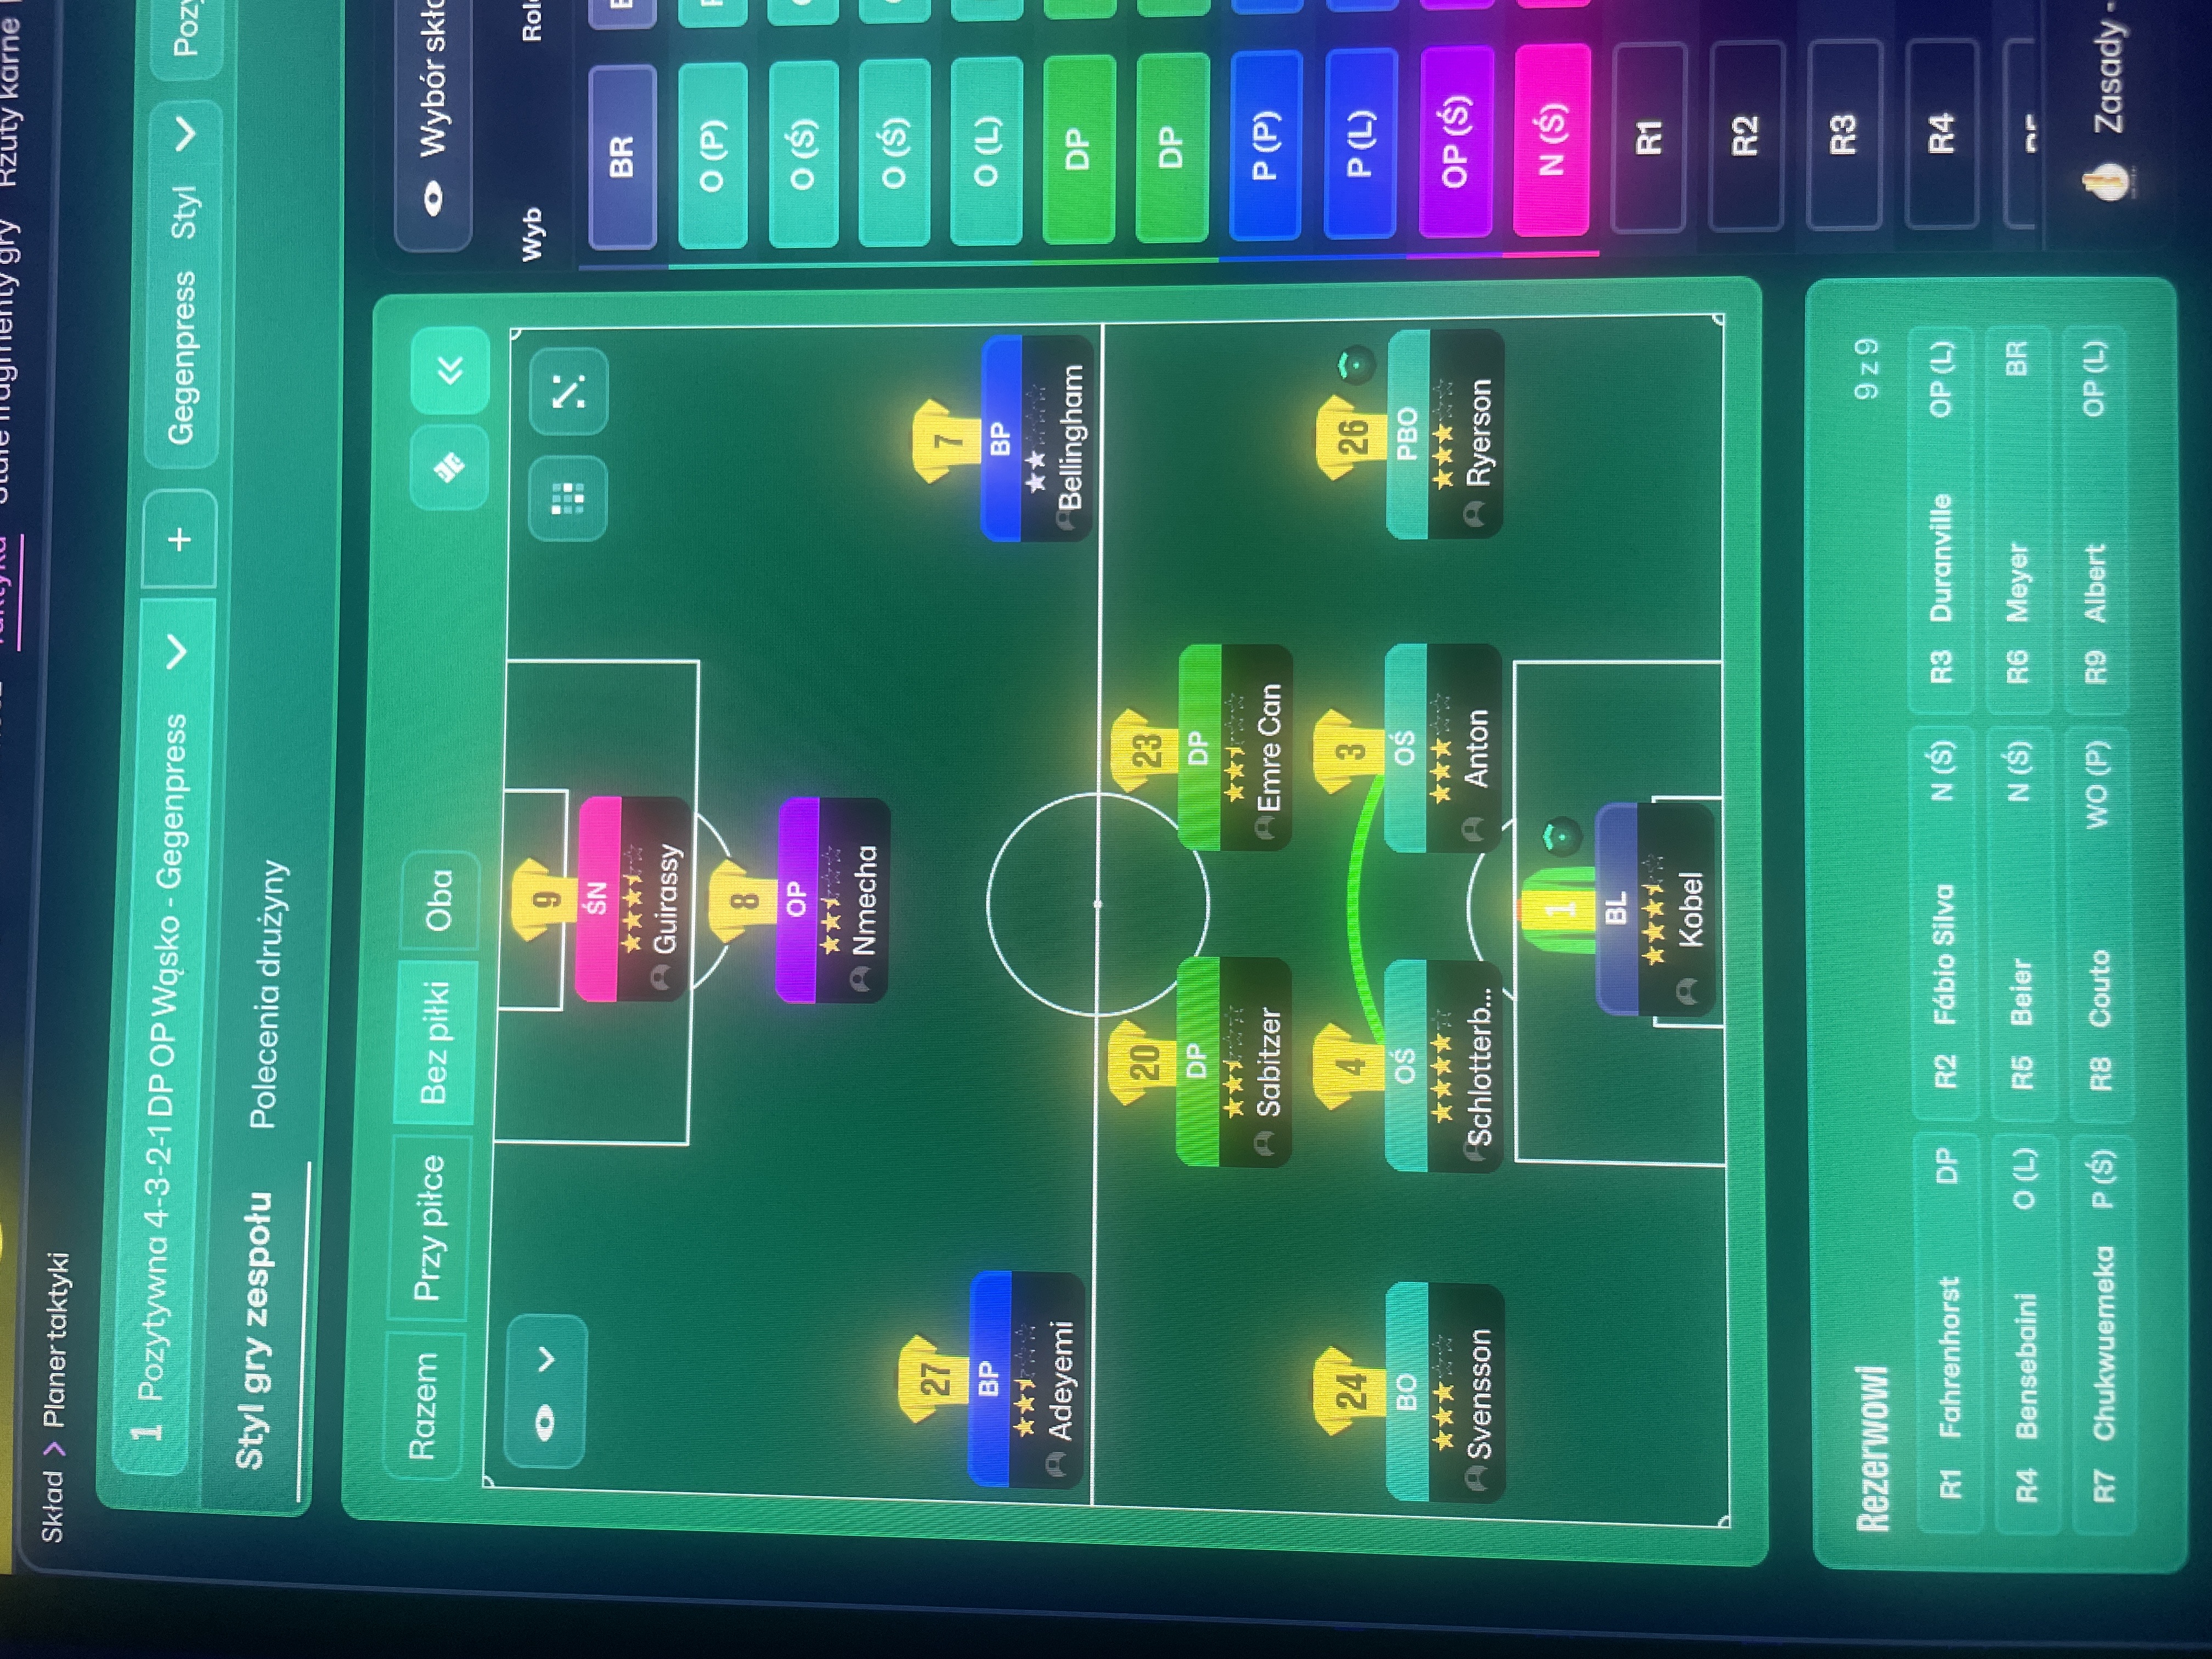
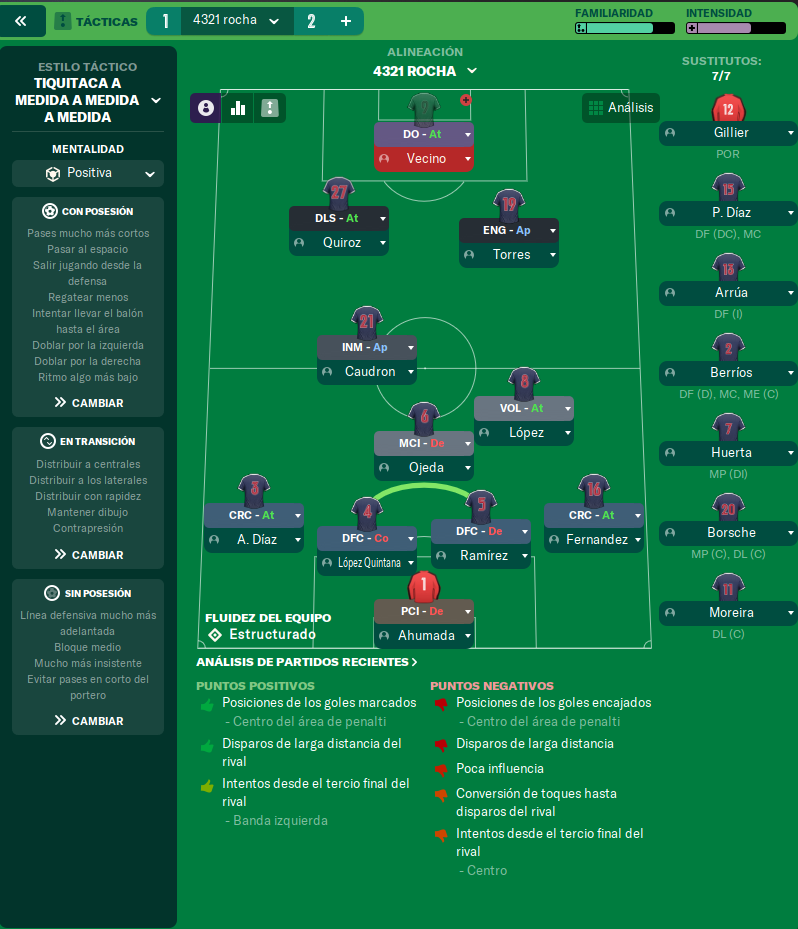
More Fluid Counter-Attack tactics
Guides for this tactic
The tactical theory behind the 4-3-2-1: roles, instructions, and the trade-offs that decide whether the system holds up.
Match preparation
Reading the Match Tablet
Pass map, average position, xG, possession by zone: what each tablet panel tells you in FM and the tactical change it should trigger.
Read guide
Foundations
FM27 Tactics: What Changed from FM26
FM27 keeps FM26's tactic system. Here is what stays the same, the small changes that can catch you out, and what the new Tactical Effectiveness system asks of you.
Read guide
Foundations
Mentality, Duty & Roles
How Mentality, Duty, and Role interact in FM, why duty trumps mentality every time, and the role-on-top-of-duty composition rules.
Read guide