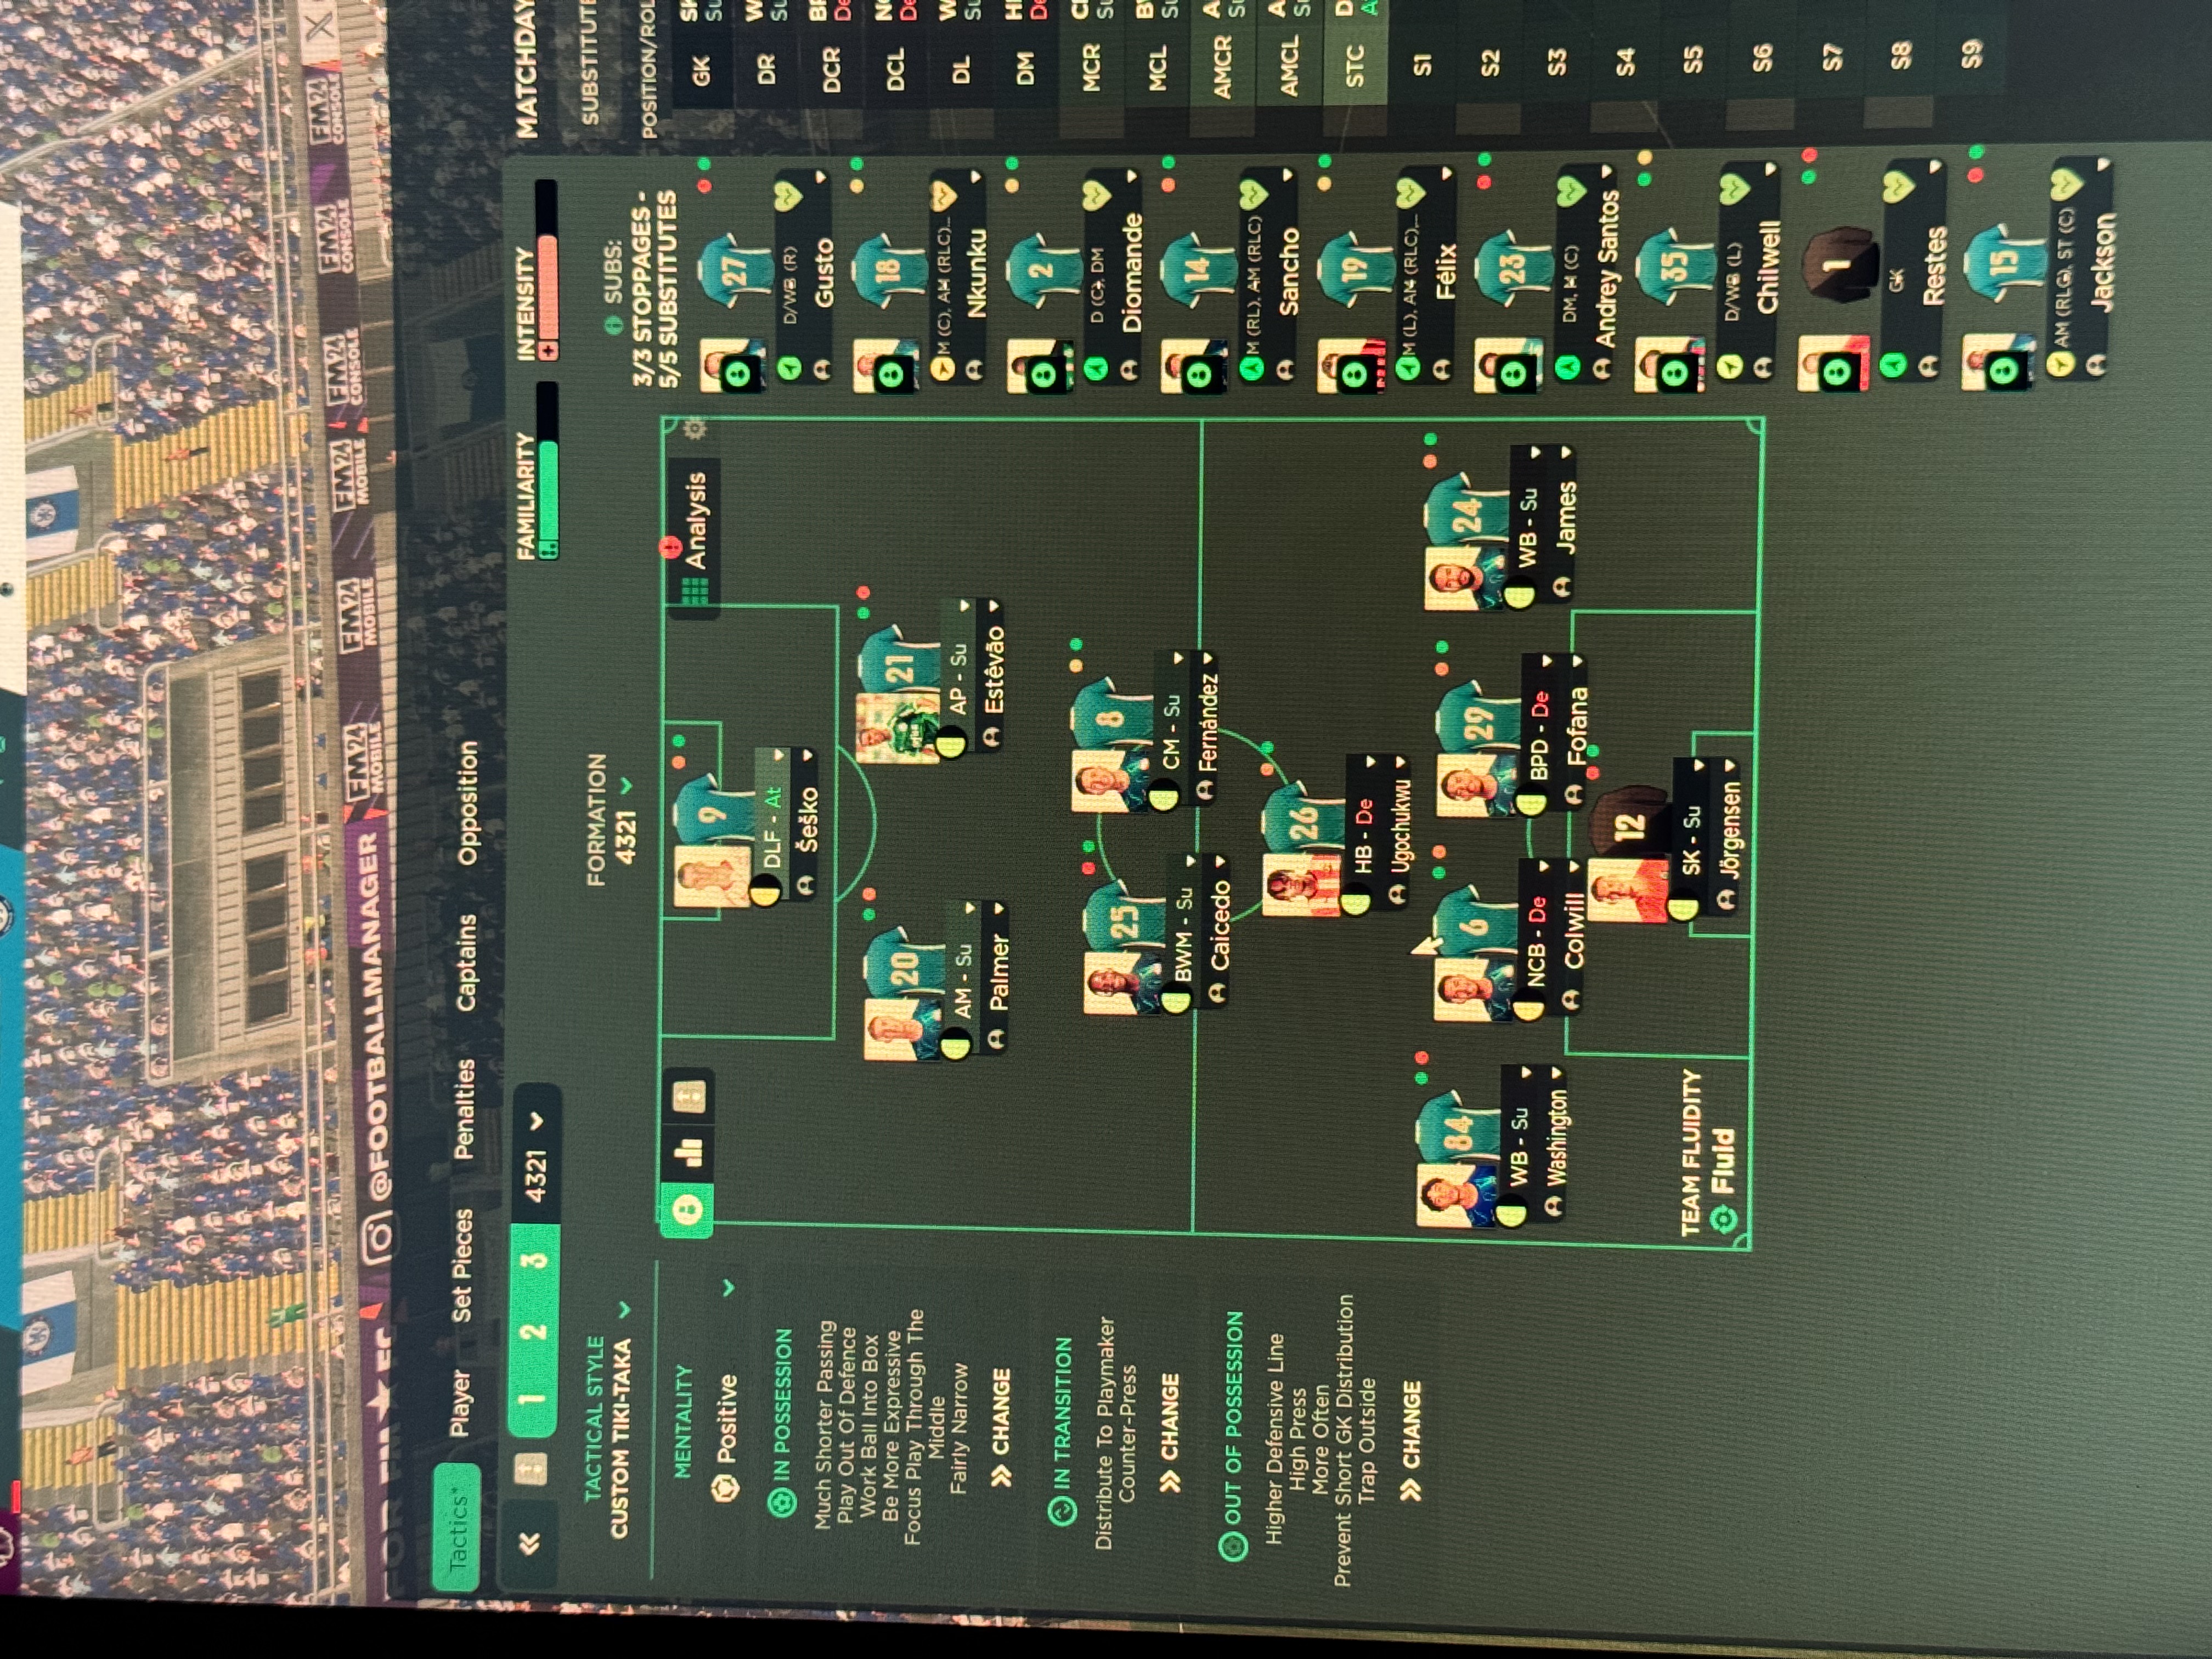
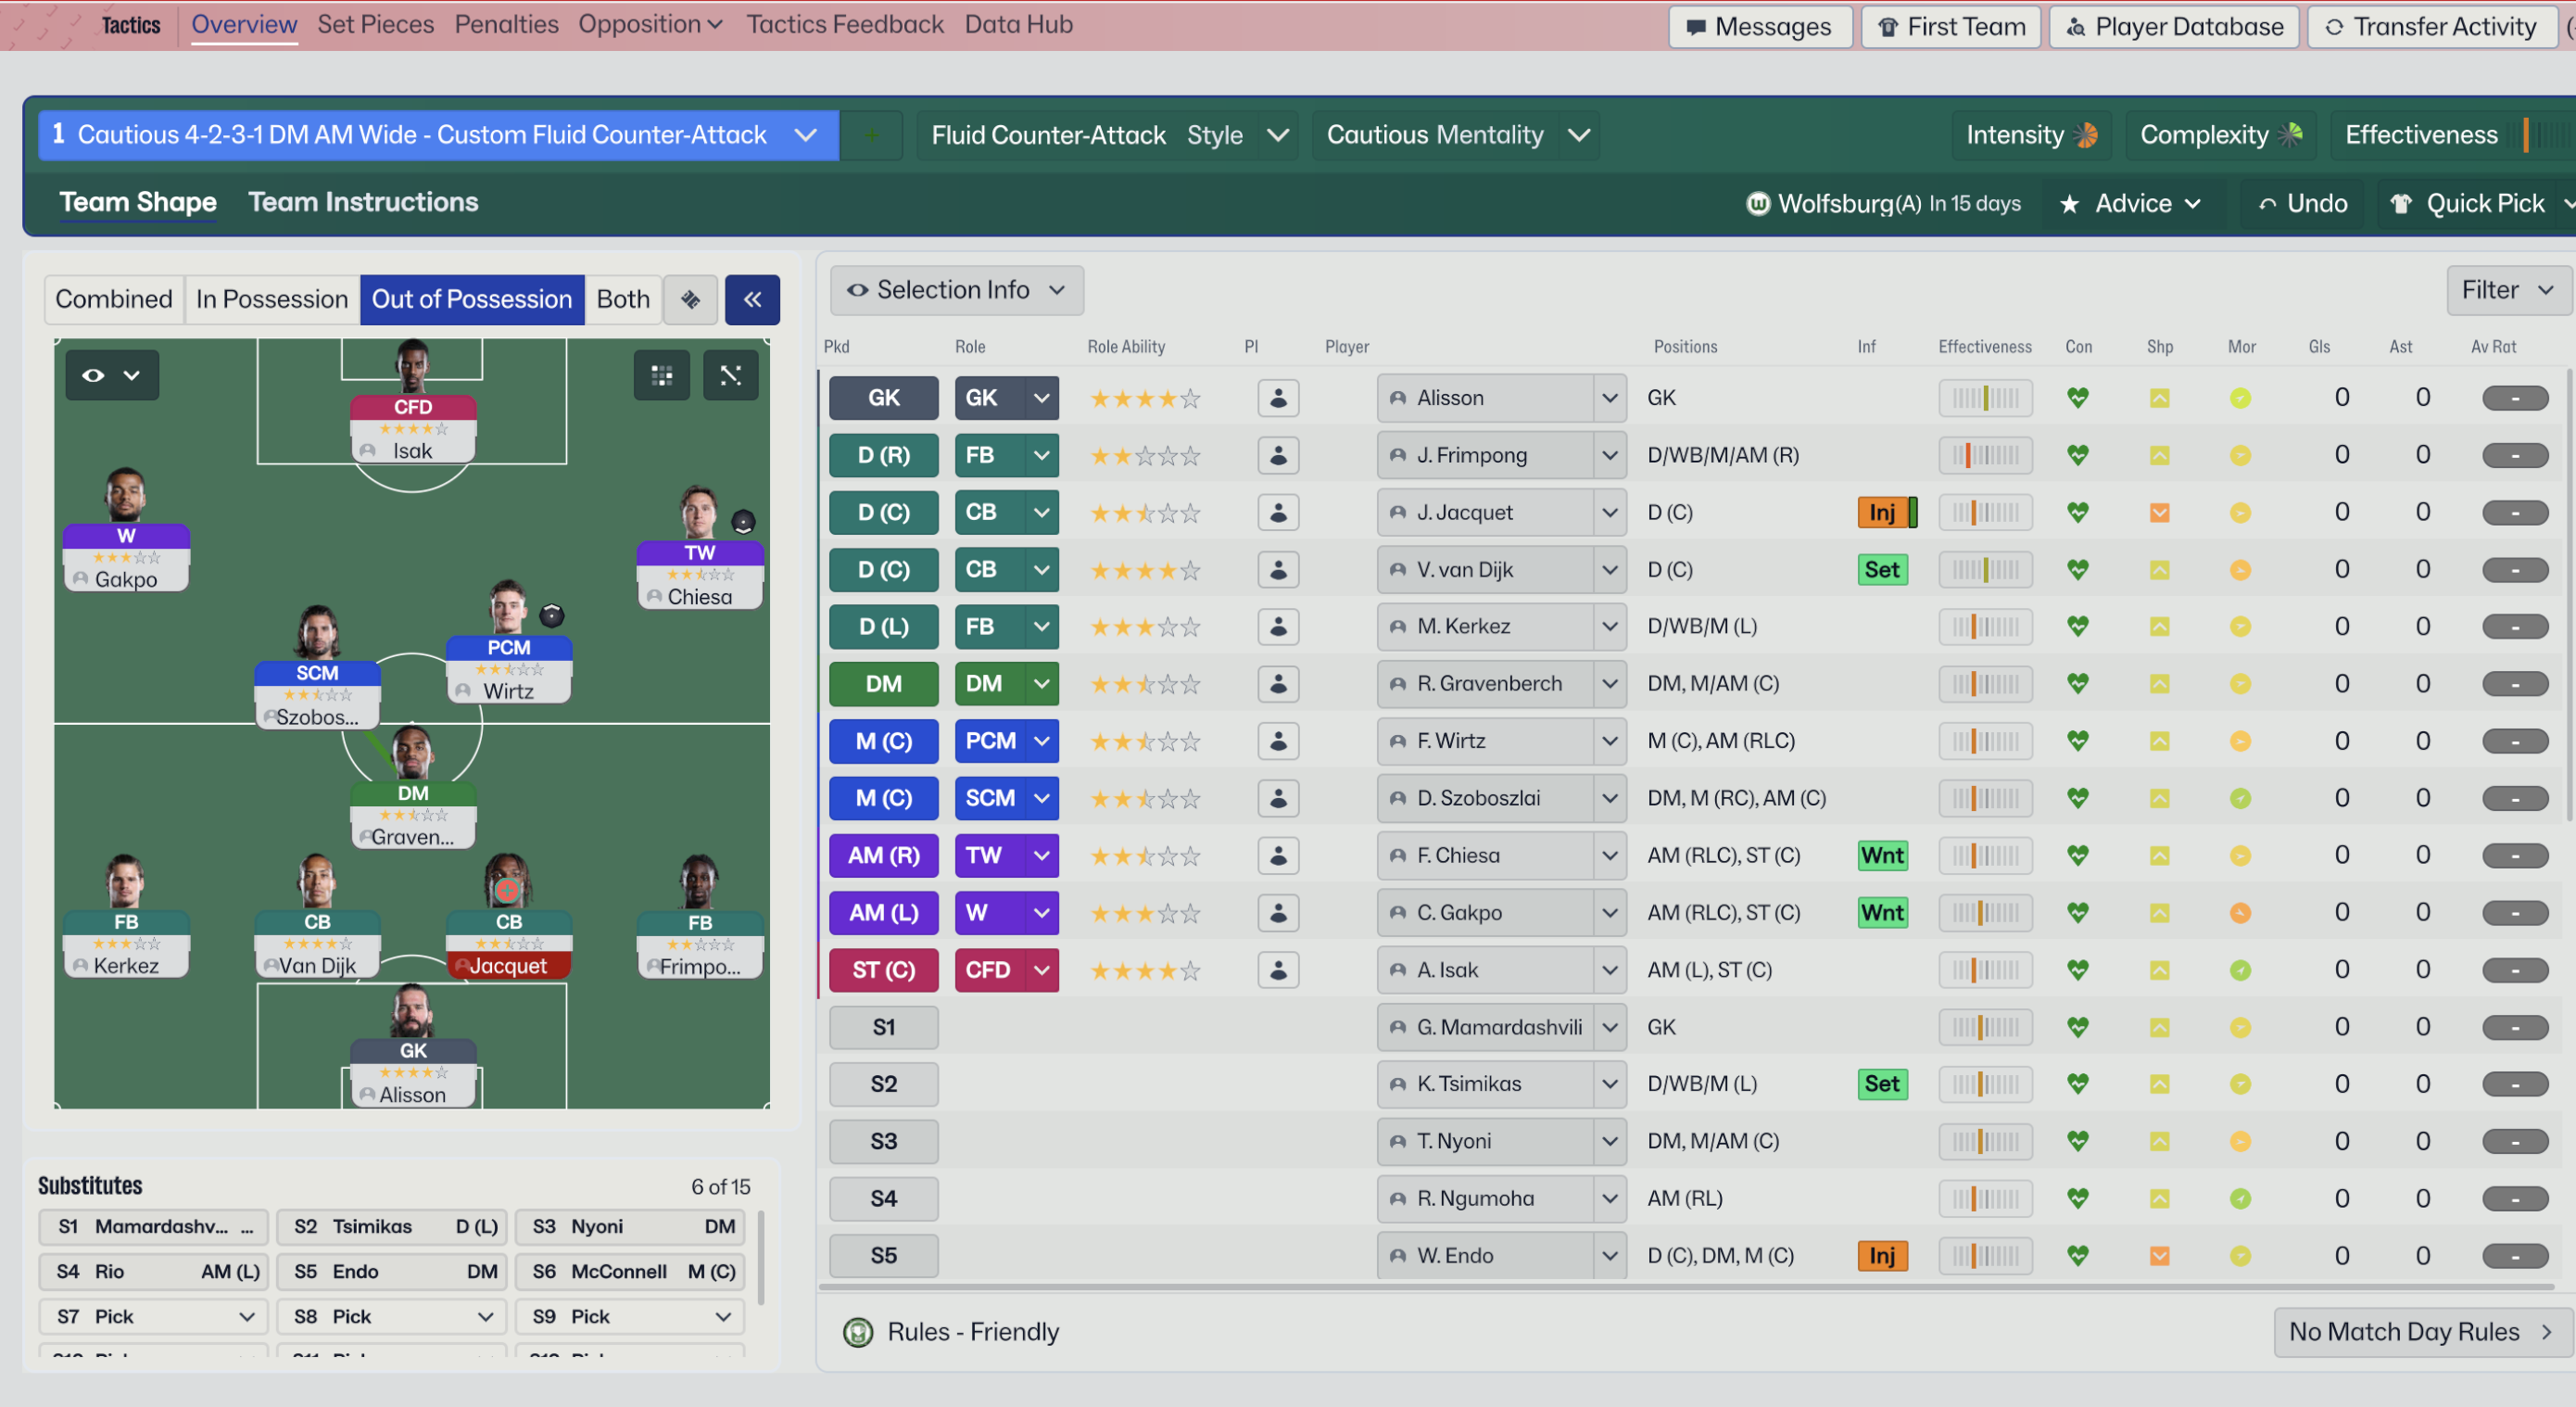
Fluid Counter-Attack 4-3-2-1 (Positive) Tactic
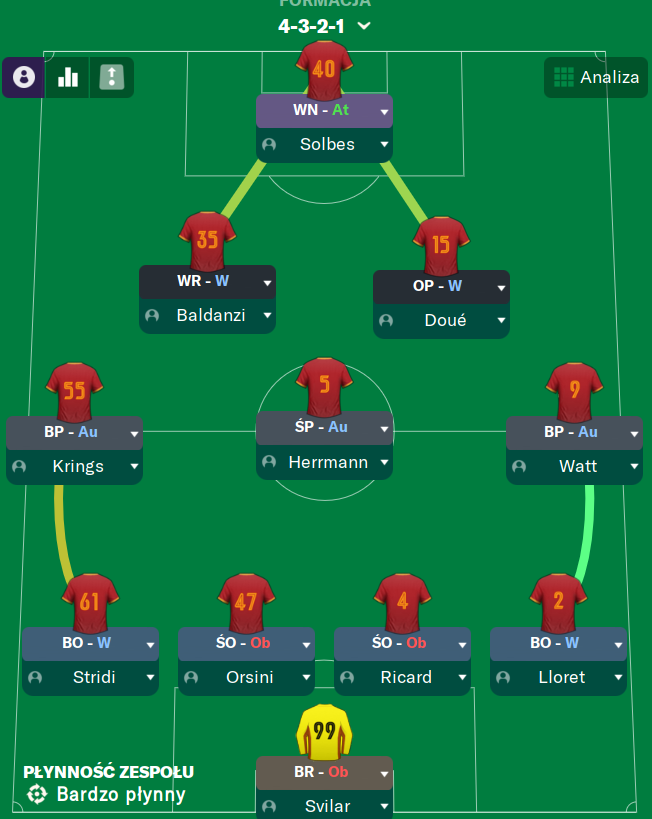
4-3-2-1
Quick counter-attacks exploiting spaces left by the opposition. The combination of Wide Midfielder and Inside Forward creates varied attacking options.
Loading tactical analysis...
Formation and style
Fluid Counter-Attack
Positive
4-3-2-1
Bardzo płynny
In possession
Pass Into Space
Work Ball Into Box
Take Short Kicks
In transition
Counter
Distribute to Flanks
Out of possession
Higher Line of Engagement
Higher Defensive Line
Prevent Short GK Distribution
Player roles
Goalkeeper
Goalkeeper
Defend
Right Back
Wing-Back
Attack
Left Back
Wing-Back
Attack
Centre Back
No-Nonsense Centre-Back
Defend
Centre Back
No-Nonsense Centre-Back
Defend
Defensive Midfield
Ball-Winning Midfielder
Support
Central Midfield
Central Midfielder
Attack
Attacking Midfield
Wide Midfielder
Attack
Attacking Midfield
Inside Forward
Attack
Striker
Advanced Forward
Attack
Phase description
Utilizing width with wing-backs and quick transitions through central areas.
Quick recovery and organized press once possession is lost.
Quick counter-attacks exploiting spaces left by the opposition.
Team shape defence
4-1-4-1
Compact shape making it hard for opposition to break through.
Two no-nonsense centre-backs at [2,2], [2,3] focusing on defensive stability.
Team shape attack
4-3-2-1
Players positioned to quickly exploit flanks and central areas, maximizing attacking potential.
Attacking Midfielders at [5,1], [5,3] and an Advanced Forward at [6,3].
Key strengths
Dynamic Attack
The combination of Wide Midfielder and Inside Forward creates varied attacking options.
WR - W at [5,2] and OP - W at [5,3] provide width and central penetration.
Solid Defense
Using two No-Nonsense Centre-Backs ensures defensive solidity.
NCB at [2,2] and [2,3] provide a secure backbone.
Conflicting tactics
Wide Overload vs Central Play
Heavy focus on wing play may hinder central penetration.
The attacking structure heavily leans on WR - W and OP - W roles.
Wing-Back Responsibilities
Attacking duties may leave wide areas exposed during transitions.
Two attacking wing-backs could be defensive liabilities at times.
Risk exposures
Risk Exposures
Items
Wide Areas
Exposed flanks due to offensive responsibilities of wing-backs.
Wing-Backs at [2,1] and [2,5] with high attacking duties.
Counterattacks
Higher defensive line increases vulnerability to fast-paced attacks.
Higher Defensive Line in defensive setup.
Role synergies
Role Synergies
Items
Wing-Backs + Inside Forward
Creates width and opens space for central penetrative plays.
WR - W at [5,2] and IW - A at [5,3] supporting lateral movement.
Ball-Winning Midfielder + Central Midfielder
Enhances quick transitions with defensive contributions.
BWM - Su at [3,3] and CM - At at [4,3].
Suggested questions
Are the wing-backs contributing adequately to defensive duties?
Is the midfield balanced enough to recover quickly during transitions?
Should the defensive line height be adjusted based on opposition's pace?
Related Tactics
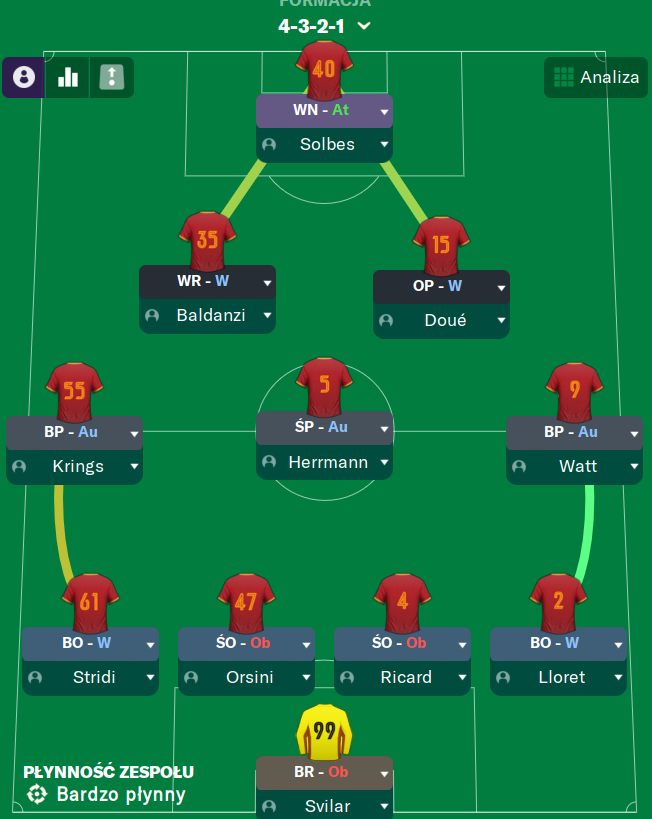
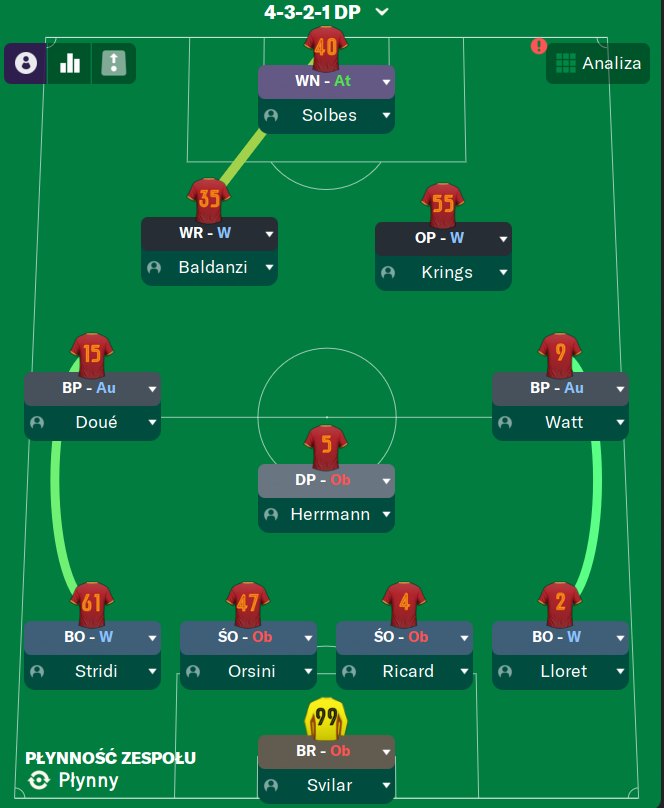
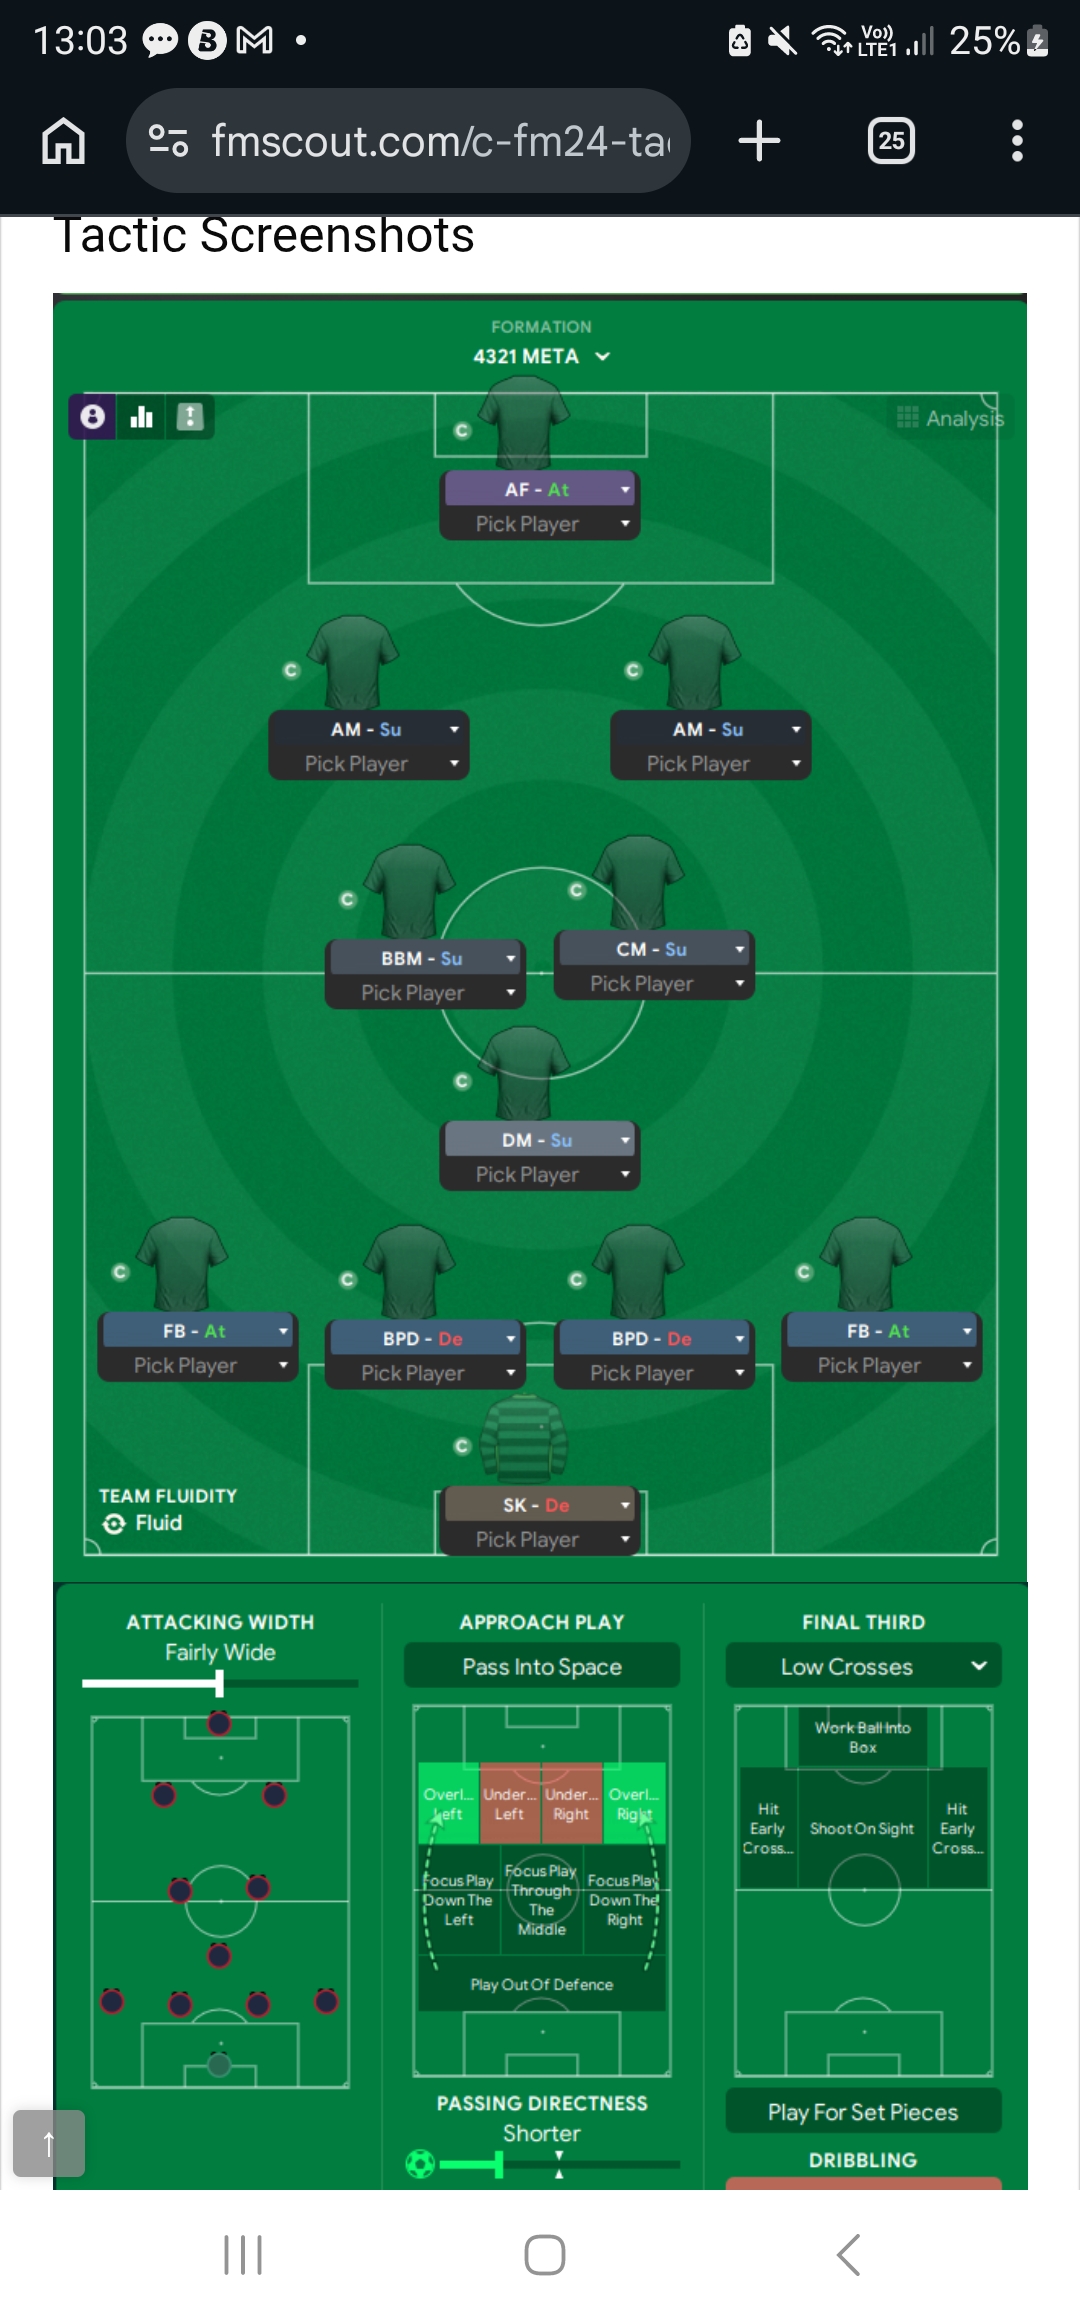
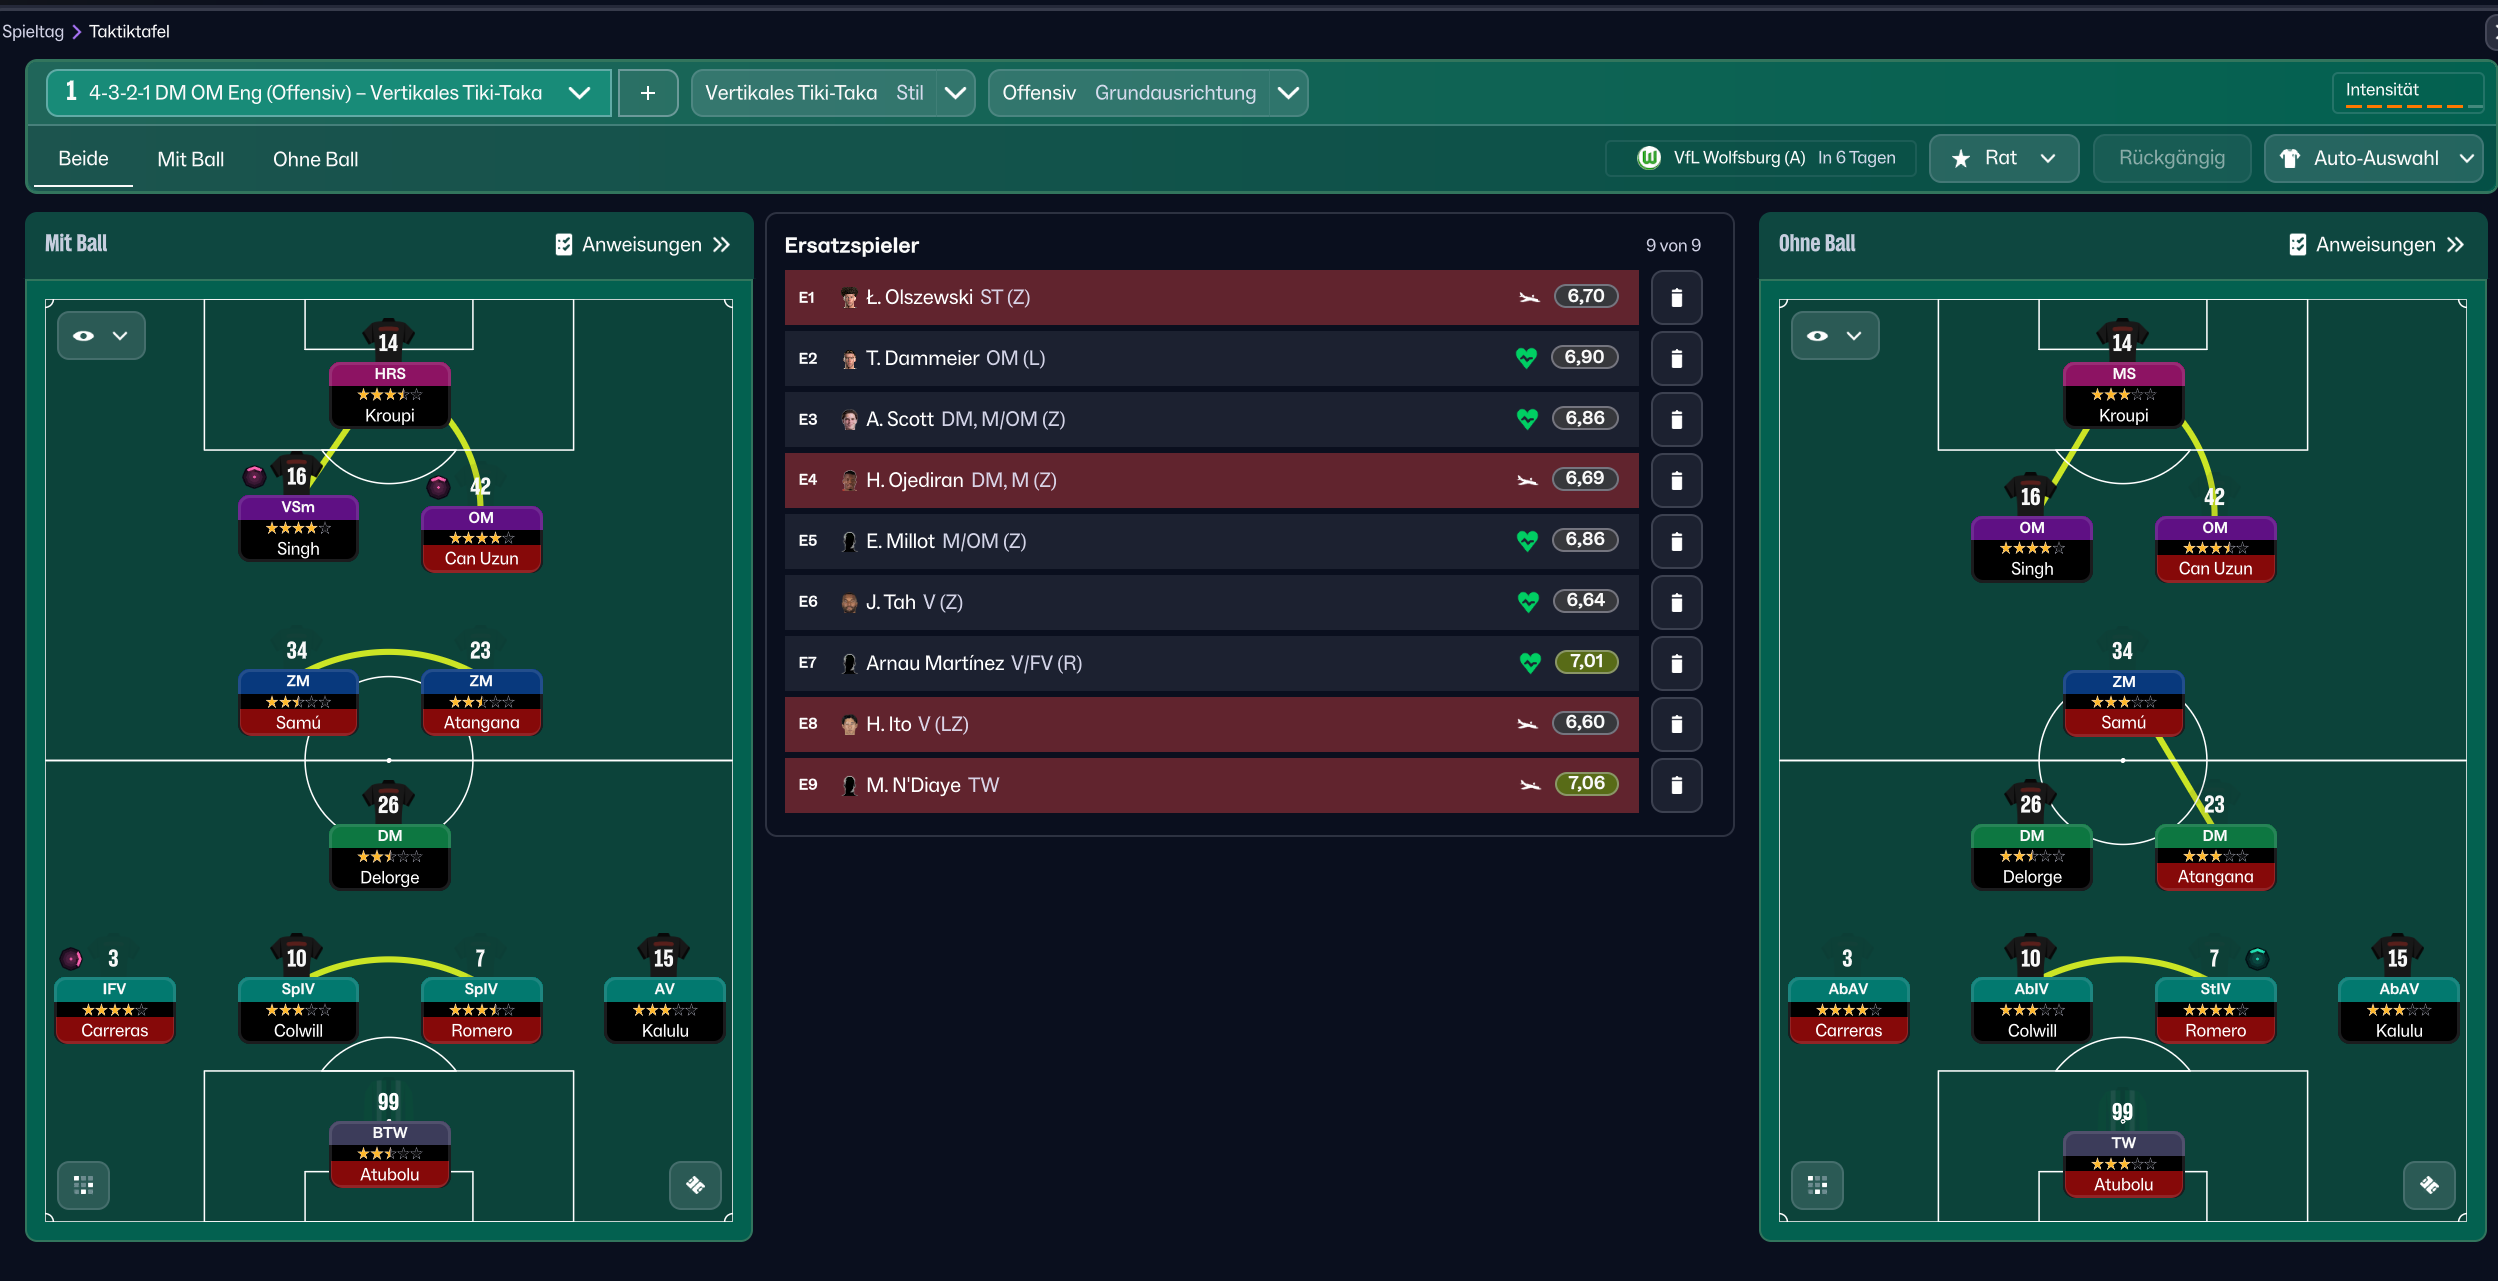
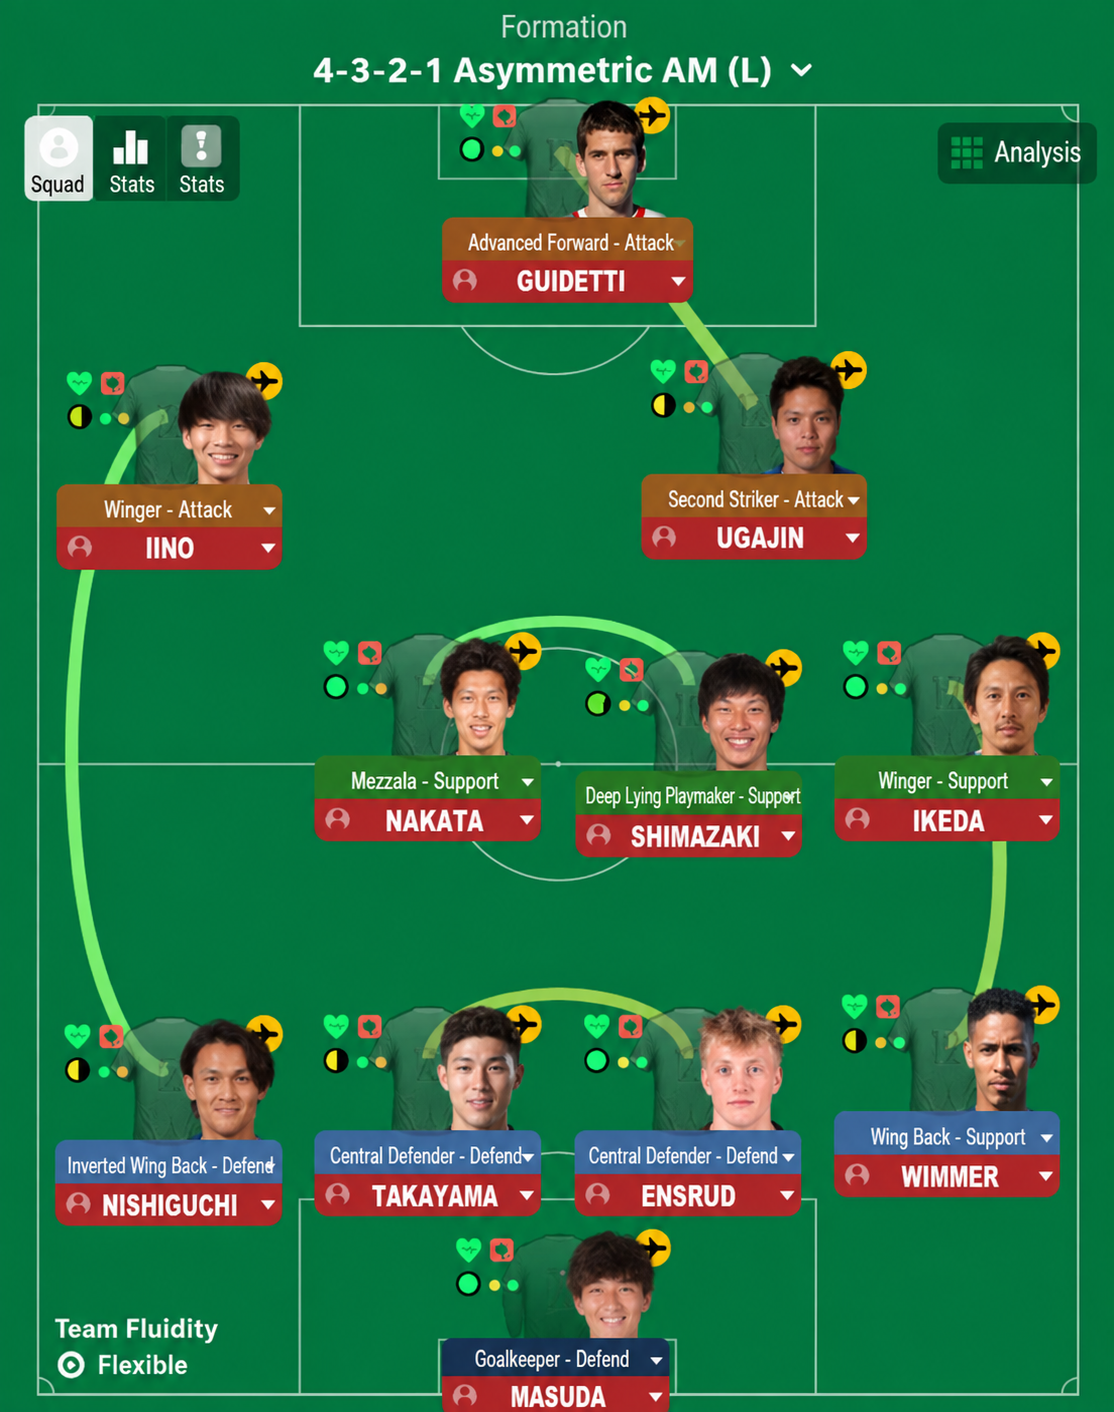
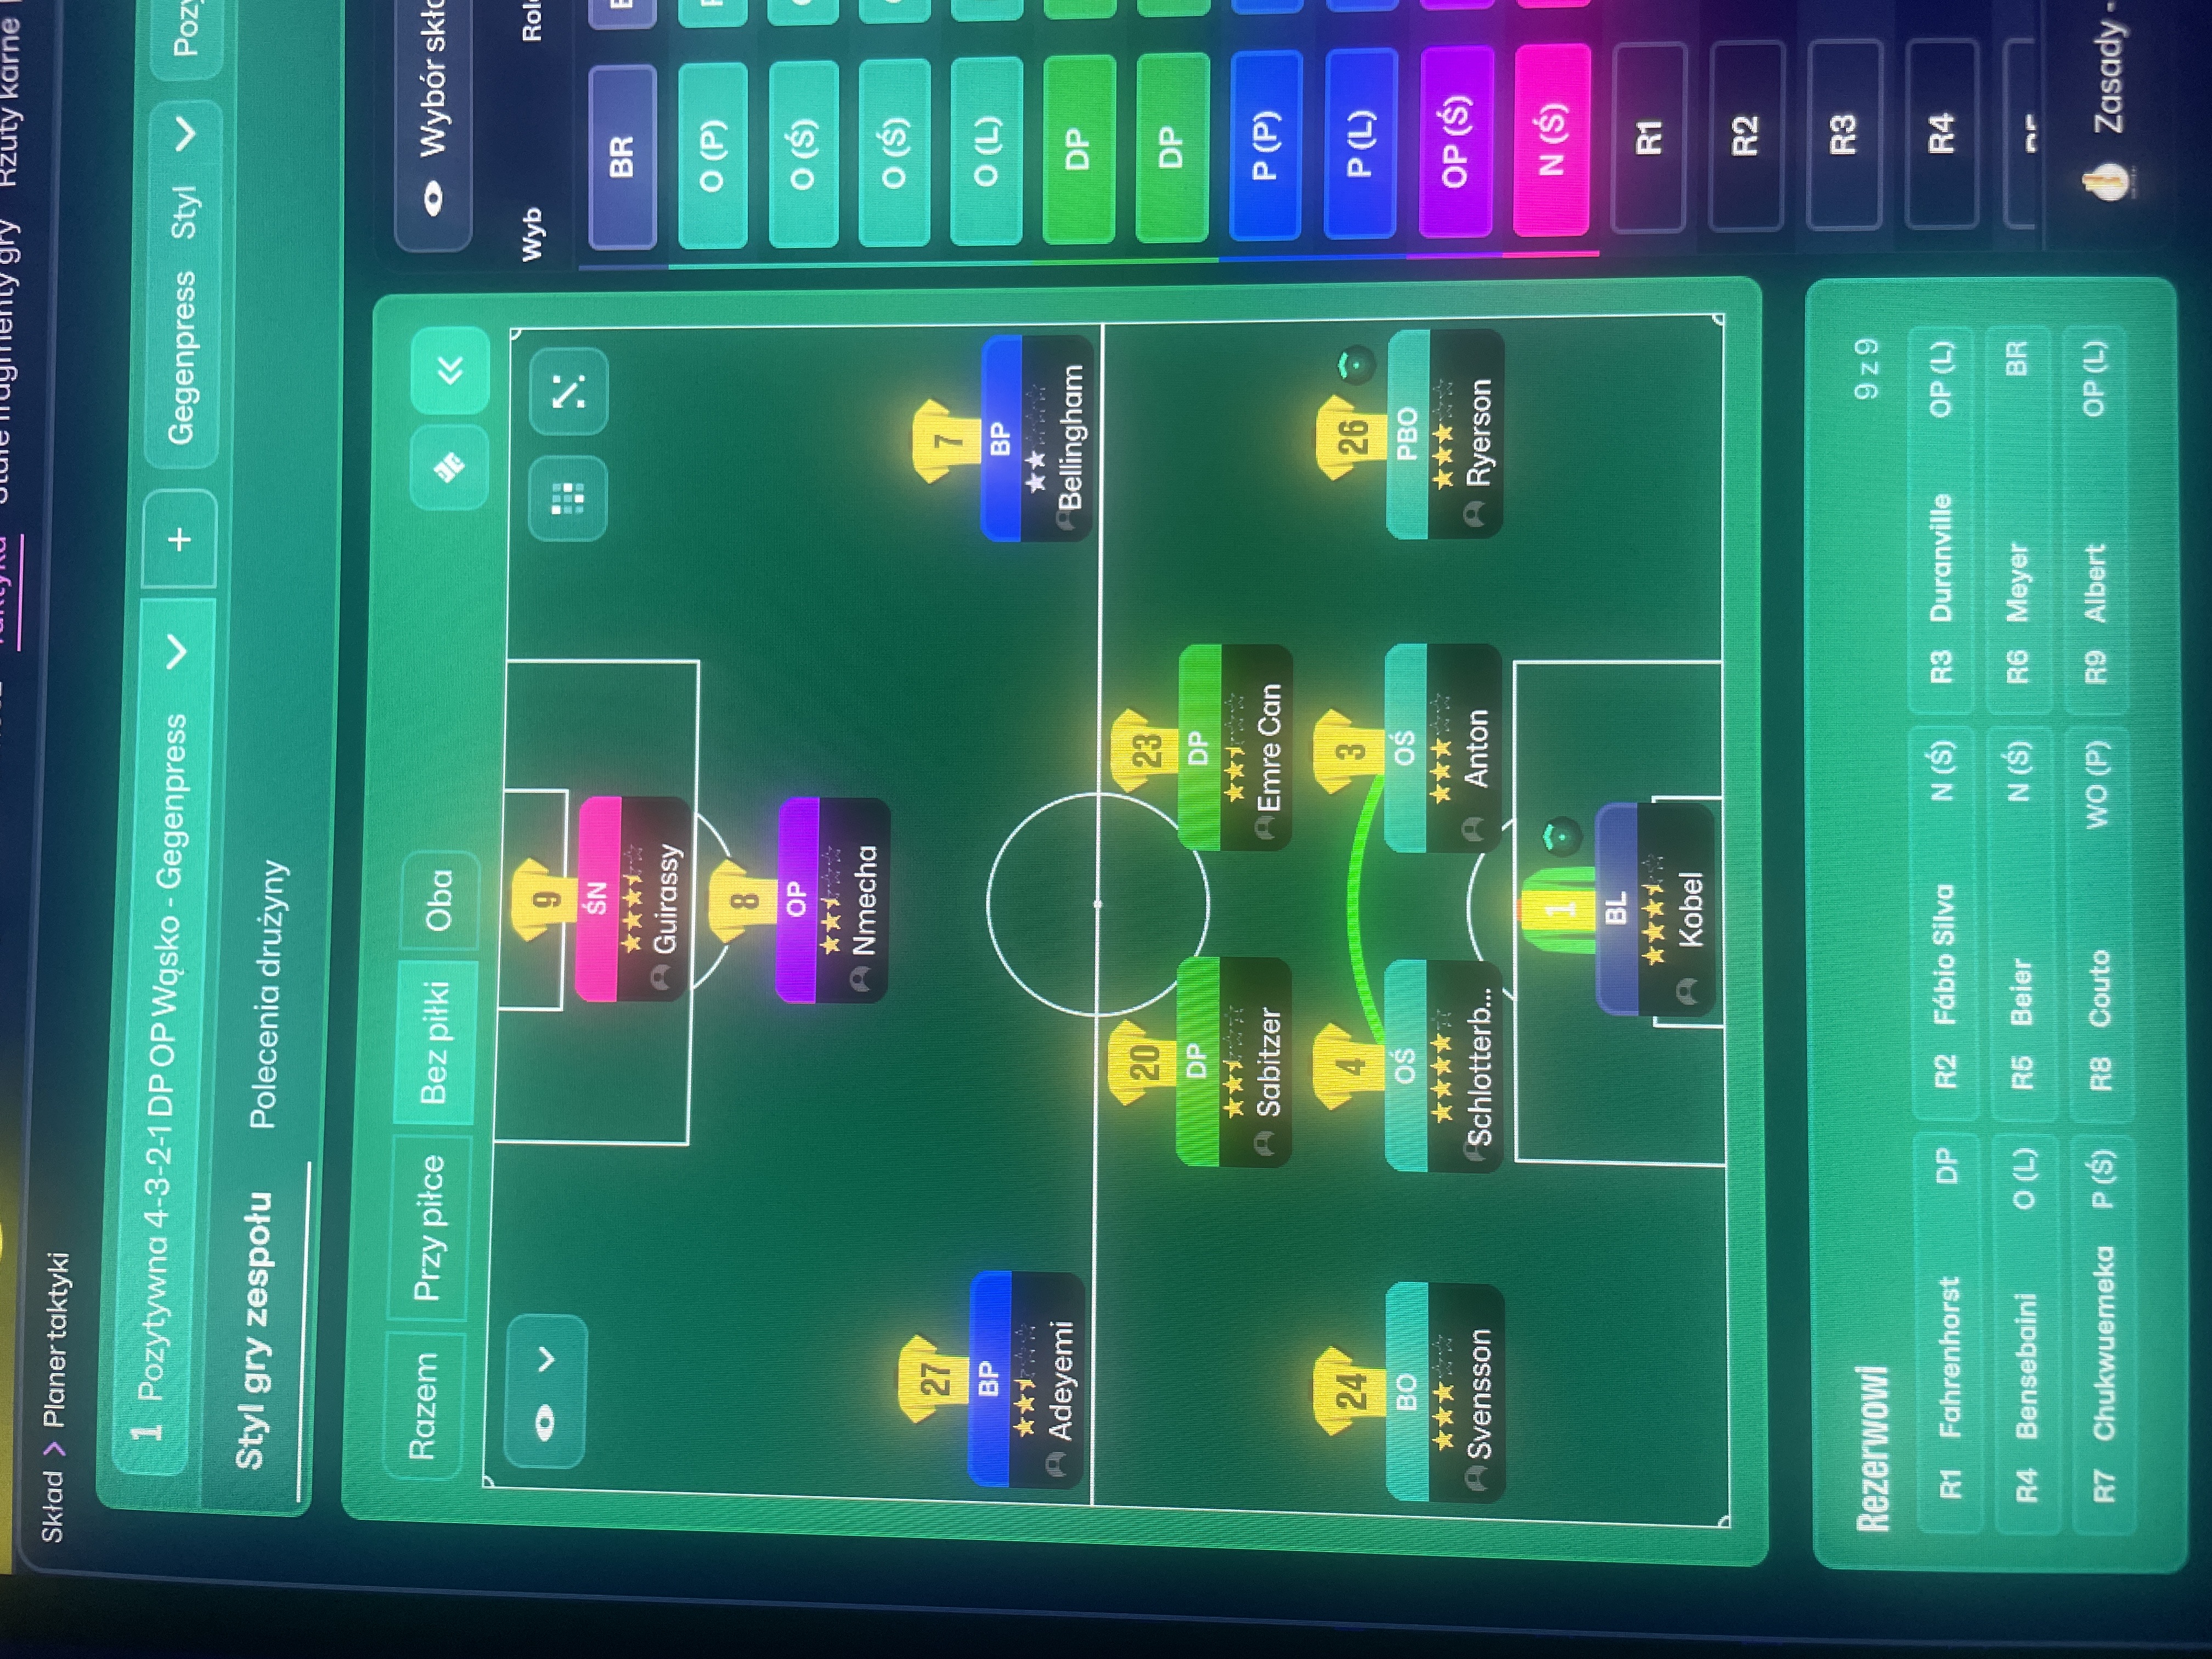
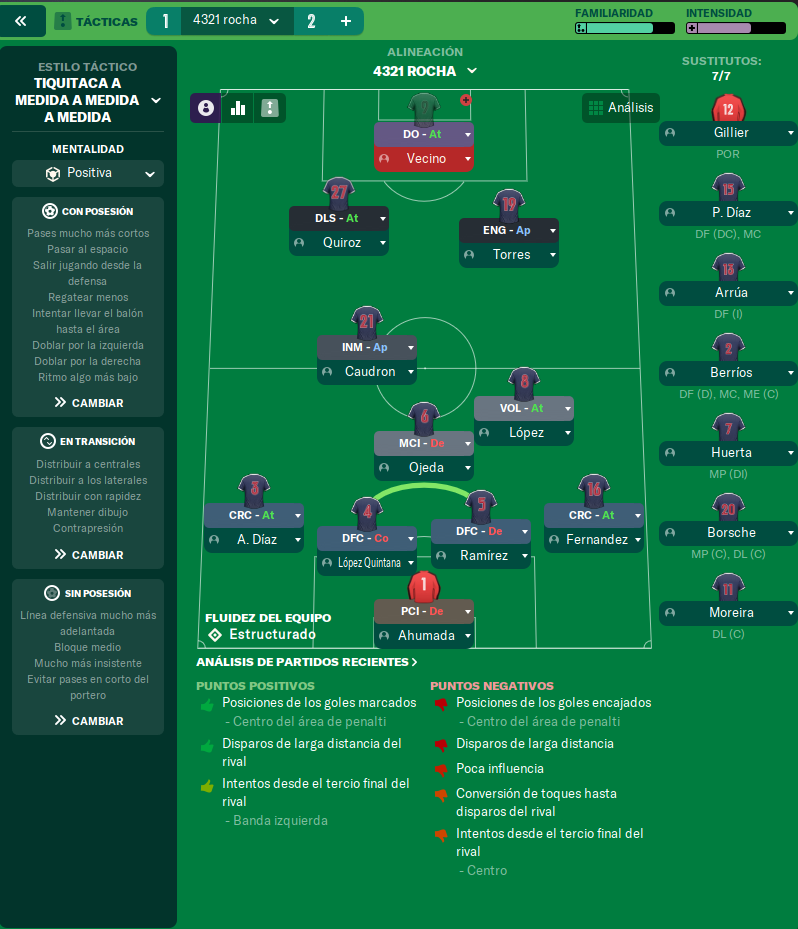
More Fluid Counter-Attack tactics
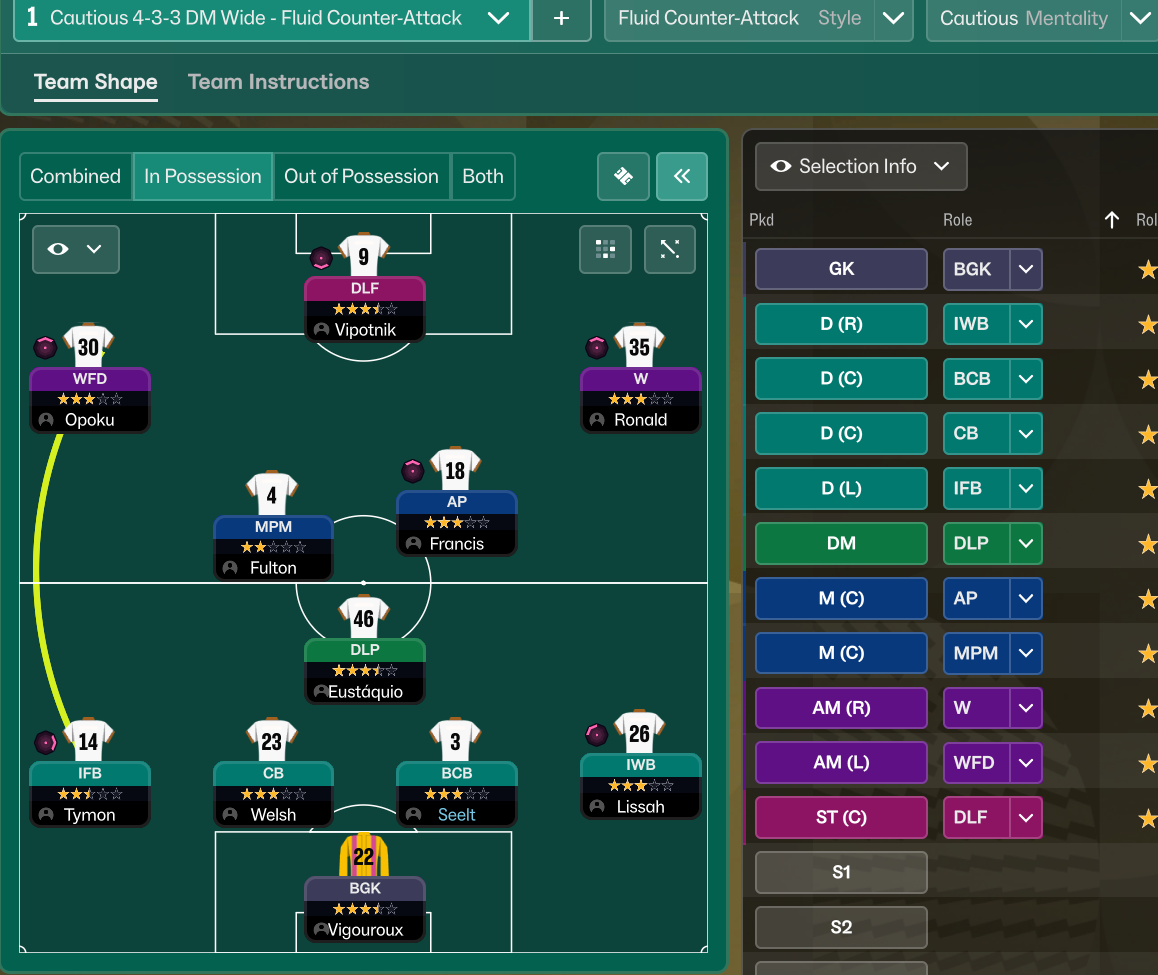
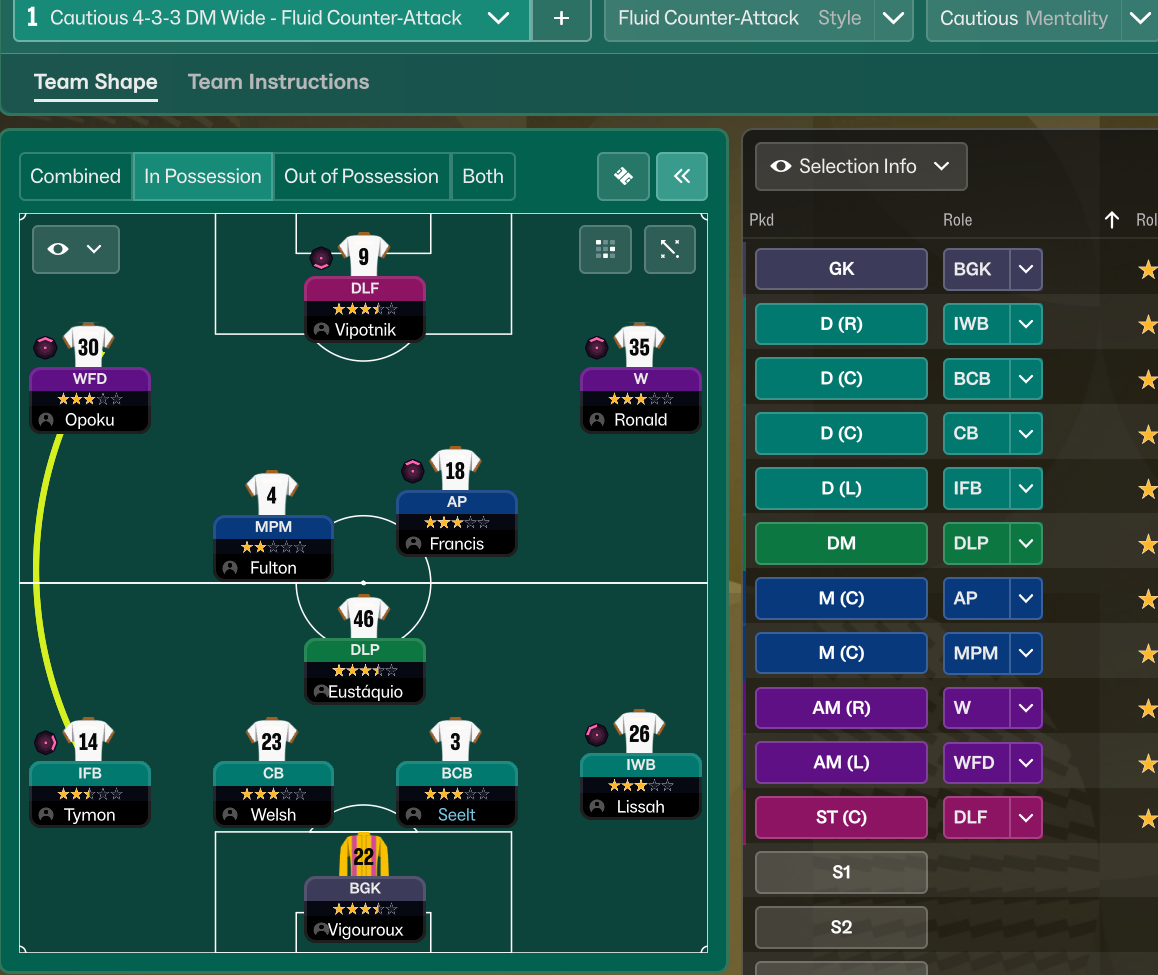
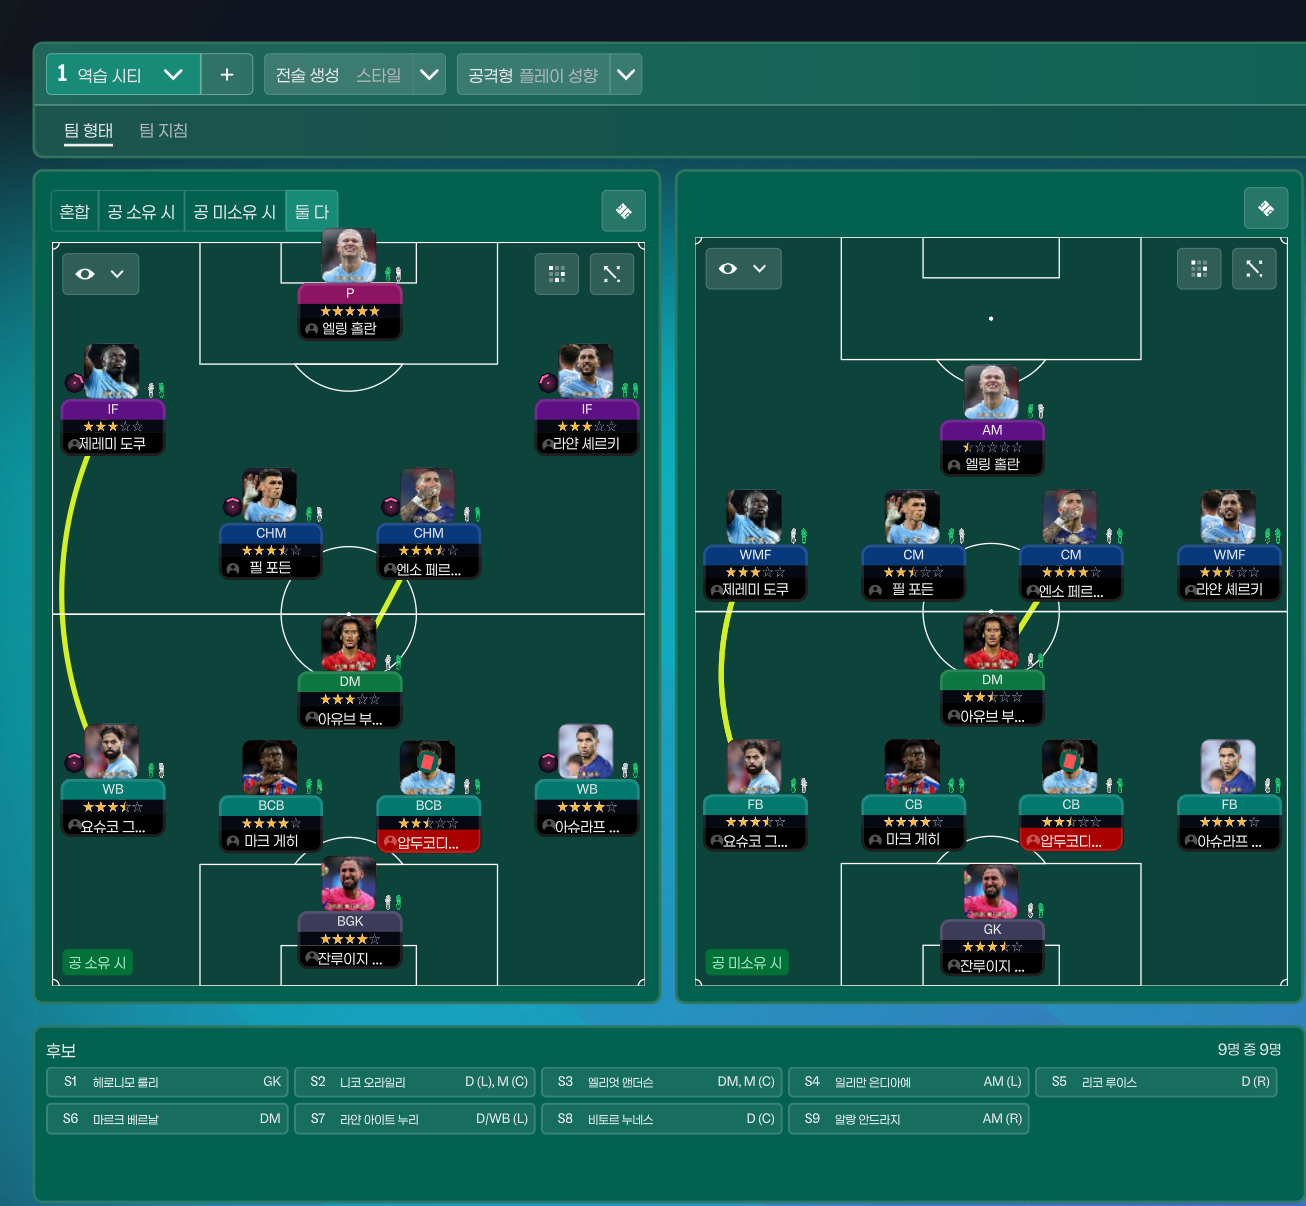
Guides for this tactic
The tactical theory behind the 4-3-2-1: roles, instructions, and the trade-offs that decide whether the system holds up.
Foundations
Pressing Triggers and Intensity
Counter-Press, Regroup, Stand Off, Trigger Press: what each pressing instruction does in FM and how to pair them without contradicting.
Read guide
Foundations
Defensive Line and Line of Engagement
The pairing rule for Defensive Line and Line of Engagement, all 9 combinations, and the gap that costs goals.
Read guide
Foundations
Width, Compactness, and Tempo
What Higher Tempo, Wider, and Narrower actually do in FM, plus the dial contradictions and antipatterns players run into most often.
Read guide