Fluid Counter-Attack 4-2-3-1 Wide (Positive) Tactic
4-2-3-1 Wide
Exploit left side with overlaps from the Inverted Wing-Back and Winger. Ball-Playing Defenders facilitate build-up play.
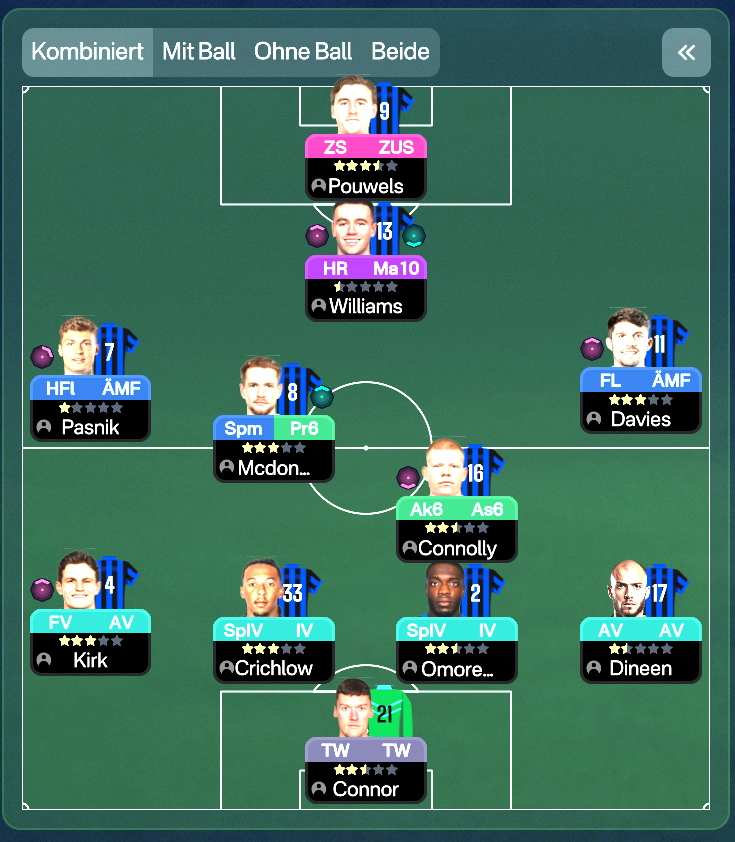
Loading tactical analysis...
Formation and style
Fluid Counter-attack
Positive
4-2-3-1 Wide
Fluid
In possession
Focus Play Down Left
Play Out of Defence
Work Ball Into Box
Pass Into Space
In transition
Counter
Counter Press
Out of possession
Higher Defensive Line
Higher Line of Engagement
Prevent Short GK Distribution
Player roles
GK
Goalkeeper
Defense
Right Back
Wing-Back
Attack
Left Back
Inverted Wing-Back
Support
Centre Back
Ball-Playing Defender
Defend
Centre Back
Ball-Playing Defender
Defend
Defensive Midfield
Half Back
Support
Central Midfield
Box-to-Box Midfielder
Support
Attacking Midfield
Advanced Playmaker
Support
Left Wing
Winger
Attack
Centre Forward
Pressing Forward
Attack
Right Wing
Winger
Attack
Phase description
The team aims to create opportunities using width and quick transitions, with the Advanced Playmaker orchestrating attacks.
Upon losing possession, players engage in counter-pressing to regain the ball quickly.
Exploit left side with overlaps from the Inverted Wing-Back and Winger.
Team shape defence
Compact Block
Defensive line sits higher, maintaining pressure within the opponent's half.
Higher Defensive Line paired with Higher Line of Engagement.
Team shape attack
Wide and Fluid
Utilizing wide players to stretch the defense while central players occupy key spaces.
Focus Play Down Left and Wingers supporting wide play.
Key strengths
Building from the Back
Ball-Playing Defenders facilitate build-up play.
BPD role with a focus on passing from [2,3] and [2,4].
Offensive Width
Wingers stretch the opposition and create space for midfield players.
Wingers positioned wide at [6,1] and [6,5].
Conflicting tactics
High Defensive Line Risks
While pressing high can win the ball back, it leaves space behind for counter-attacks.
Higher Defensive Line and Higher Line of Engagement increases risk of outsprinting.
Limited Depth in Midfield
Heavy reliance on the Box-to-Box and Half Back for both defensive duties and progression.
Only two central midfielders can lead to being overrun in transition.
Risk exposures
Risk Exposures
Items
Defensive Line
A high defensive line may be exposed to quick counter-attacks.
Heightened risk with High Defensive Line setup.
Midfield Transition
Dual midfield setup may lead to a lack of support on transitions.
Rigid roles for Box-to-Box and Half Back.
Role synergies
Role Synergies
Items
Half Back and Box-to-Box Midfielder
Provides balanced support for both defense and attack, ensuring depth.
Half Back at [3,3] supports while Box-to-Box at [4,3] drives forward.
Winger and Inverted Wing-Back
Creates overlapping runs that can confuse opposition defenses.
Winger at [5,1] leverages overlapping runs from IWB at [2,1].
Suggested questions
How can I better utilize my wide players?
What adjustments can reduce counter-attacking risks?
Is my midfield setup effective against stronger opponents?
Related Tactics
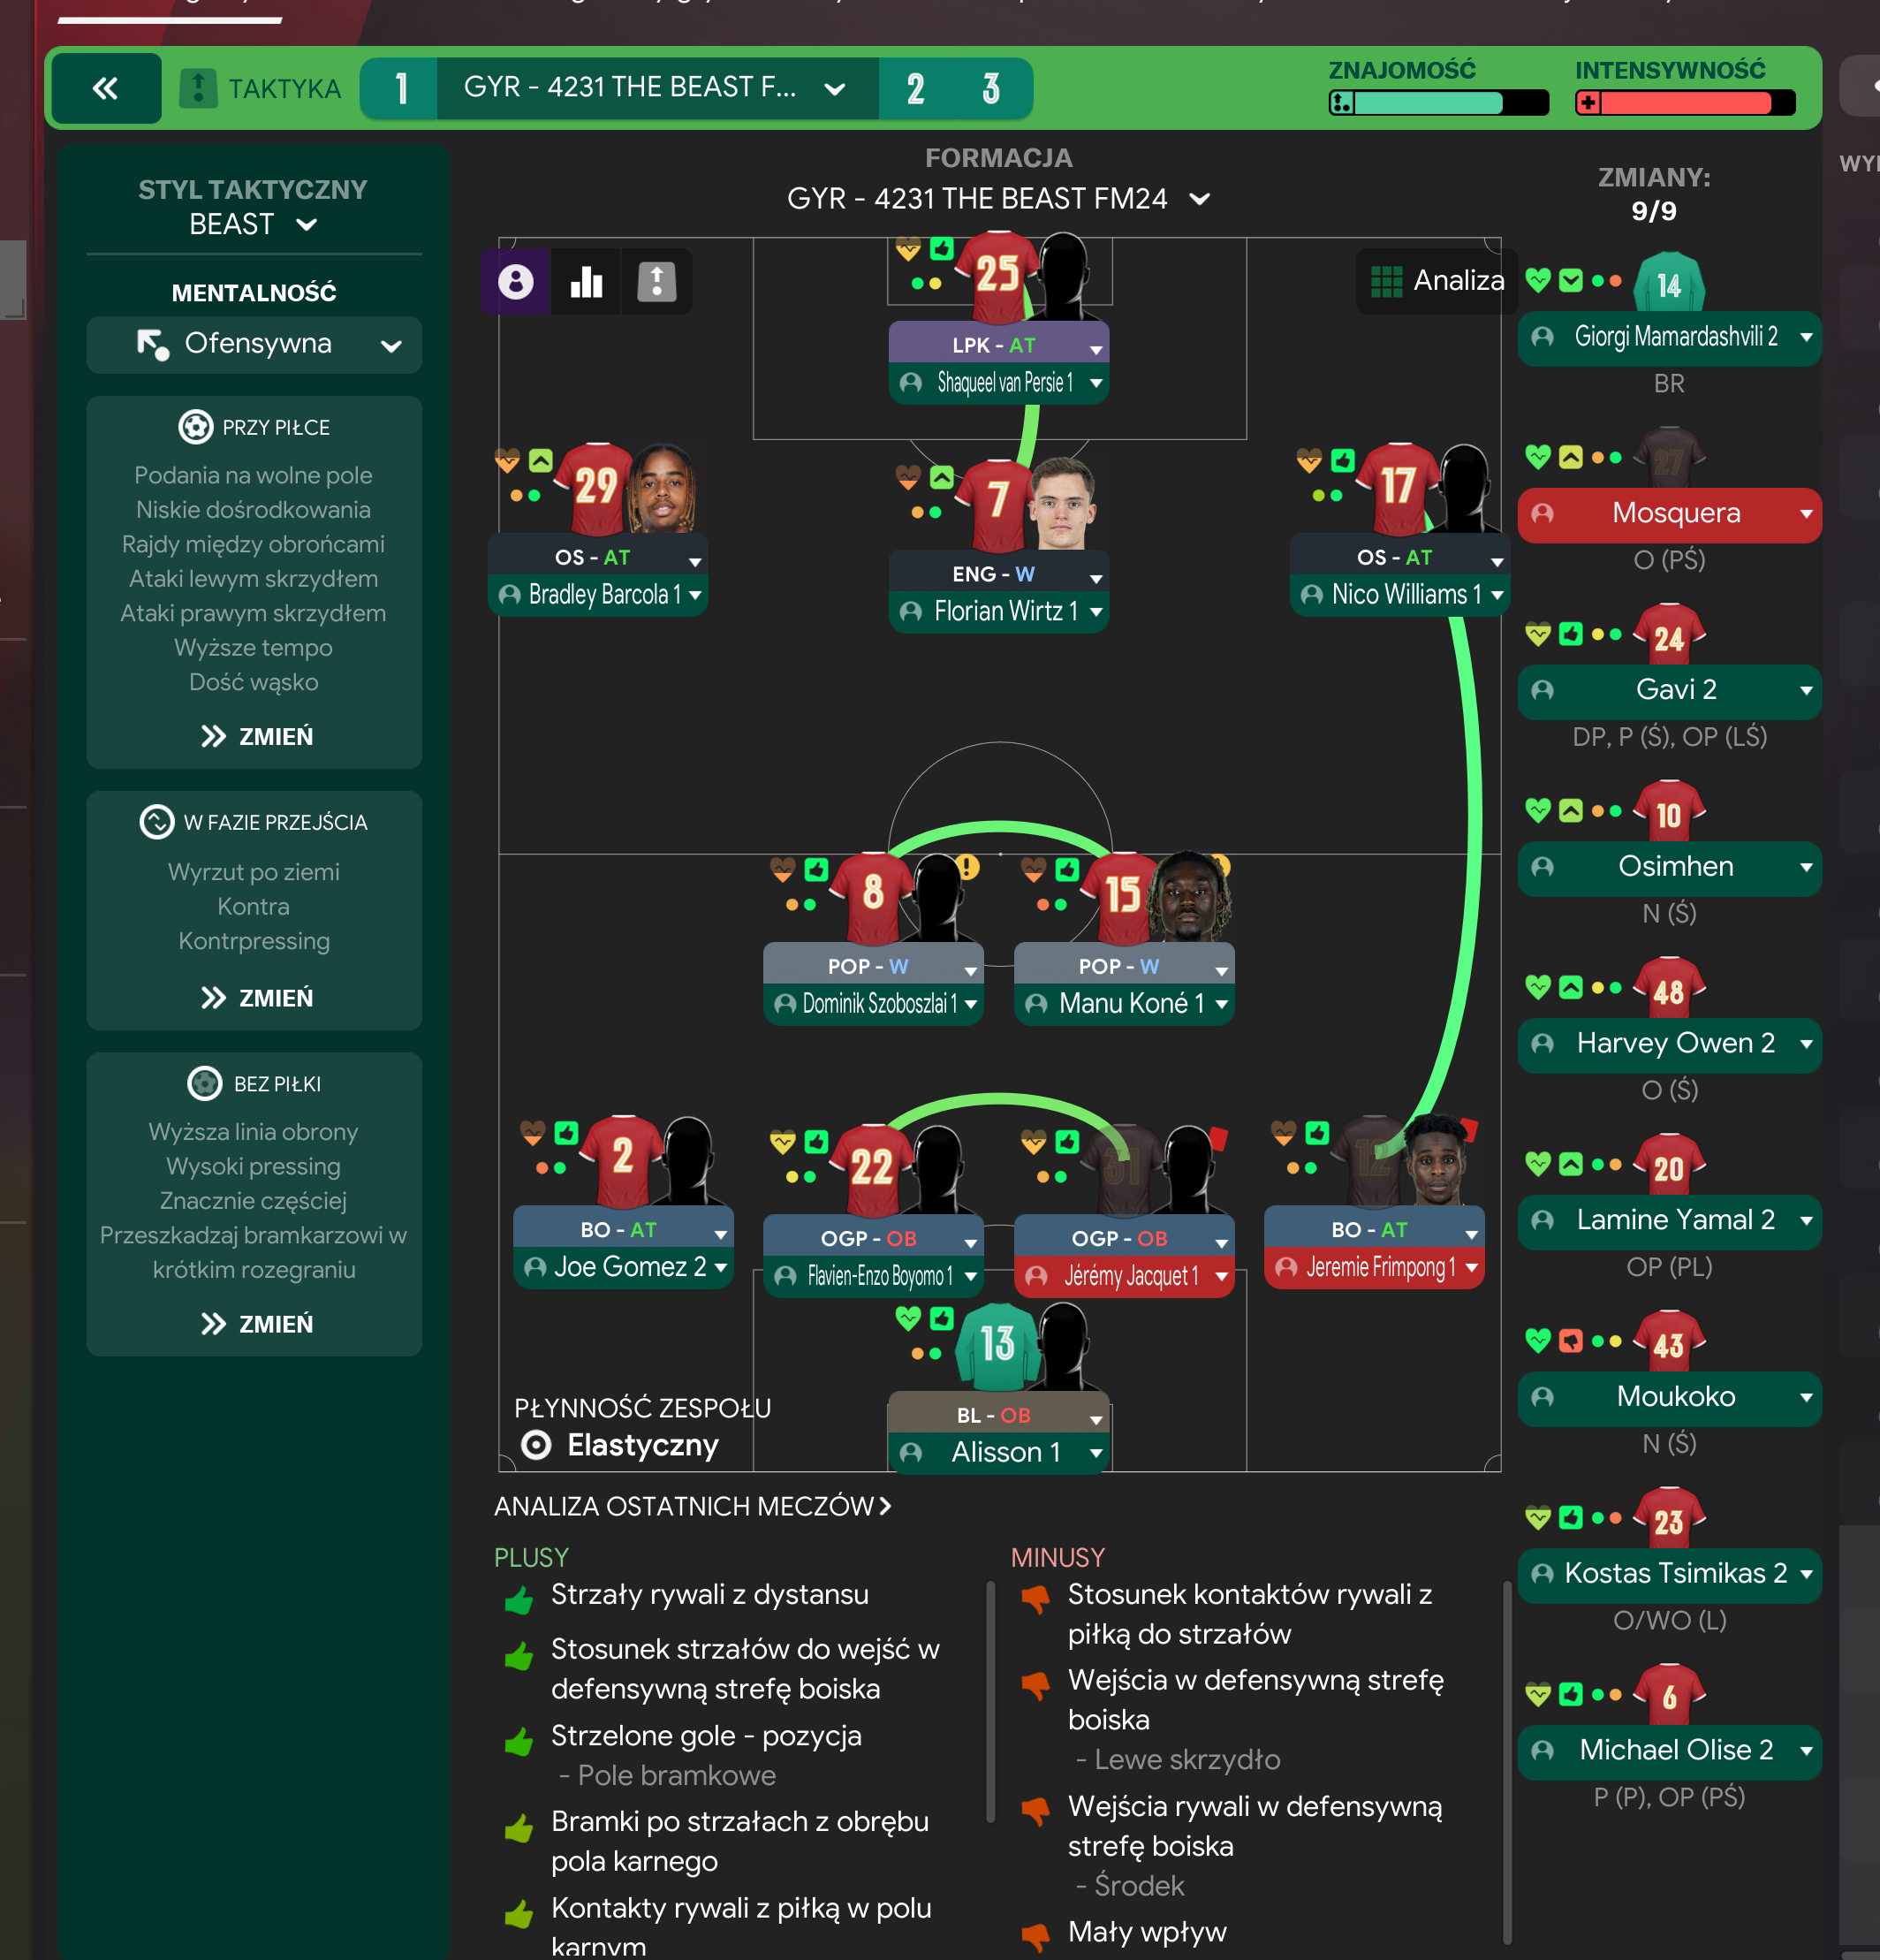
Gegenpress 4-2-3-1 Wide
Gegenpress
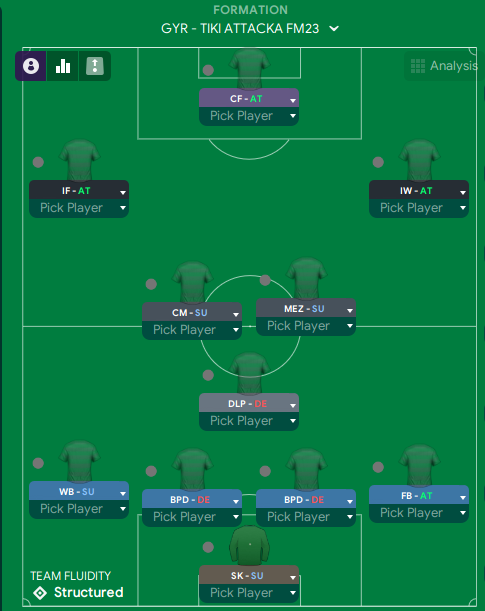
Tiki-Taka 4-2-3-1 Wide
Tiki Taka
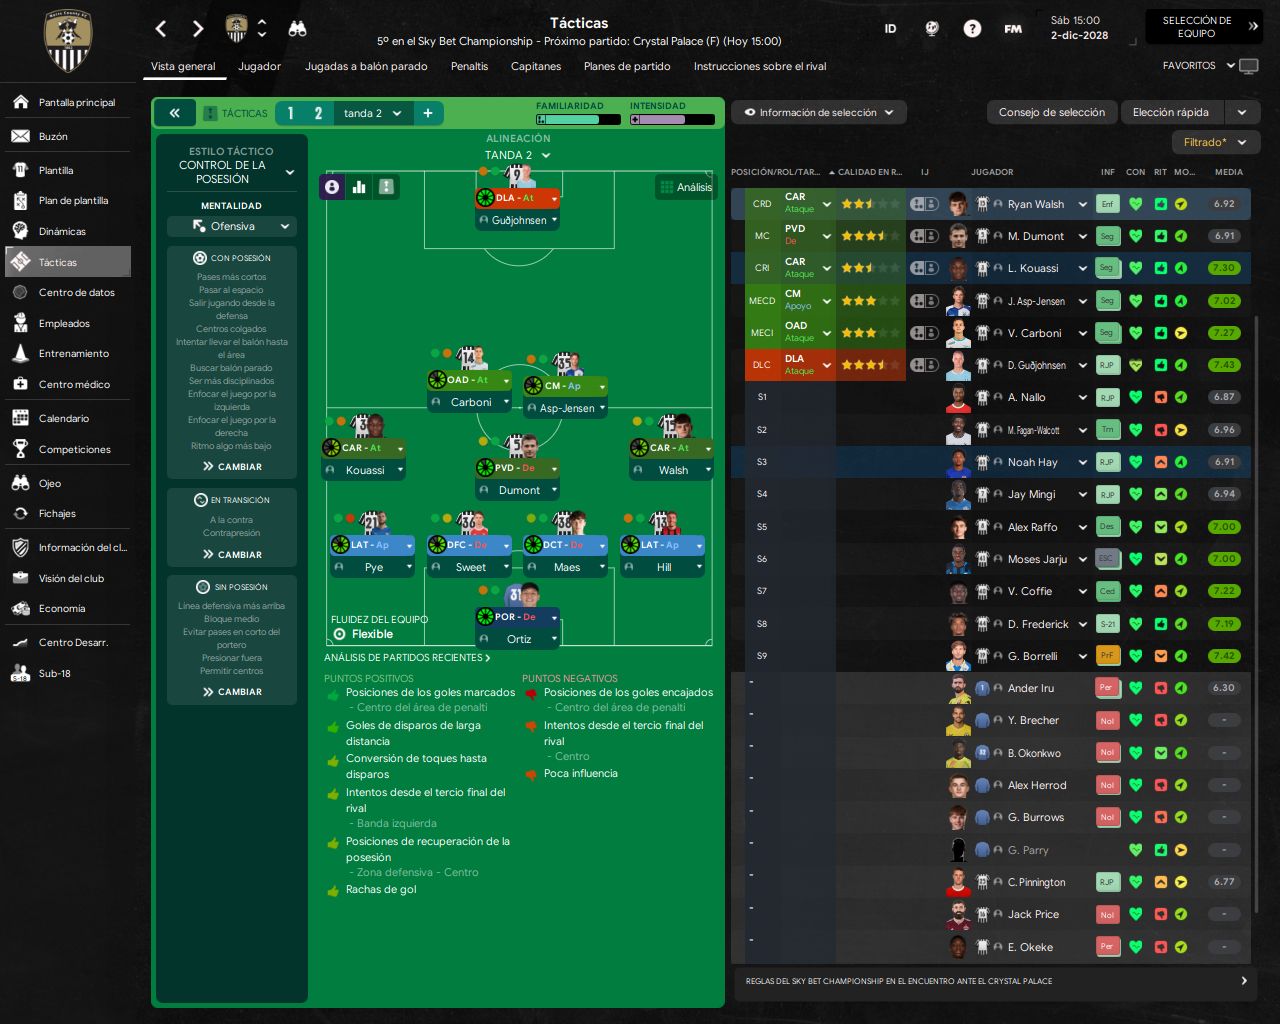
4-2-3-1 Wide Formation
Control de la posesión
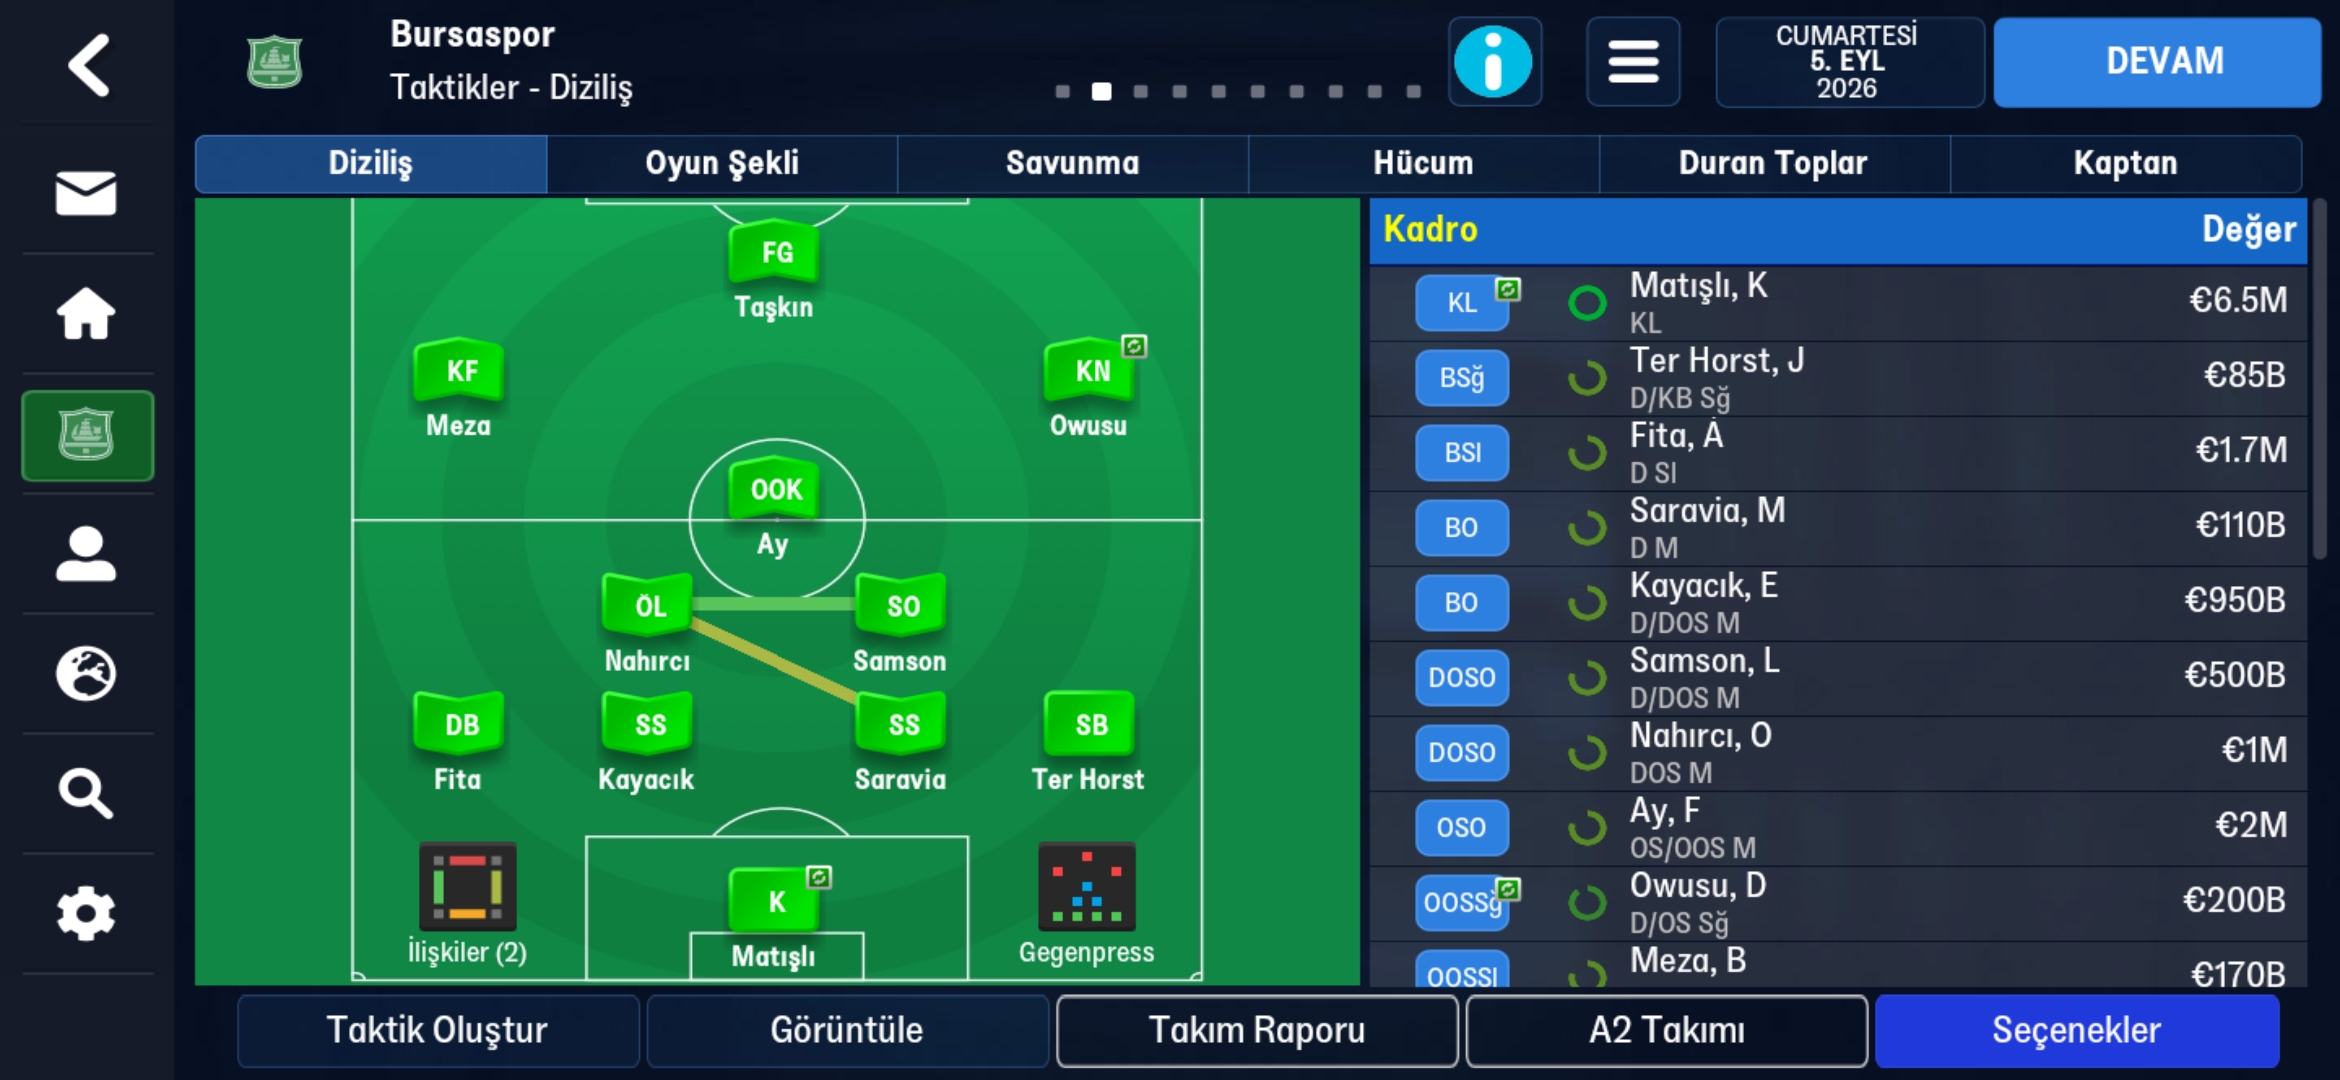
Gegenpress 4-2-3-1 Wide
Gegenpress
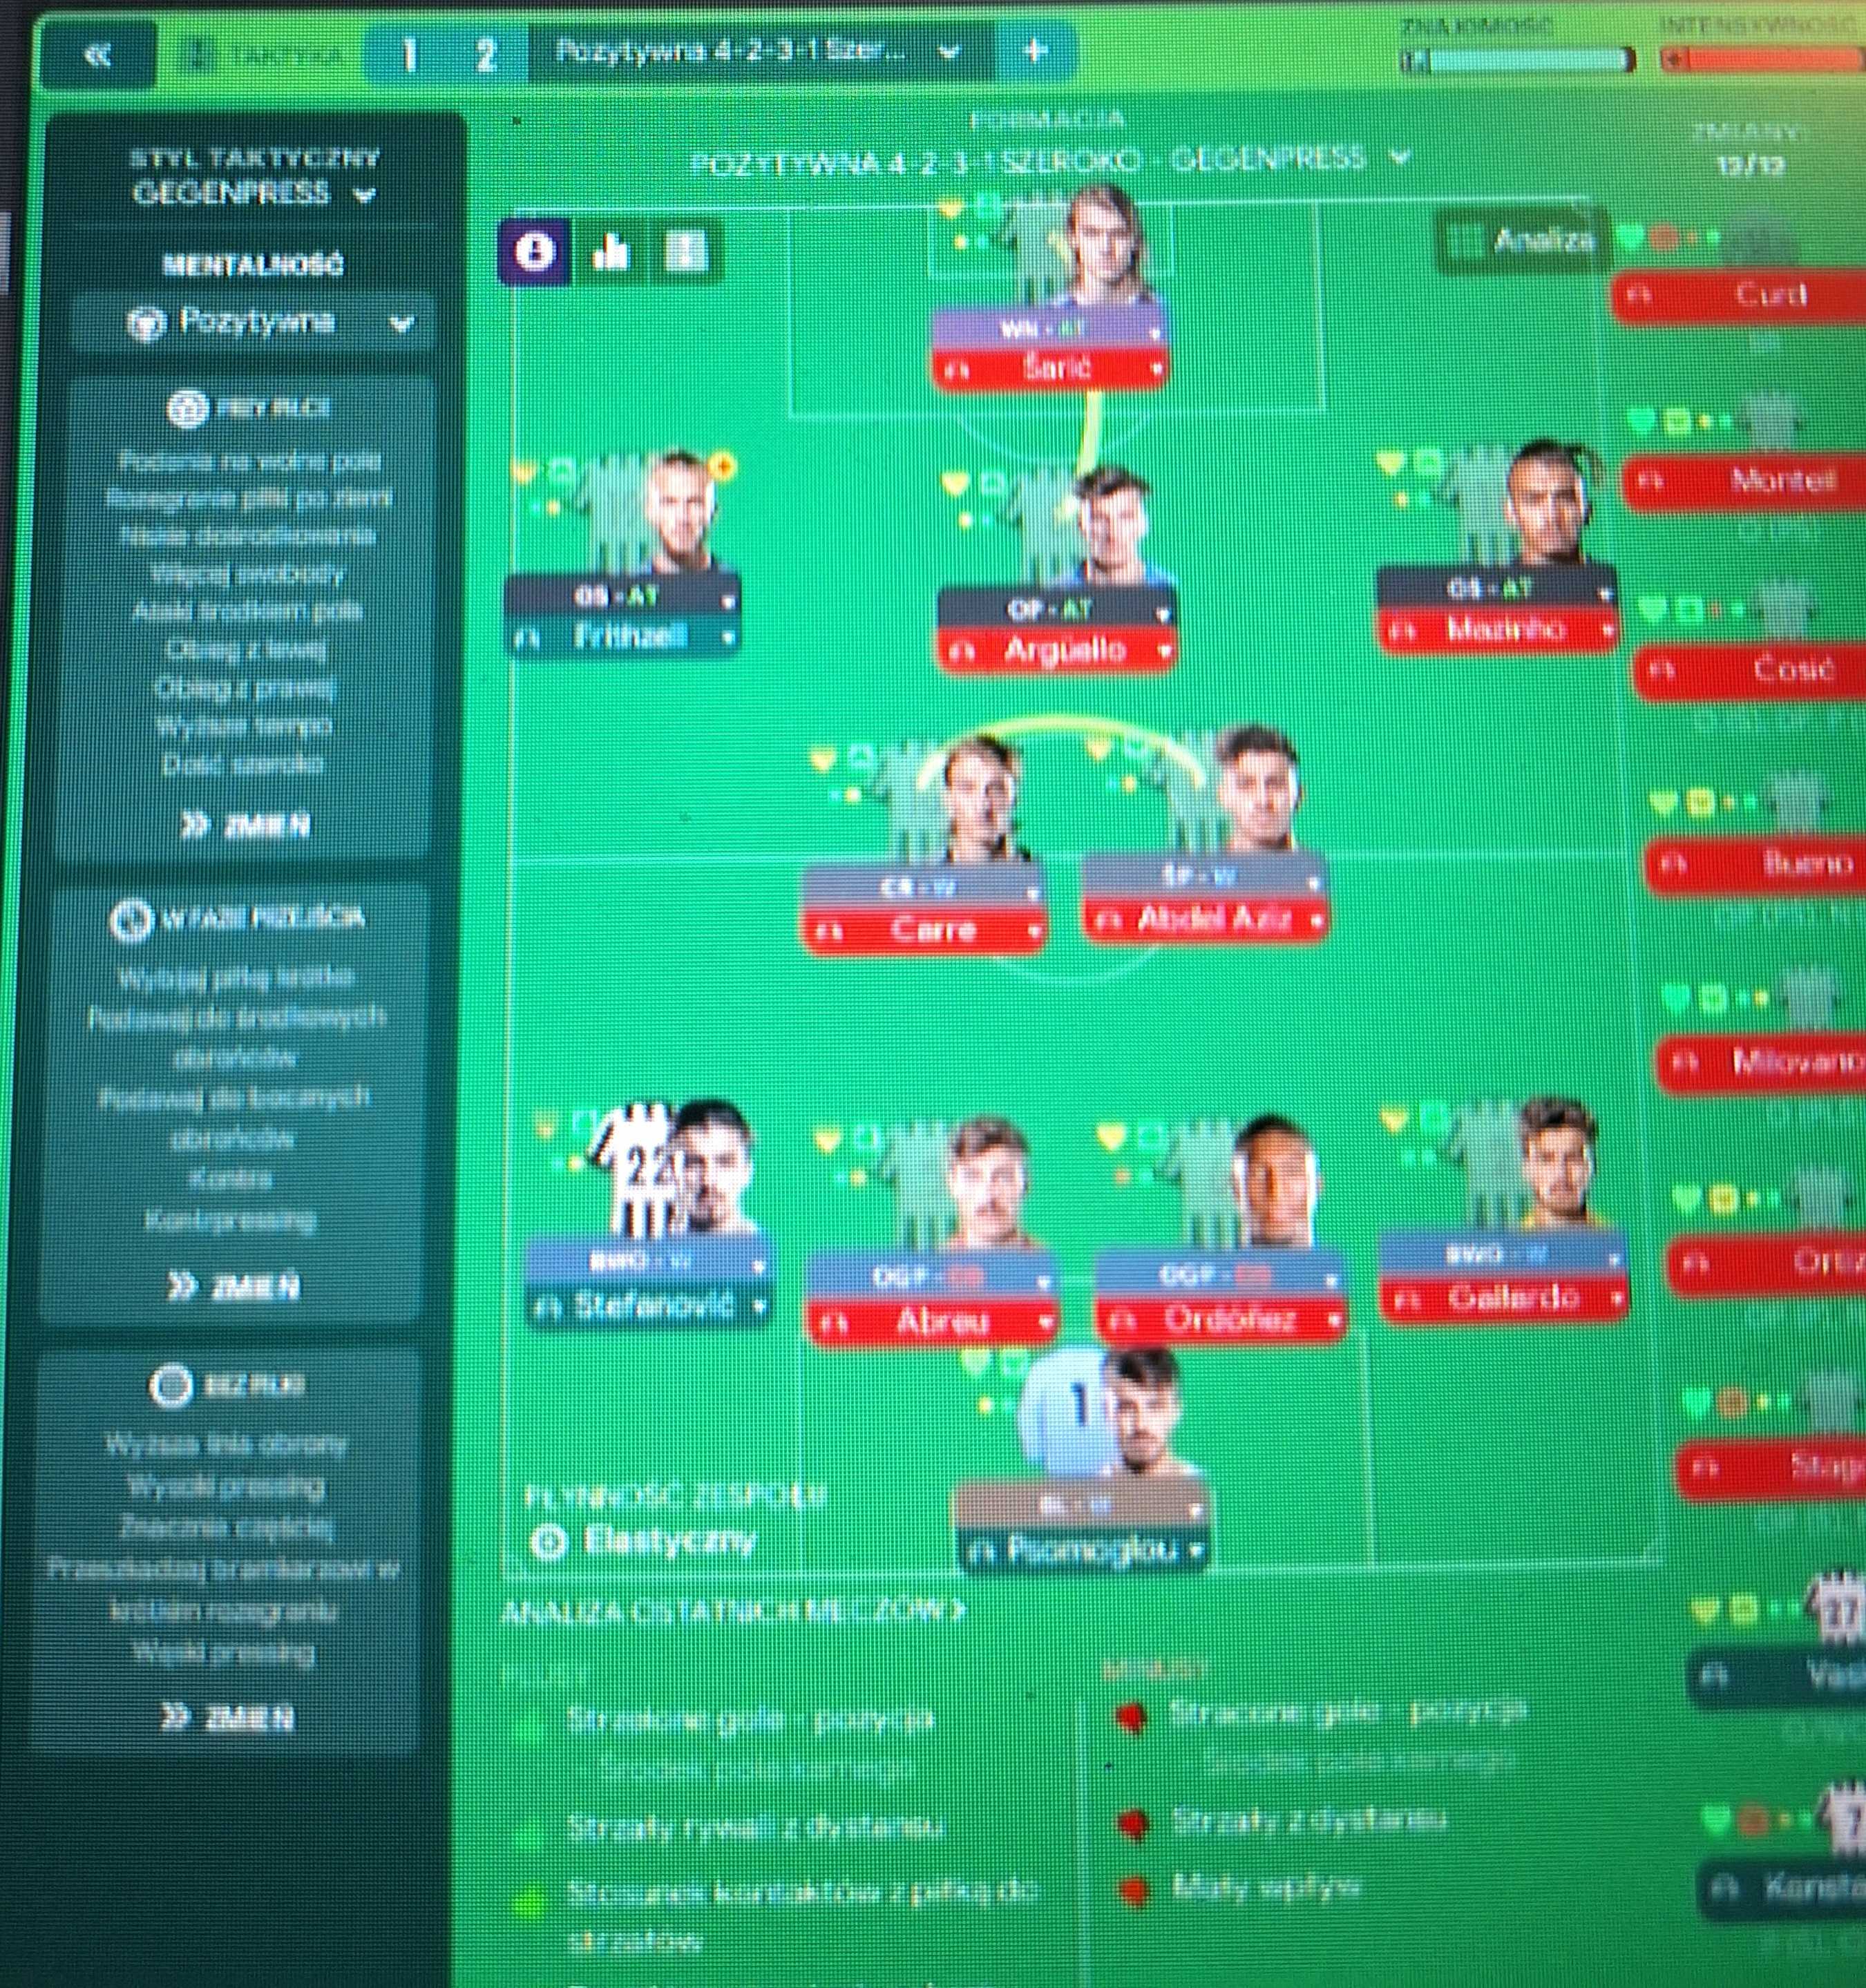
Gegenpress 4-2-3-1 Wide
Gegenpress
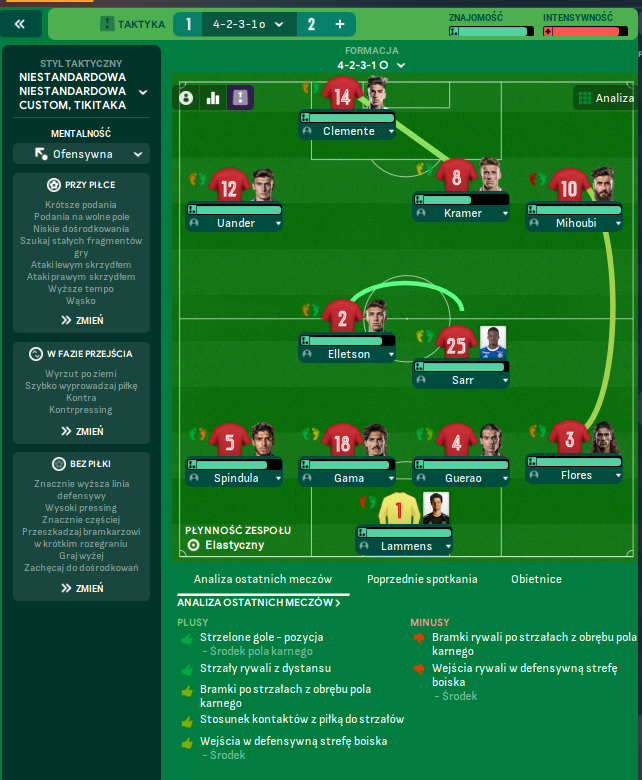
Tiki-Taka 4-2-3-1 Wide
Tiki-Taka
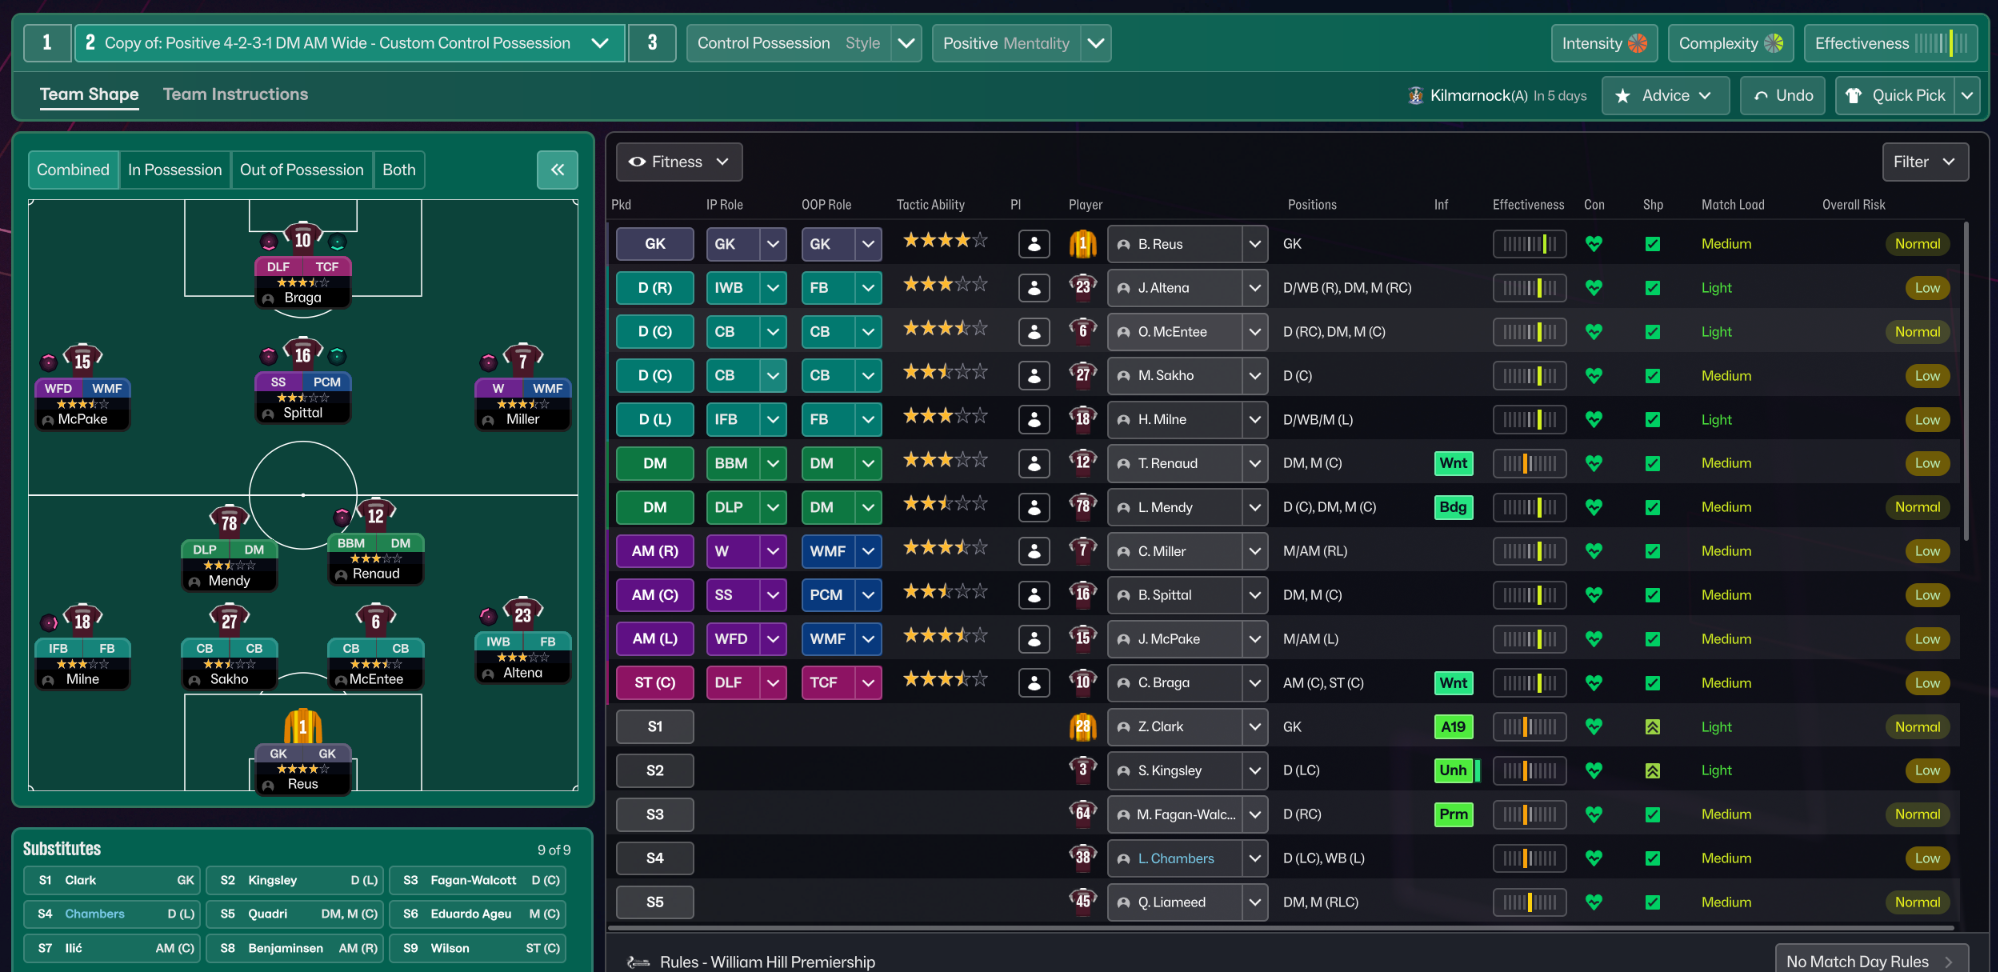
Control Possession 4-2-3-1 Wide
Control Possession
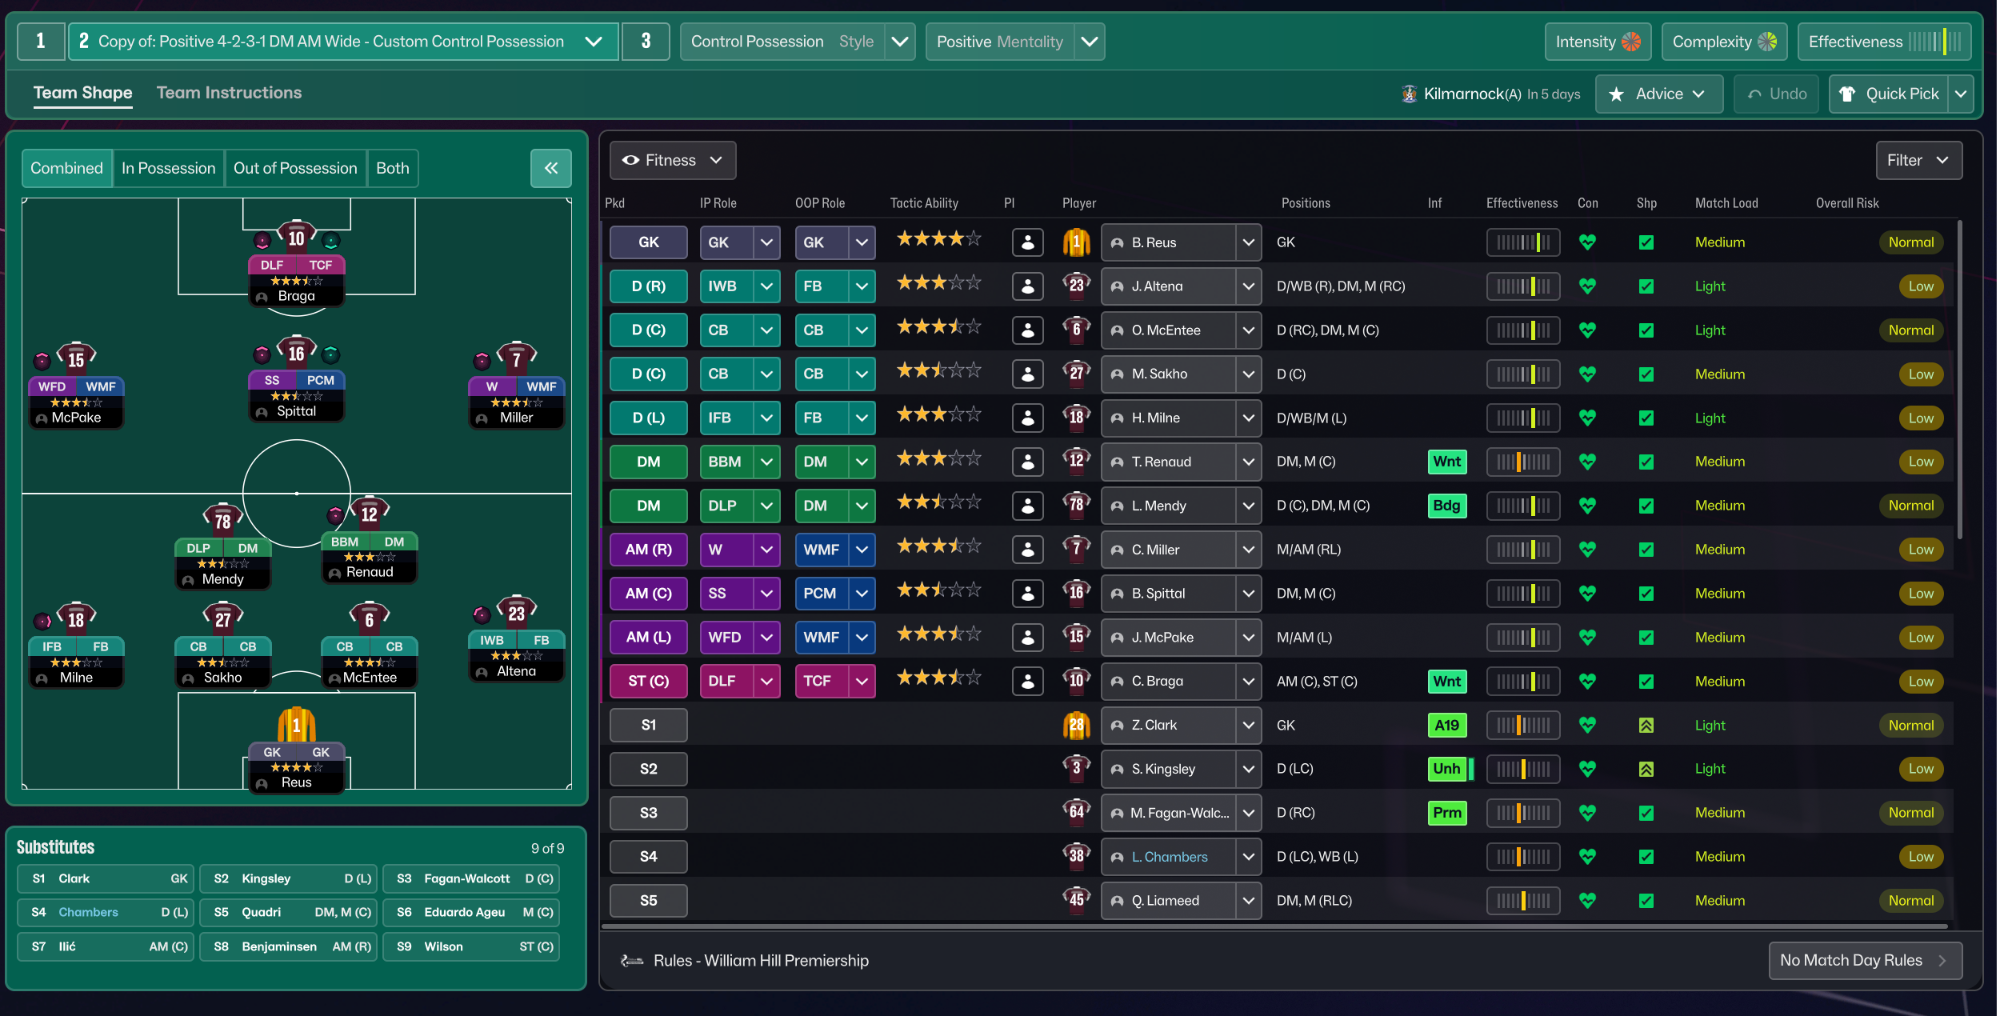
Control Possession 4-2-3-1 Wide
Control Possession
Guides for this tactic
The tactical theory behind the 4-2-3-1 Wide: roles, instructions, and the trade-offs that decide whether the system holds up.
Playing styles
Gegenpressing: A Full Guide
Klopp-style gegenpressing in FM, including squad profile, line-and-press pairing, sustainable workload, and the antipatterns to avoid.
Read guide
Player pairings
Midfield Pairs in 4-2-3-1 and 4-4-2
Double pivots and flat pairs in 4-2-3-1 and 4-4-2: when each pairing works, when it collapses, and the AMC unicorn that rescues both.
Read guide
Foundations
Defensive Transitions
The five seconds after losing the ball decide most matches. Counter-press, drop-and-recover, and how to know which one you should be doing.
Read guide