Vertical Tiki-Taka 4-1-2-3 (Cautious) Tactic
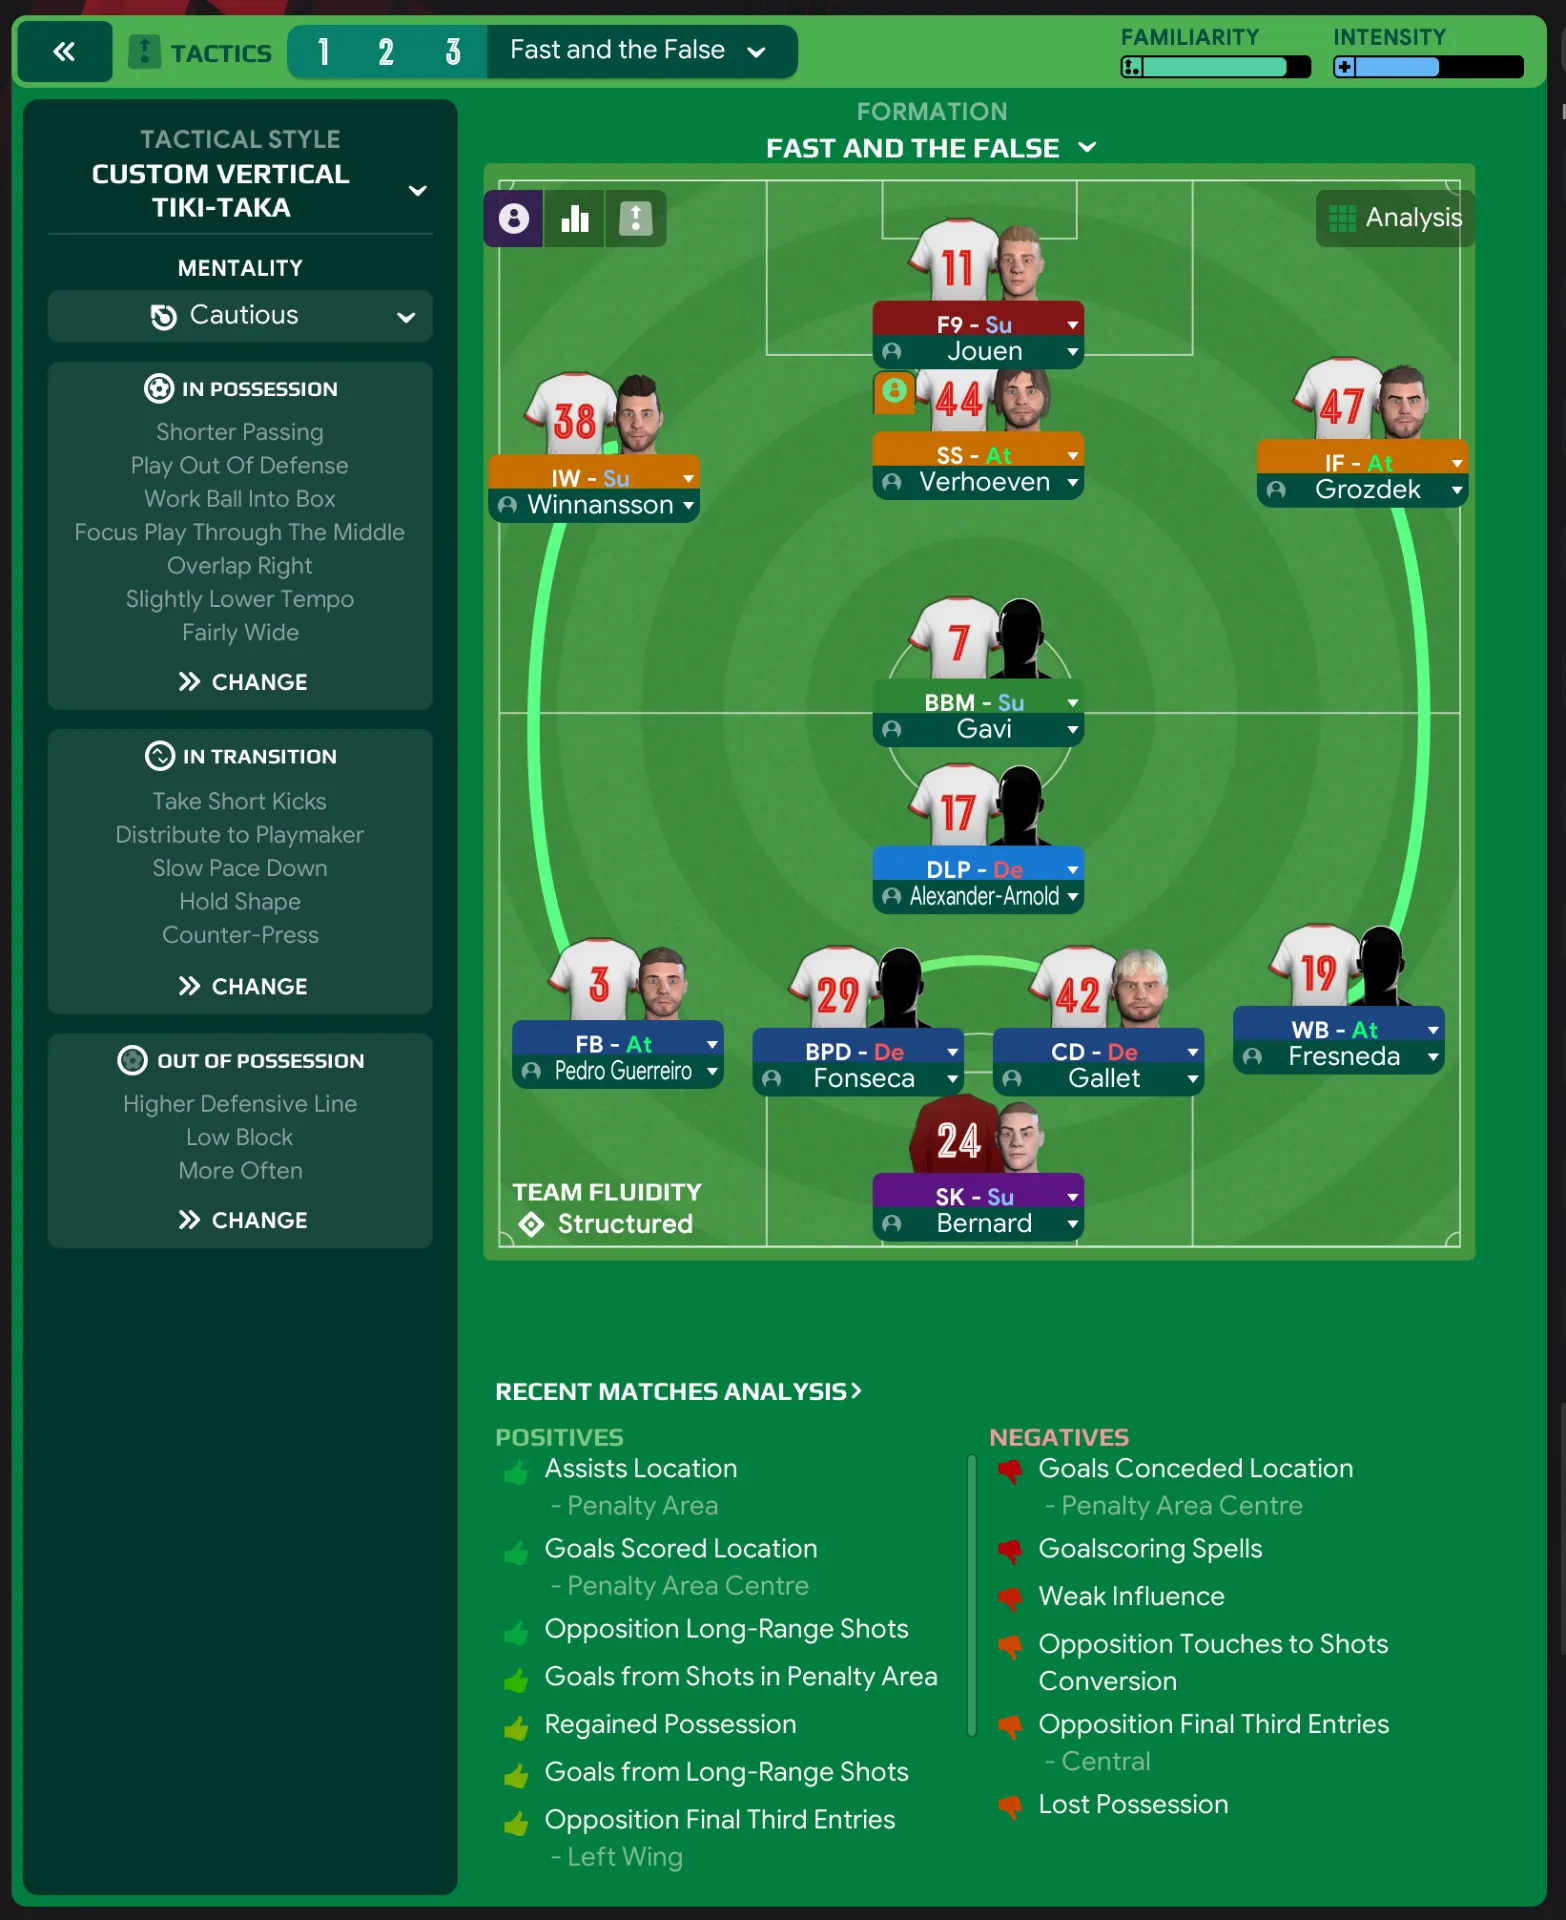
4-1-2-3
Utilize width from the FBs to stretch opposition and create space for the central players. The combination of a Deep-Lying Playmaker and Box-to-Box…
Loading tactical analysis...
Formation and style
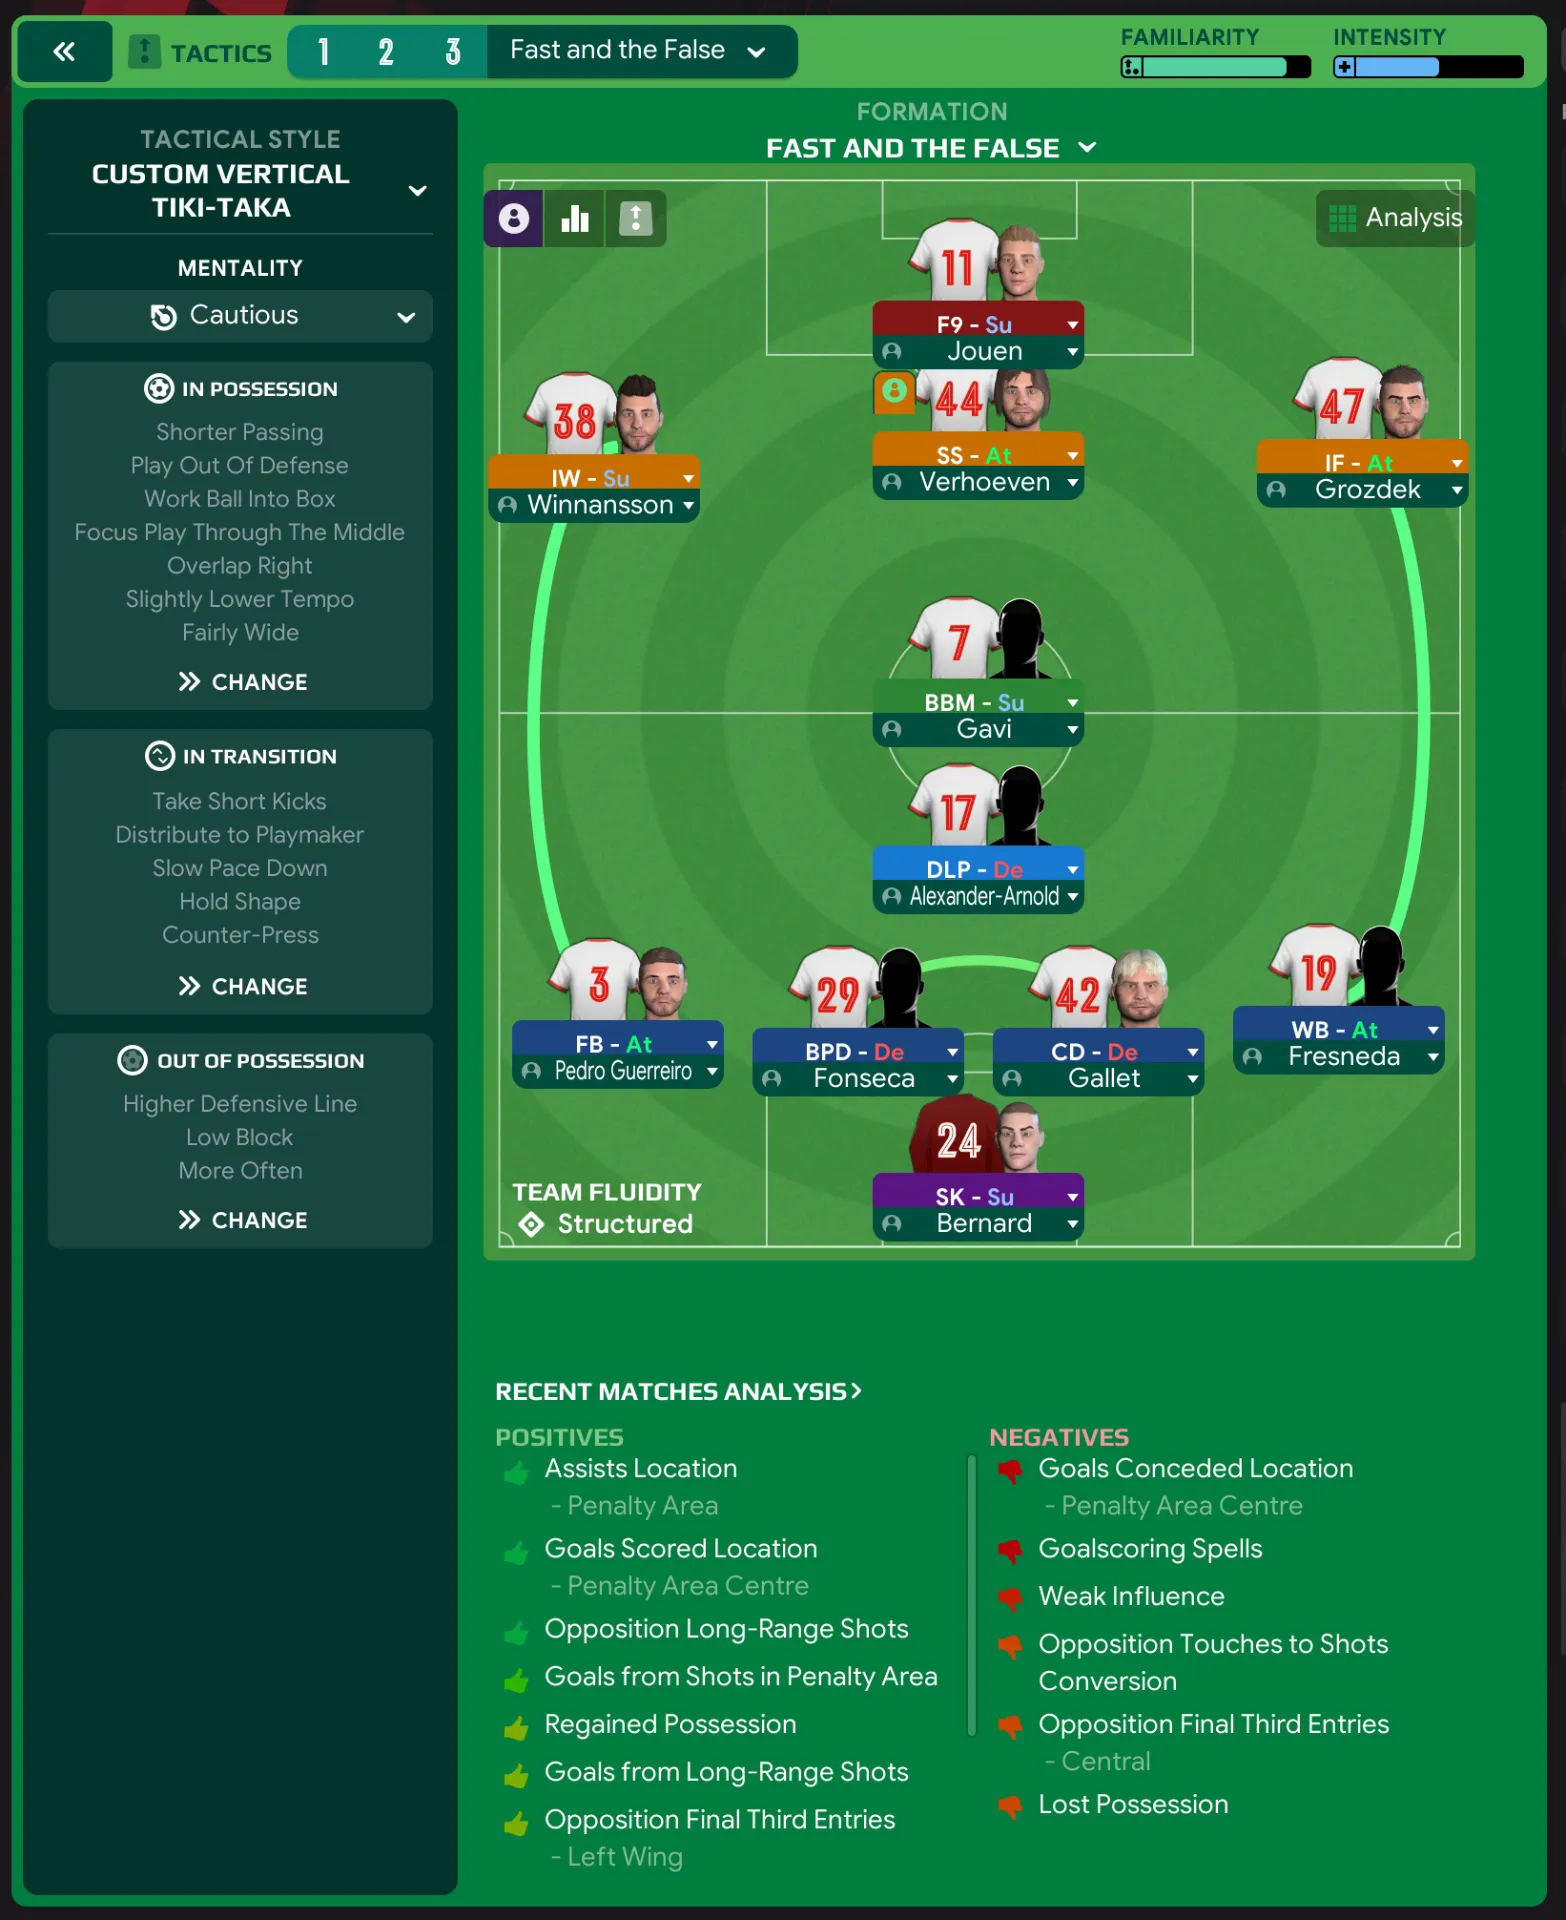
Custom Vertical Tiki-Taka
Cautious
4-1-2-3
Structured
In possession
Shorter Passing
Play Out Of Defense
Work Ball Into Box
Focus Play Through The Middle
Slightly Lower Tempo
Fairly Wide
In transition
Take Short Kicks
Distribute to Playmaker
Slow Pace Down
Hold Shape
Counter-Press
Out of possession
Higher Defensive Line
Low Block
More Often
Player roles
GK
Sweeper Keeper
Support
CB
Ball-Playing Defender
Defend
CB
Central Defender
Defend
FB
Full-Back
Attack
FB
Wing-Back
Attack
DM
Deep-Lying Playmaker
Defend
CM
Box-to-Box Midfielder
Support
IW
Inside Winger
Support
SS
Shadow Striker
Attack
F9
False Nine
Support
IF
Inside Forward
Attack
Phase description
Focuses on control through shorter passing and working the ball into the box, primarily using central players.
Maintaining shape and counter-pressing during loss of possession to regain control quickly.
Utilize width from the FBs to stretch opposition and create space for the central players.
Team shape defence
Low Block
Compact and organized, prioritizing defensive solidity with a higher defensive line.
Defenders are instructed to keep a higher line whilst maintaining a low block philosophy.
Team shape attack
Fluid Attack
The shape transitions between a dominant midfield and a flexible frontline, creating multiple passing options.
The roles within midfield and attacking positions are designed to interchange and support fluid movements.
Key strengths
Fluid Midfield Support
The combination of a Deep-Lying Playmaker and Box-to-Box Midfielder provides dynamic support to attacks.
DLP-D at [3,3] and BBM-S at [4,4] effectively connect defense and attack.
Width from Full-Backs
Full-backs are positioned to stretch the pitch and create opportunities down the flanks.
FB-A at [2,1] and WB-A at [2,5] facilitate wing play.
Conflicting tactics
Cautious Mentality vs. Attacking Roles
A cautious approach may limit the potential for aggressive forward play.
F9-S at [6,3] and IW-S at [5,1] suggest offensive intent, but cautious mentality may restrict their influence.
High Line Defensive Risks
A higher defensive line may expose the team to counter-attacks.
The 'Higher Defensive Line' combined with a 'Low Block' instruction can create vulnerabilities against fast counter-attacks.
Risk exposures
Risk Exposures
Items
Transition from Attack
A rapid transition can expose gaps in defense, leading to easy counter-attacks.
Cautious mentality coupled with high pressing creates possible defensive liabilities.
Counter-Attack Vulnerability
A high defensive line may leave space for opposing teams to exploit during quick breaks.
Higher Defensive Line increases susceptibility to fast counter-attacks when possession is lost.
Role synergies
Role Synergies
Items
BBM and DLP
BBM can provide runs into the box to support the DLP’s playmaking efforts.
BBM-S at [4,4] can link effectively with DLP-D at [3,3] for dynamic interplay.
Inside Winger and Full-Back
Inside Winger provides attacking width while the Full-Back overlaps to create space.
IW-S at [5,1] and FB-A at [2,1] enhance width and flank options.
Suggested questions
How can I better utilize my wing play?
What adjustments can enhance our defensive organization?
Are there additional attacking roles I should consider for better synergy?
Related Tactics
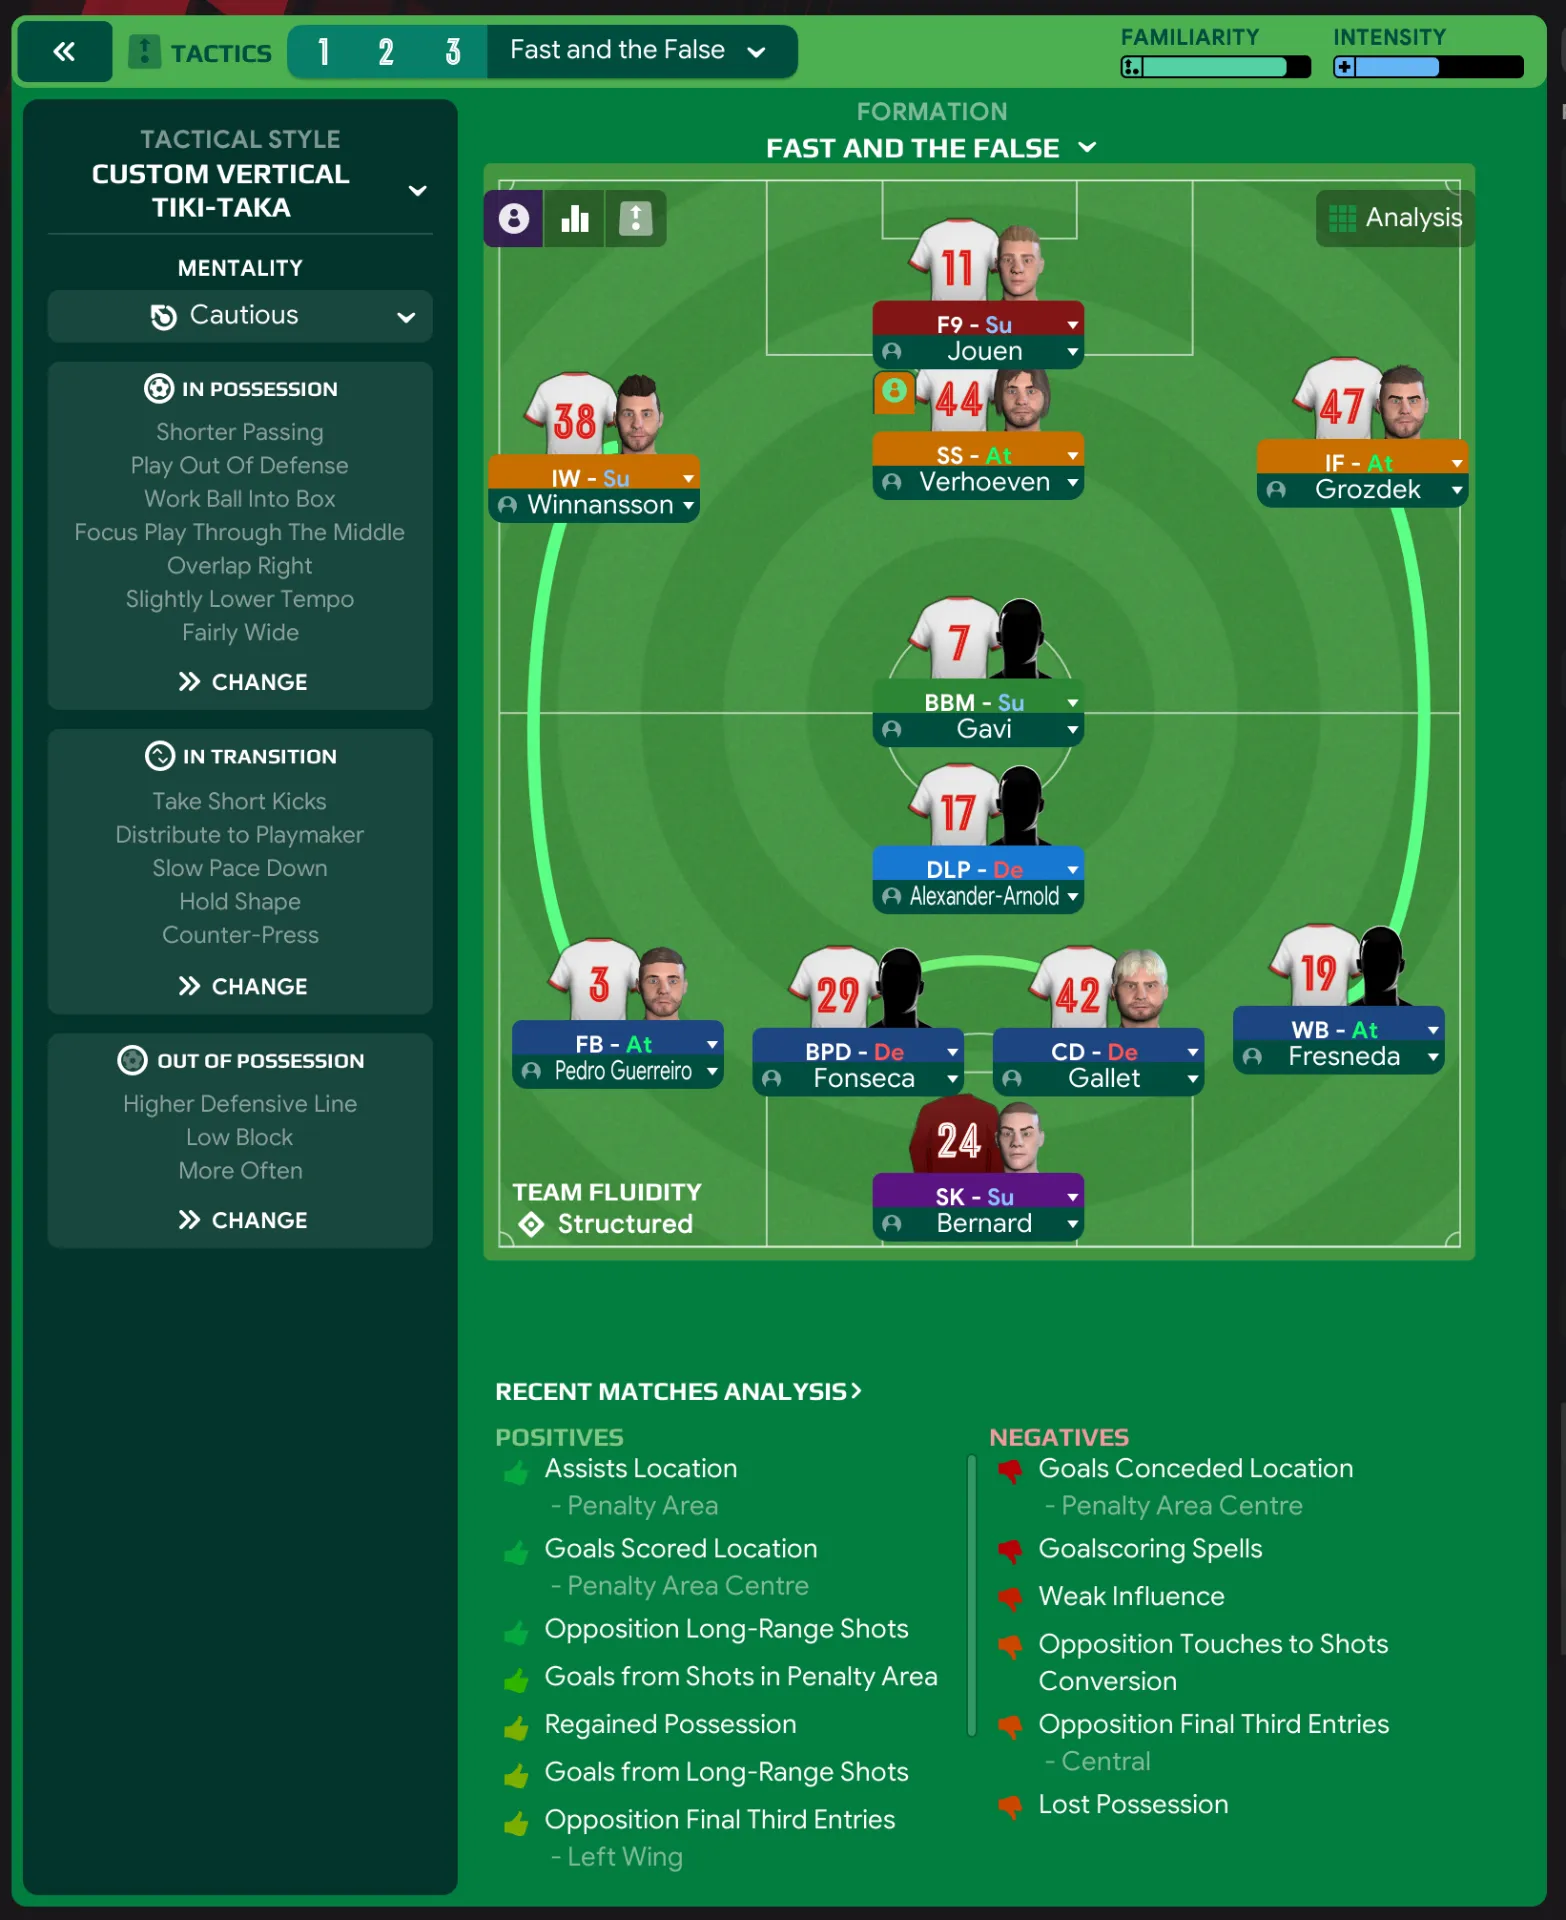
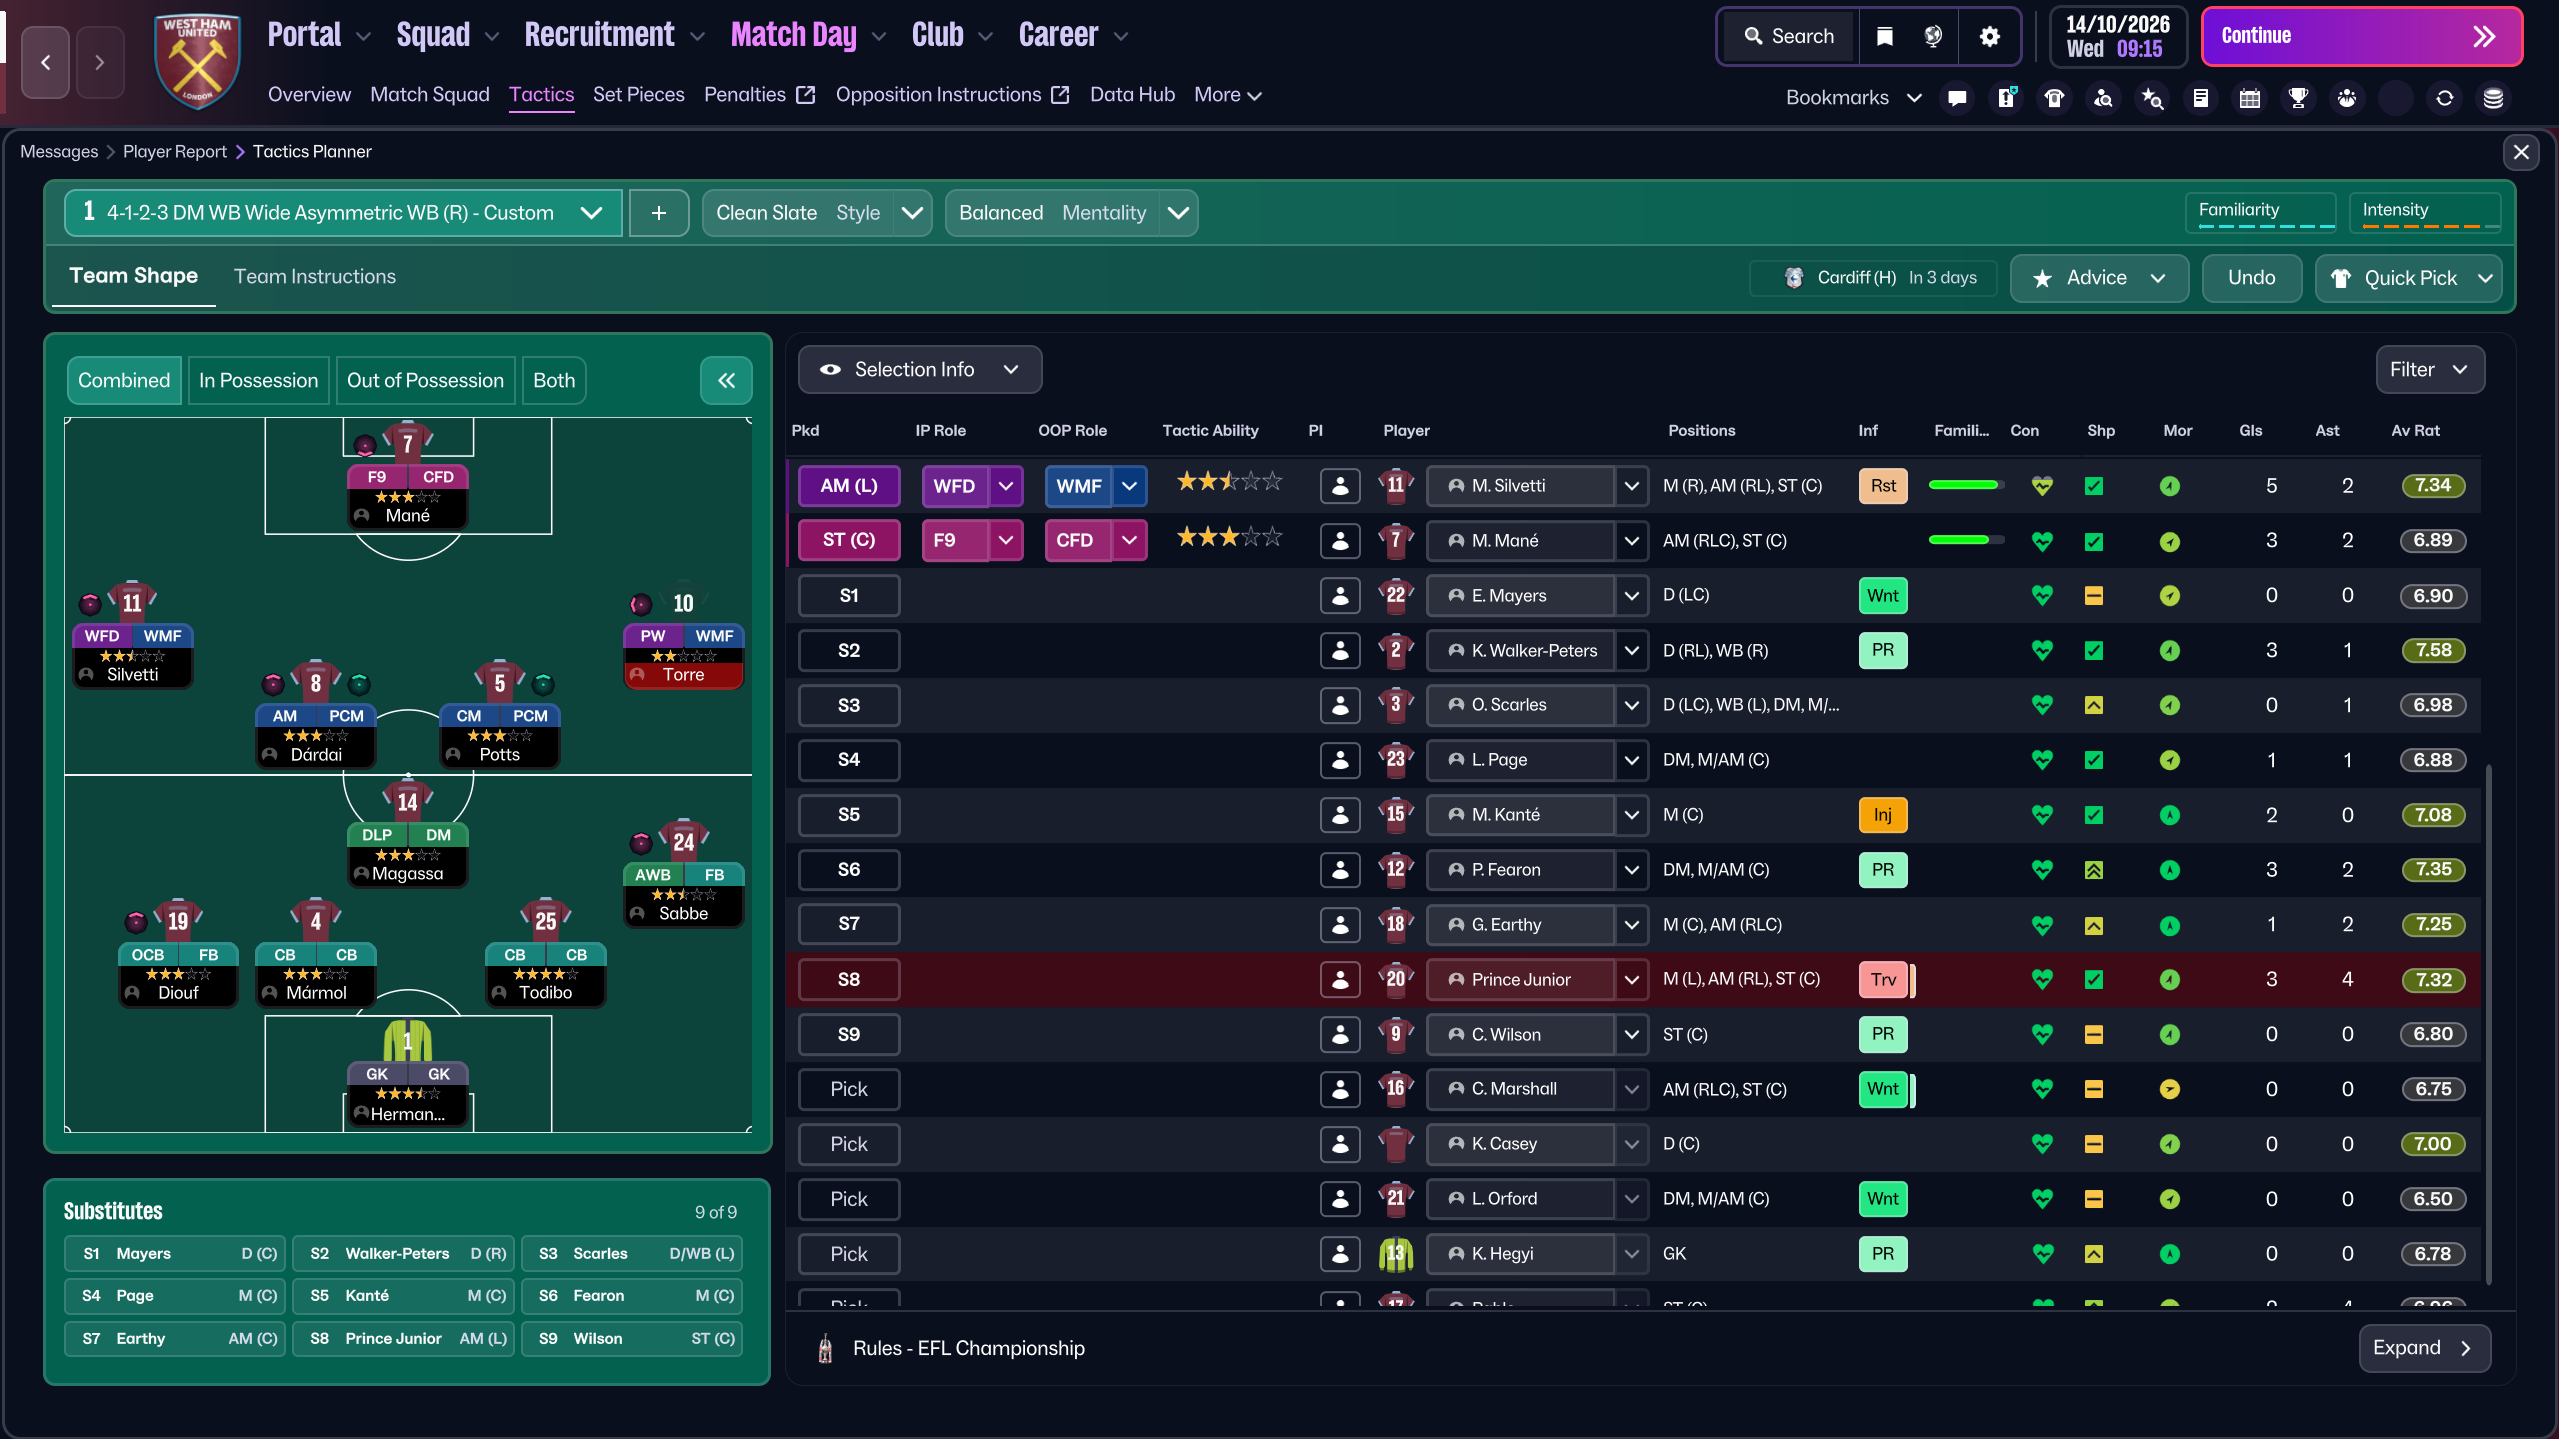
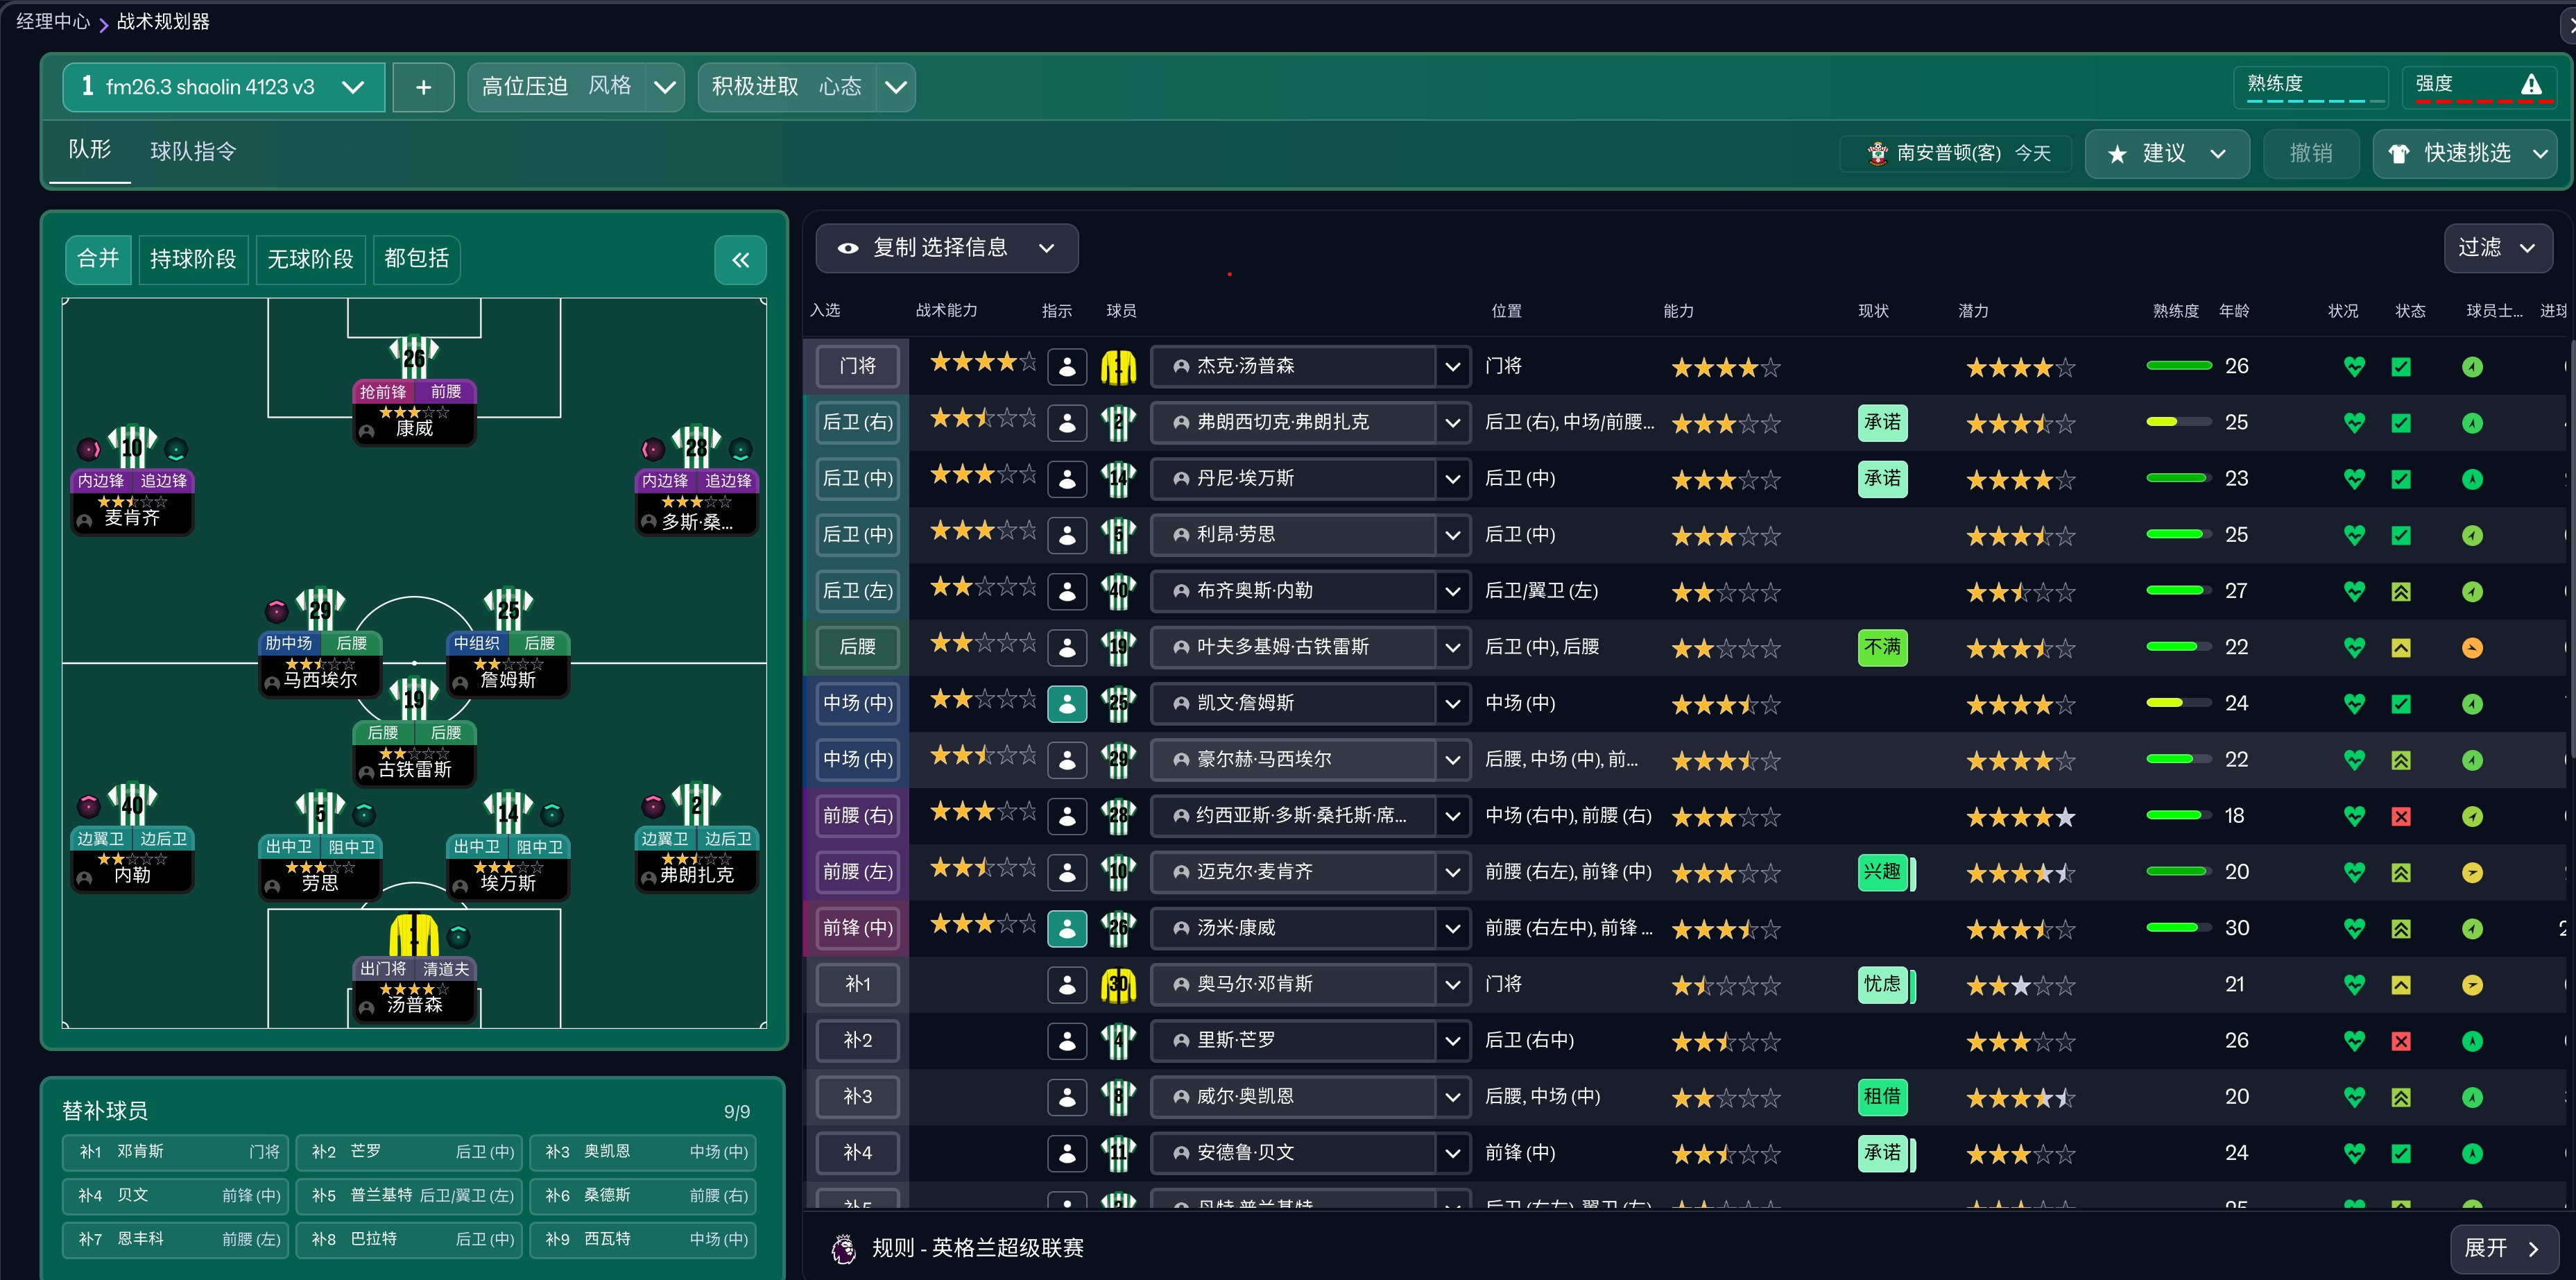
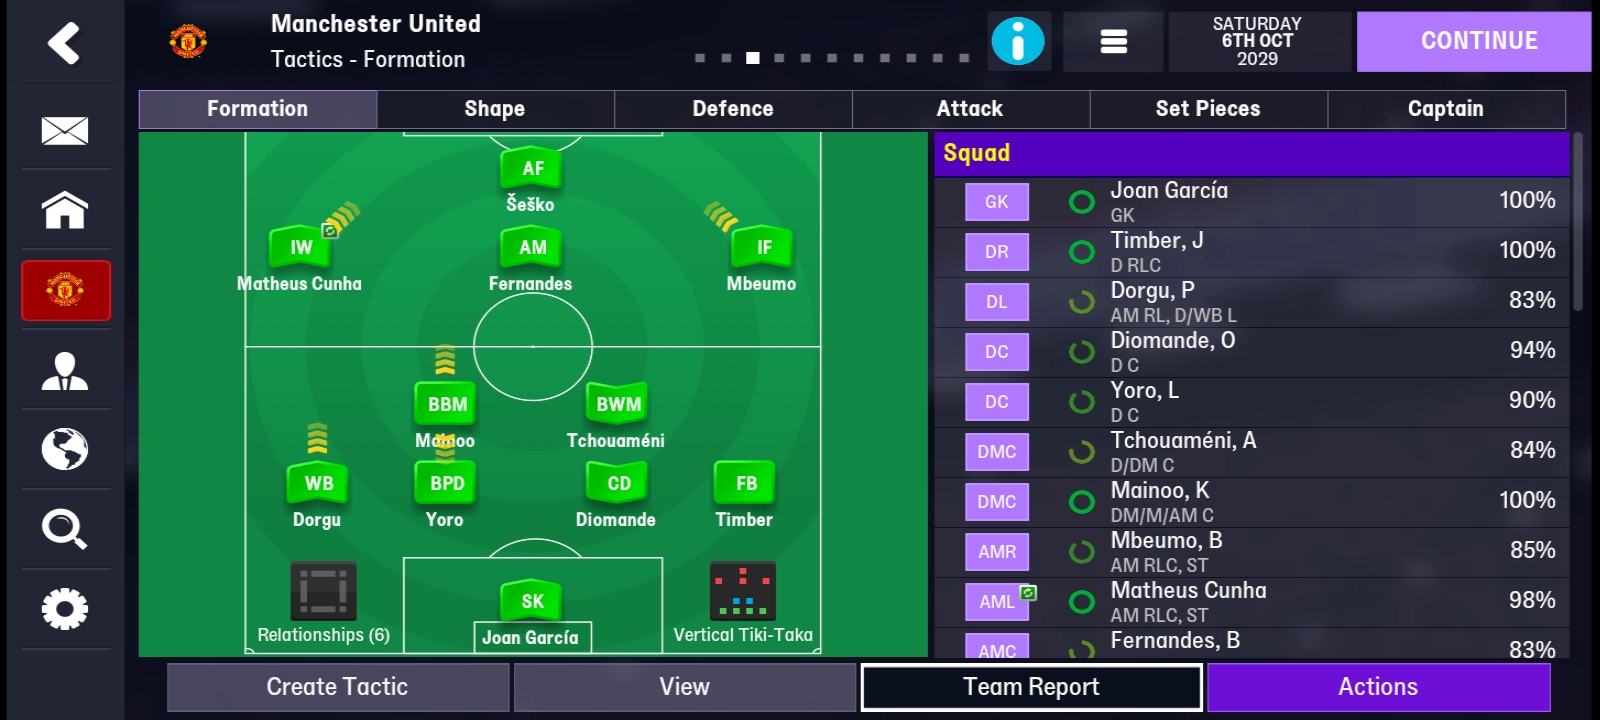
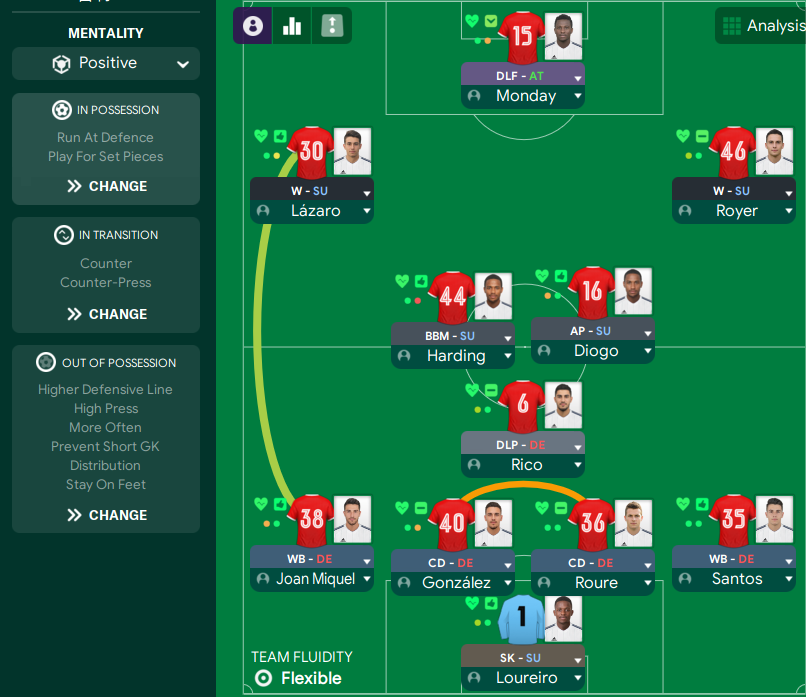
More Custom Vertical Tiki-Taka tactics
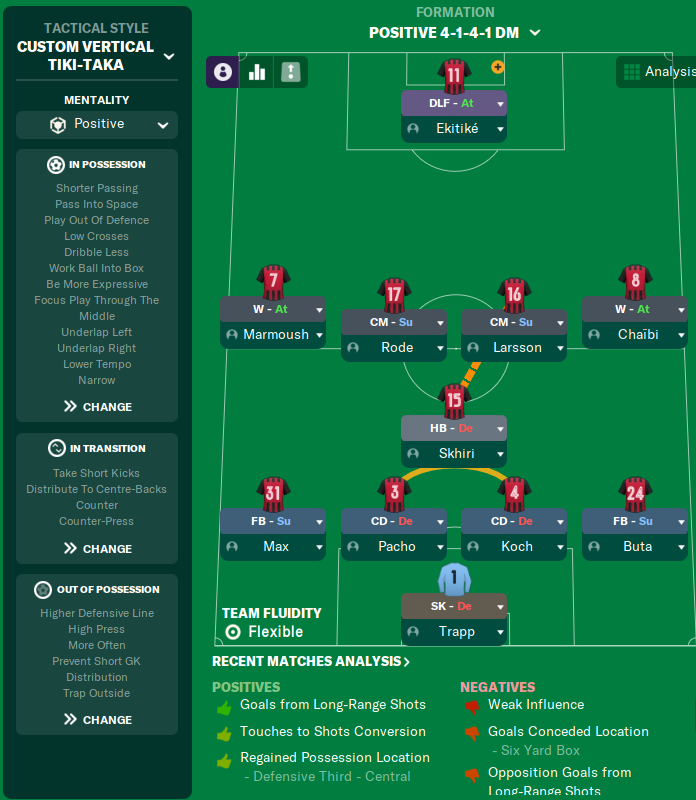
Guides for this tactic
The tactical theory behind the 4-1-2-3: roles, instructions, and the trade-offs that decide whether the system holds up.
Player pairings
Midfield Trios
Holder, runner, creator: the role distribution rule for three-man midfields, the AMC variants, and the antipatterns that break them.
Read guide
Foundations
Wing Play vs Central Play
Build through the wide areas or through the middle? A working framework for picking the right one for your squad.
Read guide
Foundations
Defensive Transitions
The five seconds after losing the ball decide most matches. Counter-press, drop-and-recover, and how to know which one you should be doing.
Read guide