Vertical Tiki-Taka 4-1-4-1 DM (Positive) Tactic
4-1-4-1 DM
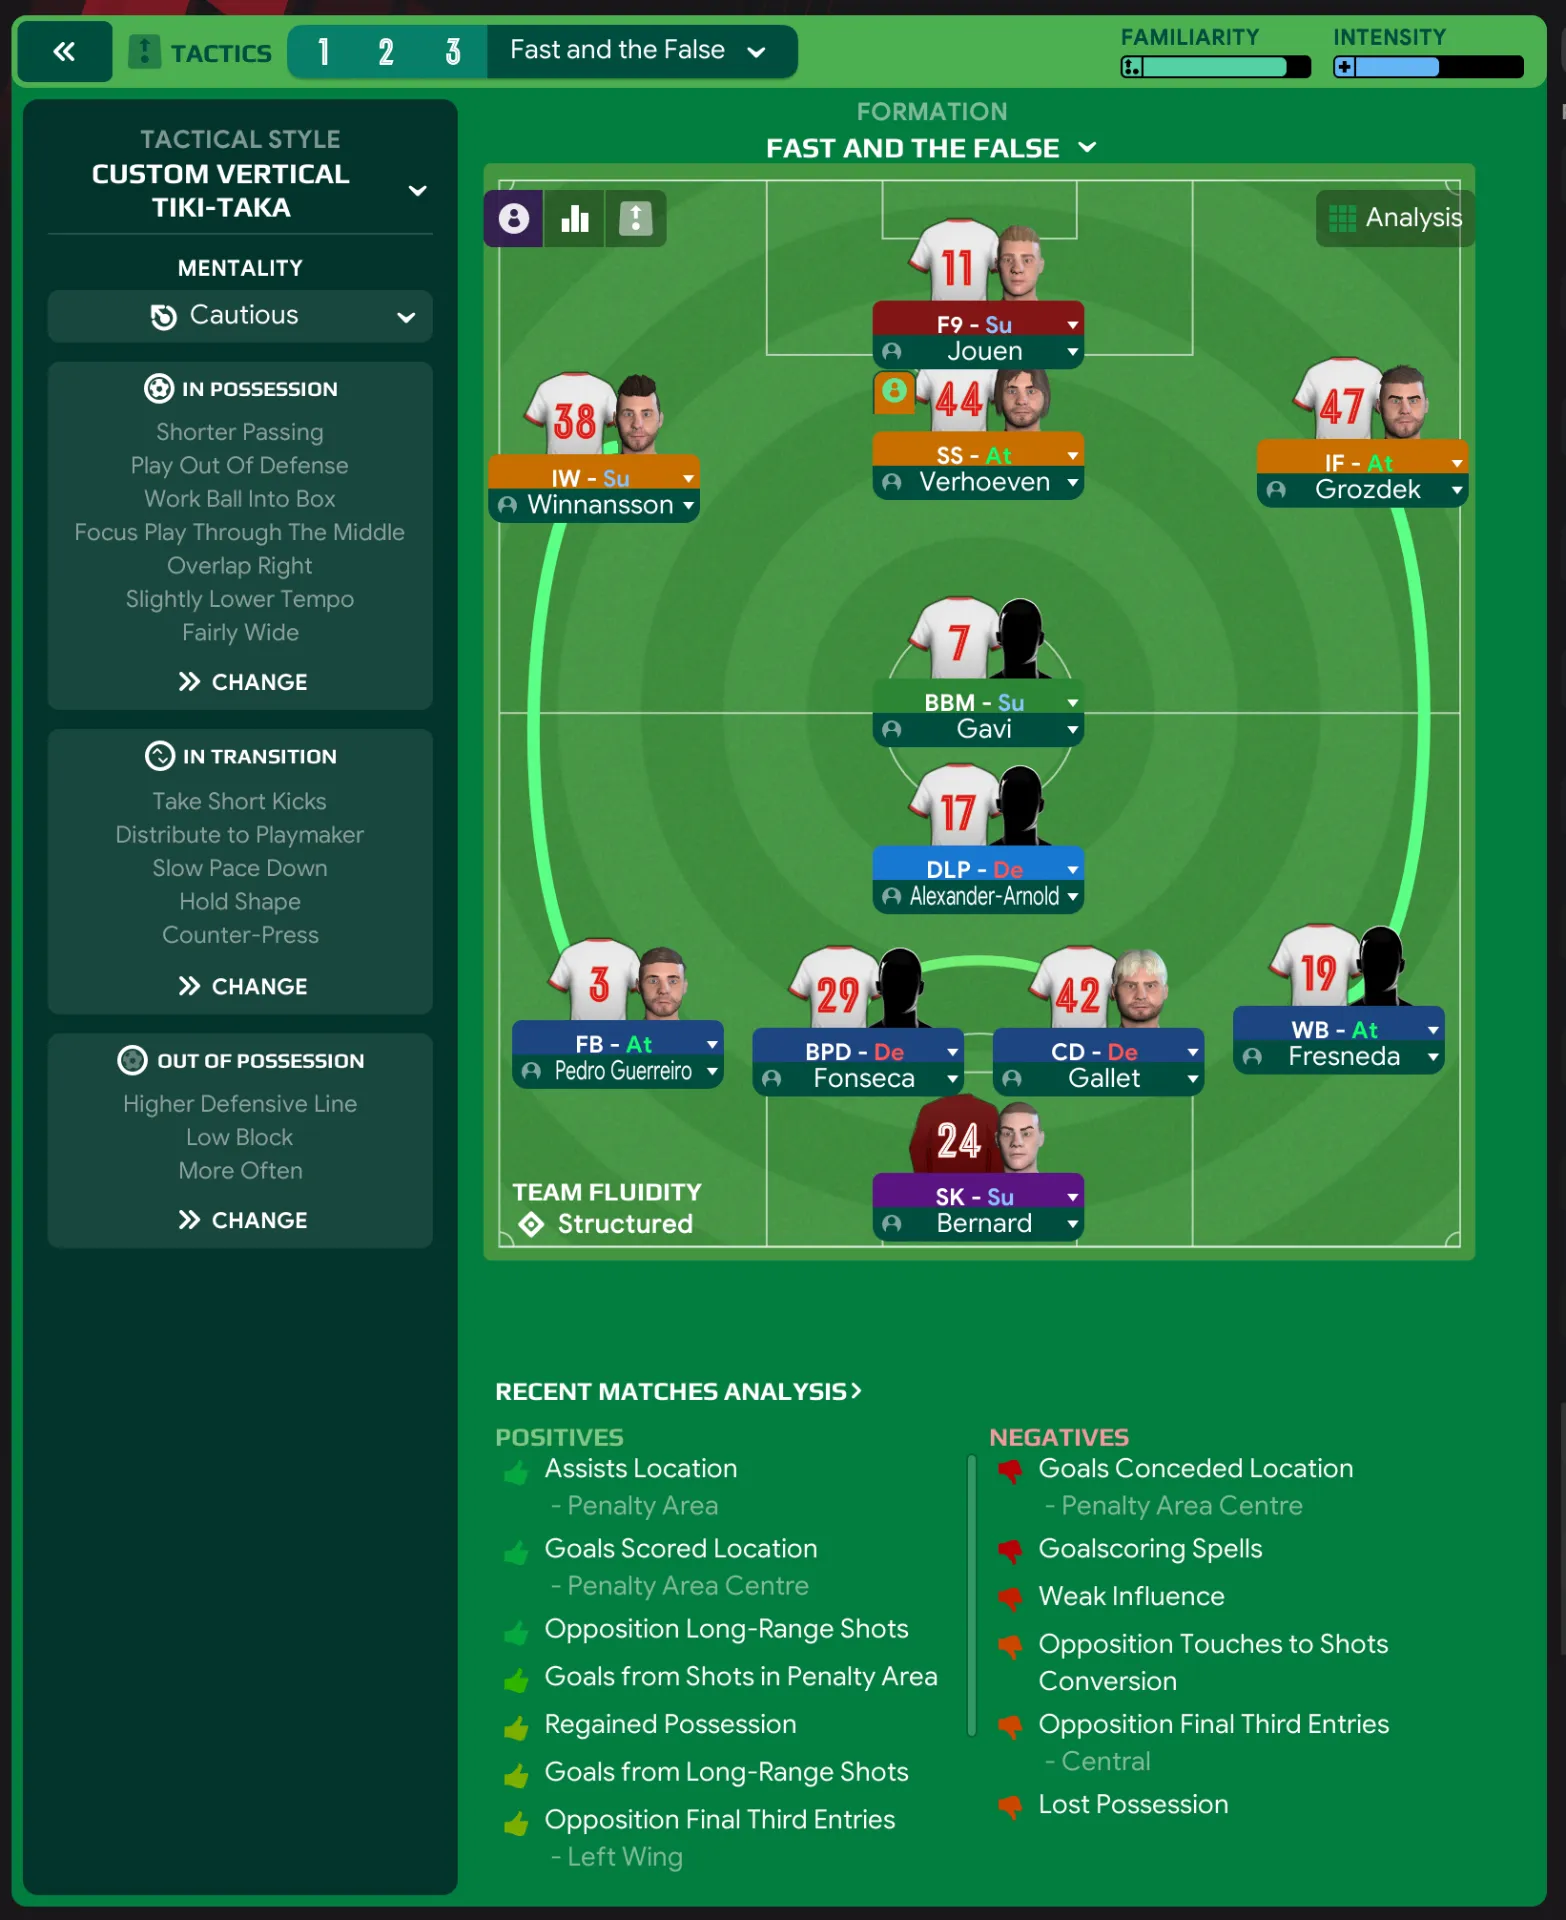
Control the midfield and exploit wide areas while maintaining a compact defense. Shorter passing and work ball into box strategies ensure high retention…
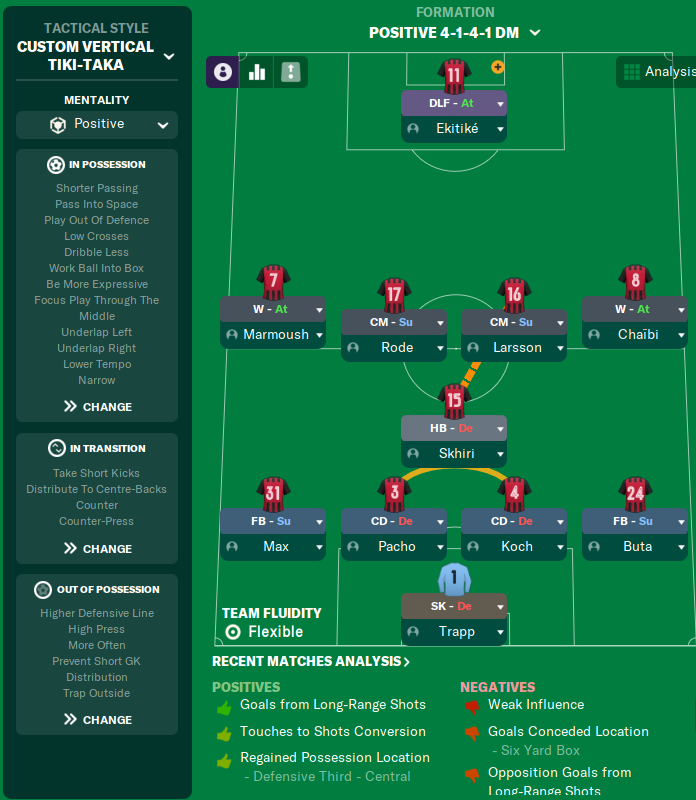
Loading tactical analysis...
Formation and style
Custom Vertical Tiki-Taka
Positive
4-1-4-1 DM
Flexible
In possession
Shorter Passing
Pass Into Space
Play Out of Defence
Low Crosses
Dribble Less
Work Ball Into Box
Focus Play Through The Middle
Underlap Left
Underlap Right
Lower Tempo
Narrow
In transition
Take Short Kicks
Distribute To Centre-Backs
Counter
Counter-Press
Out of possession
Higher Defensive Line
Higher Line of Engagement
Press More Often
Prevent Short GK Distribution
Trap Outside
Player roles
GK
Sweeper Keeper
Defend
RB
Full-Back
Support
CB
Central Defender
Defend
CB
Central Defender
Defend
LB
Full-Back
Support
DM
Half Back
Defend
CM
Central Midfielder
Support
CM
Central Midfielder
Support
AM
Winger
Attack
AM
Winger
Attack
ST
Deep-Lying Forward
Attack
Phase description
Utilizes short, intricate passing to create openings. Focus on ball retention and patience.
Quickly regroup and counter-press to recover possession.
Control the midfield and exploit wide areas while maintaining a compact defense.
Team shape defence
4-1-4-1
A compact shape with a higher defensive line aiming to press aggressively.
Higher Defensive Line and Prevent Short GK Distribution indicate a proactive defending approach.
Team shape attack
4-1-4-1
Focus on patient build-up play, with wide players creating space and options.
Use of Underlap Left/Right and Low Crosses suggests a focus on exploiting width.
Key strengths
Possession Retention
Shorter passing and work ball into box strategies ensure high retention of the ball.
Utilization of tactical instructions such as 'Work Ball Into Box' and 'Shorter Passing'.
Midfield Control
The shape allows flexibility in the midfield, with support from both central midfielders.
CM roles with Support duty operating at [4,2] and [4,3].
Conflicting tactics
Potential Overcrowding in Midfield
The use of a half-back and two central midfielders can overcrowd the midfield, limiting creative outlets.
Half Back at [3,3] alongside two CM roles at [4,2] and [4,3] could lead to congestion.
Defensive Exposure to Counterattacks
A higher defensive line increases risks of being caught on the break.
Indicated by 'Higher Defensive Line' instruction while maintaining an aggressive press.
Risk exposures
Risk Exposures
Items
Defensive Transition
High pressing and defensive line settings could leave gaps during transitions.
Indications of 'Higher Defensive Line' and 'Counter-Press'.
Counterattack Vulnerability
The commitment to attack can lead to exposure at the back.
Strategically advanced positioning of midfielders and defenders.
Role synergies
Role Synergies
Items
Half Back and Central Midfielders
The Half Back role offers stability, allowing central midfielders to advance.
Half Back Skhiri at [3,3] supports CM roles by providing depth.
Wingers and Full-Backs
Wingers stretching the play complementing overlapping full-backs creates effective flank play.
Roles at [5,1] and [5,5] can work with FB-S at [2,1] and [2,5] to create width.
Suggested questions
How can I ensure my team converts more chances?
What adjustments can be made to tighten our defense?
Are there roles that I can experiment with to enhance attacking fluidity?
Related Tactics
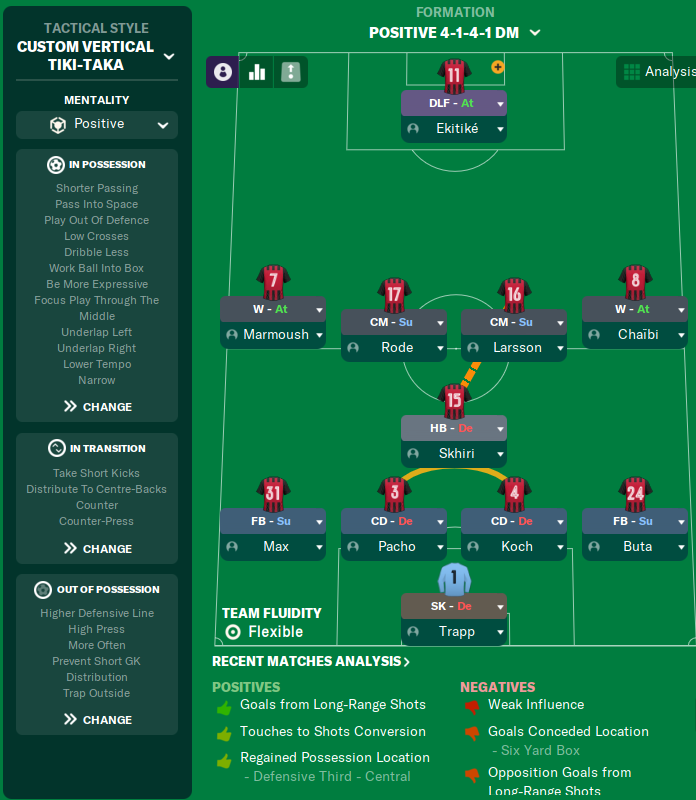
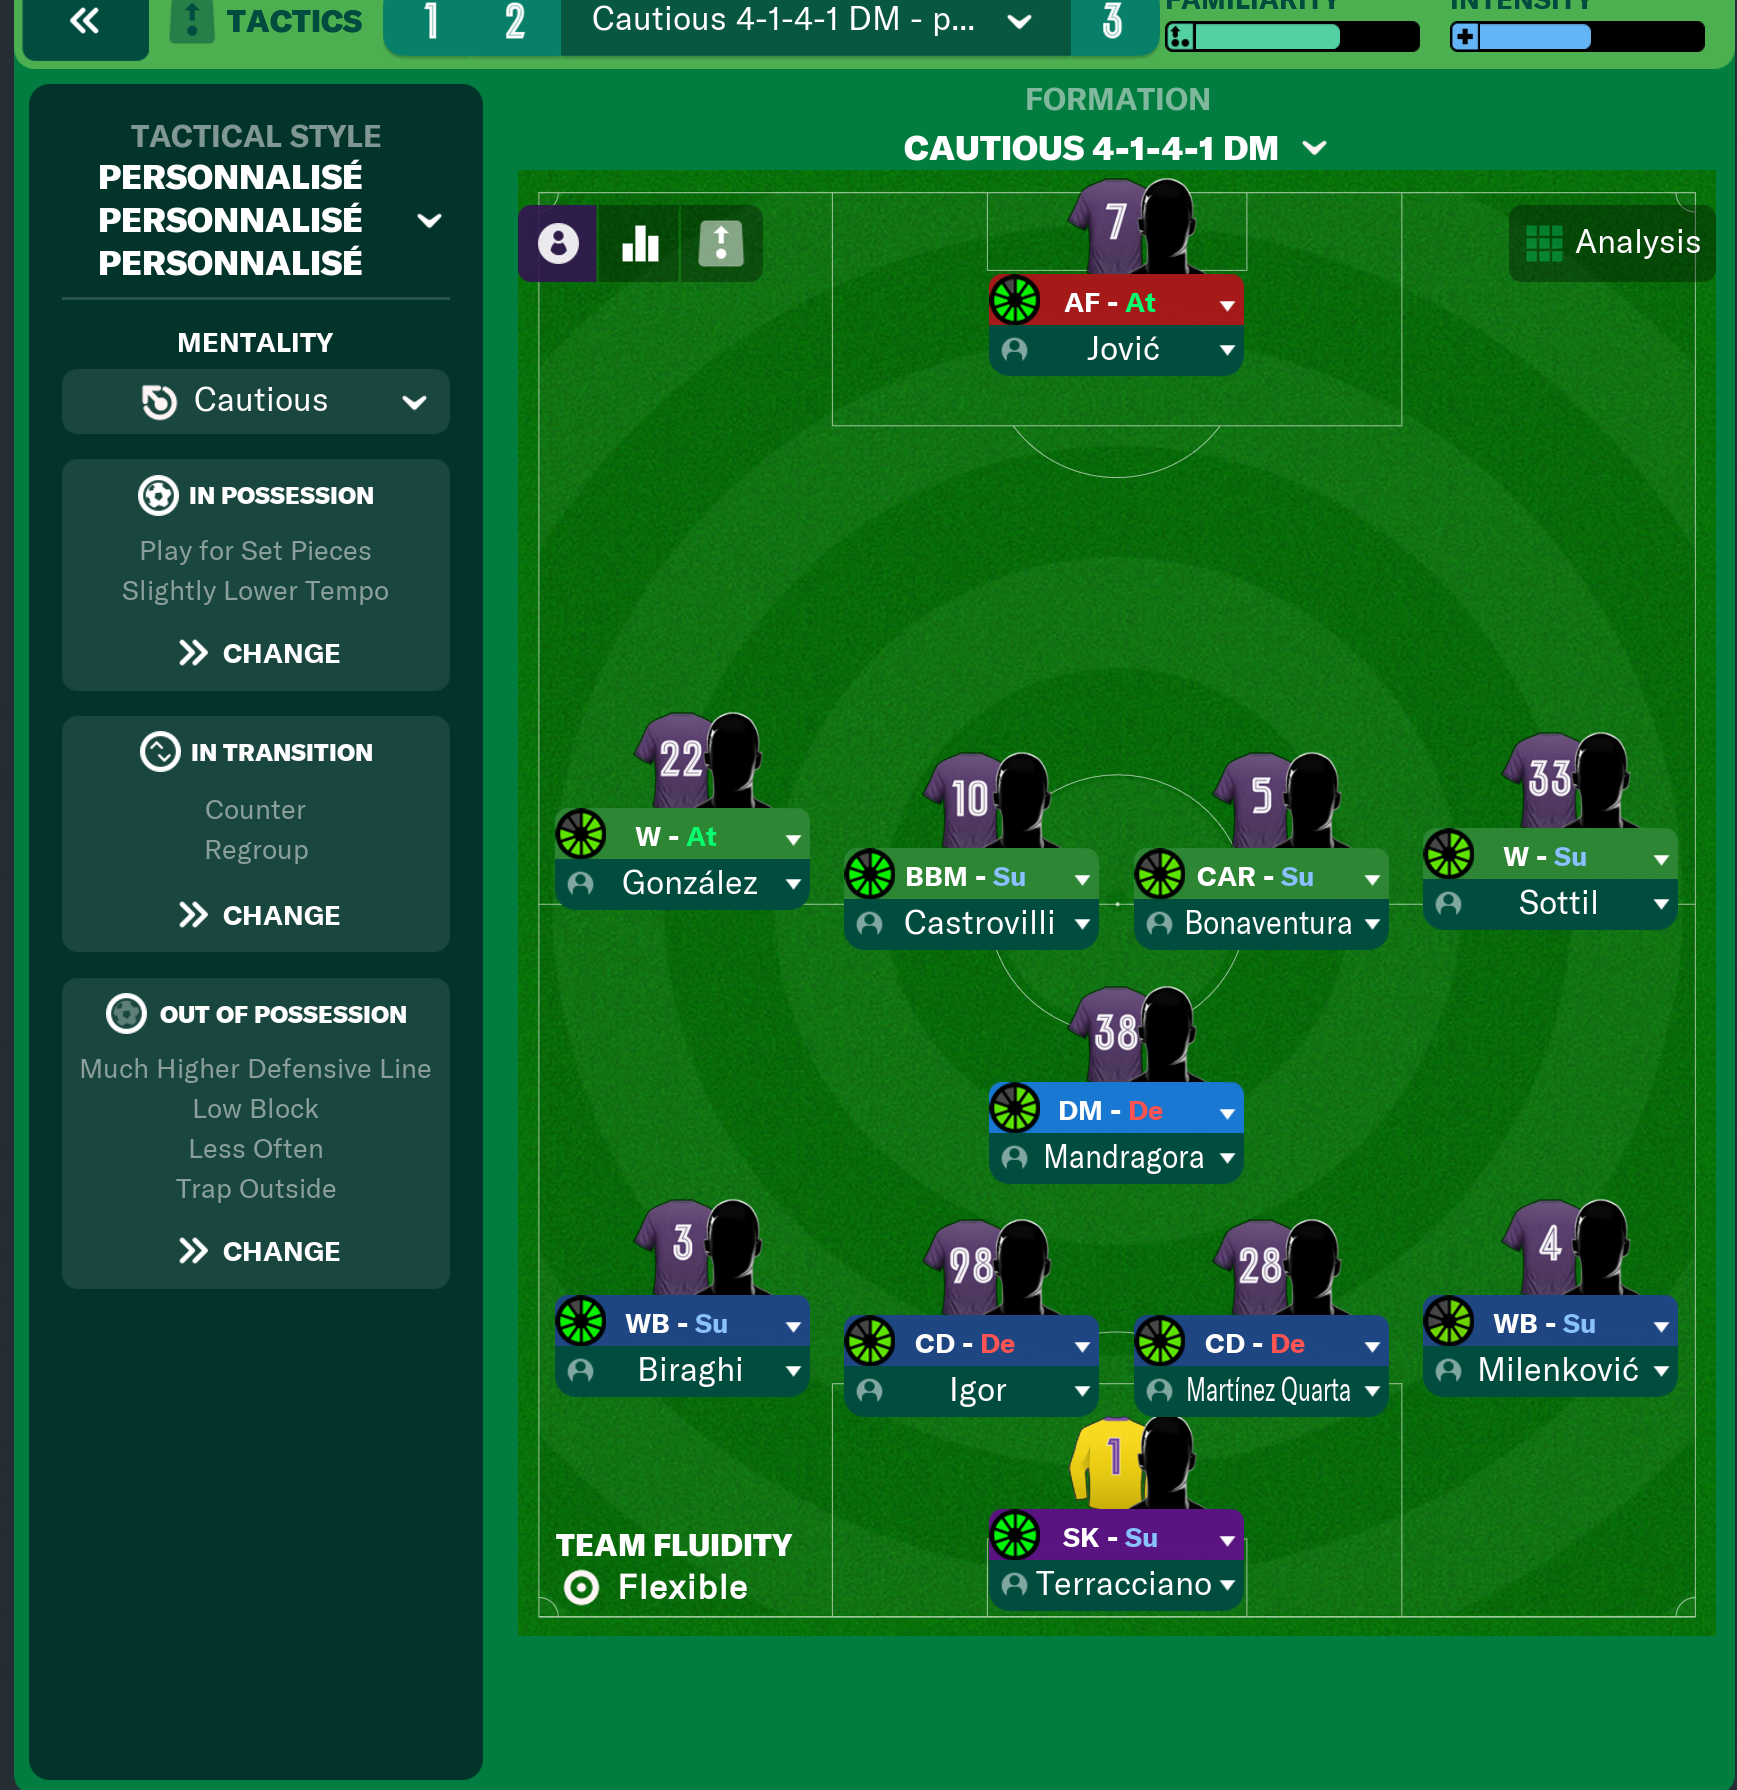
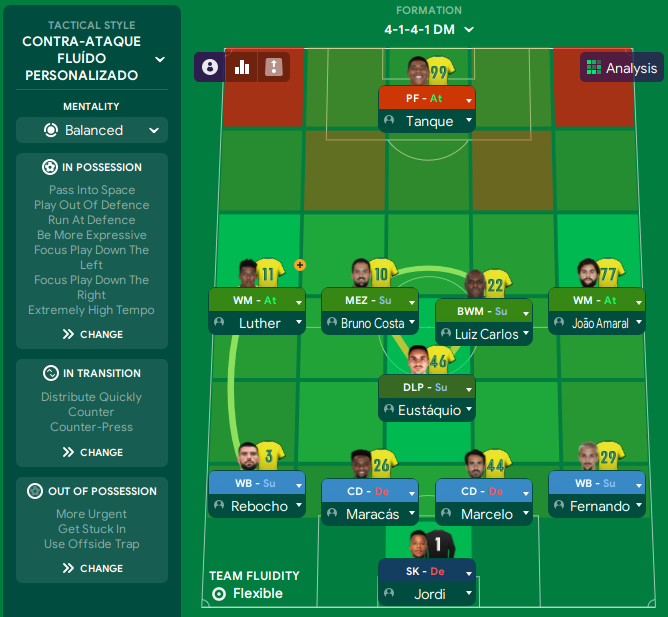
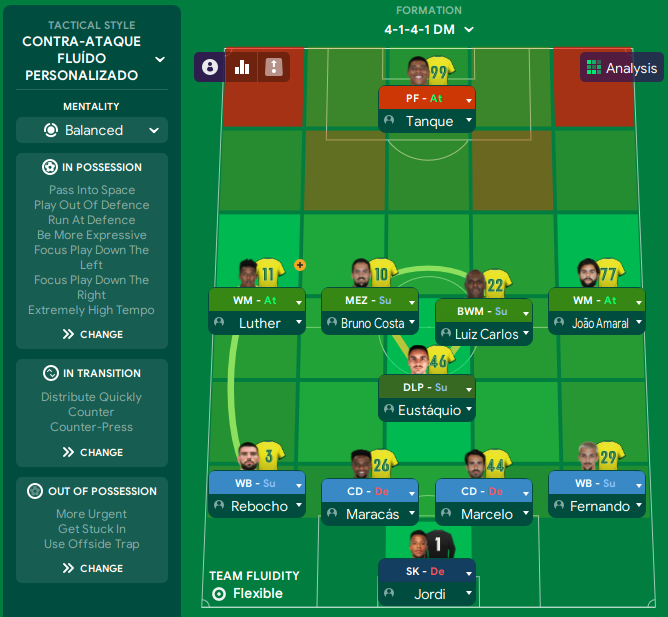

More Custom Vertical Tiki-Taka tactics
Guides for this tactic
The tactical theory behind the 4-1-4-1 DM: roles, instructions, and the trade-offs that decide whether the system holds up.
Playing styles
Low Block: Park the Bus
The deliberate underdog tactic in FM: formation choices, duty distribution, and why Counter-Press is exactly wrong inside a low block.
Read guide
Foundations
Pressing Triggers and Intensity
Counter-Press, Regroup, Stand Off, Trigger Press: what each pressing instruction does in FM and how to pair them without contradicting.
Read guide
Foundations
Defensive Line and Line of Engagement
The pairing rule for Defensive Line and Line of Engagement, all 9 combinations, and the gap that costs goals.
Read guide