Vertical Tiki-Taka 4-2-3-1 Wide (Cautious) Tactic
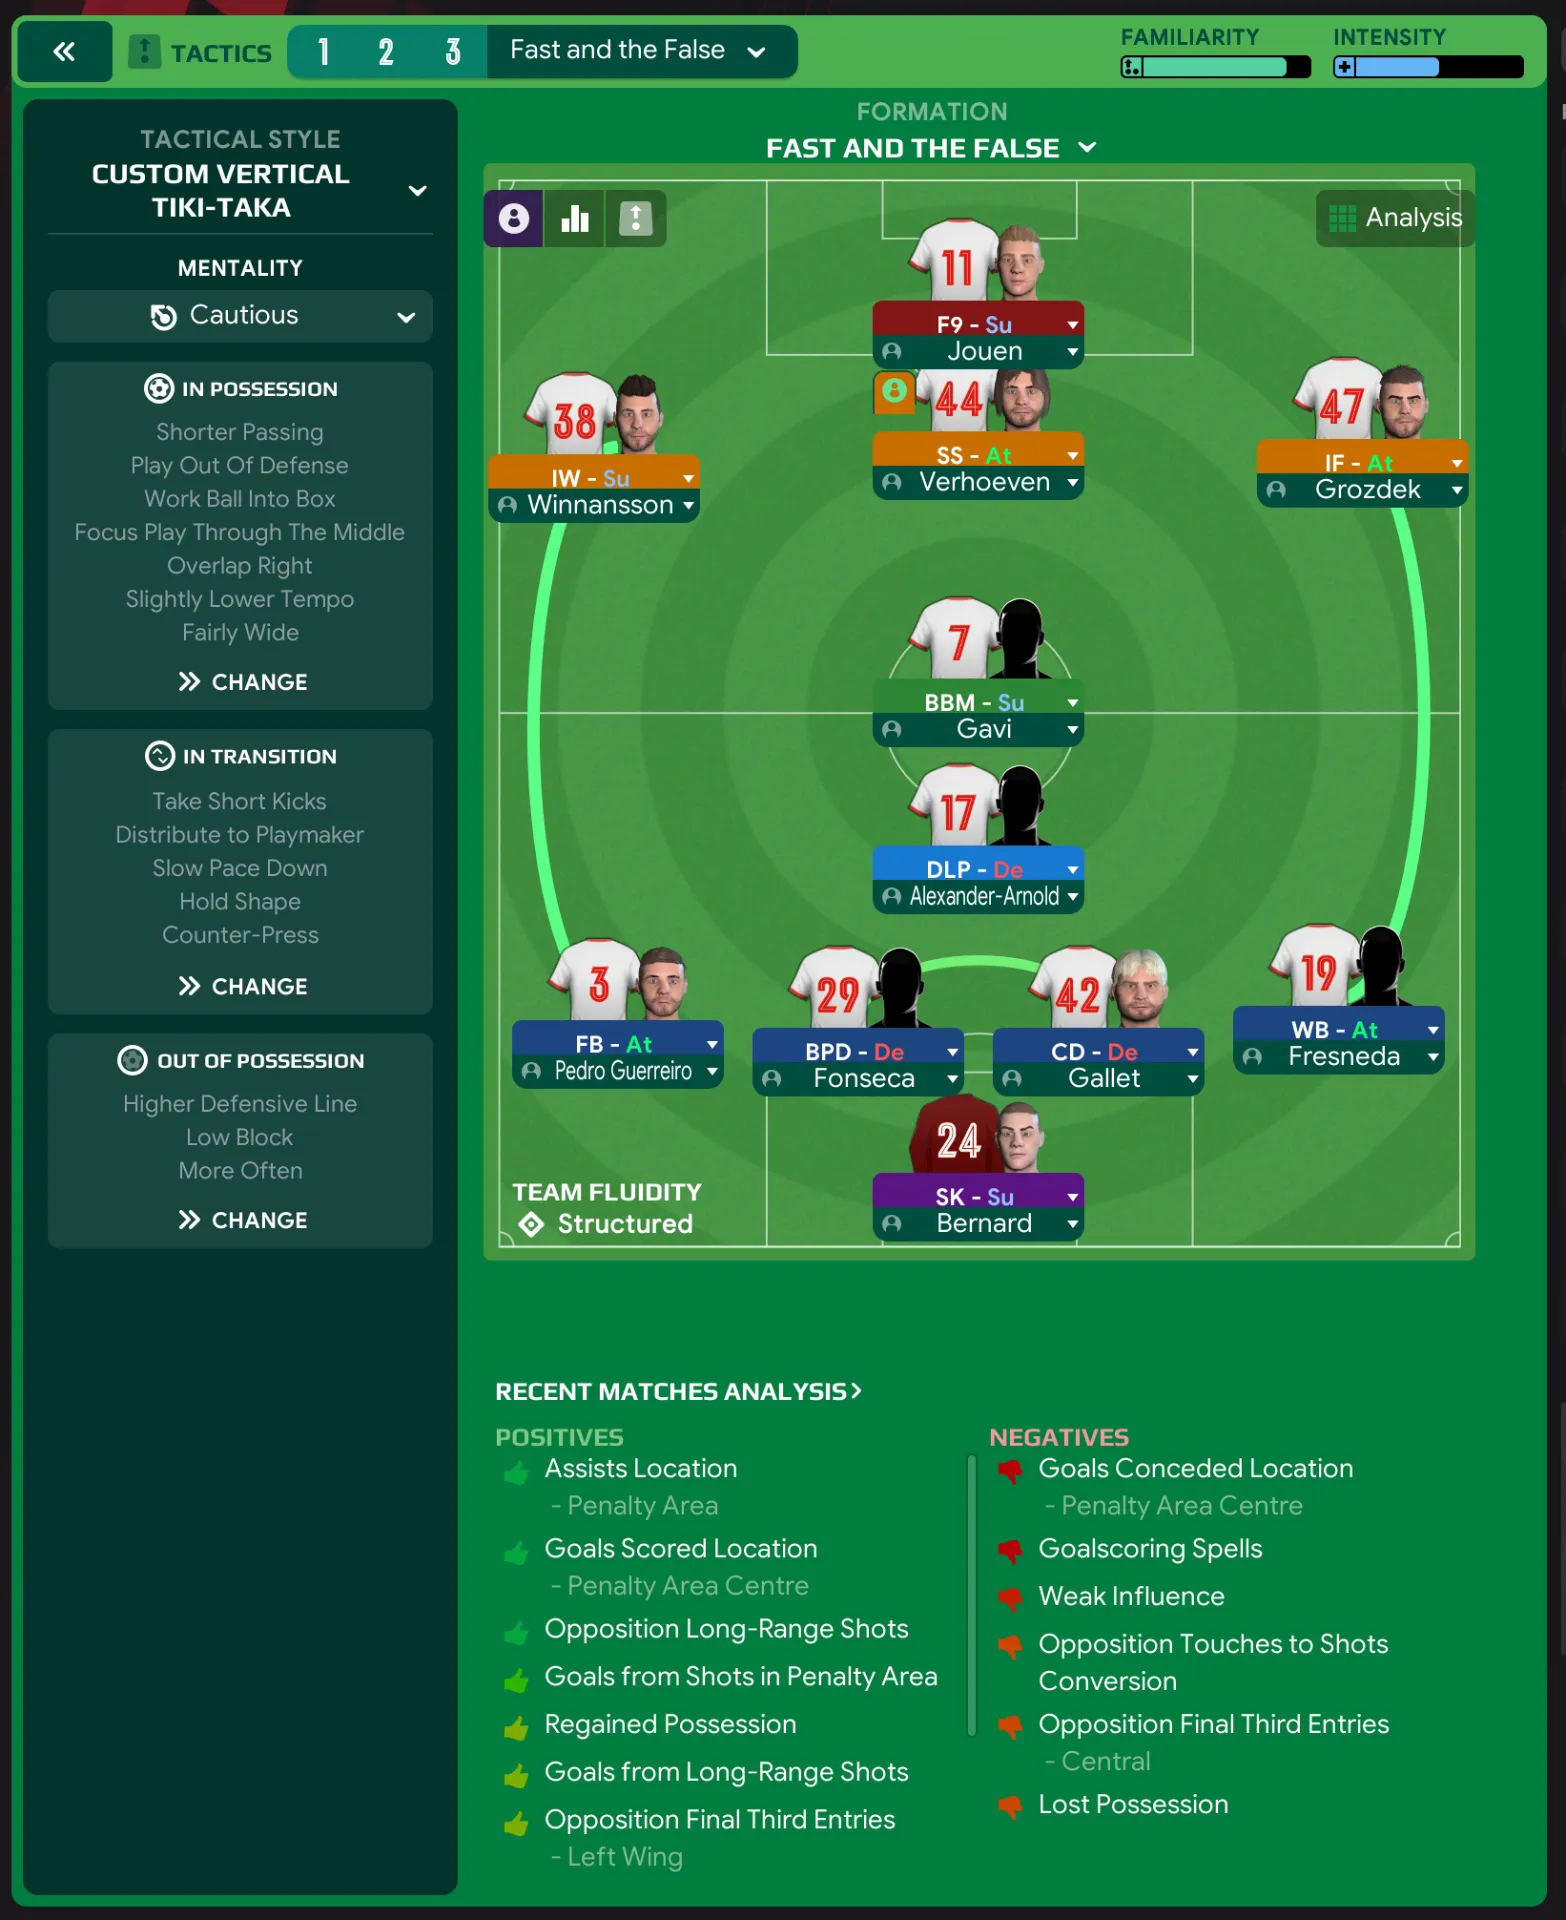
4-2-3-1 Wide
Creating goal-scoring opportunities from central areas by utilizing width and movement. Short passing and playing out of defense keeps possession and…
Loading tactical analysis...
Formation and style
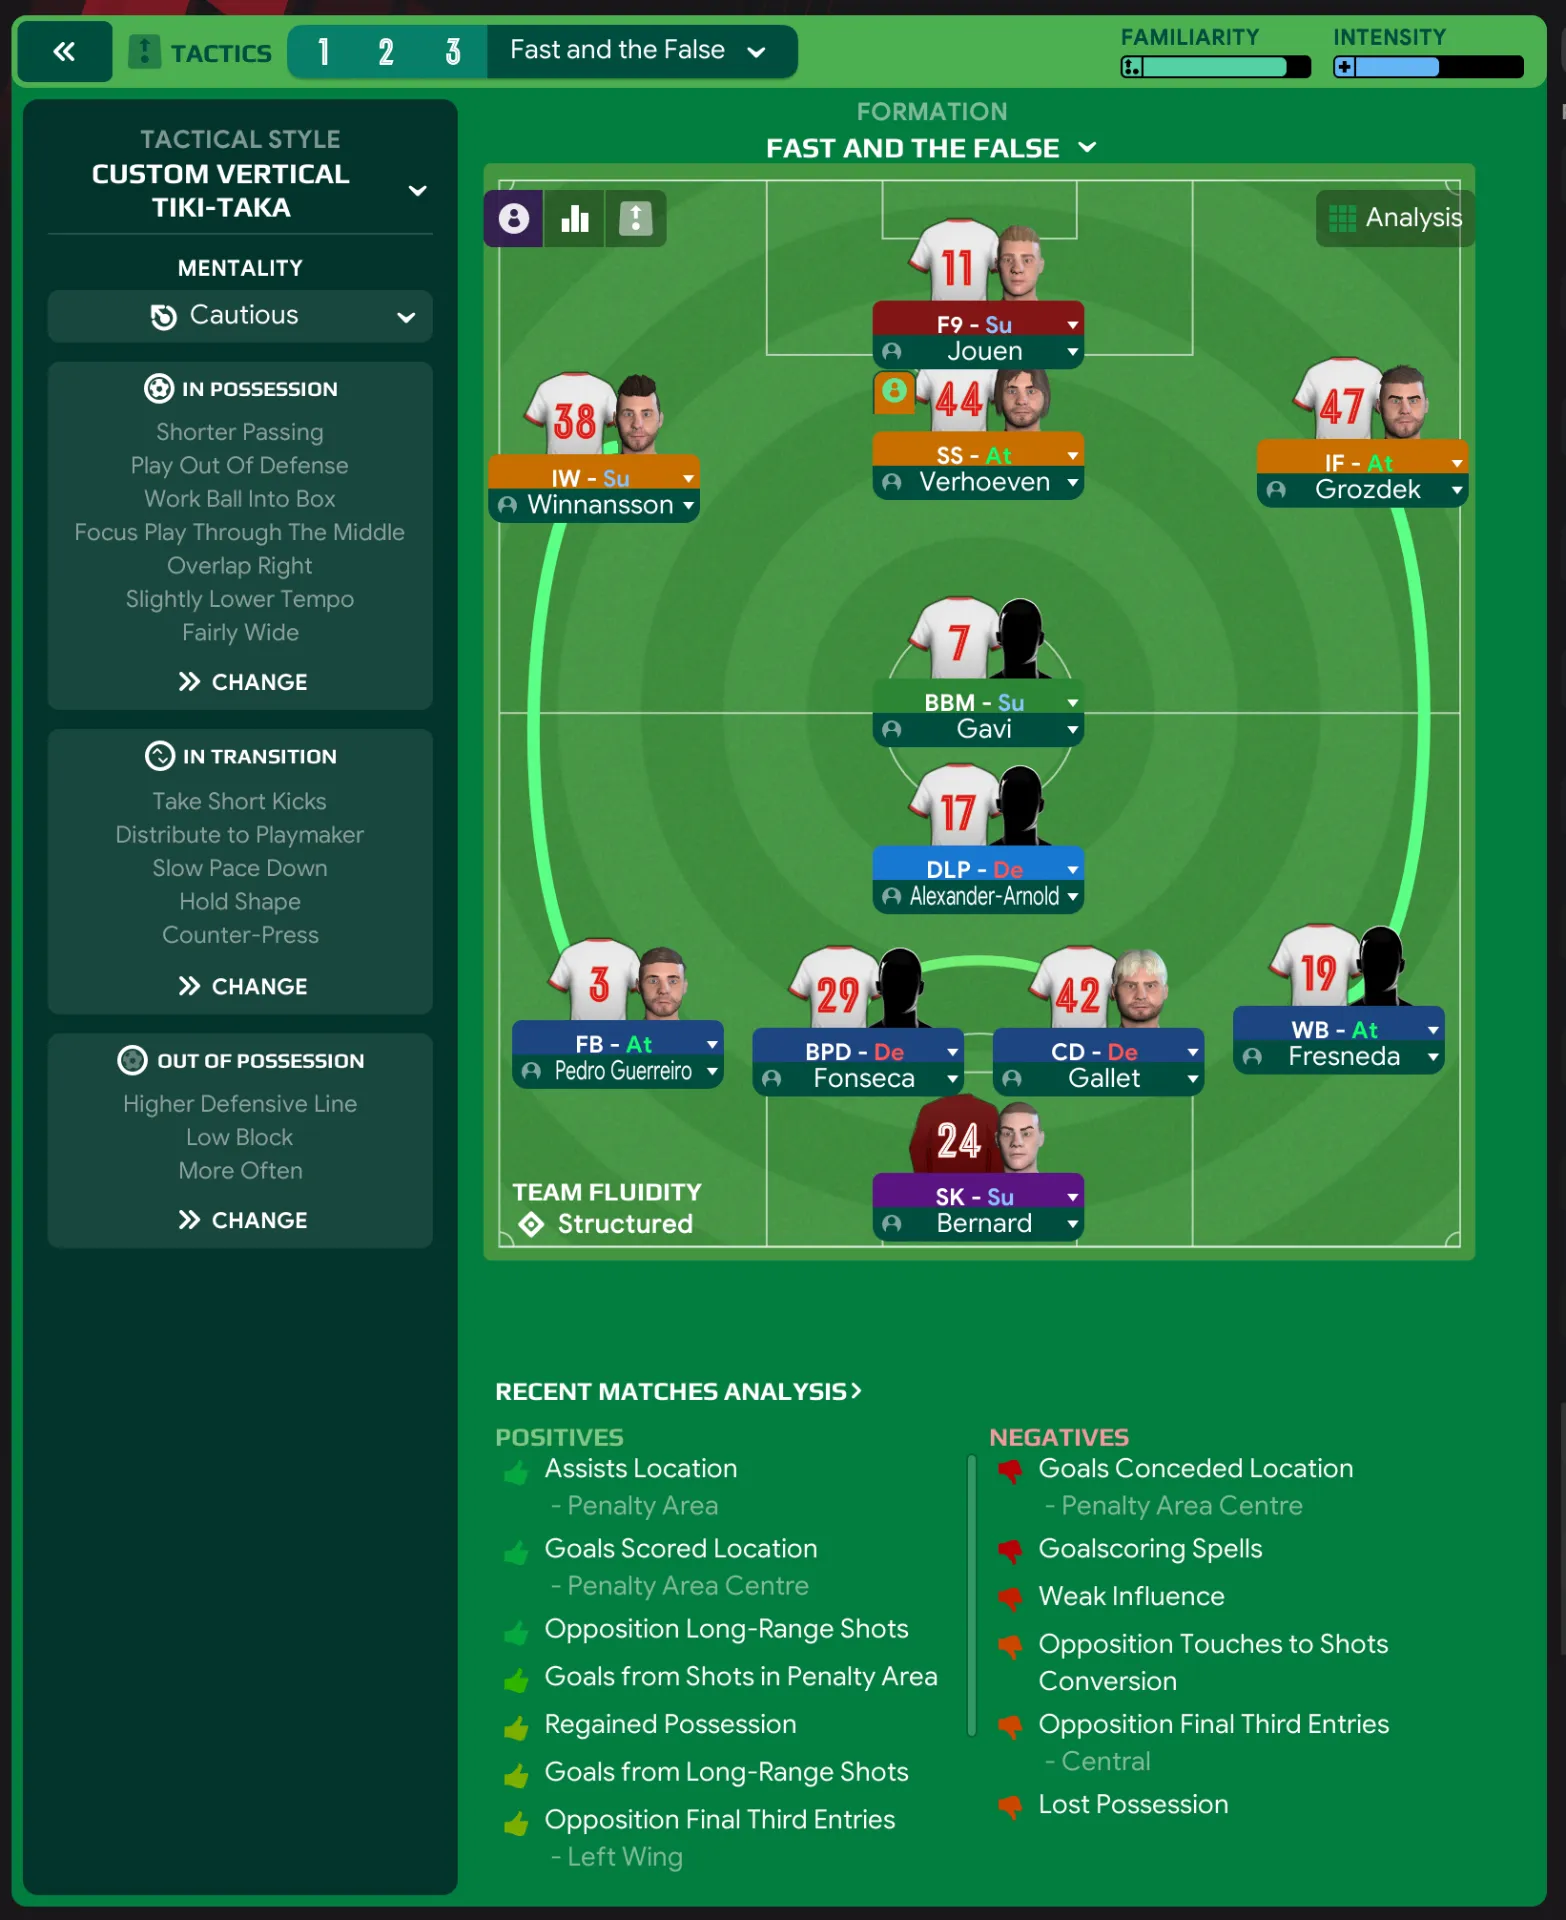
Custom Vertical Tiki-Taka
Cautious
4-2-3-1 Wide
Structured
In possession
Shorter Passing
Play Out Of Defense
Work Ball Into Box
Focus Play Through The Middle
Slightly Lower Tempo
Fairly Wide
In transition
Take Short Kicks
Distribute to Playmaker
Slow Pace Down
Hold Shape
Counter-Press
Out of possession
Higher Defensive Line
Low Block
More Often
Player roles
GK
Sweeper Keeper
Support
LB
Full-Back
Attack
CB
Ball-Playing Defender
Defend
CB
Central Defender
Defend
RB
Wing-Back
Attack
CM
Deep-Lying Playmaker
Defend
CM
Box-to-Box Midfielder
Support
RW
Inside Winger
Support
AM
Shadow Striker
Attack
LW
Inside Forward
Attack
ST
False Nine
Support
Phase description
The team focuses on ball retention and quick passing in the middle, aiming to create scoring opportunities by working the ball into the penalty area.
Upon losing possession, the team looks to quickly regain control through counter-pressing while maintaining a structured shape.
Creating goal-scoring opportunities from central areas by utilizing width and movement.
Team shape defence
Compact
The team retains a low block with well-defined lines of defense, prioritizing central coverage.
Low Block with Higher Defensive Line.
Team shape attack
Fluid
The formation adapts fluidly in attack, allowing for movement into spaces created by the False Nine's drops.
Focus on Play Through The Middle with Shadow Striker.
Key strengths
Possession Retention
Short passing and playing out of defense keeps possession and disrupts opposition pressing.
Using 'Shorter Passing' and 'Play Out Of Defense'.
Attacking Versatility
With an Inside Winger and two Inside Forwards, the team can penetrate defenses effectively.
IW-S at [6,1] and IF-A at [6,5].
Conflicting tactics
Defensive Vulnerability
The higher defensive line may expose the team to counter-attacks, especially against rapid forwards.
Higher Defensive Line with 'Low Block'.
Lack of Width
The compactness might hinder the ability to exploit wide areas unless full-backs are highly involved.
FB-A at [2,1] and WB-A at [2,5] are key for width.
Risk exposures
Risk Exposures
Items
Defensive Counter-Attacks
High-risk exposure if a quick turnover occurs.
Higher Defensive Line may leave gaps.
Wide Areas
Full-backs may be caught out of position, leading to gaps.
Wing-Backs have attacking duties.
Role synergies
Role Synergies
Items
DLP-D and BBM-S
The DLP provides stability while the BBM adds dynamic movement.
DLP-D at [3,3] supporting midfield retention.
False Nine and Inside Forwards
False Nine aids in creating space for Inside Forwards to exploit.
F9-S at [6,3] pairing with IF-A at [6,5].
Suggested questions
How can we better utilize our full-backs in attack?
What adjustments can ensure better defensive solidity?
Are there specific training focuses to improve set-piece defense?
Related Tactics
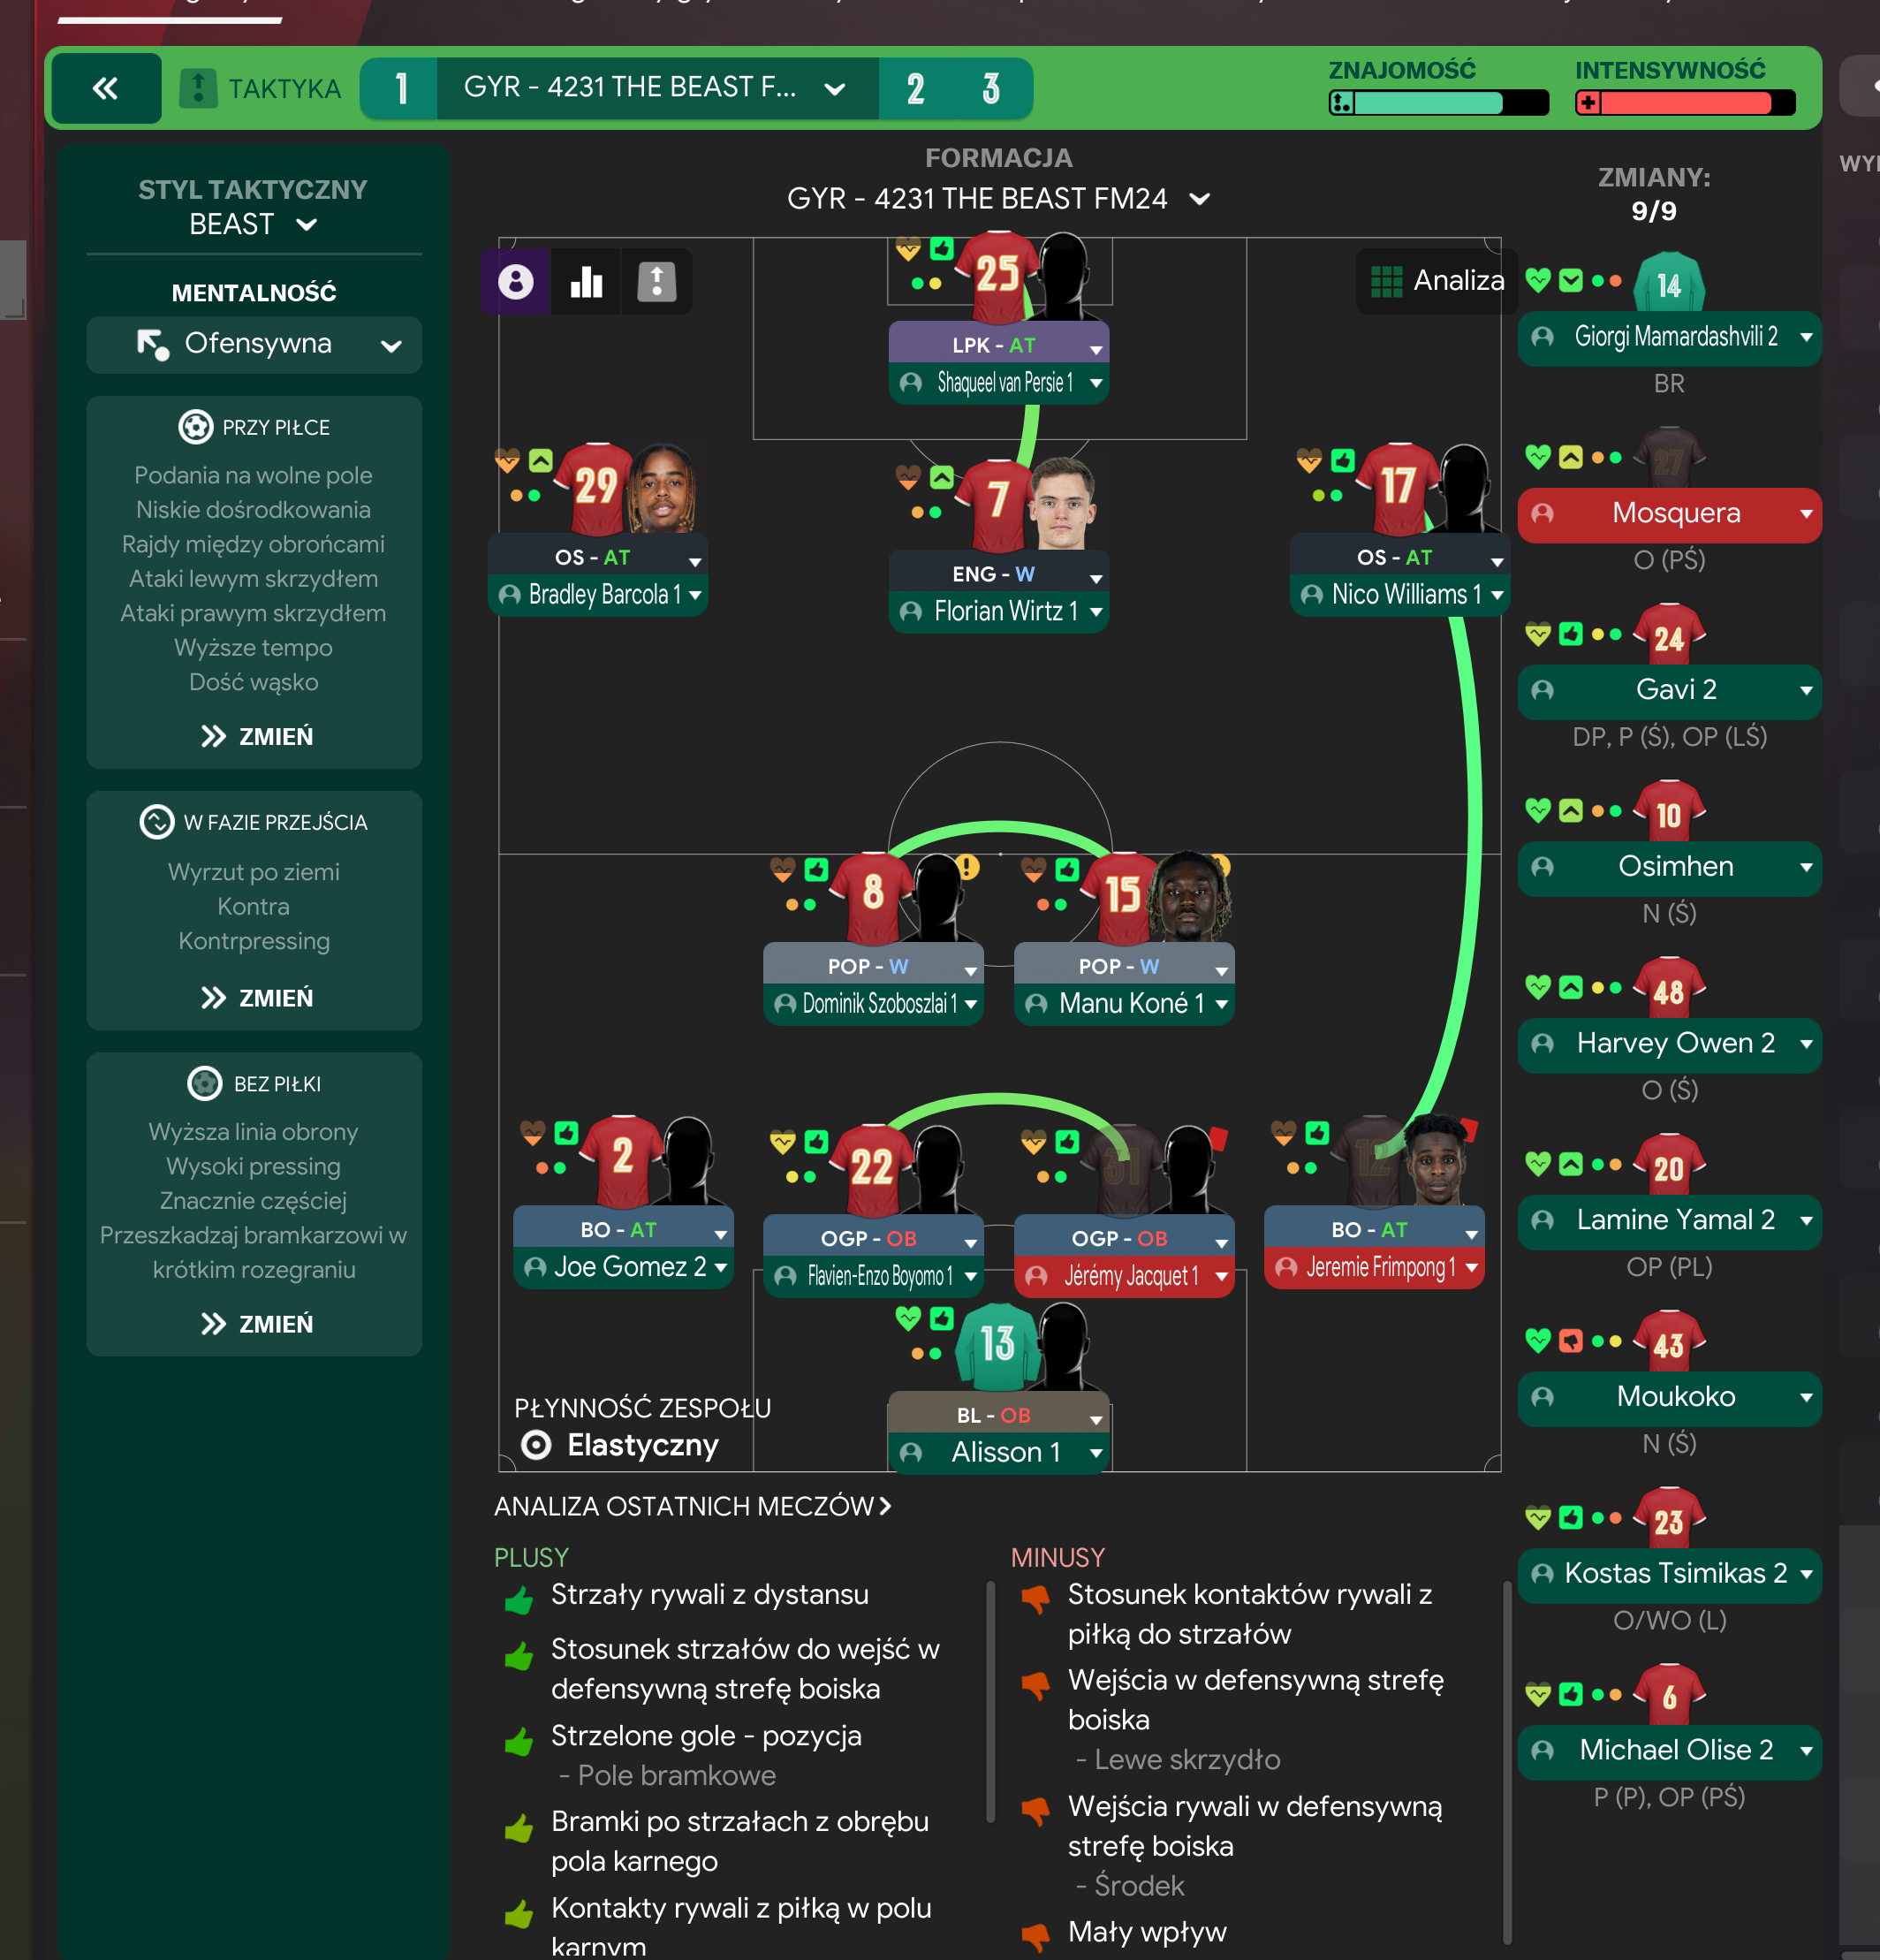
Gegenpress 4-2-3-1 Wide
Gegenpress
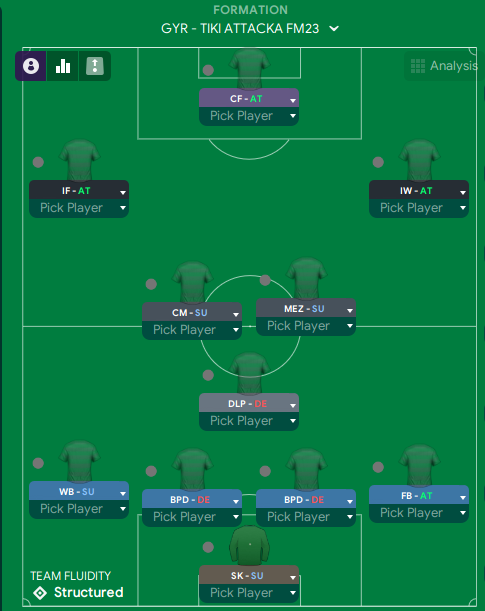
Tiki-Taka 4-2-3-1 Wide
Tiki Taka
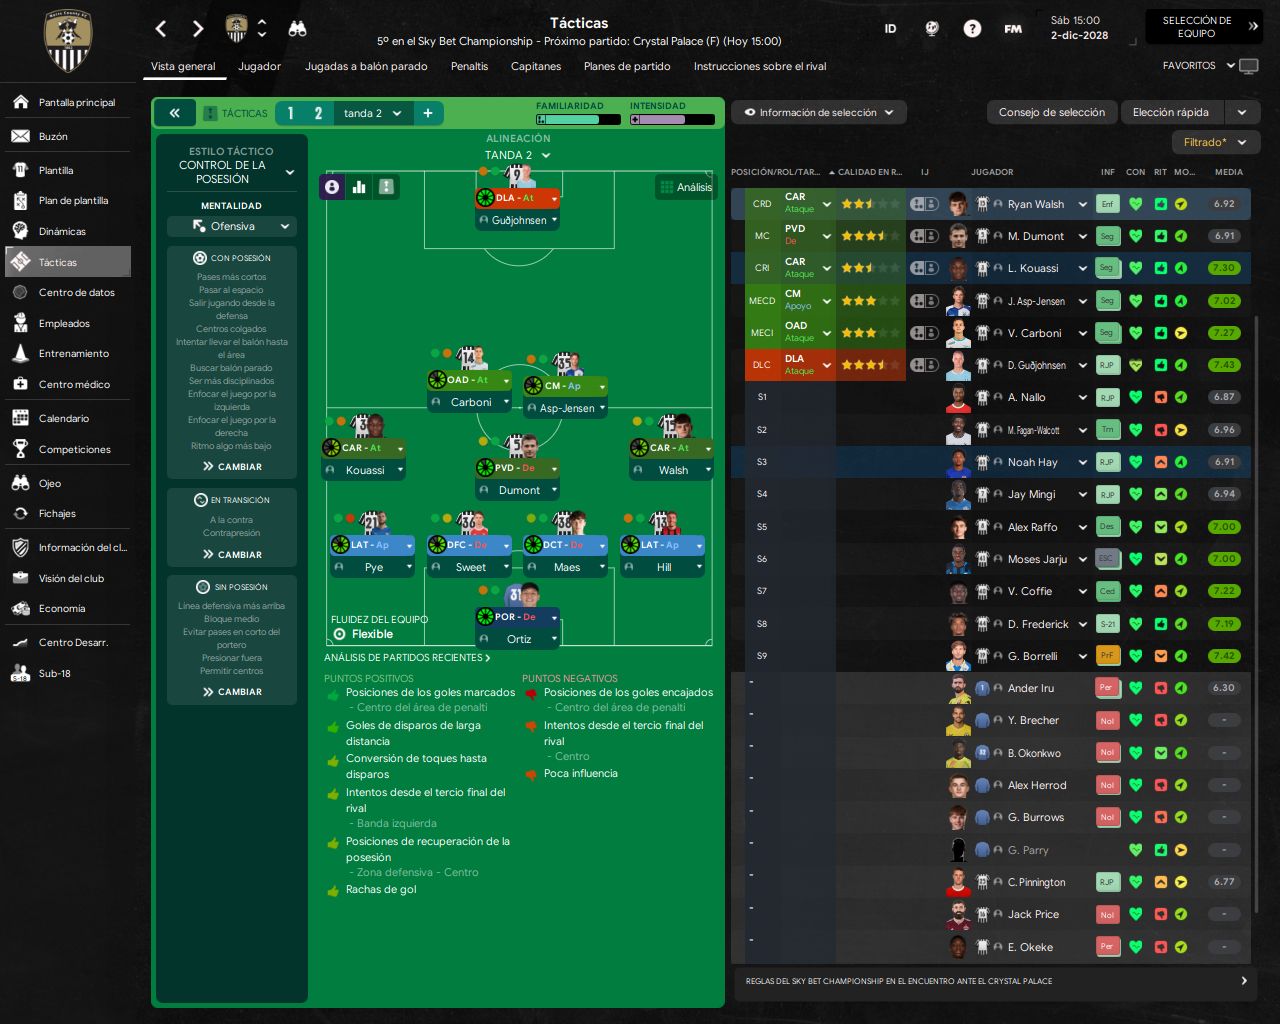
4-2-3-1 Wide Formation
Control de la posesión
Gegenpress 4-2-3-1 Wide
Gegenpress
Gegenpress 4-2-3-1 Wide
Gegenpress
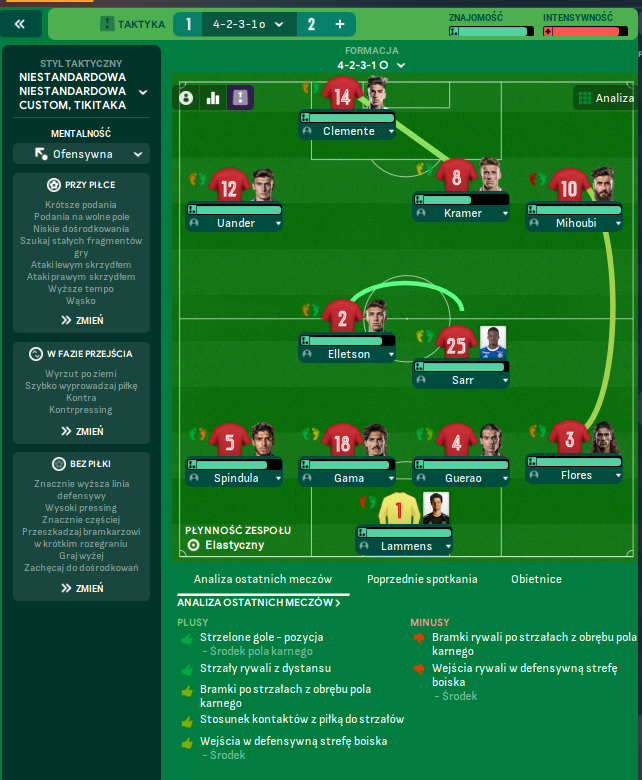
Tiki-Taka 4-2-3-1 Wide
Tiki-Taka
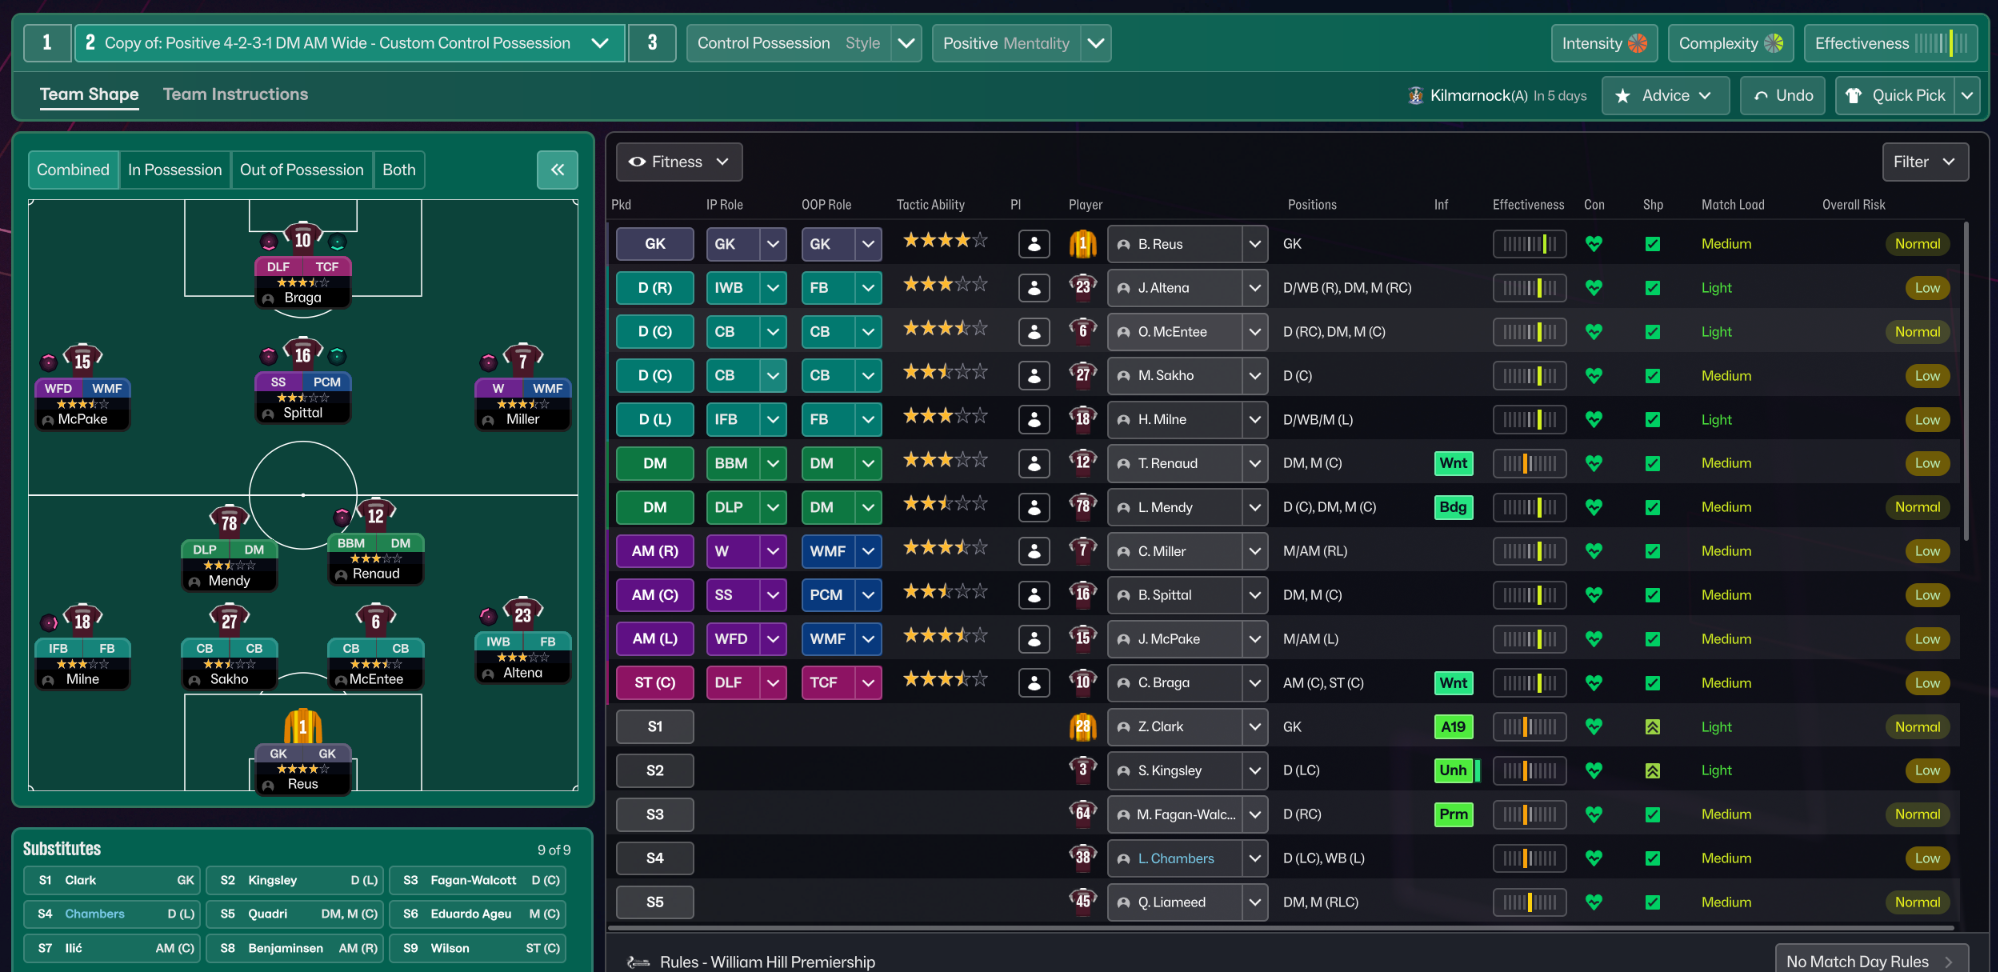
Control Possession 4-2-3-1 Wide
Control Possession
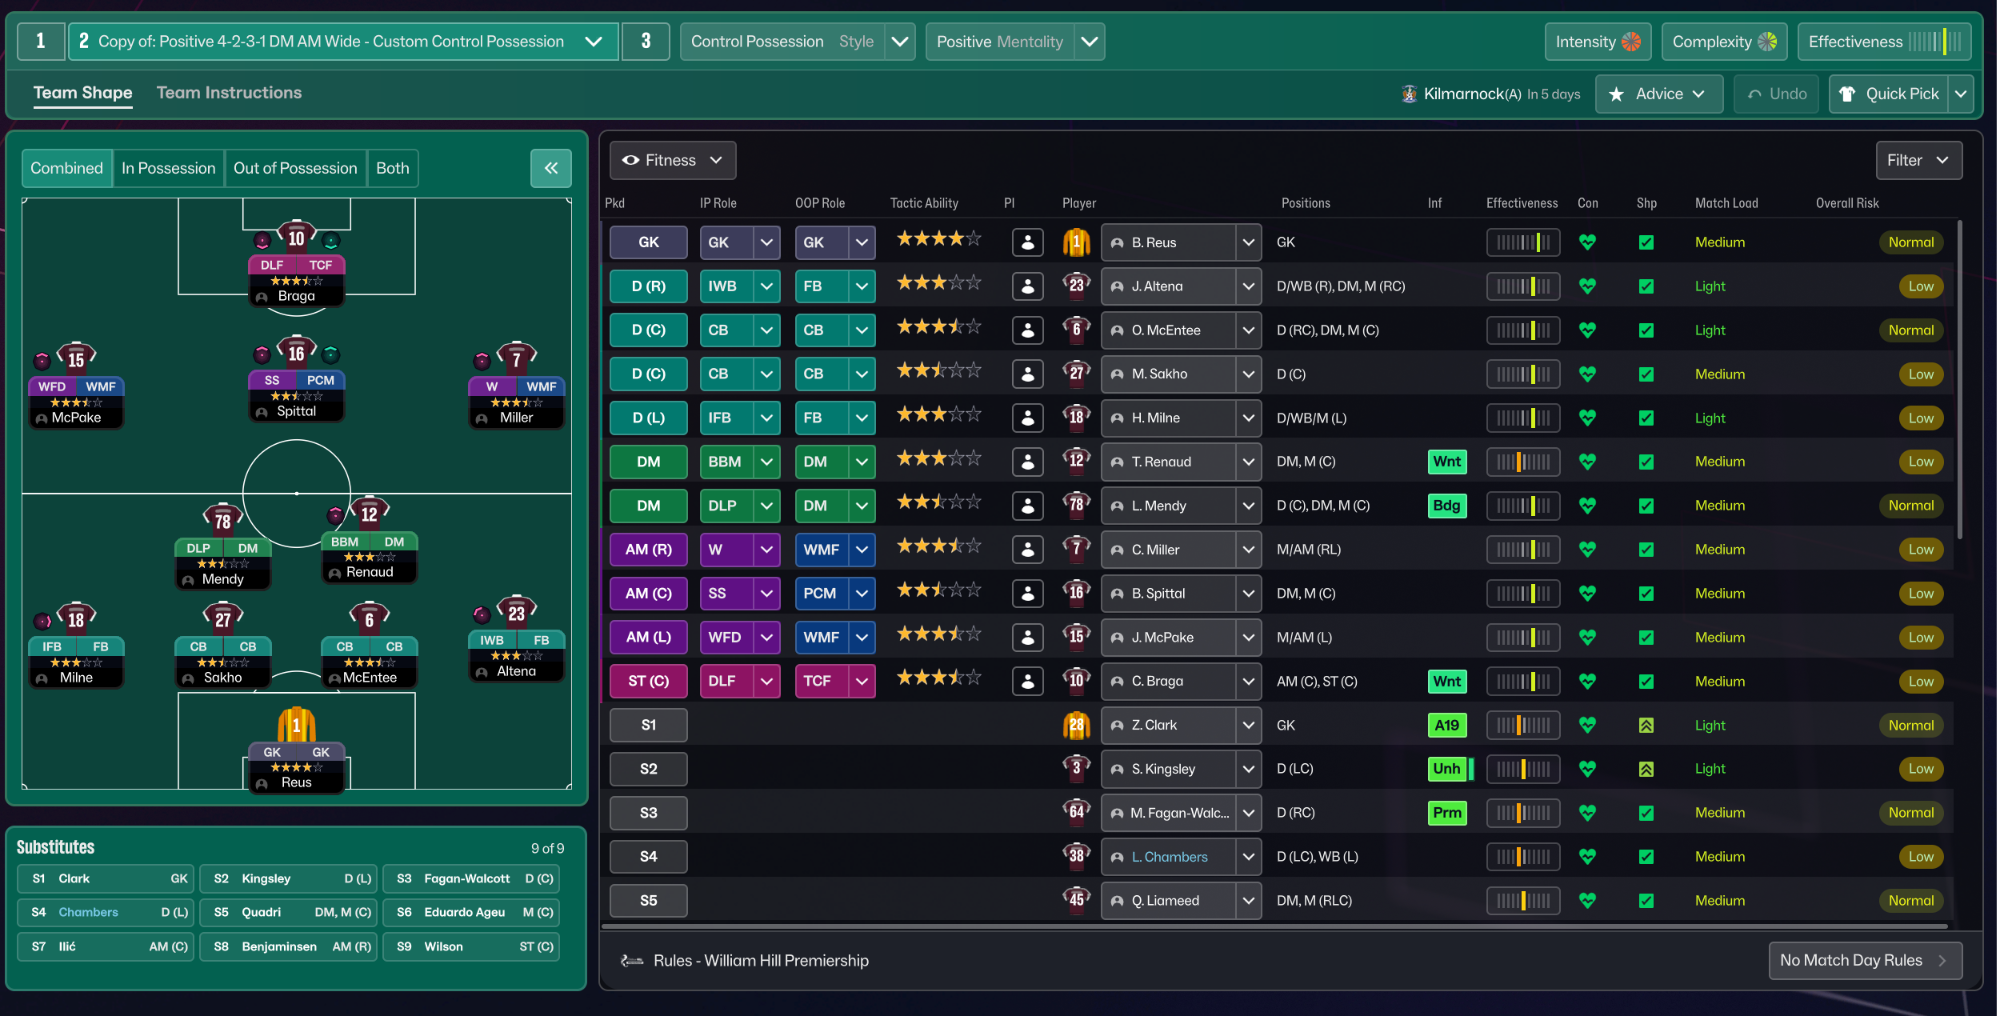
Control Possession 4-2-3-1 Wide
Control Possession
More Custom Vertical Tiki-Taka tactics
Guides for this tactic
The tactical theory behind the 4-2-3-1 Wide: roles, instructions, and the trade-offs that decide whether the system holds up.
Player pairings
Midfield Pairs in 4-2-3-1 and 4-4-2
Double pivots and flat pairs in 4-2-3-1 and 4-4-2: when each pairing works, when it collapses, and the AMC unicorn that rescues both.
Read guide
Playing styles
Gegenpressing: A Full Guide
Klopp-style gegenpressing in FM, including squad profile, line-and-press pairing, sustainable workload, and the antipatterns to avoid.
Read guide
Foundations
Pressing Triggers and Intensity
Counter-Press, Regroup, Stand Off, Trigger Press: what each pressing instruction does in FM and how to pair them without contradicting.
Read guide