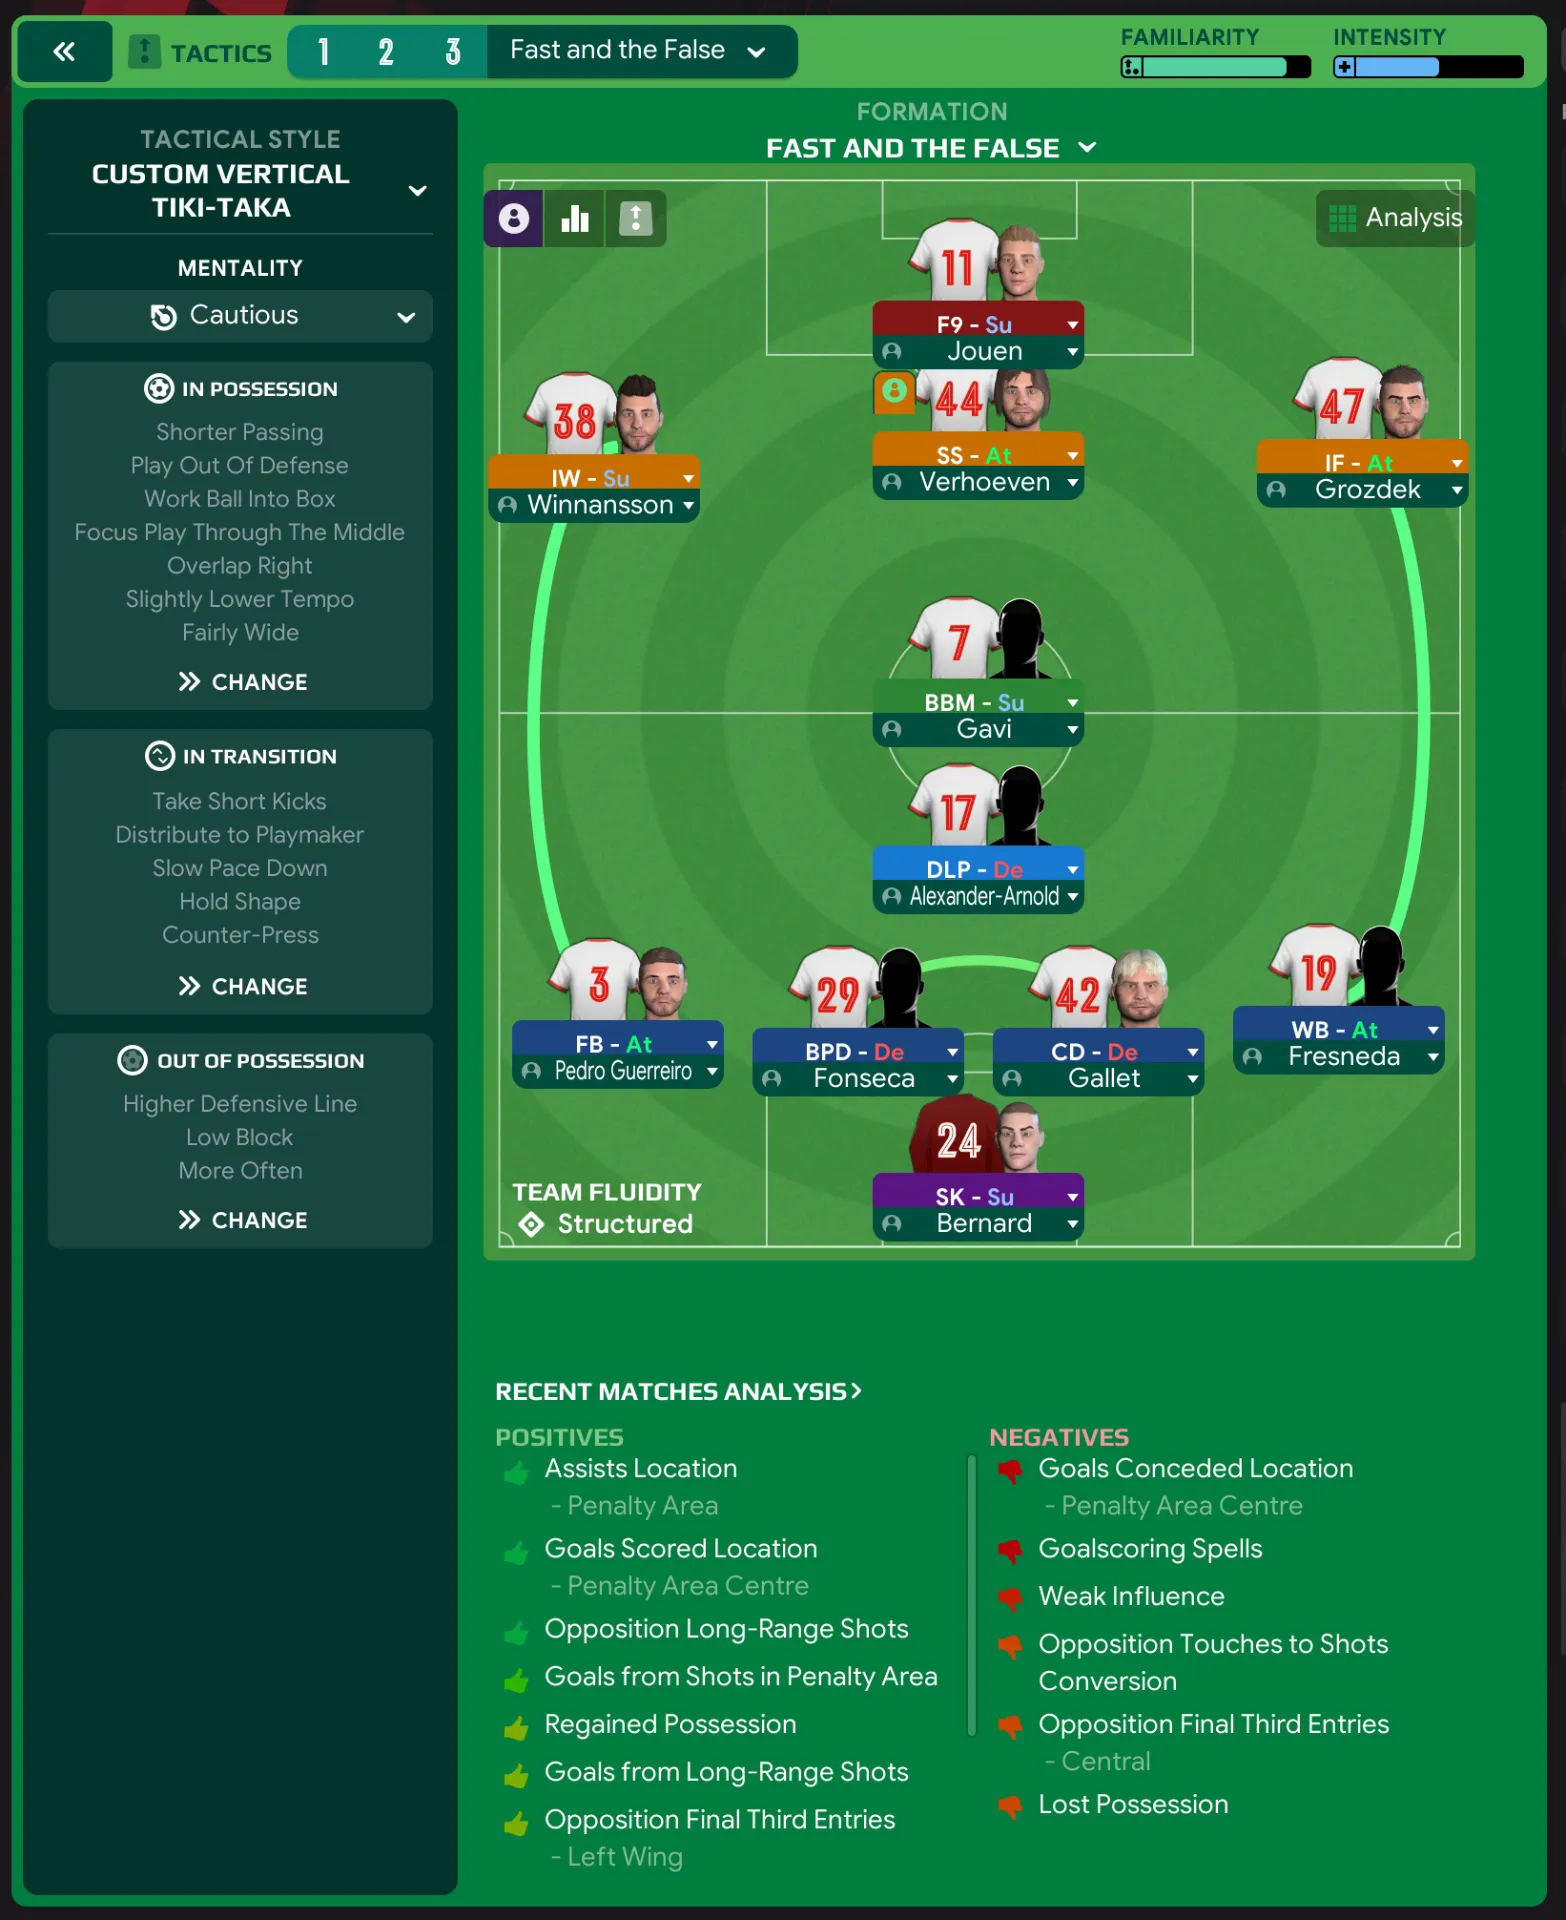
Vertical Tiki-Taka 4-2-3-1 (Cautious) Tactic
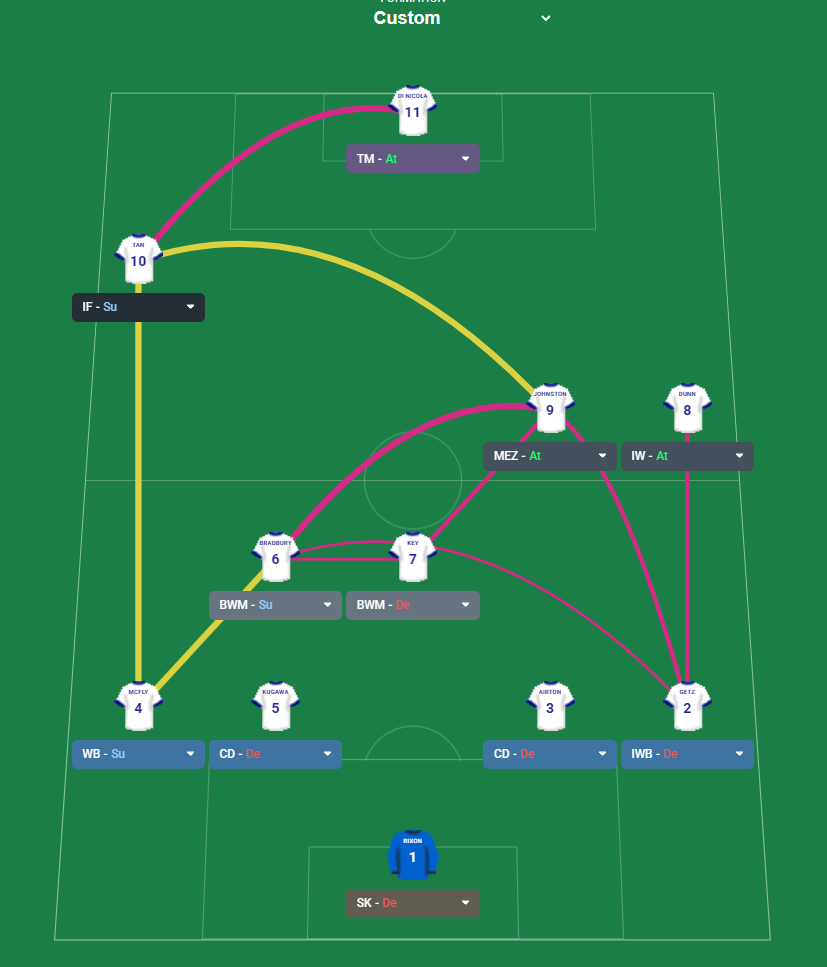
4-2-3-1
Positional play with an emphasis on exploiting spaces in the opposition's defense. Utilizes width effectively to stretch the opposition's defense.
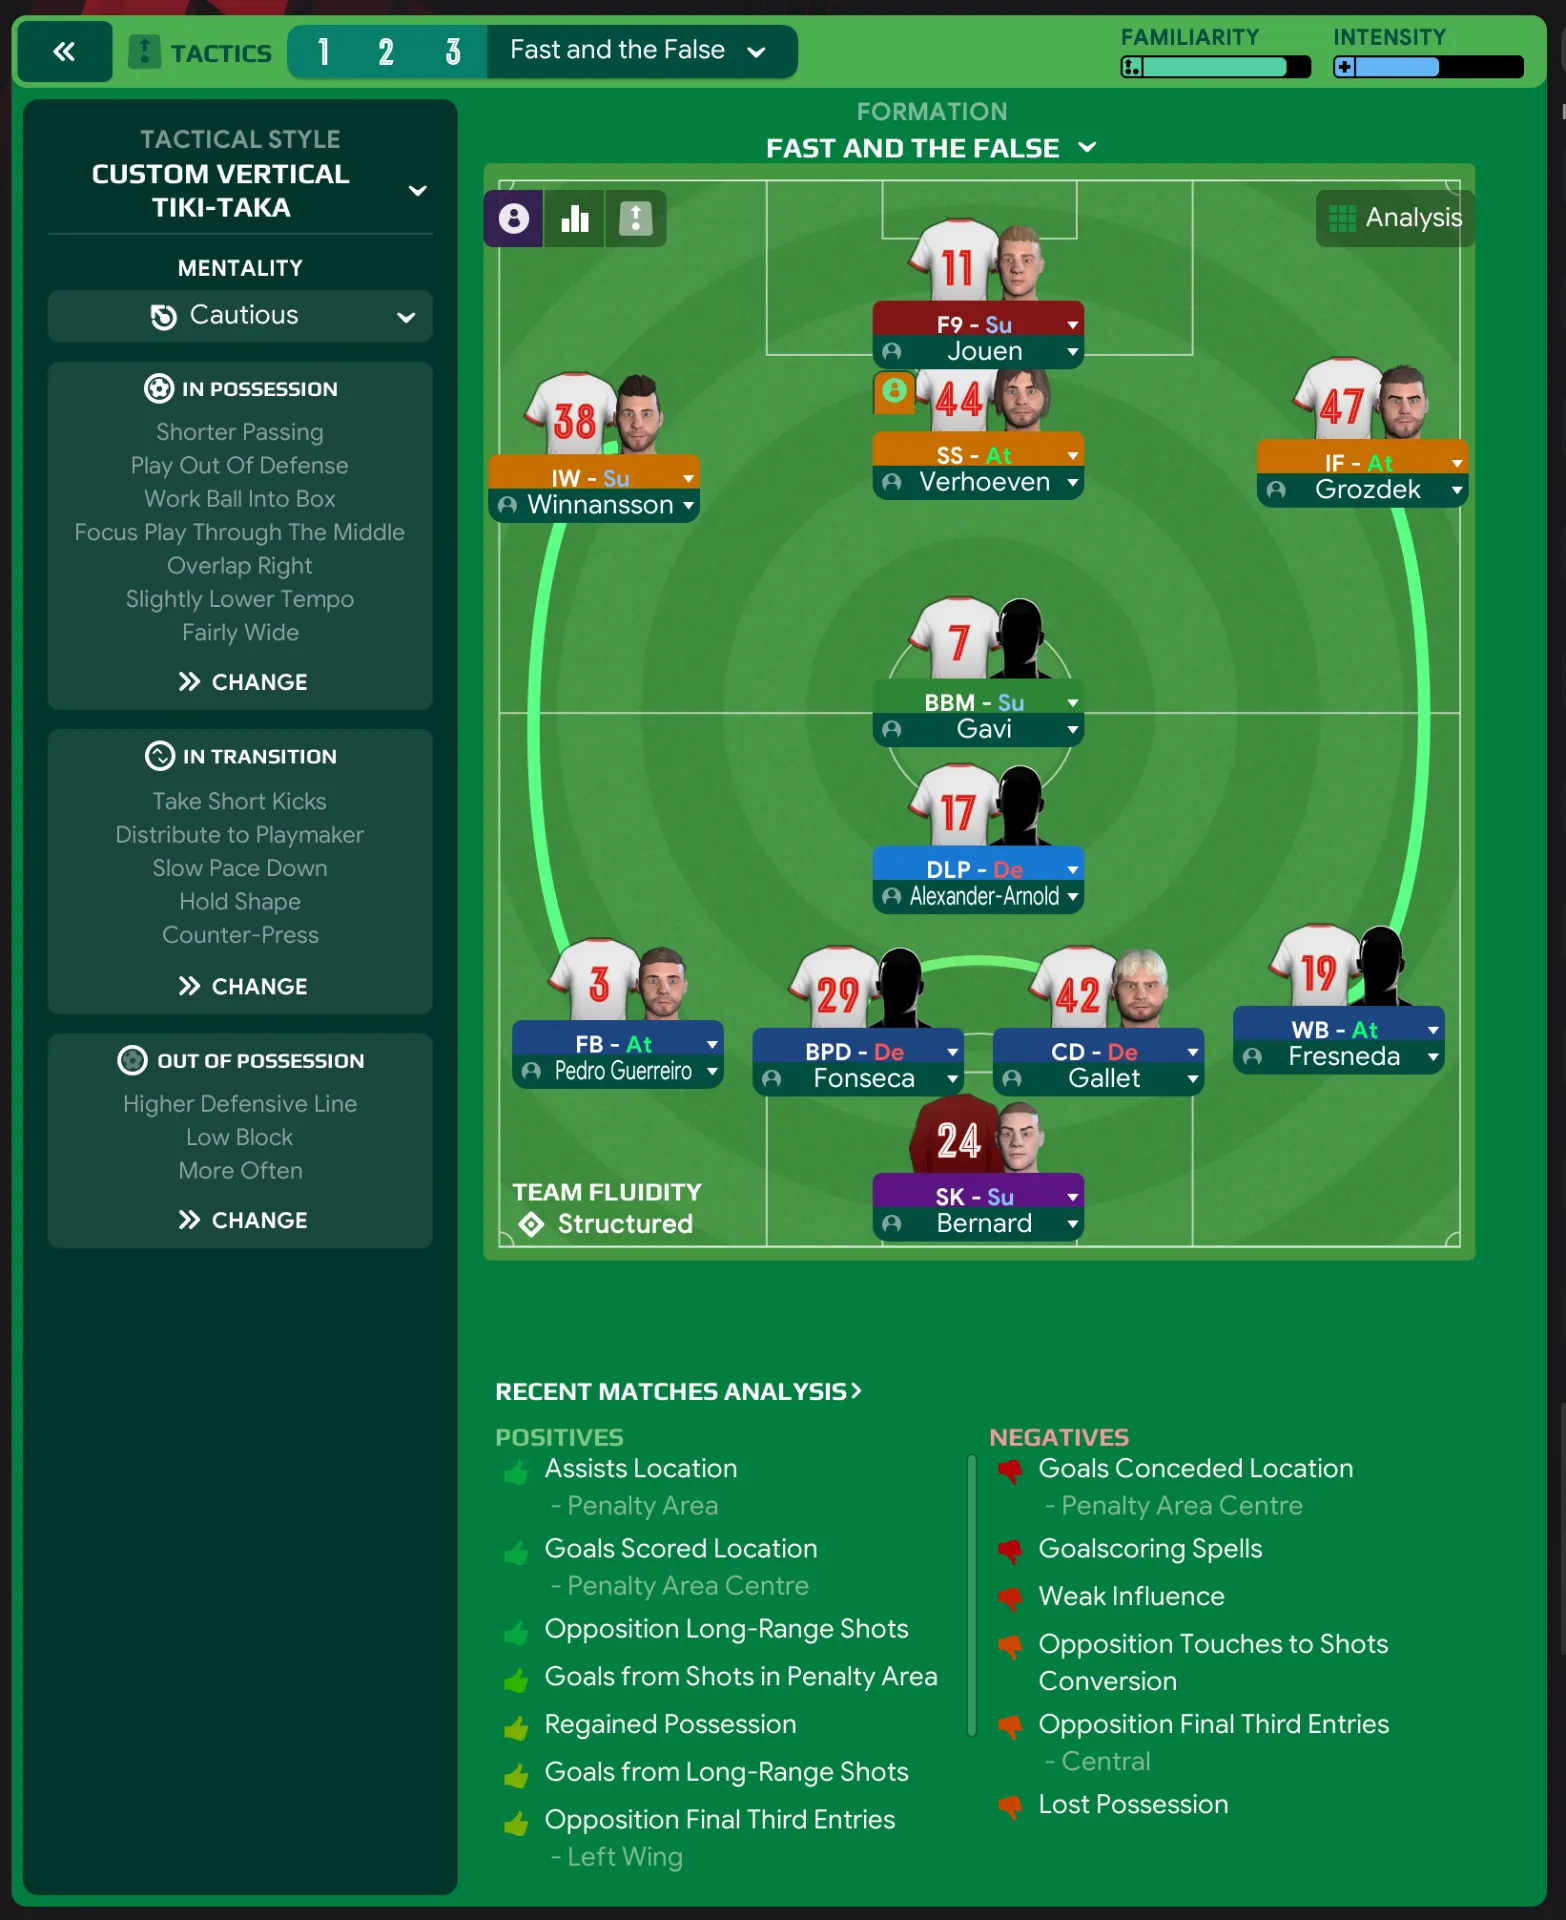
Loading tactical analysis...
Formation and style
Custom Vertical Tiki-Taka
Cautious
4-2-3-1
Structured
In possession
Shorter Passing
Play Out Of Defense
Work Ball Into Box
Focus Play Through The Middle
Slightly Lower Tempo
Fairly Wide
In transition
Take Short Kicks
Distribute to Playmaker
Slow Pace Down
Hold Shape
Counter-Press
Out of possession
Higher Defensive Line
Low Block
More Often
Player roles
GK
Sweeper Keeper
Support
CB
Ball-Playing Defender
Defend
CB
Central Defender
Defend
FB
Full-Back
Attack
WB
Wing-Back
Attack
DM
Deep-Lying Playmaker
Defend
CM
Box-to-Box Midfielder
Support
LW
Inside Winger
Support
ST
False Nine
Support
SS
Shadow Striker
Attack
RW
Inside Forward
Attack
Phase description
Focuses on quick exchanges and movement in the midfield with an emphasis on short passes leading into the final third.
Quick recovery to shape, but relies on structured positioning rather than aggressive presses.
Positional play with an emphasis on exploiting spaces in the opposition's defense.
Team shape defence
Compact
Maintains a strong defensive structure with a low block when out of possession.
Higher Defensive Line and Low Block indicator.
Team shape attack
Fluid
Players frequently interchanging positions in the final third.
Roles such as False Nine and Shadow Striker indicate fluidity in attack.
Key strengths
Attacking Width
Utilizes width effectively to stretch the opposition's defense.
Inside Winger at [6,1] and Inside Forward at [6,5].
Midfield Control
Strong presence in midfield allows for dominance in possession.
Box-to-Box Midfielder at [4,3] and Deep-Lying Playmaker at [3,3].
Conflicting tactics
Goals Conceded
Conceded too many goals from central positions due to low block.
Goals Conceded Location reported at 'Penalty Area Centre'.
Goalscoring Spells
Inconsistencies in scoring when maintaining cautious mentality.
Statistics showing weak influence in opposition final third.
Risk exposures
Risk Exposures
Items
Counter-Attacks
Vulnerability to quick counters during transitions.
Current low block invites long passes over the top.
Central Areas
Over-reliance on midfielders may leave defense exposed.
Box-to-Box Midfielder and Deep-Lying Playmaker occupying crucial spaces.
Role synergies
Role Synergies
Items
Box-to-Box Midfielder and Deep-Lying Playmaker
Together, they create a balance between defensive support and attacking transitions.
BBM at [4,3] and DLP at [3,3] complement each other.
False Nine and Shadow Striker
Allows for fluid movement and openings in the defense.
Both roles occupy central areas at [6,3] and [6,2] respectively.
Suggested questions
How can we improve our goal-scoring efficiency?
What adjustments can be made to enhance our defensive structure?
In what ways can we further exploit our width in attack?
Related Tactics
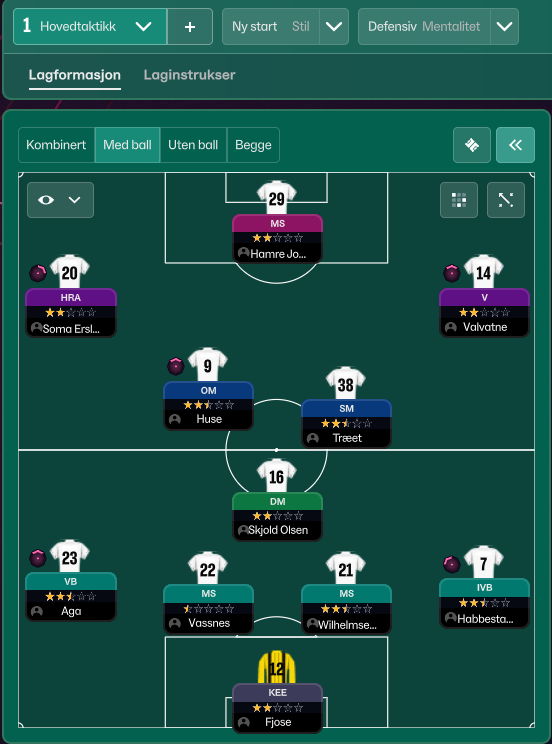
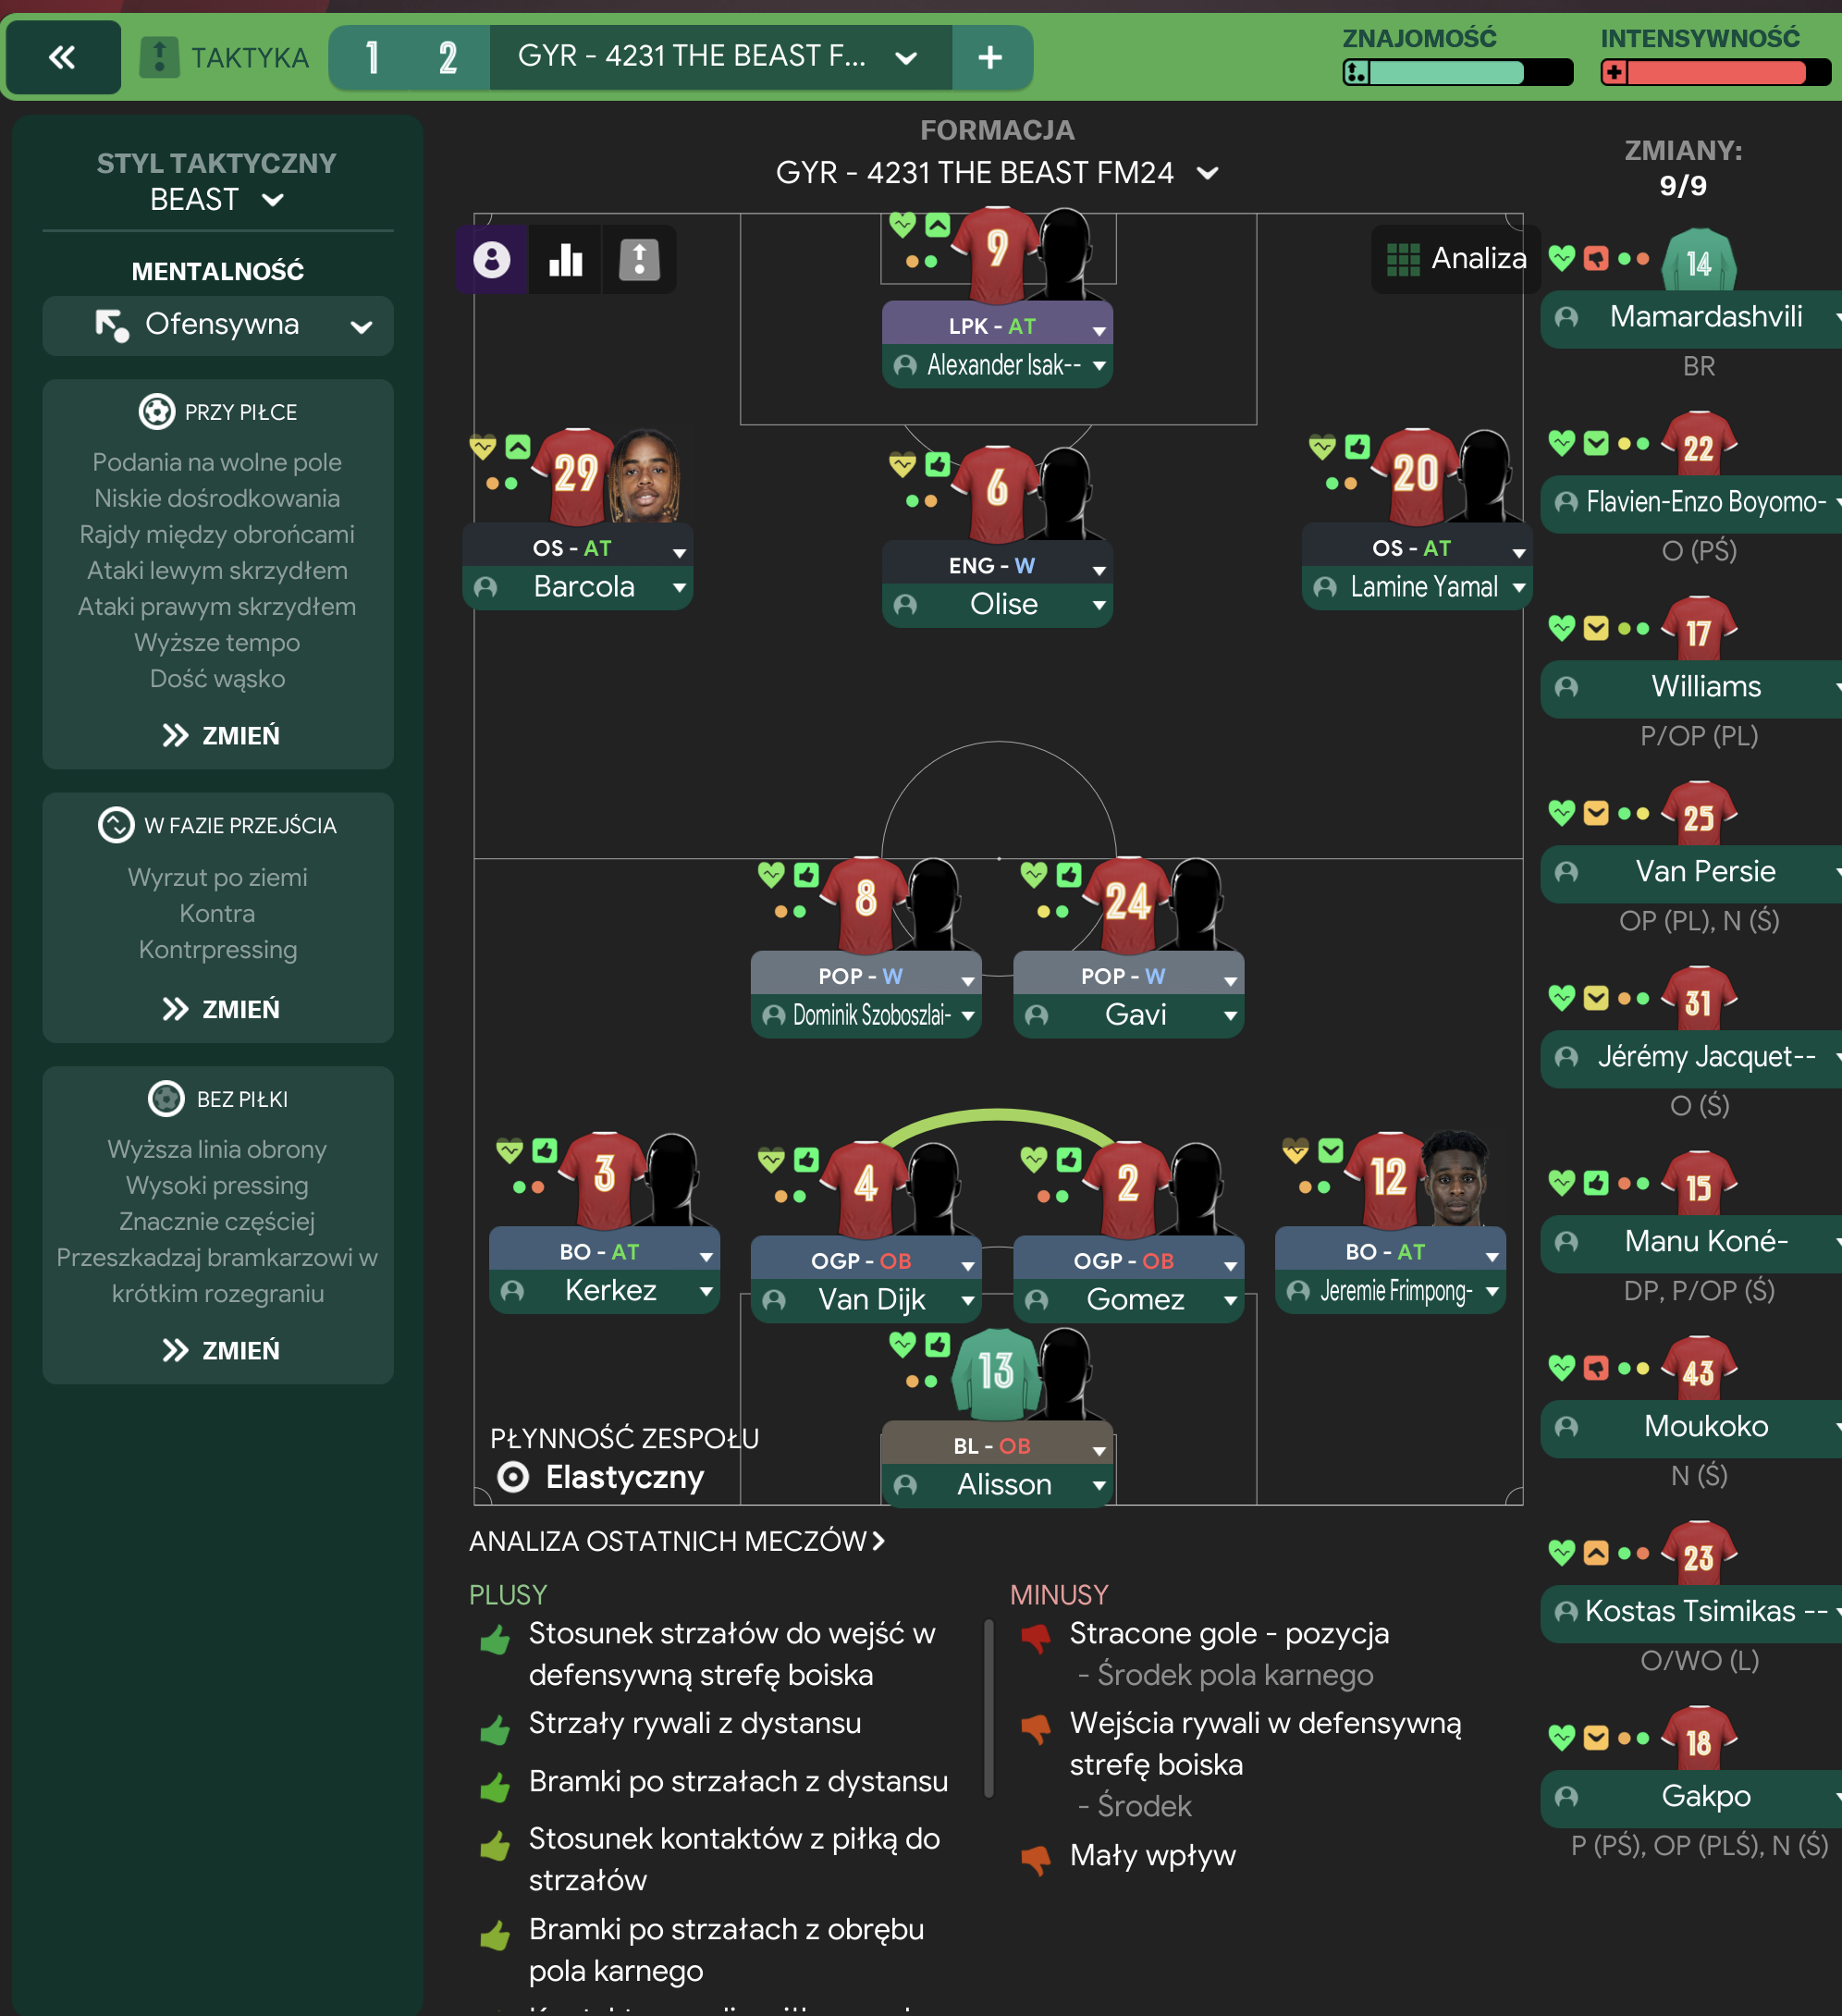
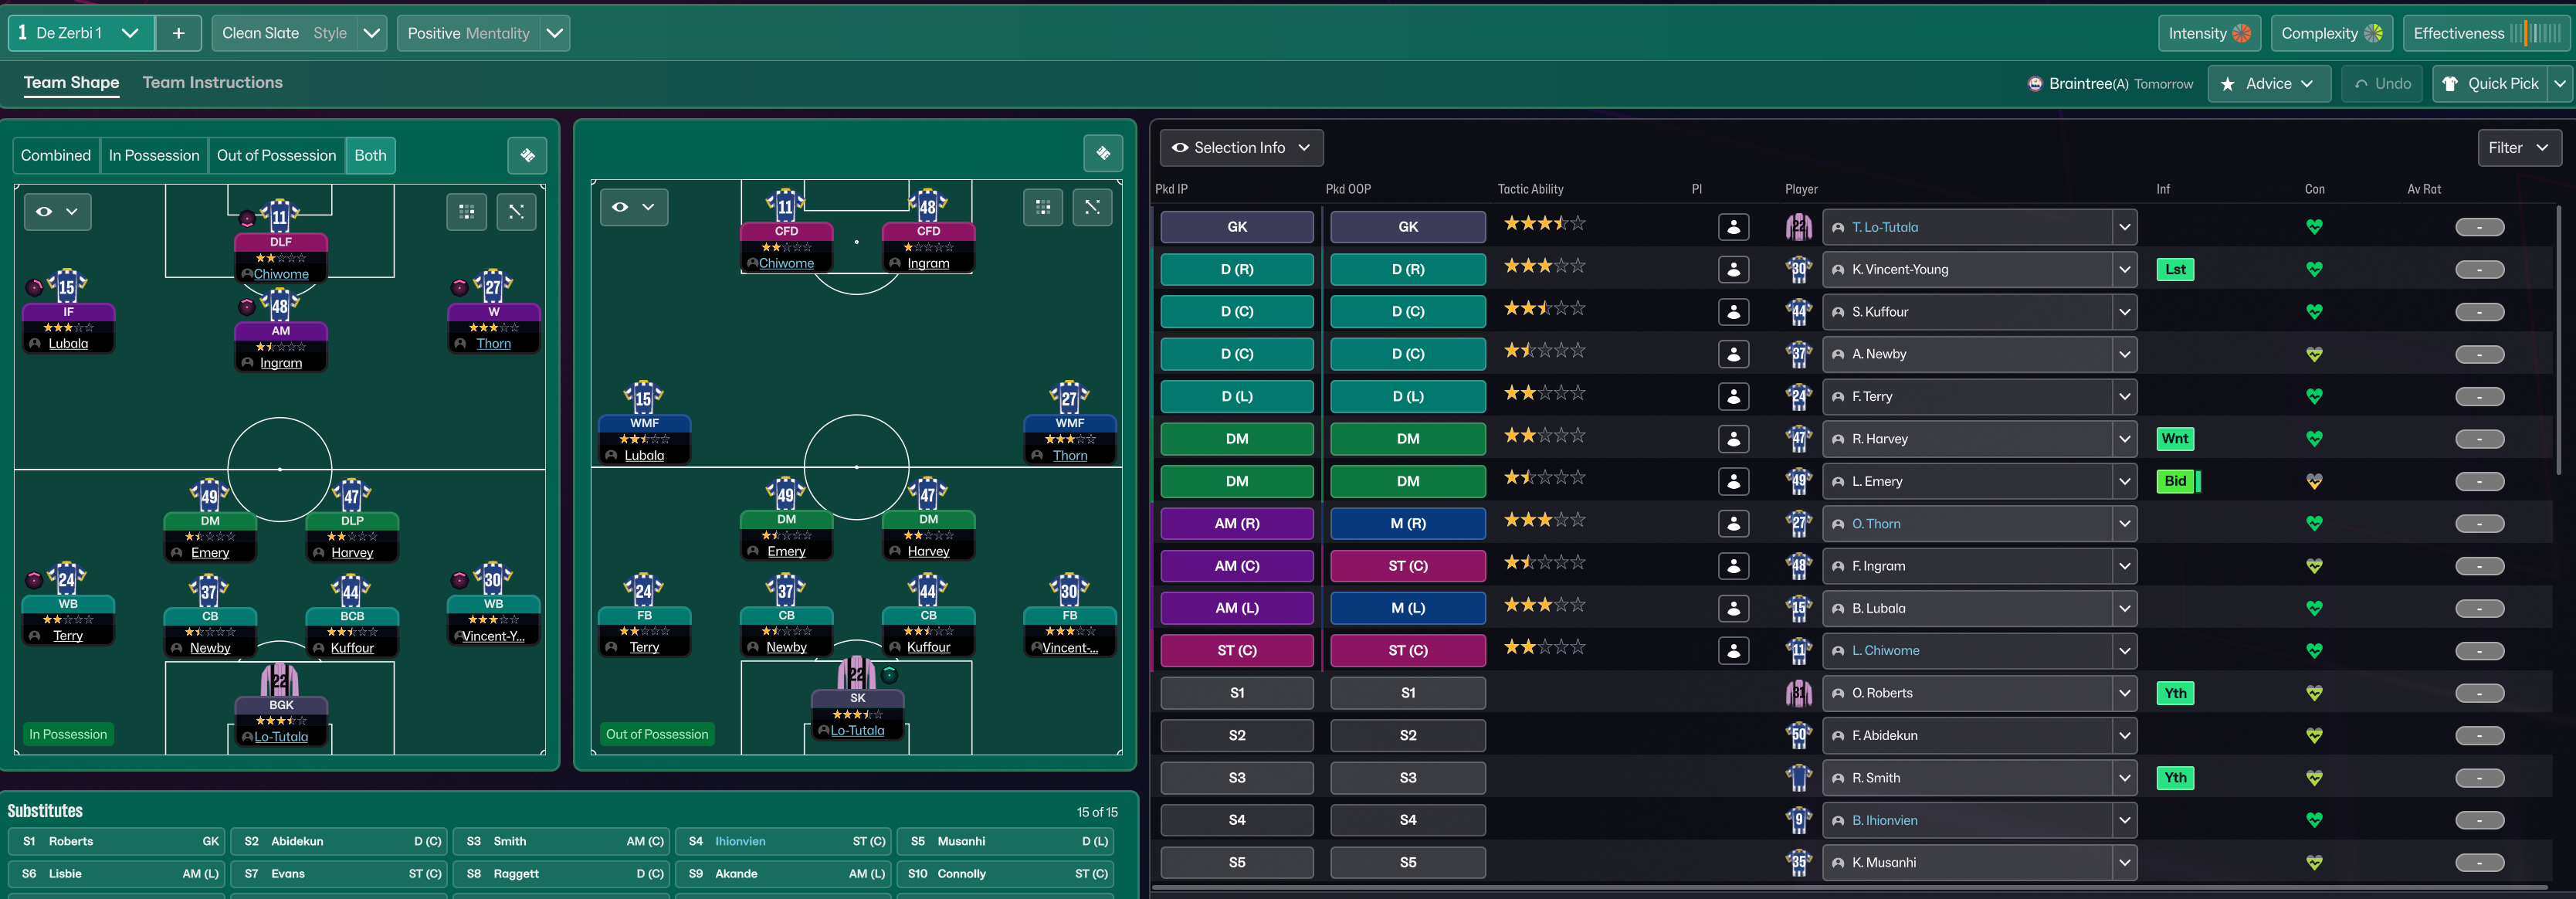
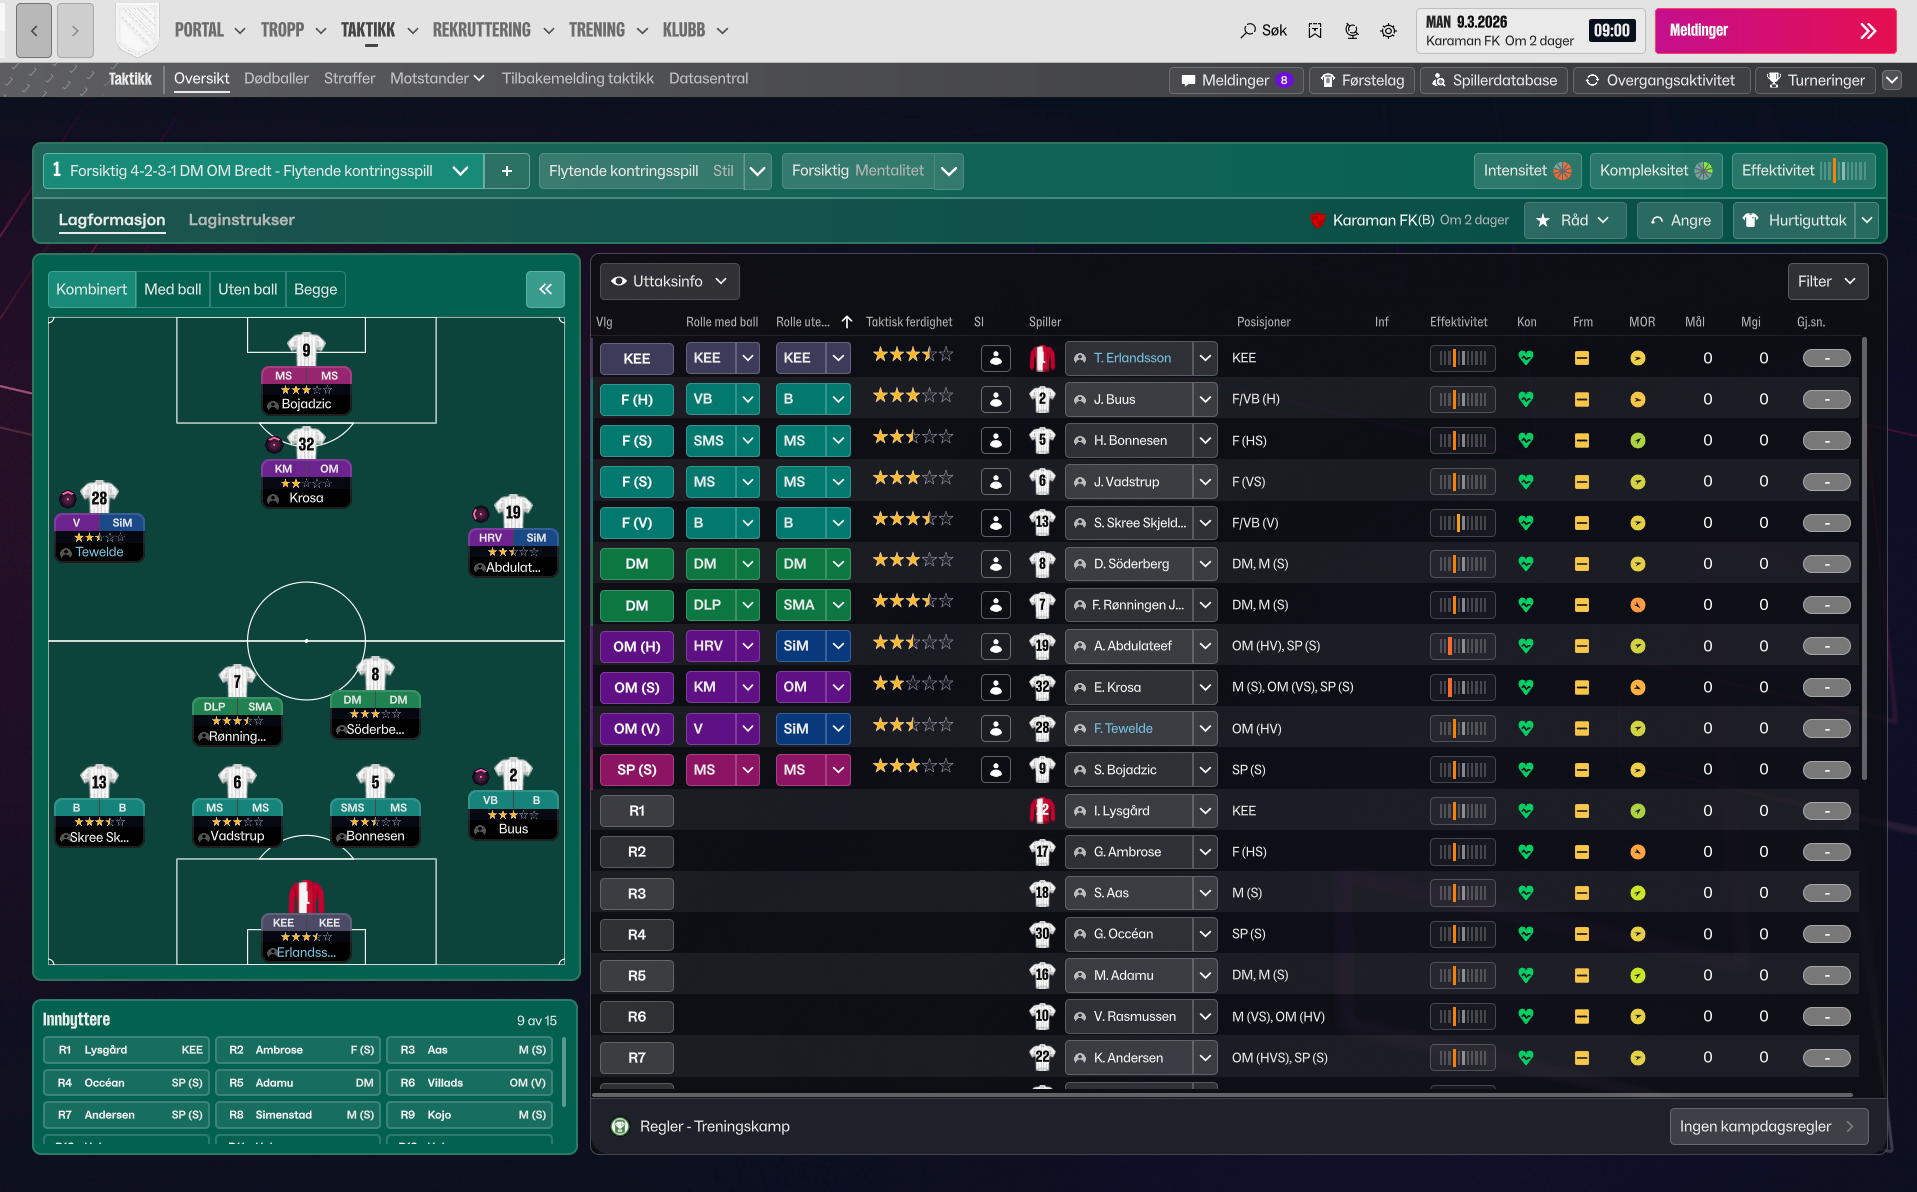
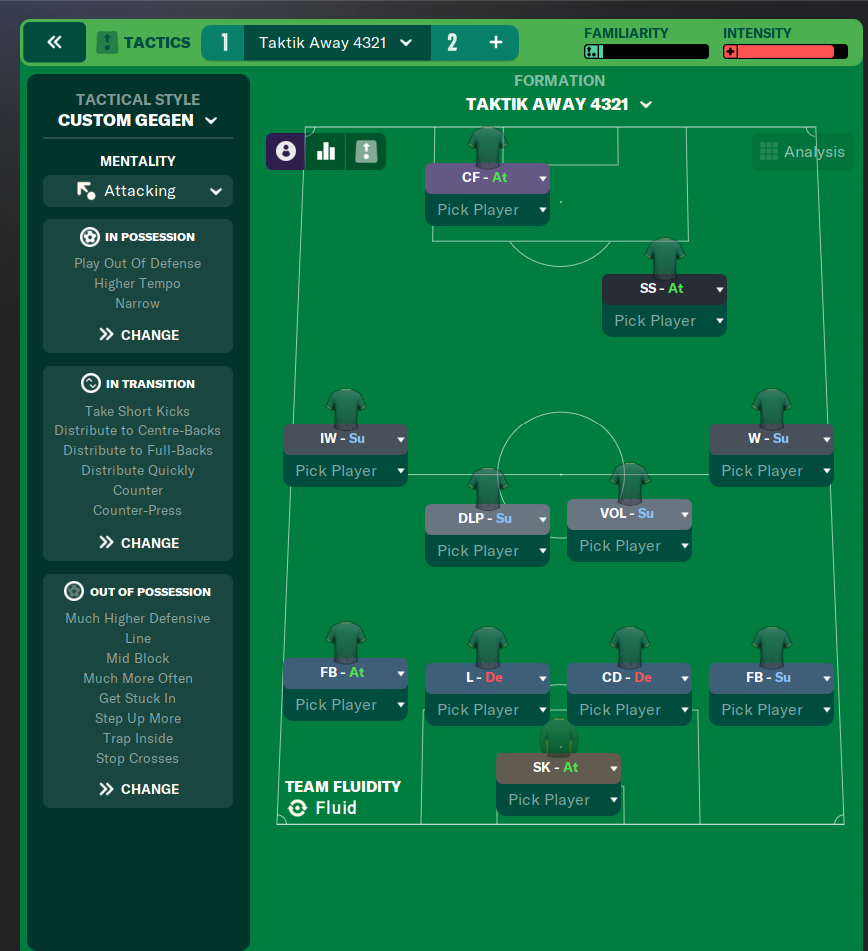
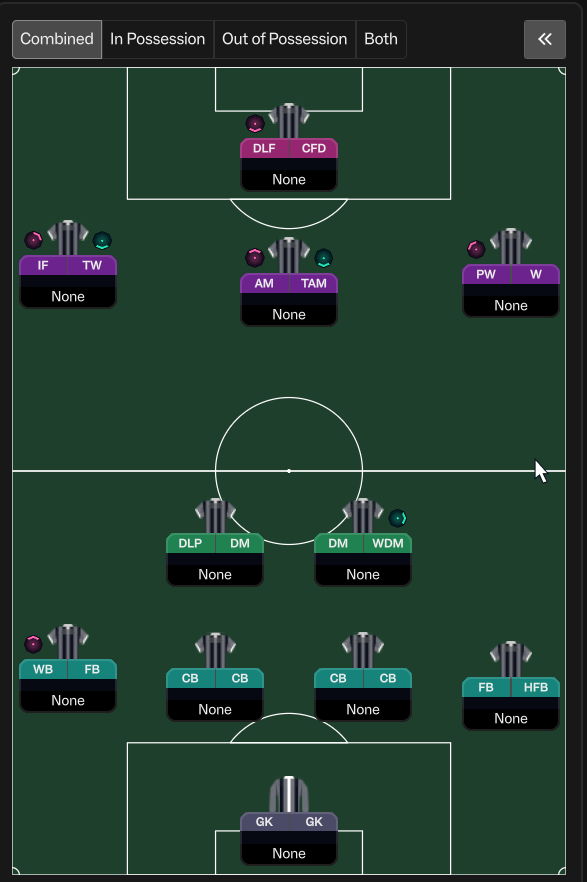
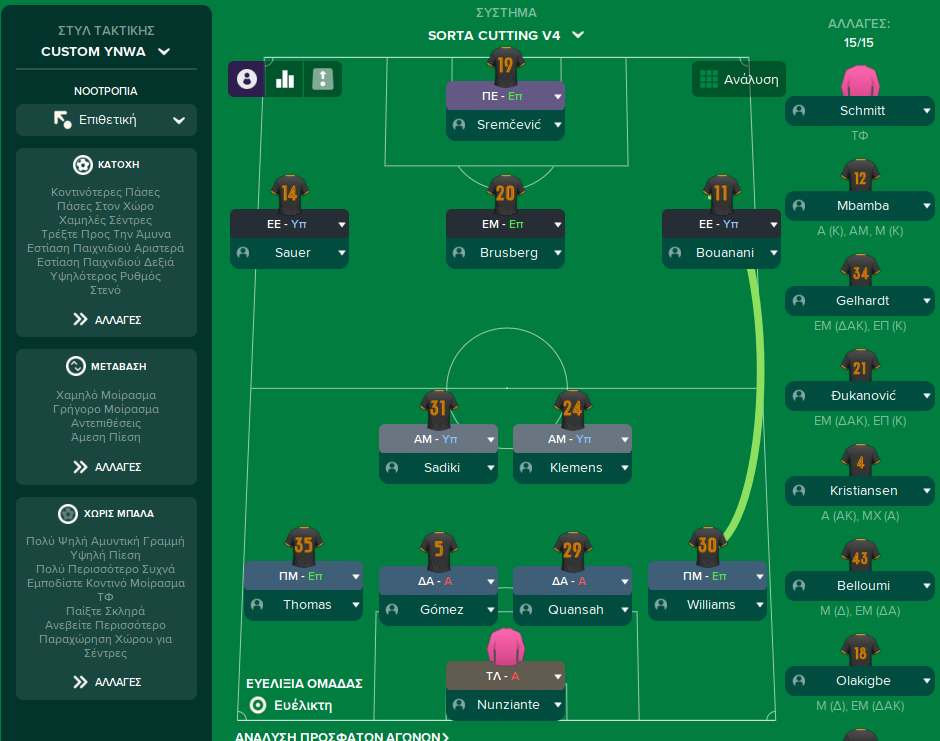
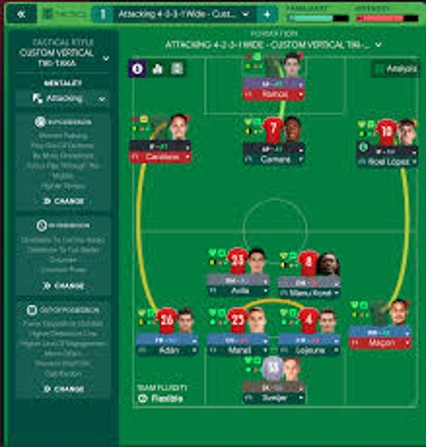
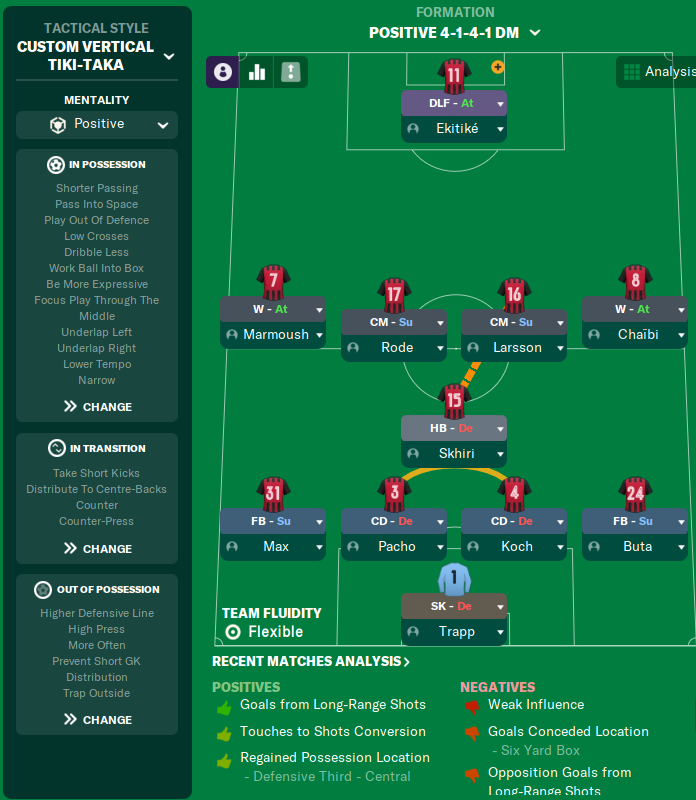
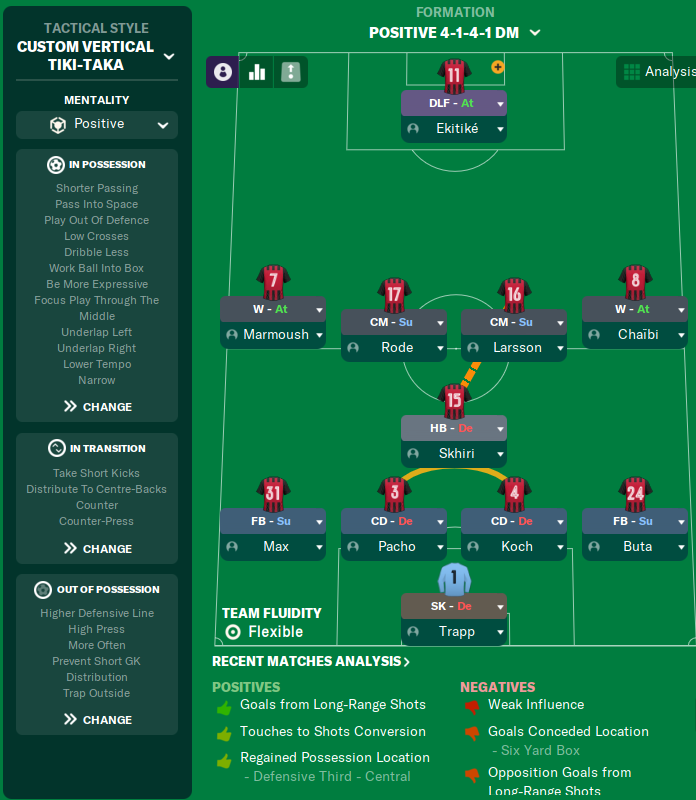
More Custom Vertical Tiki-Taka tactics
Guides for this tactic
The tactical theory behind the 4-2-3-1: roles, instructions, and the trade-offs that decide whether the system holds up.
Playing styles
Gegenpressing: A Full Guide
Klopp-style gegenpressing in FM, including squad profile, line-and-press pairing, sustainable workload, and the antipatterns to avoid.
Read guide
Player pairings
Midfield Pairs in 4-2-3-1 and 4-4-2
Double pivots and flat pairs in 4-2-3-1 and 4-4-2: when each pairing works, when it collapses, and the AMC unicorn that rescues both.
Read guide
Foundations
Mentality, Duty & Roles
How Mentality, Duty, and Role interact in FM, why duty trumps mentality every time, and the role-on-top-of-duty composition rules.
Read guide