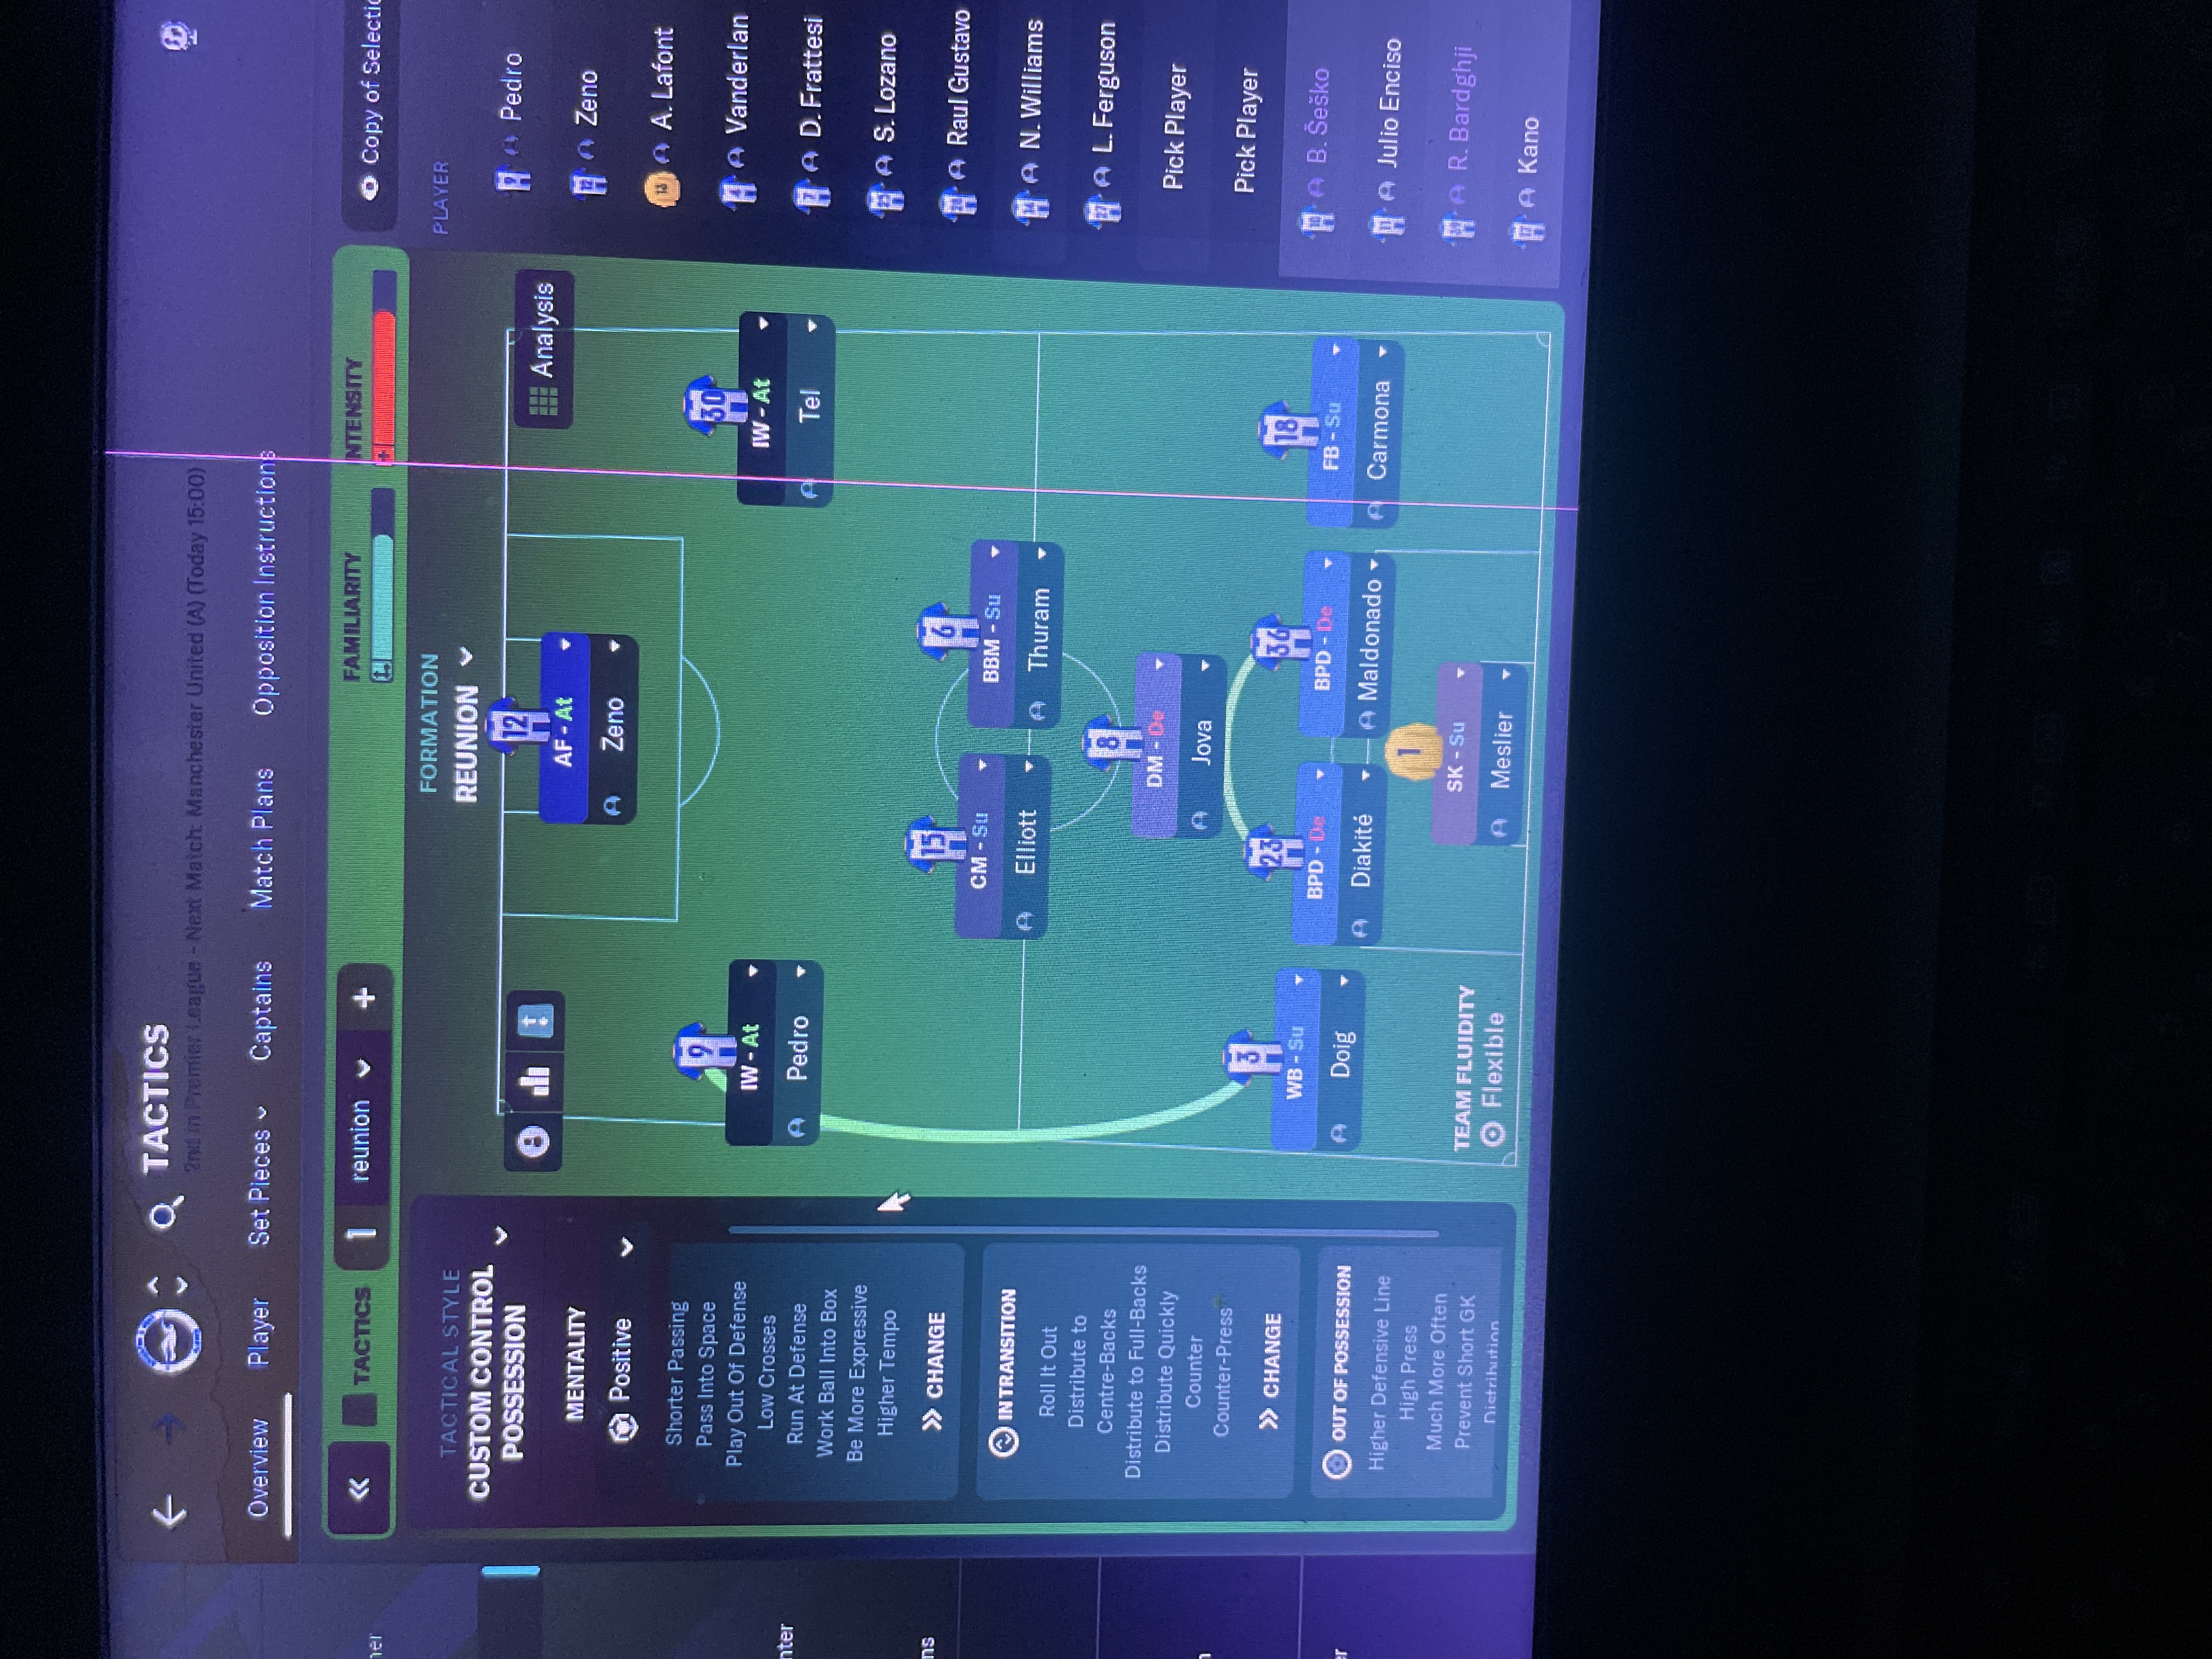
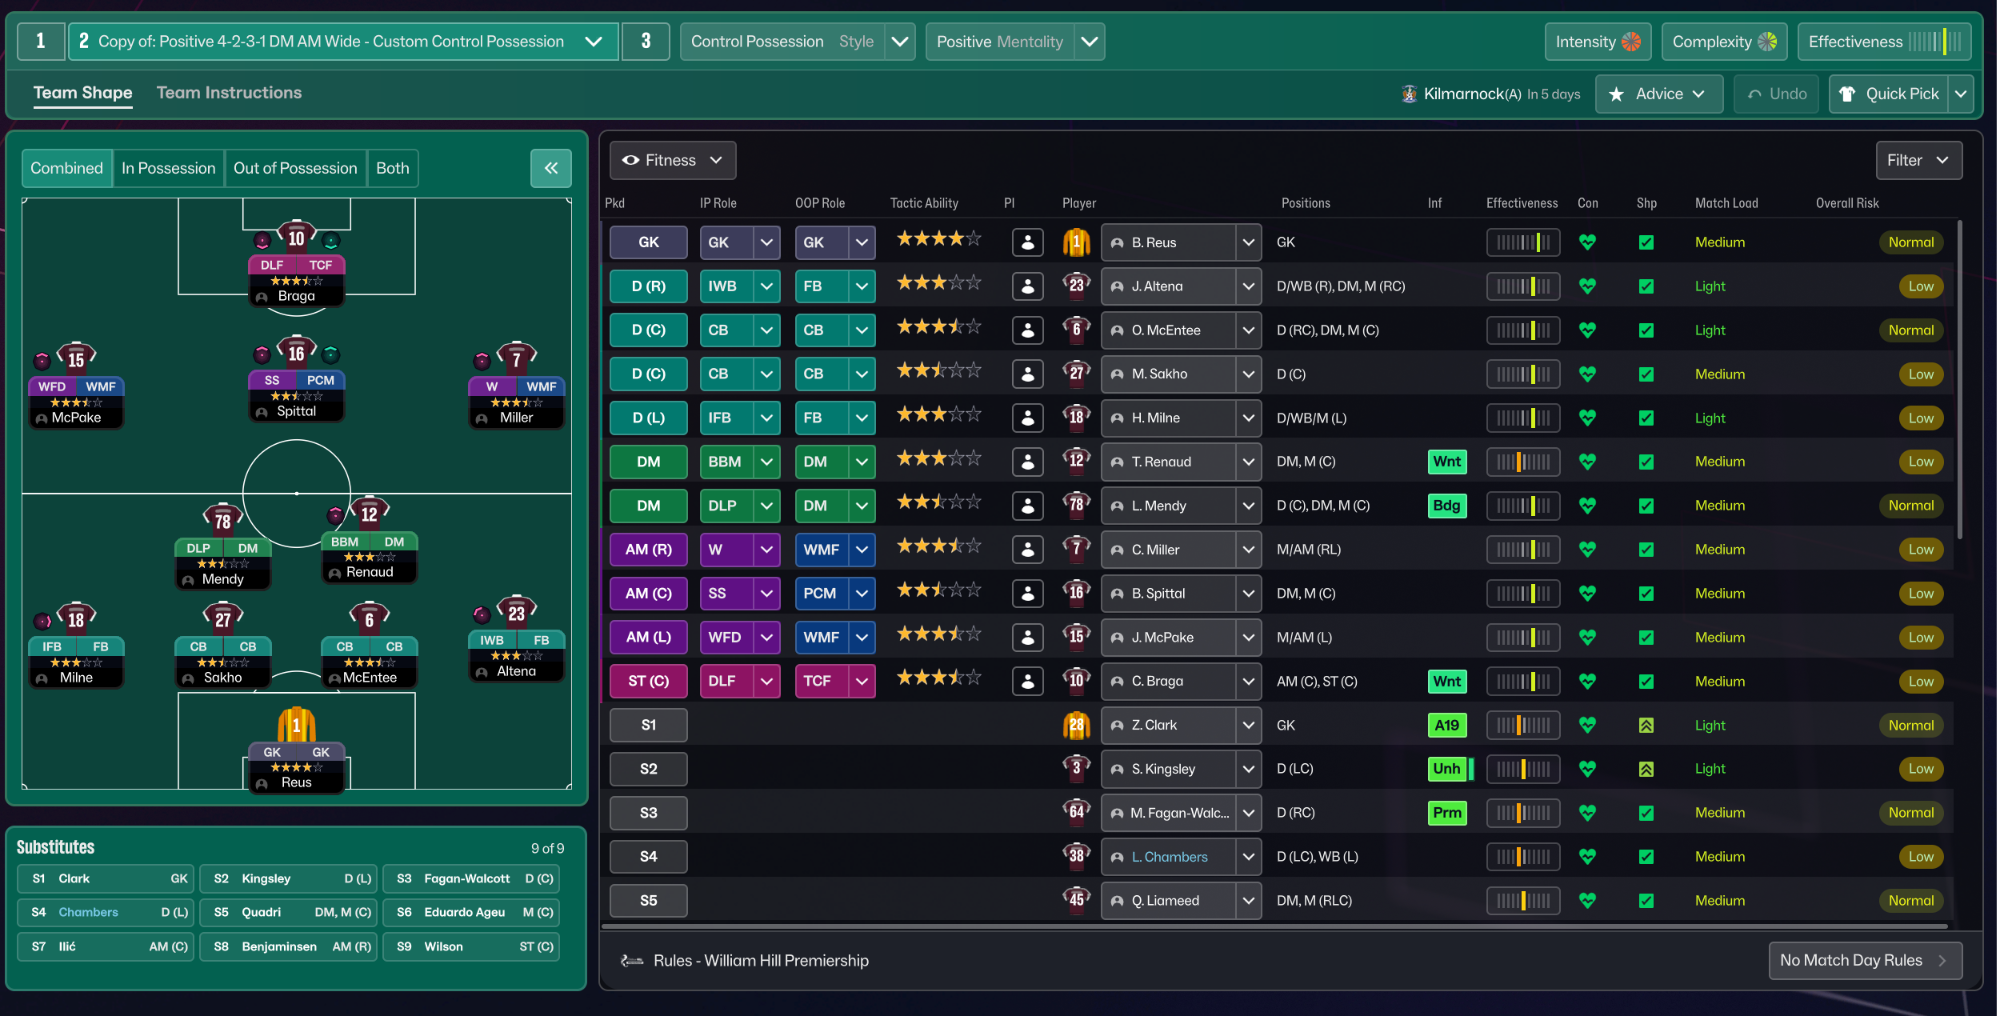
Control Possession 4-2-3-1 Wide (Positive) Tactic
4-2-3-1 Wide
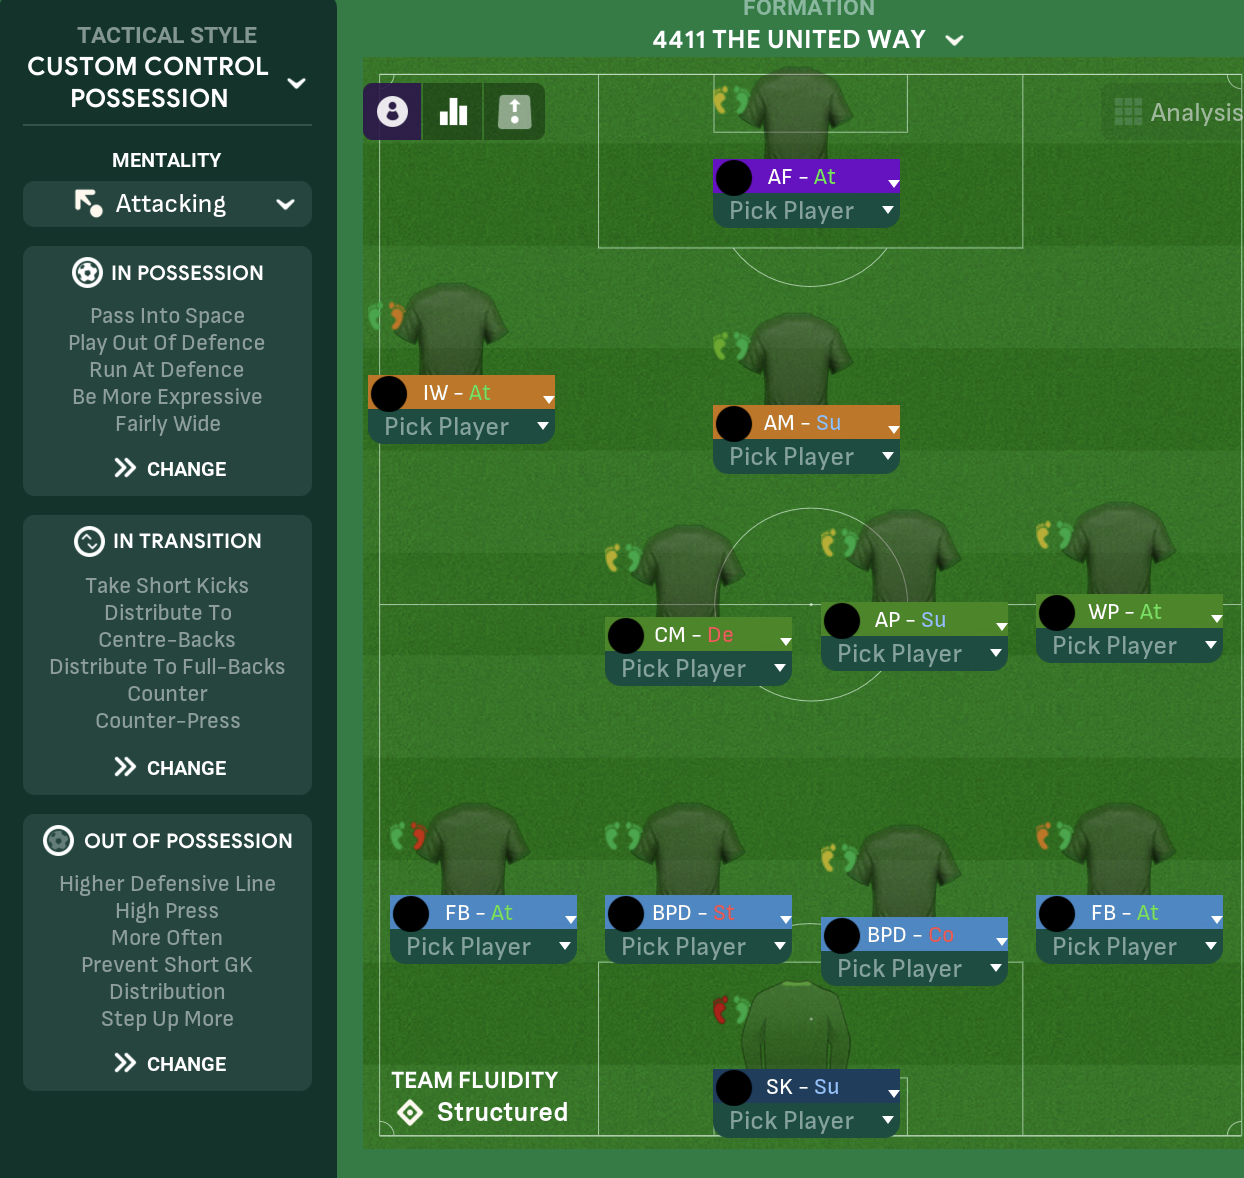
The main focus is on maintaining possession, creating opportunities through dynamic movement and coordinated build-up play. The combination of Inside…
Loading tactical analysis...
Formation and style
Custom Control Possession
Positive
4-2-3-1 Wide
Flexible
In possession
Shorter Passing
Pass Into Space
Play Out Of Defence
Lower Crosses
Run At Defense
Work Ball Into Box
Be More Expressive
Higher Tempo
In transition
Roll It Out
Distribute To Full-Backs
Distribute Quickly
Counter
Counter-Press
Out of possession
Higher Defensive Line
High Press
Much More Often
Prevent Short GK Distribution
Player roles
GK
Sweeper Keeper
Support
CB
Ball-Playing Defender
Defend
CB
Ball-Playing Defender
Defend
LB
Wing-Back
Support
RB
Full-Back
Support
DM
Defensive Midfielder
Defend
CM
Box-to-Box Midfielder
Support
AM
Advanced Forward
Attack
LW
Inside Forward
Attack
RW
Inside Forward
Attack
Phase description
The setup leverages width with Inside Forwards and an Advanced Forward to press forward, creating chances by working the ball into the box.
Upon losing possession, the team looks to counter-press aggressively, limiting space for the opponent.
The main focus is on maintaining possession, creating opportunities through dynamic movement and coordinated build-up play.
Team shape defence
4-2
A structured defensive formation, ensuring coverage across all areas with a compact structure and high pressing.
Two defensive midfielders (DM at [3,3], BBM at [4,3]) support the back line, allowing quick recovery during transitions.
Team shape attack
3-3-1
Fluid attacking shape with emphasis on width through Inside Forwards and overlapping Wing-Backs to stretch the defense.
Three forwards positioned centrally (AF at [6,3], IF at [6,2] & [6,4]) create scoring opportunities, while the midfield provides support.
Key strengths
Dynamic Forward Play
The combination of Inside Forwards and an Advanced Forward makes the attack unpredictable and difficult to defend against.
IF-A at [6,2], IF-A at [6,4], and AF-A at [6,3] provide multiple options for attack.
Ball Retention
Shorter passing and a focus on possession help maintain control during matches.
Instructions for 'Shorter Passing' and 'Work Ball Into Box' promote patient build-up.
Conflicting tactics
Defensive Overcommitment
In situations where the team overcommits forward, the high line may expose gaps at the back.
Using 'Higher Defensive Line' with attacking full-backs can lead to vulnerabilities especially against quick counter-attacks.
Lack of Depth in Midfield
Relying heavily on individual creativity could expose the midfield.
The BBM role at [4,3] requires constant movement and may leave gaps if not supported.
Risk exposures
Risk Exposures
Items
Defensive Transition
The reliance on high pressing could leave gaps if the ball is lost.
High defensive line combined with aggressive pressing can lead to counters.
Midfield Control
Overreliance on attacking players may lead to loss of midfield stability.
BBM-S at [4,3] requires consistent support to avoid being overrun.
Role synergies
Role Synergies
Items
BBM and Inside Forwards
The Box-to-Box Midfielder can support Inside Forwards in attacking phases.
BBM-S at [4,3] coupled with IF-A at [6,2] and IF-A at [6,4] to create overloads.
Ball-Playing Defenders with Wing-Backs
Ball-Playing Defenders can initiate attacks effectively with wing-backs joining forward.
BPD-D at [2,3], supporting WB-S at [2,2] and their attacking movement.
Suggested questions
How do you feel about the current midfield balance?
What are your thoughts on adapting tactics against a strong counter-attacking team?
Could you explore other options for your full-back duties?
Related Tactics
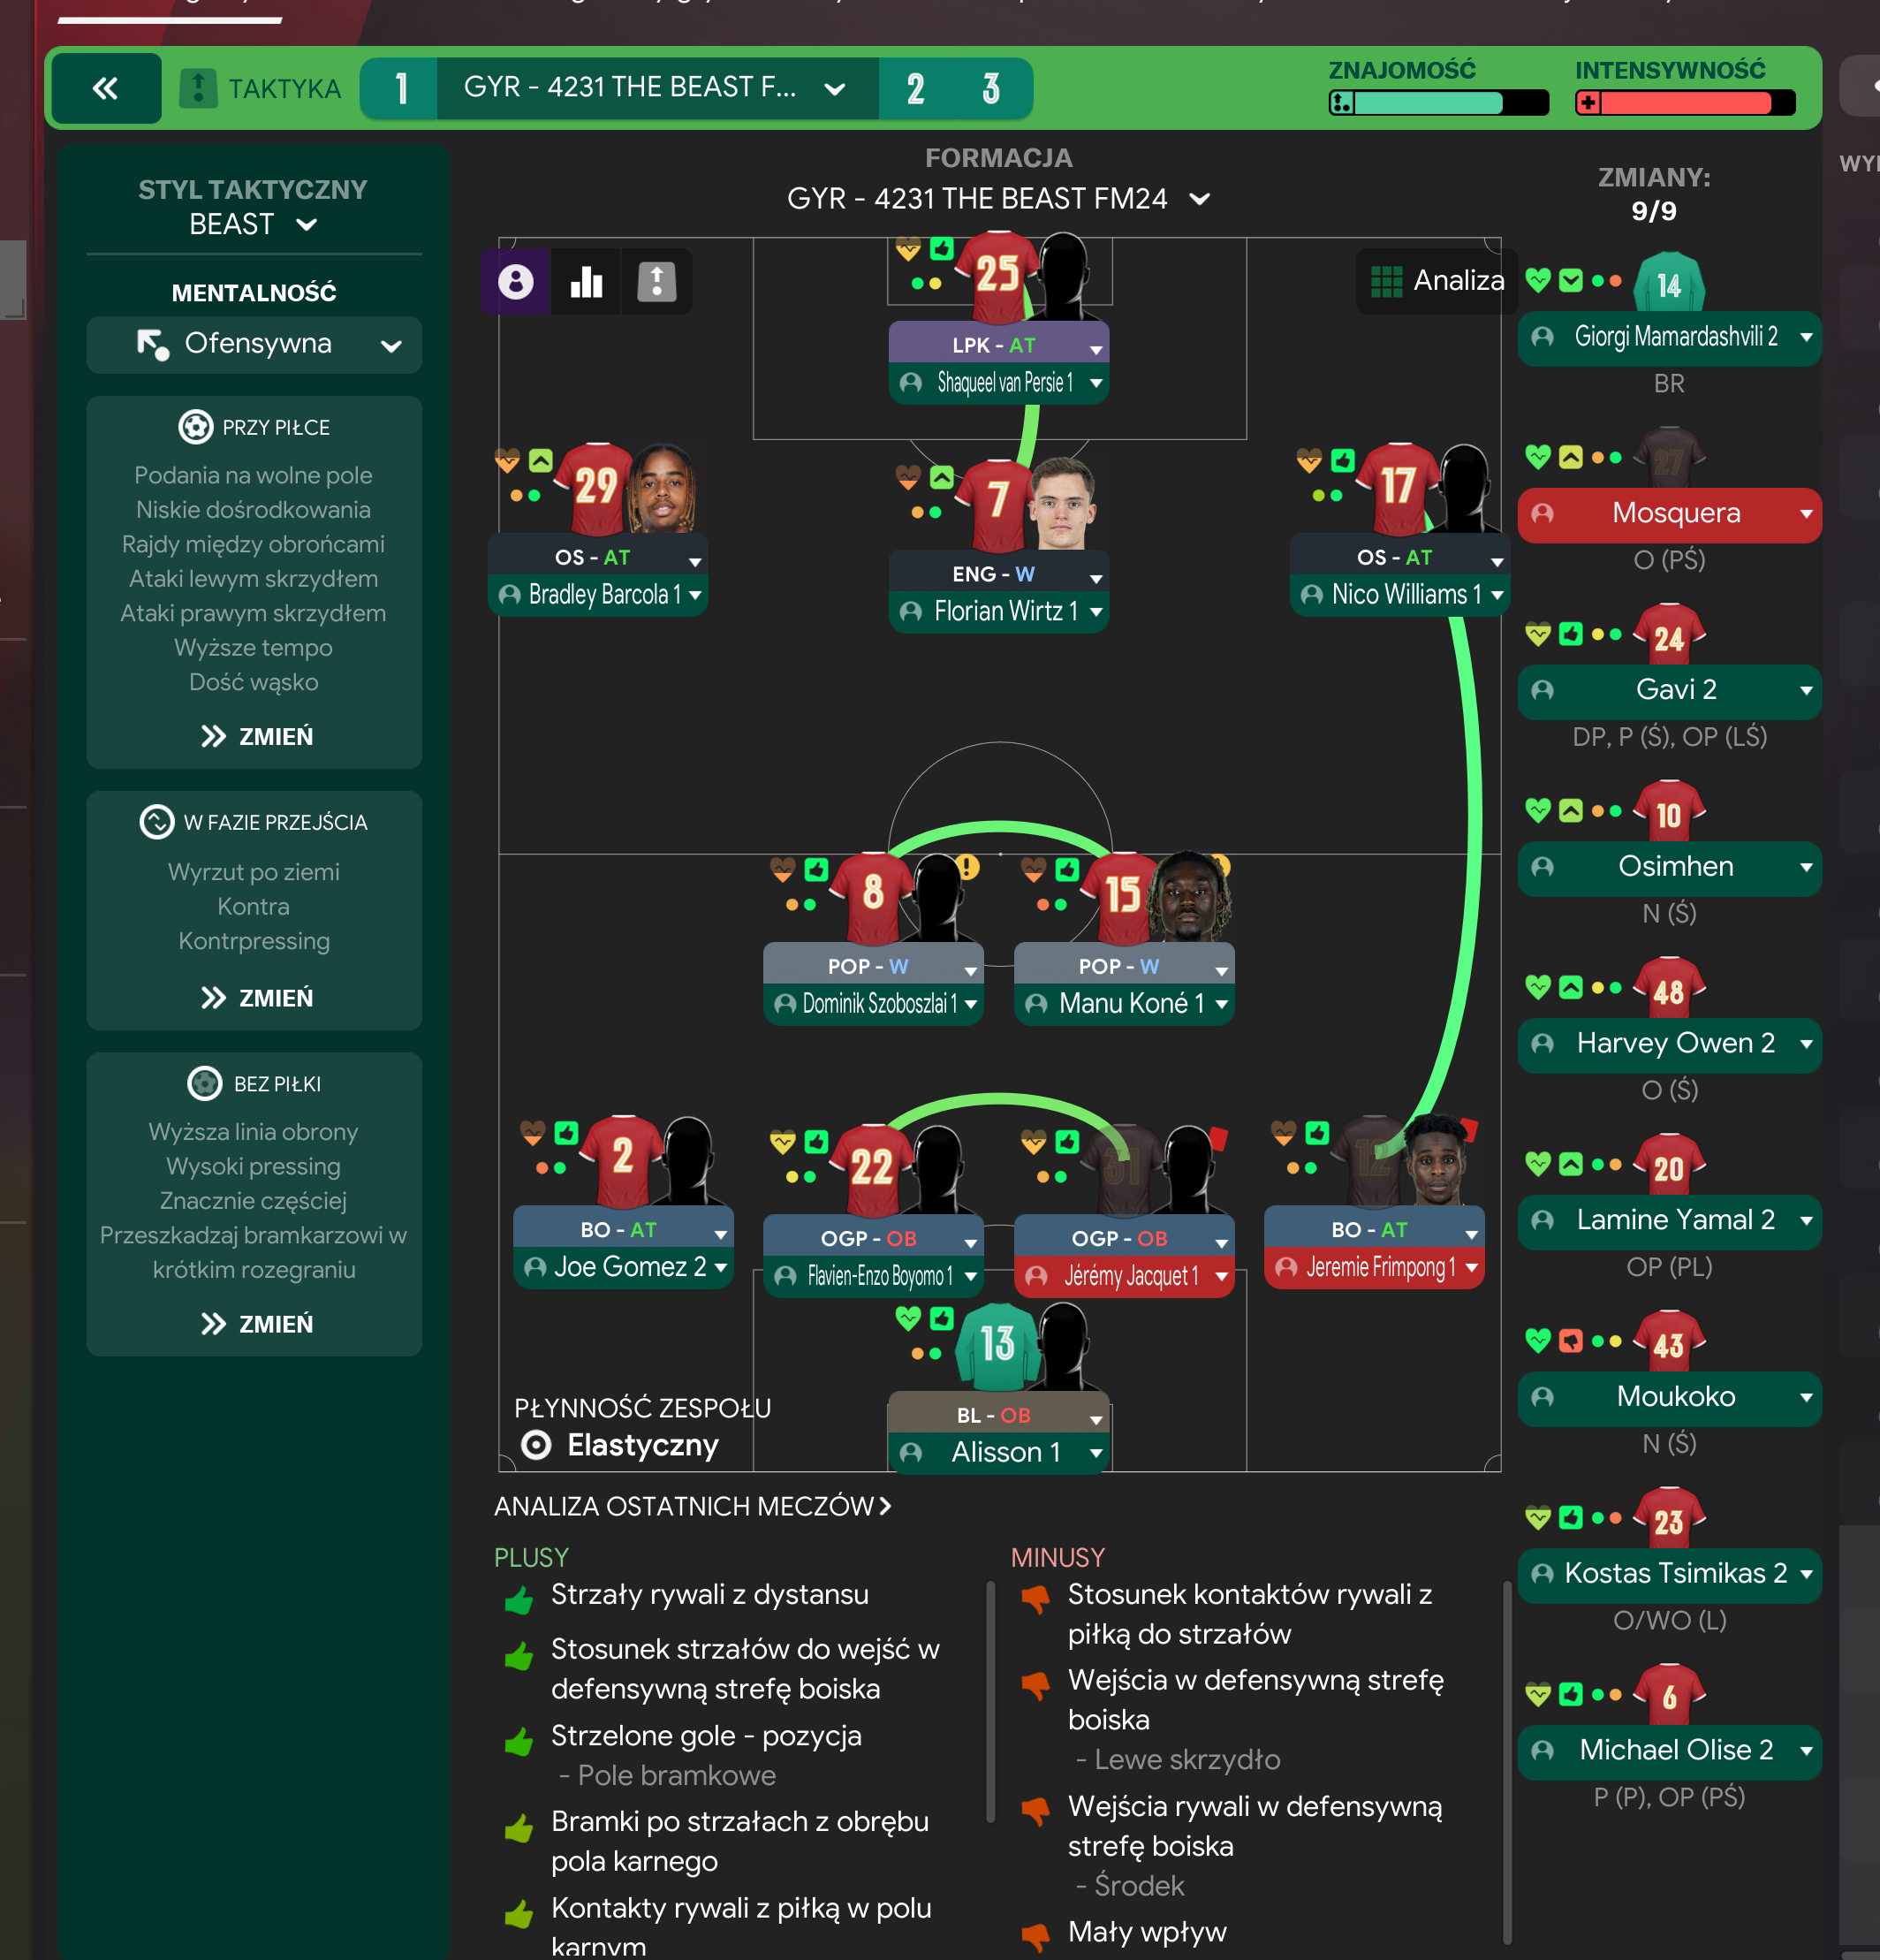
Gegenpress 4-2-3-1 Wide
Gegenpress
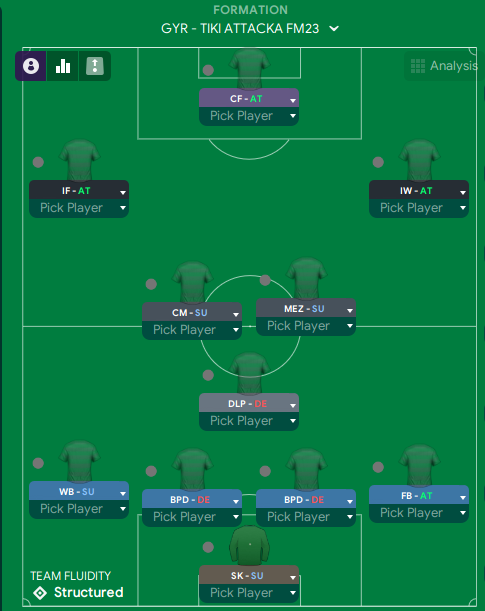
Tiki-Taka 4-2-3-1 Wide
Tiki Taka
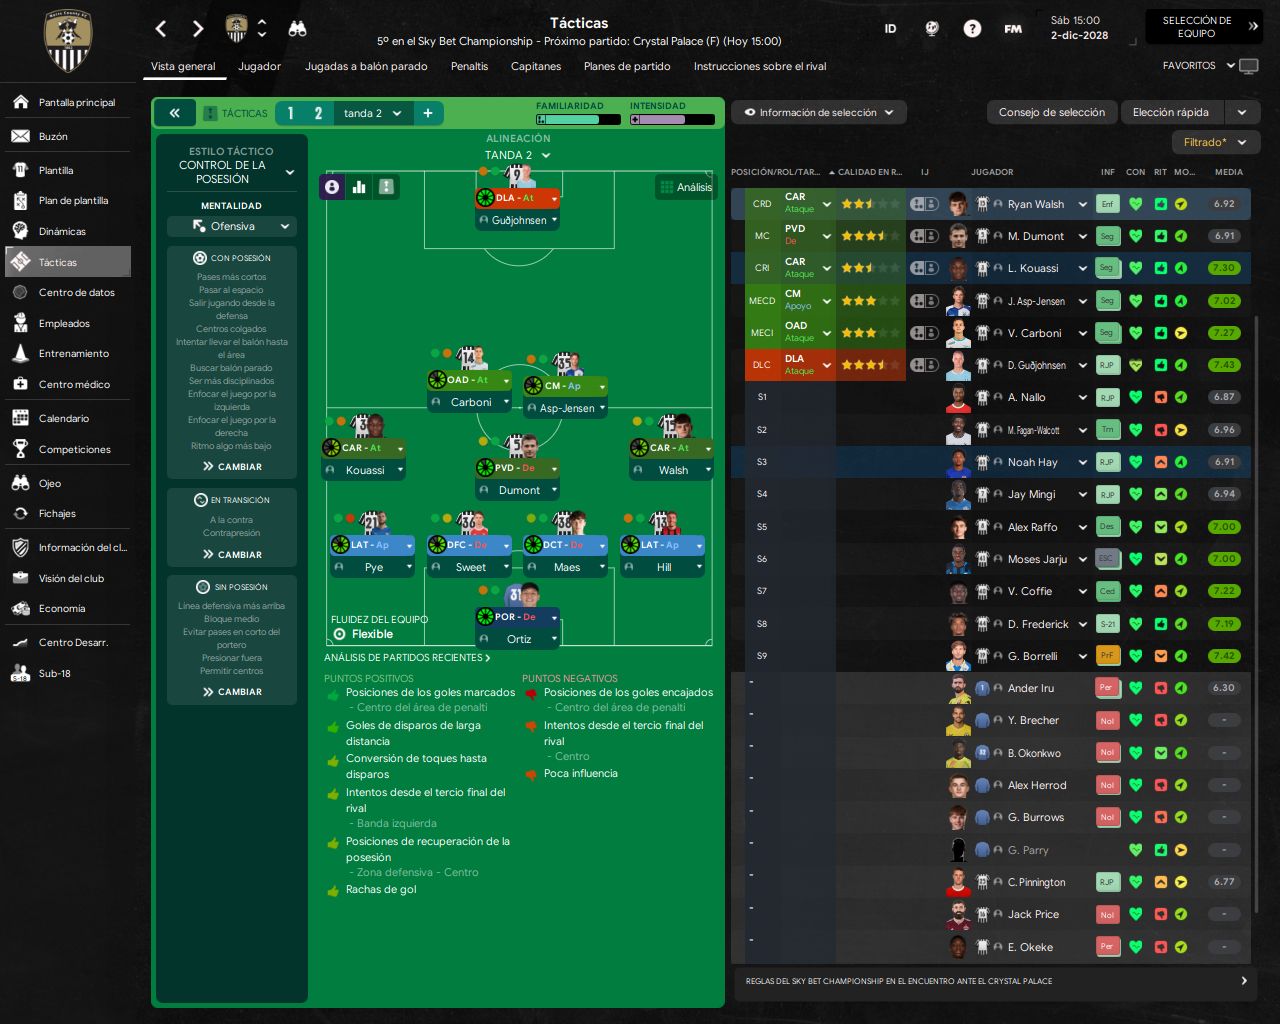
4-2-3-1 Wide Formation
Control de la posesión
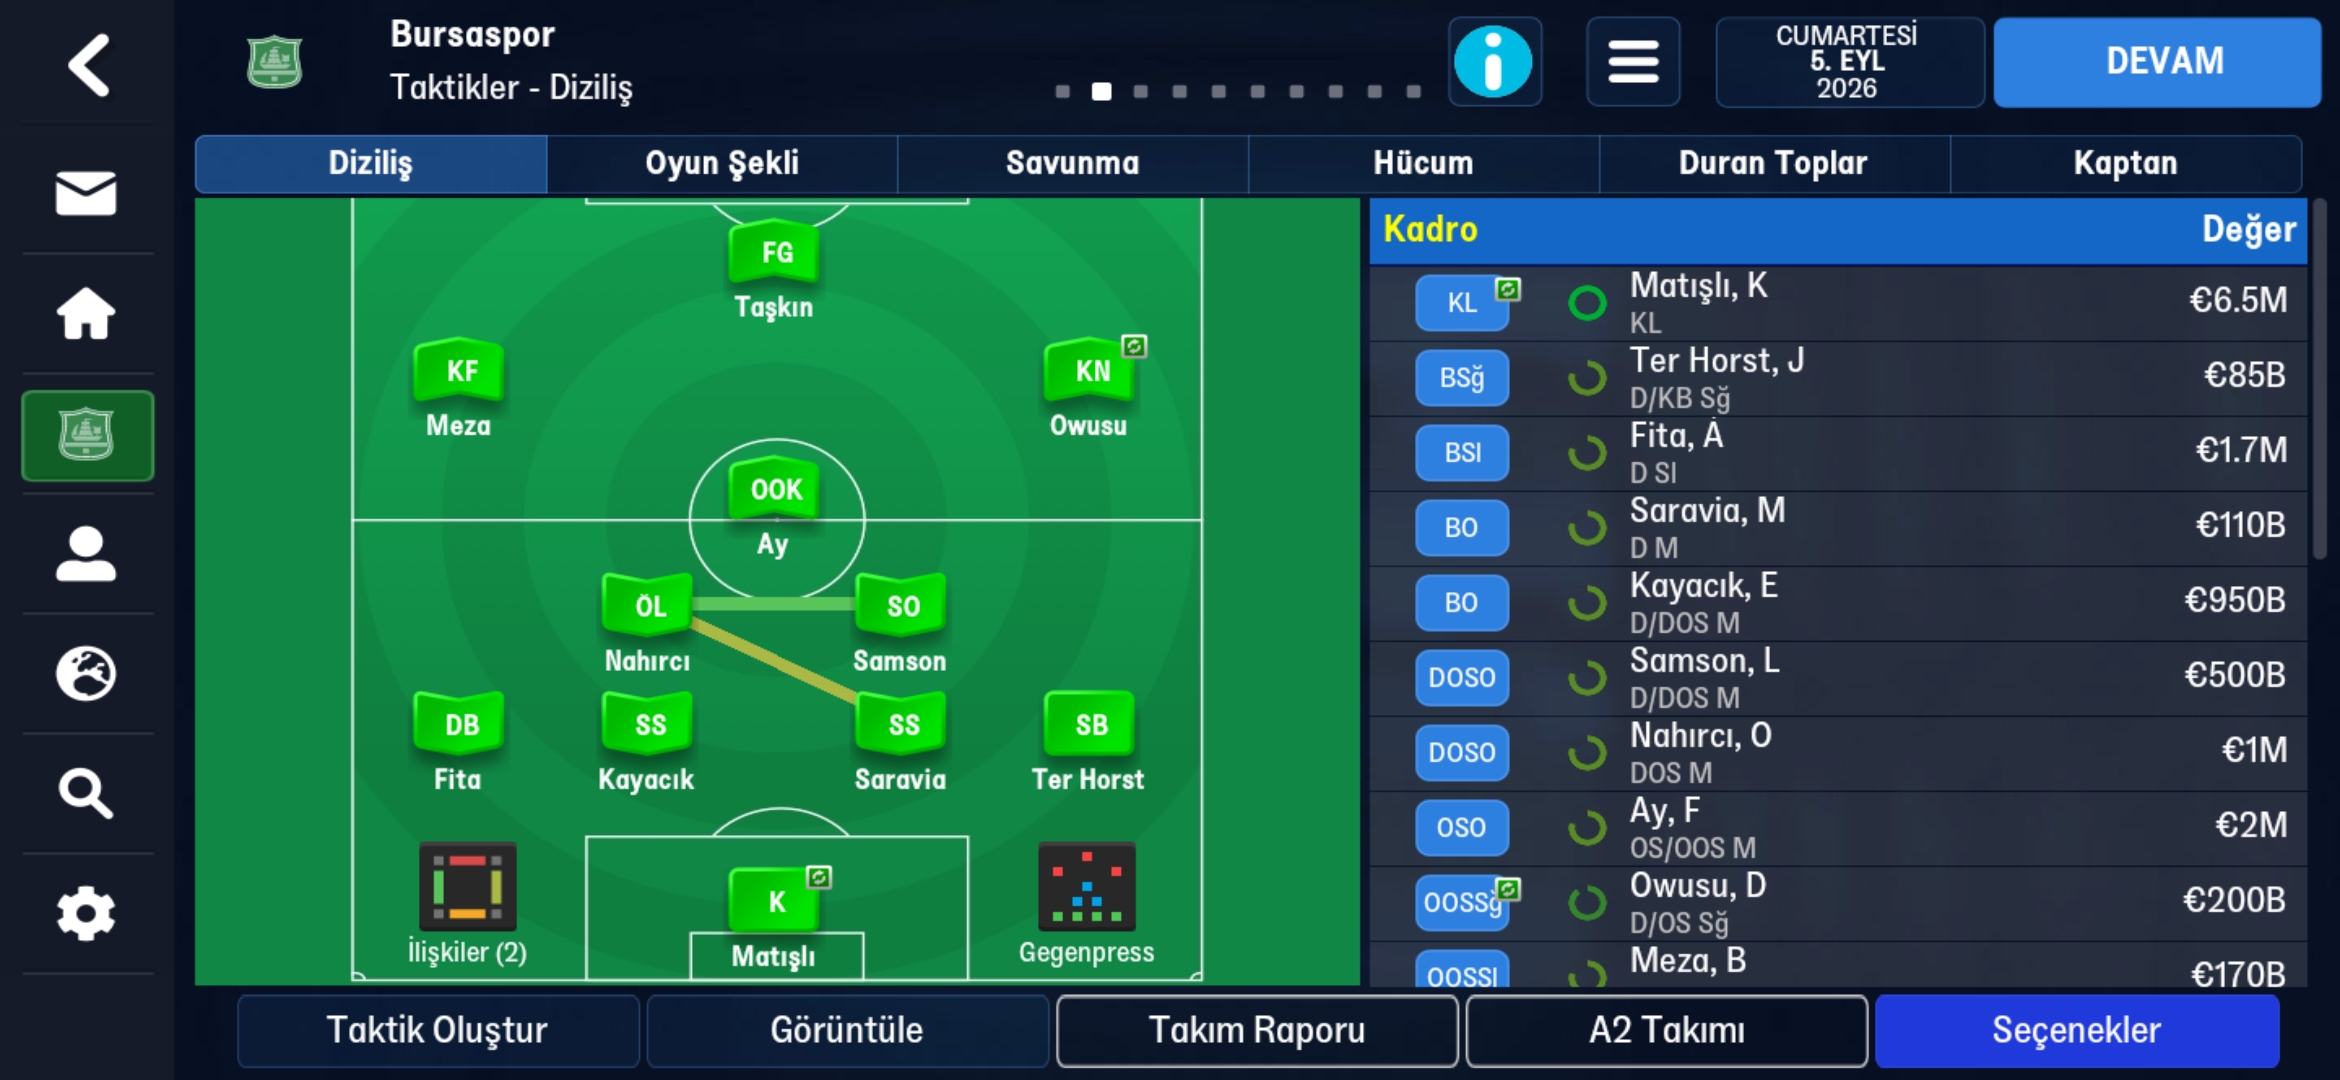
Gegenpress 4-2-3-1 Wide
Gegenpress
Gegenpress 4-2-3-1 Wide
Gegenpress
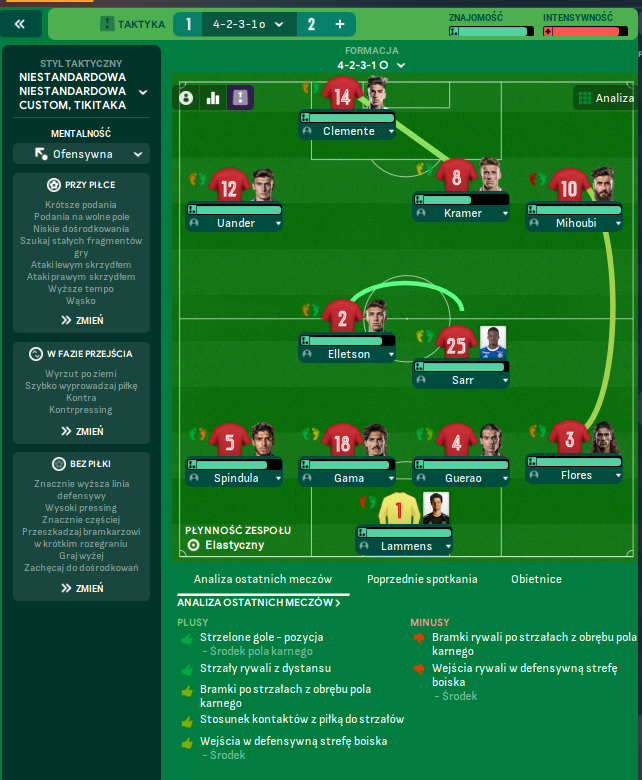
Tiki-Taka 4-2-3-1 Wide
Tiki-Taka
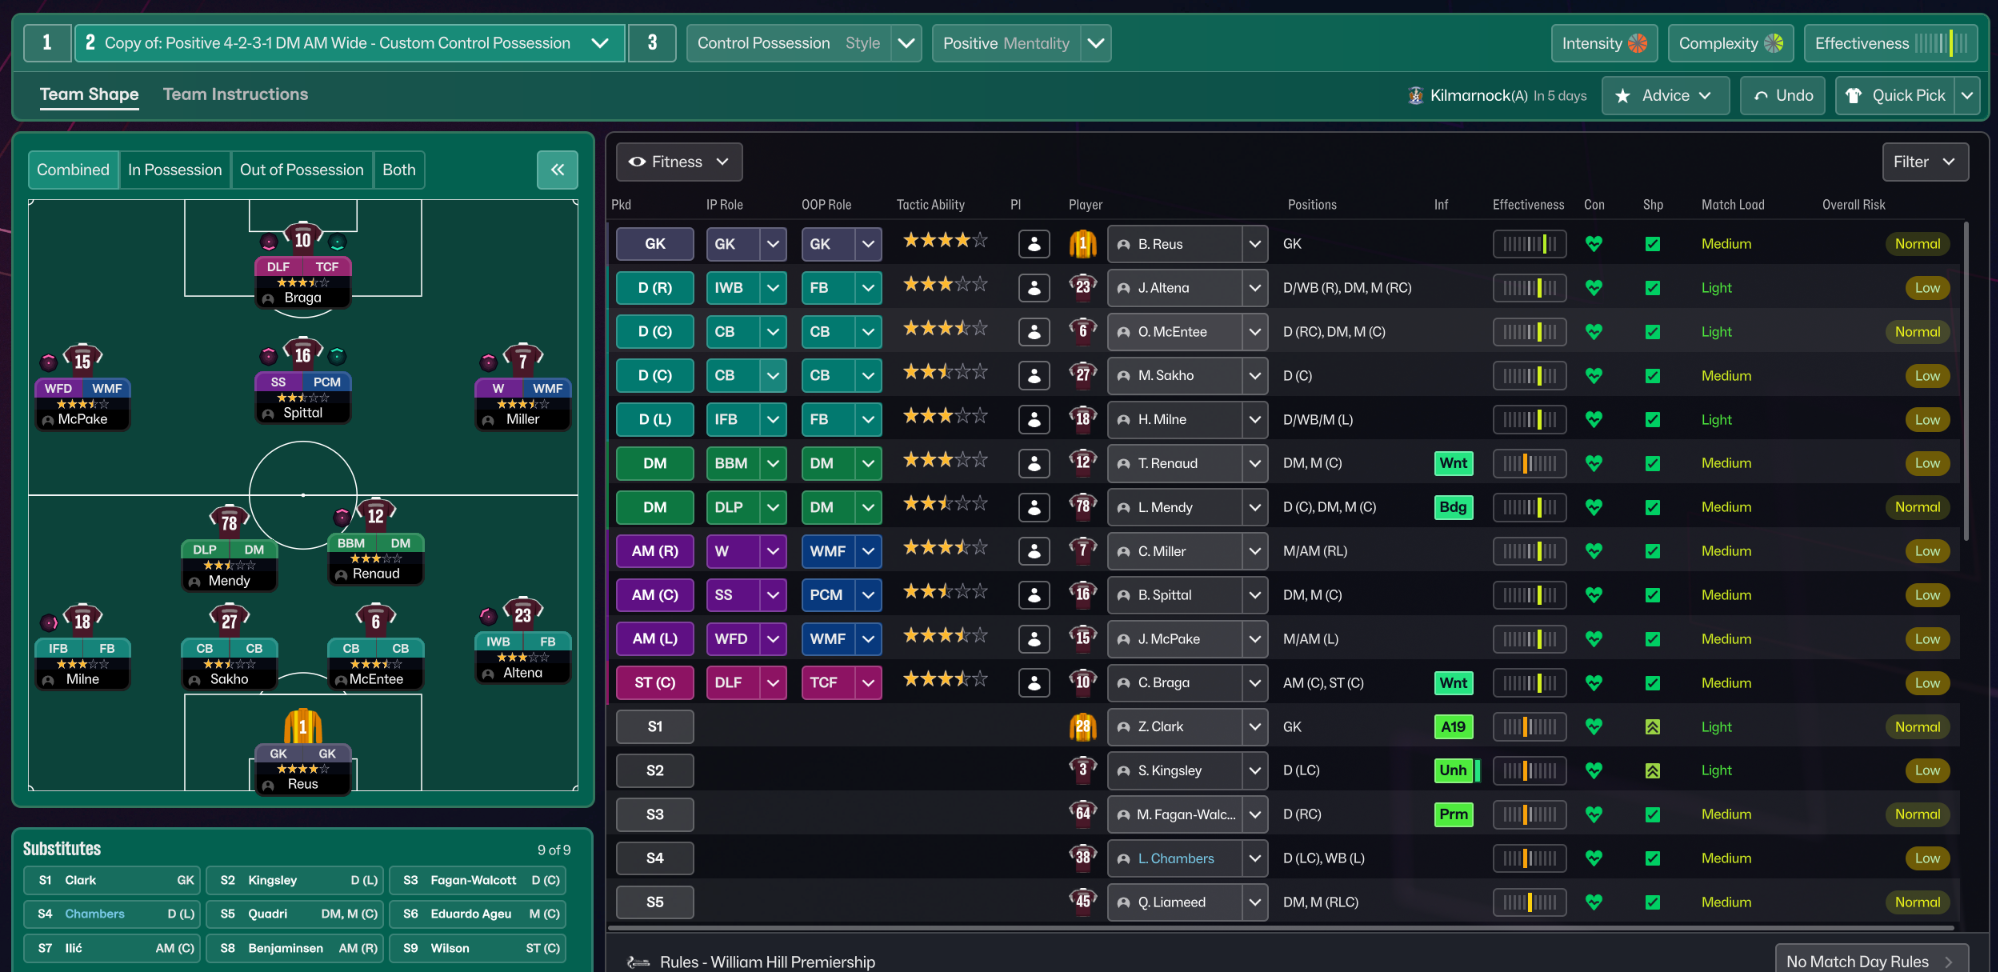
Control Possession 4-2-3-1 Wide
Control Possession
Control Possession 4-2-3-1 Wide
Control Possession
More Custom Control Possession tactics
Guides for this tactic
The tactical theory behind the 4-2-3-1 Wide: roles, instructions, and the trade-offs that decide whether the system holds up.
Player pairings
Midfield Pairs in 4-2-3-1 and 4-4-2
Double pivots and flat pairs in 4-2-3-1 and 4-4-2: when each pairing works, when it collapses, and the AMC unicorn that rescues both.
Read guide
Playing styles
Gegenpressing: A Full Guide
Klopp-style gegenpressing in FM, including squad profile, line-and-press pairing, sustainable workload, and the antipatterns to avoid.
Read guide
Foundations
Wing Play vs Central Play
Build through the wide areas or through the middle? A working framework for picking the right one for your squad.
Read guide