Tiki-Taka 3-2-2-3 (Attacking) Tactic
3-2-2-3
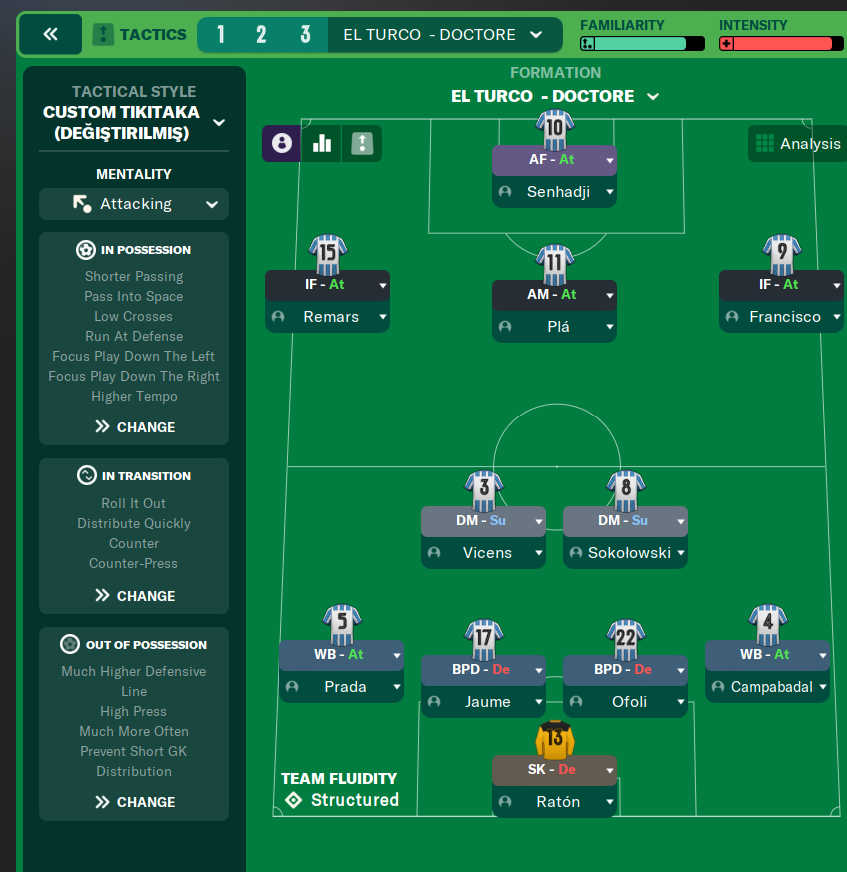
Utilizing width and fluid movement to create goal-scoring opportunities. Incorporates a high press to recover possession quickly.
Loading tactical analysis...
Formation and style
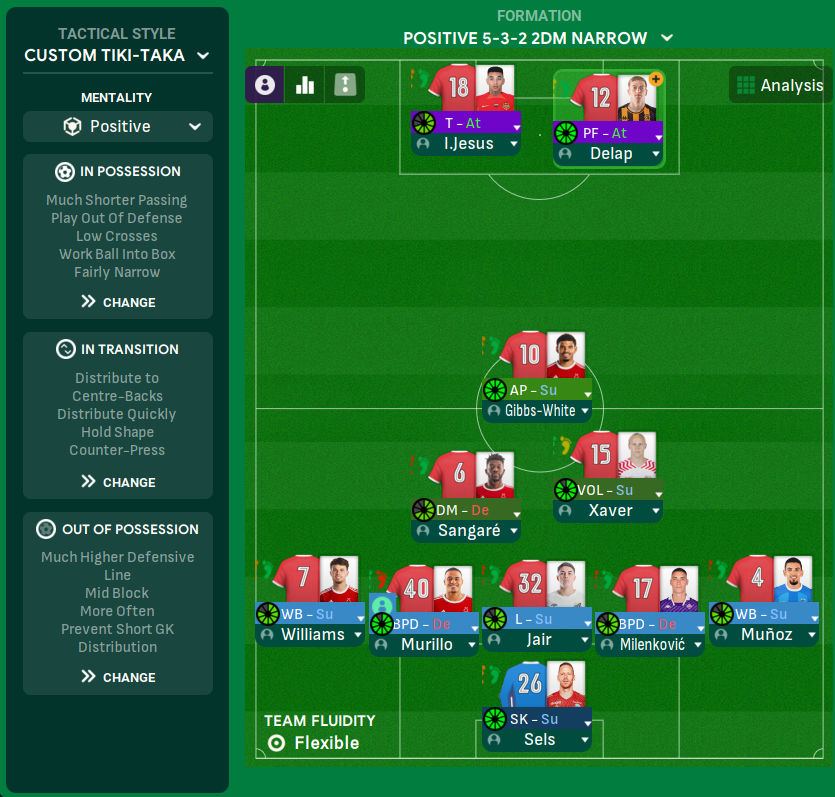
Custom Tiki-Taka
Attacking
3-2-2-3
Structured
In possession
Shorter Passing
Pass Into Space
Low Crosses
Run At Defense
Focus Play Down The Left
Focus Play Down The Right
Higher Tempo
In transition
Roll It Out
Distribute Quickly
Counter
Counter-Press
Out of possession
Much Higher Defensive Line
High Press
Much More Offside Trap
Prevent Short GK Distribution
Player roles
GK
Sweeper Keeper
Defend
DC
Ball-Playing Defender
Defend
DC
Ball-Playing Defender
Defend
DC
Ball-Playing Defender
Defend
DM
Defensive Midfielder
Support
DM
Defensive Midfielder
Support
WB
Wing-Back
Attack
WB
Wing-Back
Attack
AM
Attacking Midfielder
Attack
IF
Inside Forward
Attack
AF
Advanced Forward
Attack
Phase description
Focuses on possession with an emphasis on shorter passing and creating space for penetrating runs.
Quickly transitions to counter-press and regain possession after losing the ball.
Utilizing width and fluid movement to create goal-scoring opportunities.
Team shape defence
3-Defender Formations
Maintains compactness with a higher line and pressures opponents effectively.
Three Ball-Playing Defenders at [2,1],[2,3],[2,5] with 'High Press'
Team shape attack
Fluid Attacking Shape
Creates overloads through wing play and quick interchanges in and around the box.
Attacking Midfielder at [5,3] with 'Focus Play Down The Left' and 'Focus Play Down The Right'
Key strengths
High Pressing Game
Incorporates a high press to recover possession quickly.
High Press triggered by 'High Press' instruction.
Width in Attack
The Wing-Backs stretch the play and create space for forwards.
Wing-Backs at [2,1] and [2,5] with 'Attack' duty.
Conflicting tactics
High Defensive Line with Slow Transitions
The higher defensive line might be vulnerable if counters are not managed effectively.
Much Higher Defensive Line with 'Counter' in transitions.
Overcommitment in Attack
Aggressive forwards may leave the team exposed during turnovers.
All forwards are set to attack duty.
Risk exposures
Risk Exposures
Items
Defensive Organization
With a high line, pacey attackers can exploit gaps left behind.
Much Higher Defensive Line increases exposure.
Midfield Stability
Double pivot might struggle against teams that employ an aggressive press.
Both DMs set to Support may lead to a lack of defensive cover.
Role synergies
Role Synergies
Items
Wing-Backs and Inside Forwards
WB can overlap to provide additional width, allowing IFs to cut inside.
WB at [2,1] and IF at [5,1] creating space through overlaps.
Ball-Playing Defenders and DMs
BPDs can initiate attacks from the back, supported by DMs for transition.
BPDs at [2,1],[2,3],[2,5] with DMs facilitating short passing.
Suggested questions
How can we improve the defensive stability during transitions?
Is the current attacking focus leading to goal-scoring opportunities?
Should we consider altering player duties to maintain squad balance?
Related Tactics
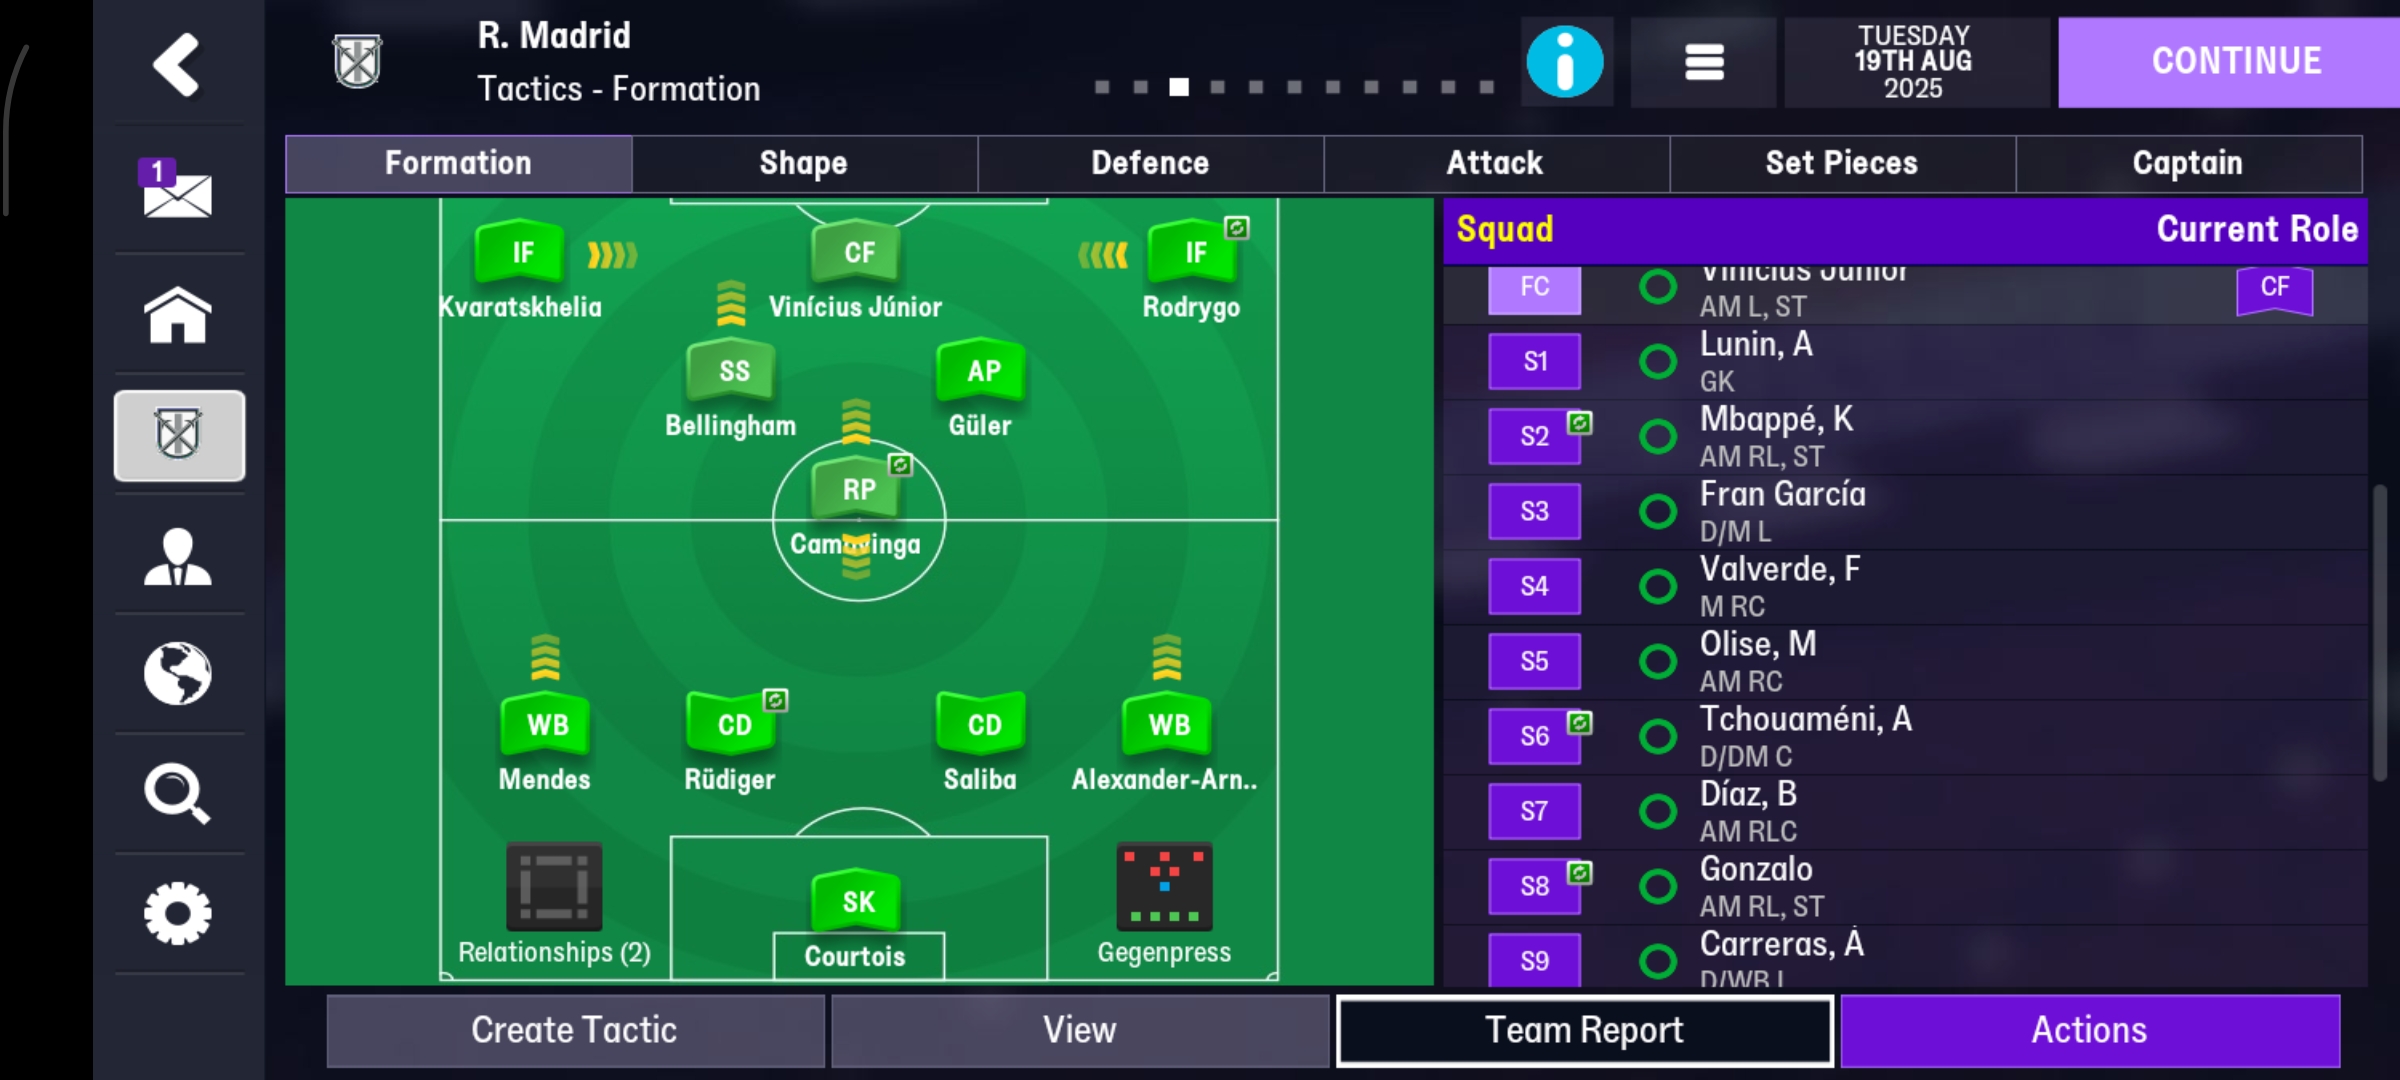
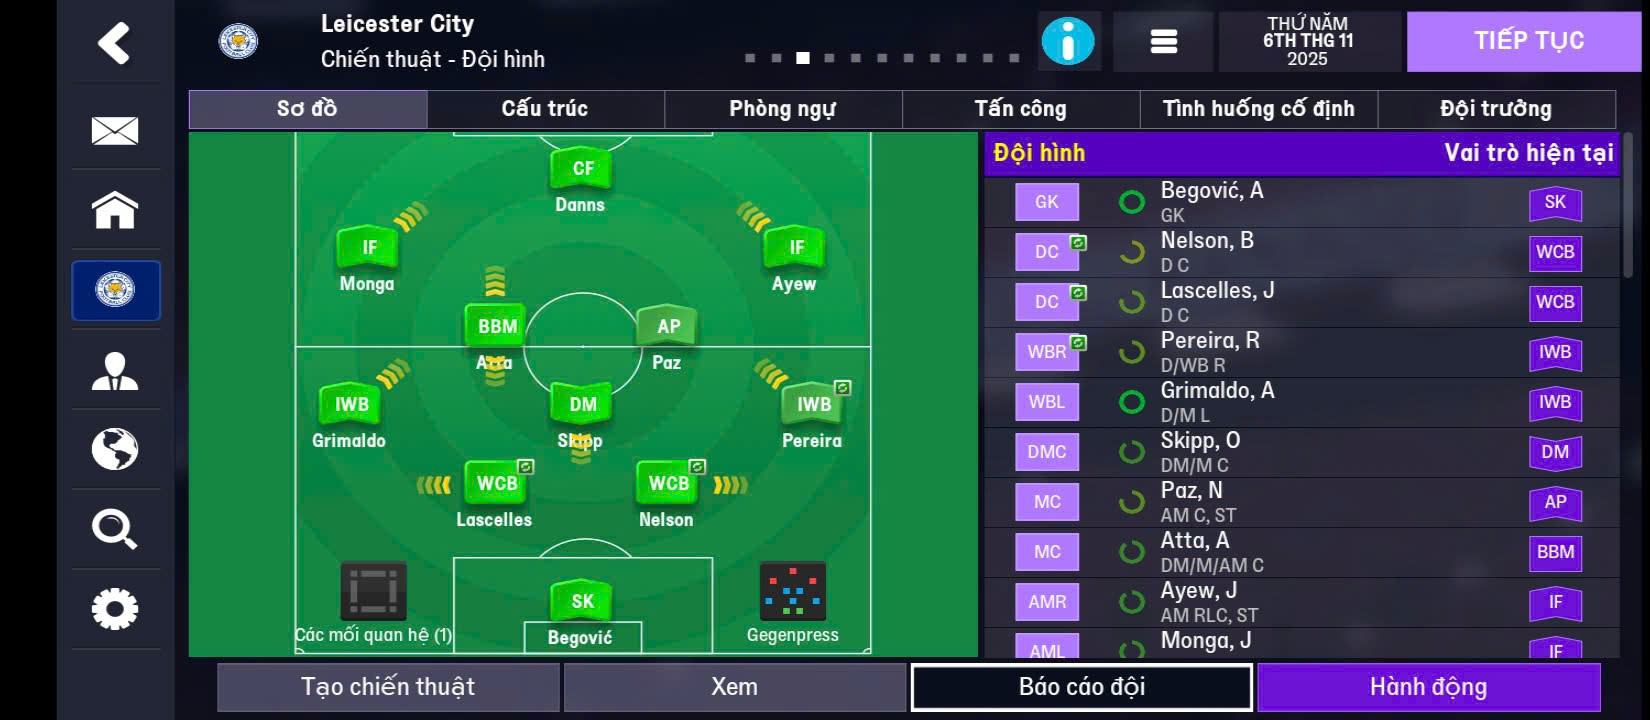
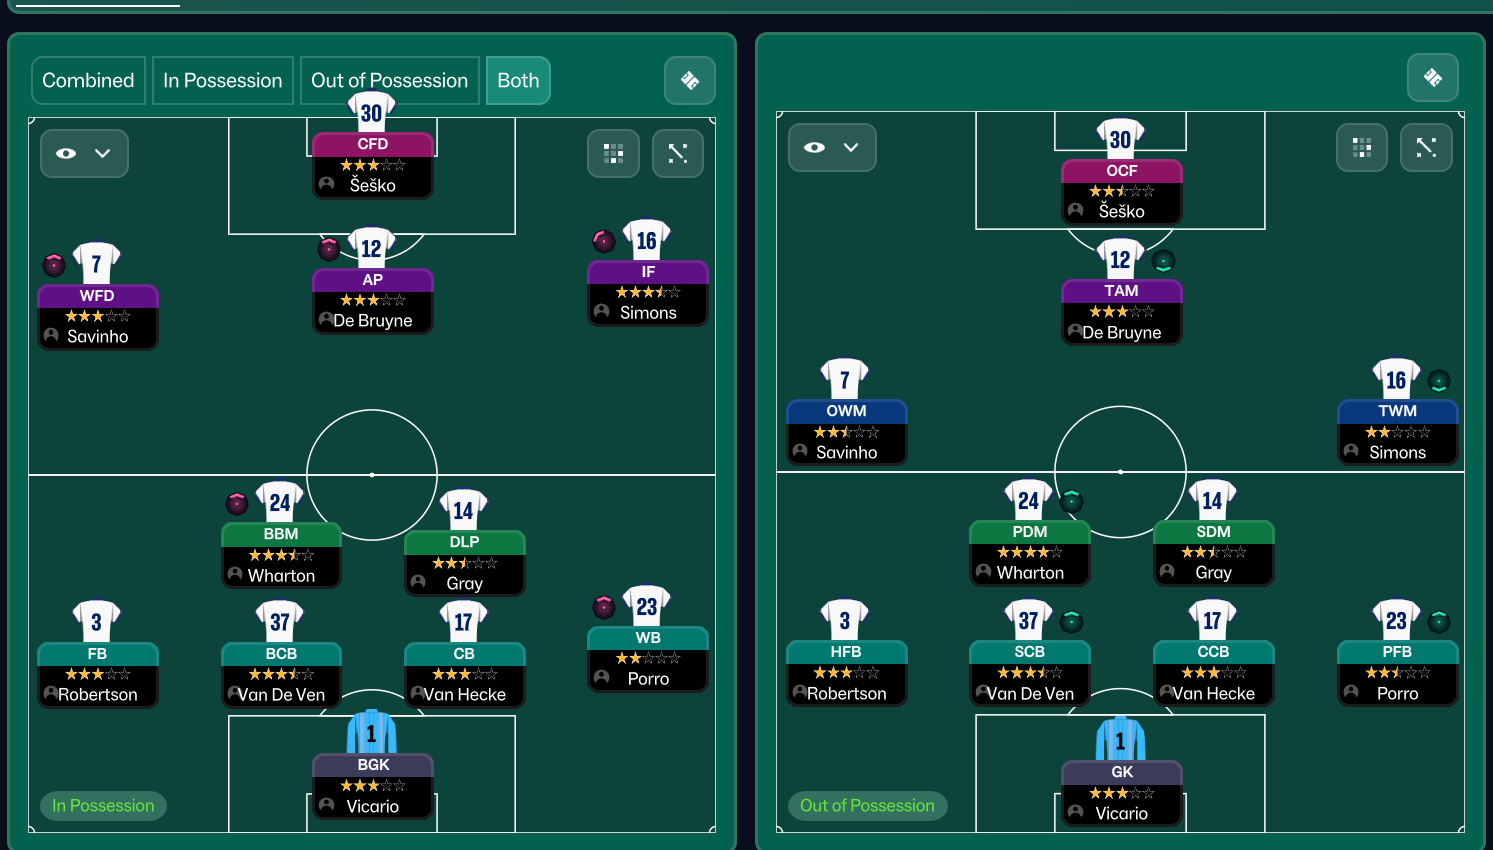
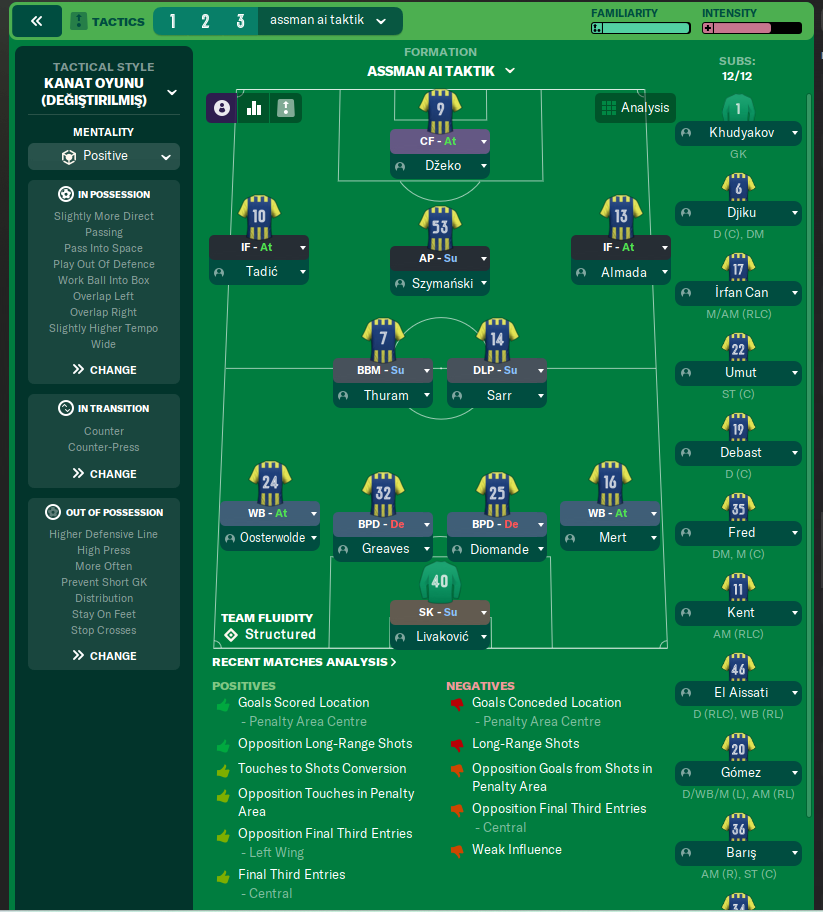
More Custom Tiki-Taka tactics
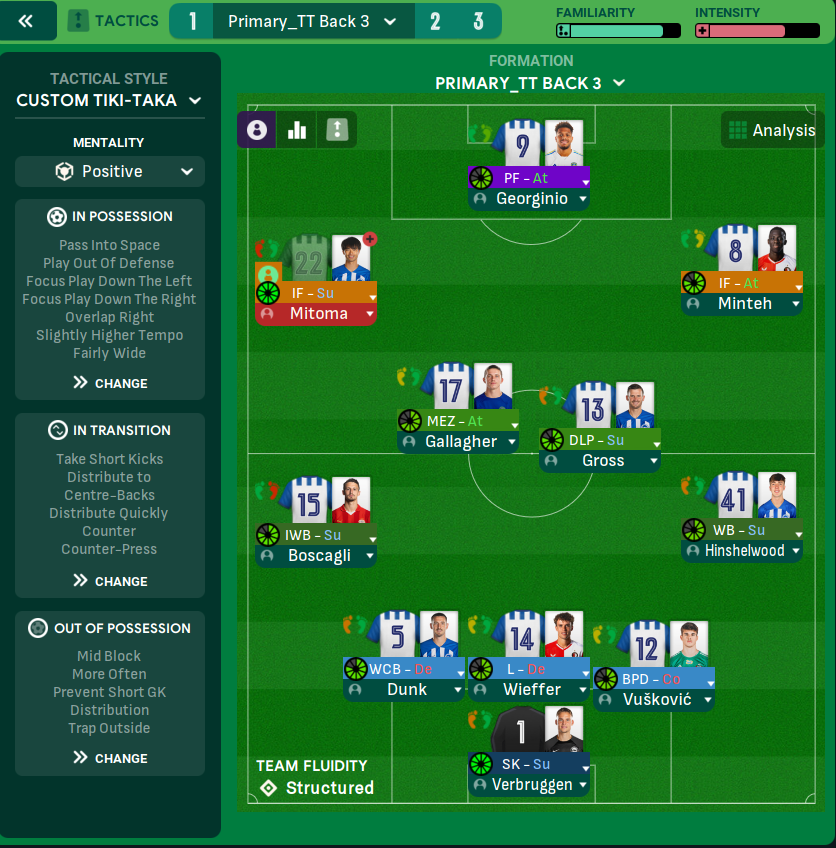
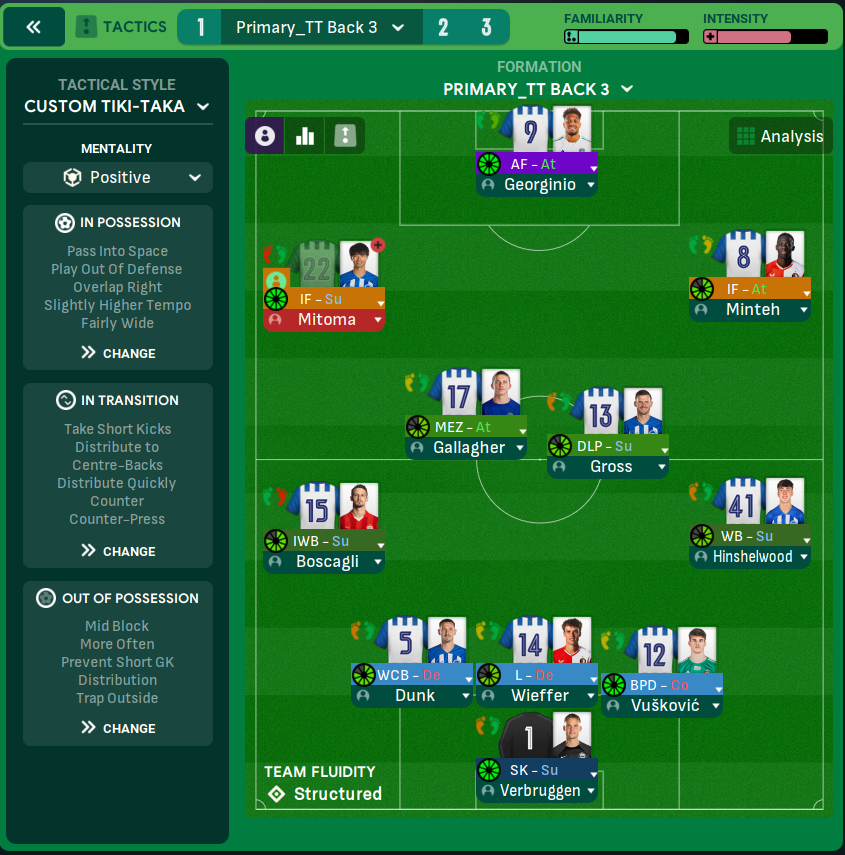
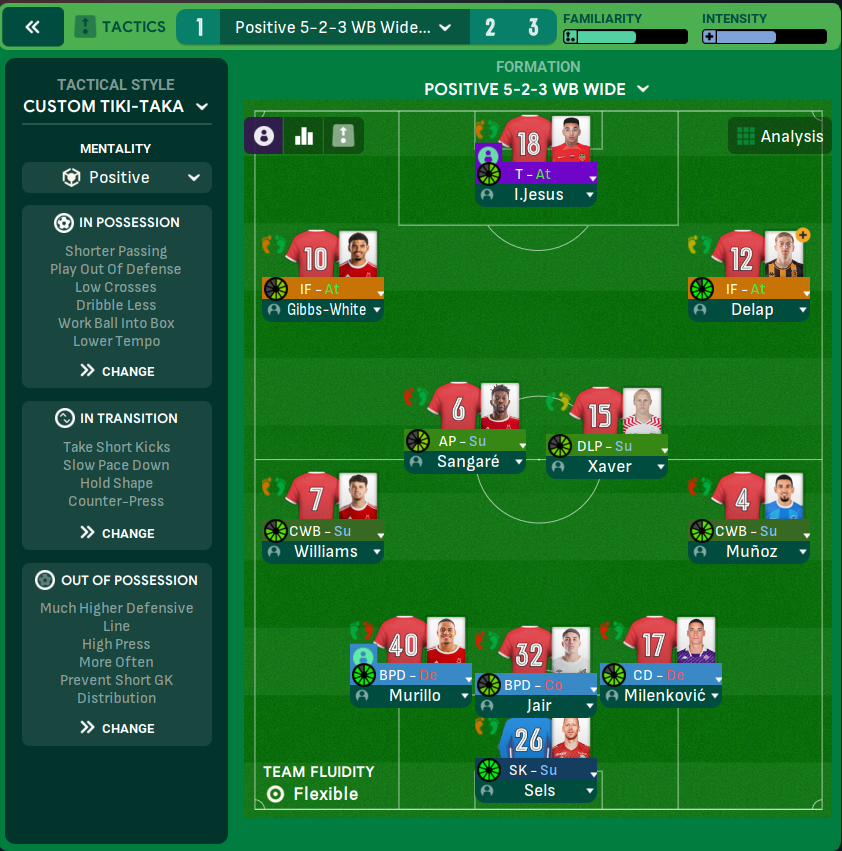
Guides for this tactic
The tactical theory behind the 3-2-2-3: roles, instructions, and the trade-offs that decide whether the system holds up.
Playing styles
Tiki-Taka vs Positional Play
Why circulation density and zonal occupation aren't the same thing in FM, and the half-space occupation rule that decides build-up.
Read guide
Match preparation
Game-State Tactics
Protect a 1-0, chase a 1-0, hold a draw away. How to manage game state in FM through duties and roles, not by lurching to Defensive.
Read guide
Match preparation
In-Match Tactical Changes
Mentality, duty, role, instruction, sub. The change hierarchy from lightest to heaviest intervention, and 60th-minute patterns by game state.
Read guide