Balanced 4-2-3-1 Wide (Balanced) Tactic
4-2-3-1 Wide
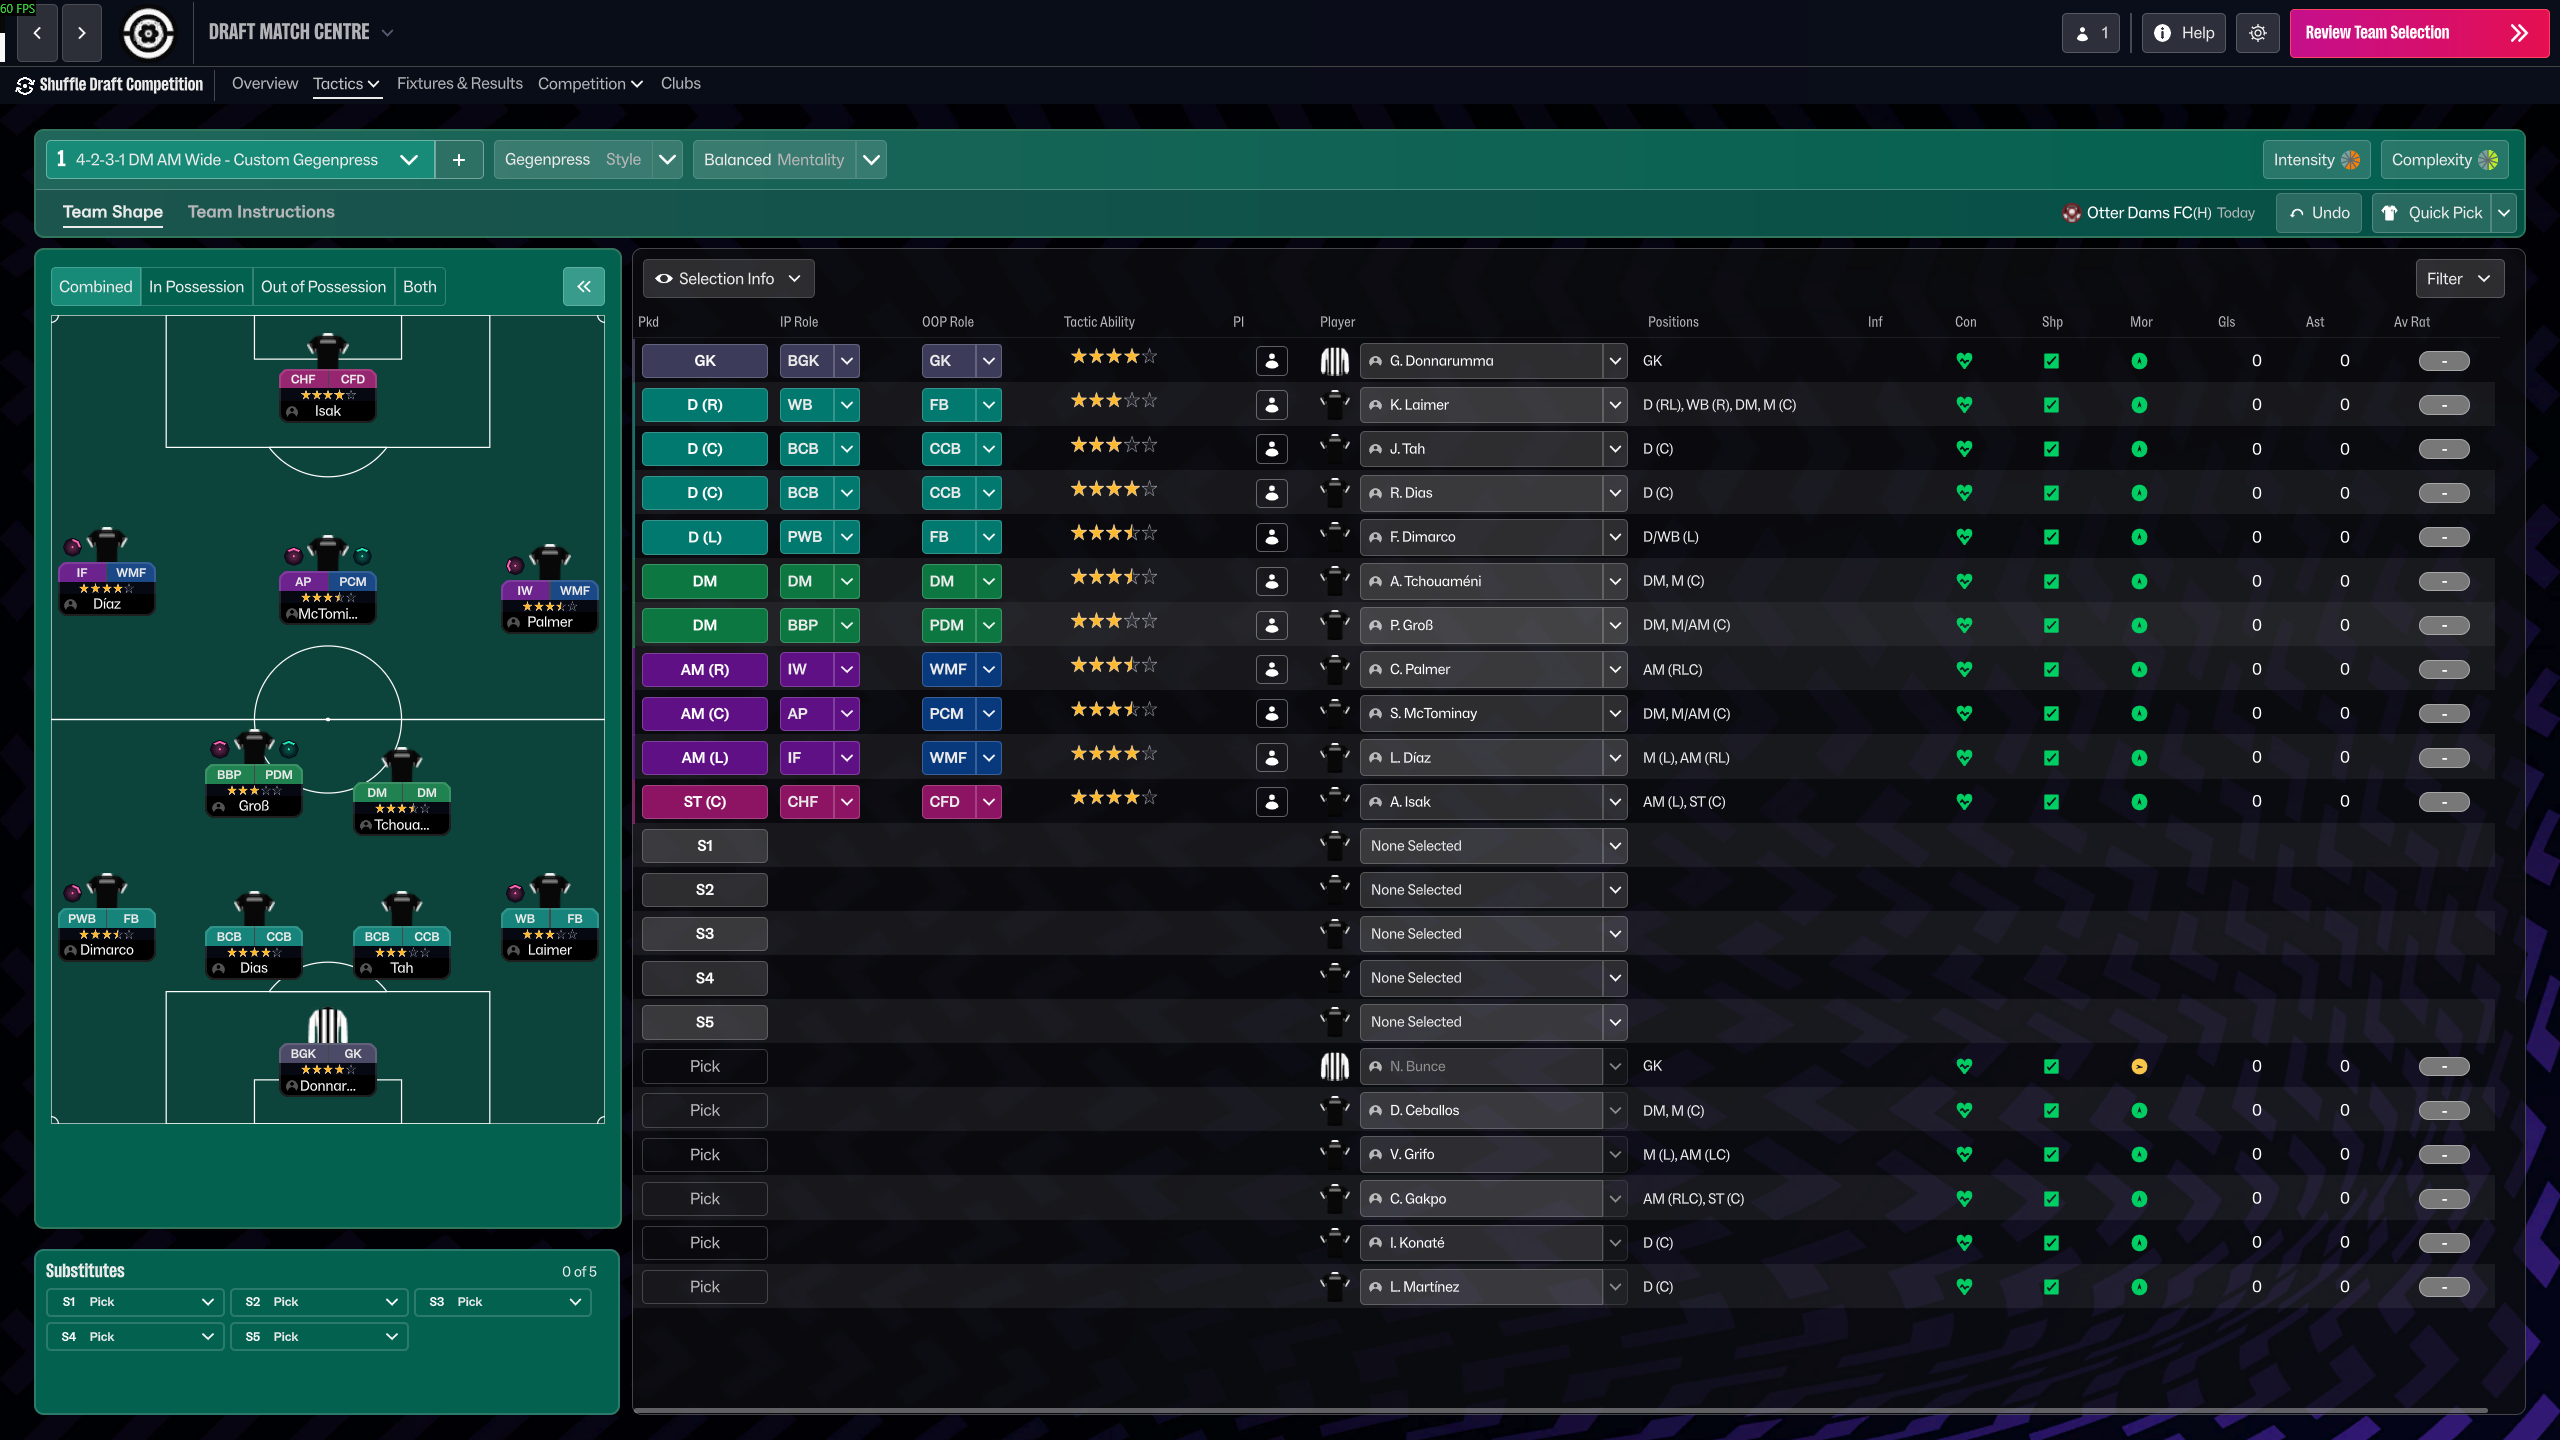
Creative midfield play with an emphasis on width and dynamic wing movements. The use of Wide Midfielders creates more space and crossing opportunities.
Loading tactical analysis...
Formation and style
Balanced
Balanced
4-2-3-1 Wide
In possession
Pass Into Space
Work Ball Into Box
In transition
Counter
Counter-Press
Out of possession
Higher Line of Engagement
Higher Defensive Line
Prevent Short GK Distribution
Player roles
GK
GK
De
CB
CB
De
CB
CB
De
FB
FB
At
FB
FB
De
DM
BBM
Su
DM
PDM
De
WM
WM
At
AM
AP
Su
WM
WM
At
ST
CF
At
Phase description
Focuses on building through midfield with short passes and exploiting wide areas.
Quickly drops back into shape while looking to counter-press.
Creative midfield play with an emphasis on width and dynamic wing movements.
Team shape defence
Compact
Defensive unit stays organized, with full-backs ready to support while remaining disciplined.
CB and FB roles indicate a commitment to solid defensive structure.
Team shape attack
Fluid
Utilizes width and overlapping runs from full-backs to stretch defenses.
Wide midfielders (WM) and an advanced playmaker (AP) create depth and options.
Key strengths
Width in Attack
The use of Wide Midfielders creates more space and crossing opportunities.
WM at [5,1] and [5,5] provide a wider attacking presence.
Dynamic Midfield Roles
BBM and PDM contribute both defensively and offensively, allowing flexibility.
BBM at [3,3] and PDM at [3,4] support transitions.
Conflicting tactics
Limited Pressing
The emphasis on counter-press may leave gaps if the pressing triggers are not effective.
Counter-Press combined with Higher Line of Engagement may cause defensive isolation.
Vulnerability to Counter-Attacks
High defensive line may be exploited by fast opponents, particularly in transition.
Higher Defensive Line noted in out-of-possession instructions.
Risk exposures
Risk Exposures
Items
Wide Areas
Vulnerability if the full-backs are caught out of position while attacking.
FB roles with attack duties at [2,1] and [2,5].
Midfield Overload
Other teams could exploit a 2v1 situation in the midfield against the dual DM setup.
Two centrally-based DMs at [3,3] and [3,4] may get overrun.
Role synergies
Role Synergies
Items
AP (Su) & WM (At)
Creates multiple width options and space for the AP to operate.
AP at [5,3] pairs well with WM at [5,1] and [5,5].
BBM (Su) & PDM (De)
Balanced coverage allows for both defensive stability and attacking runs.
BBM at [3,3] and PDM at [3,4] complement each other.
Suggested questions
How do you plan to manage transitions between offense and defense?
What strategies will you implement to adapt against teams playing a lower block?
Are there adjustments planned if the attacking width is neutralized by the opponent?
Related Tactics
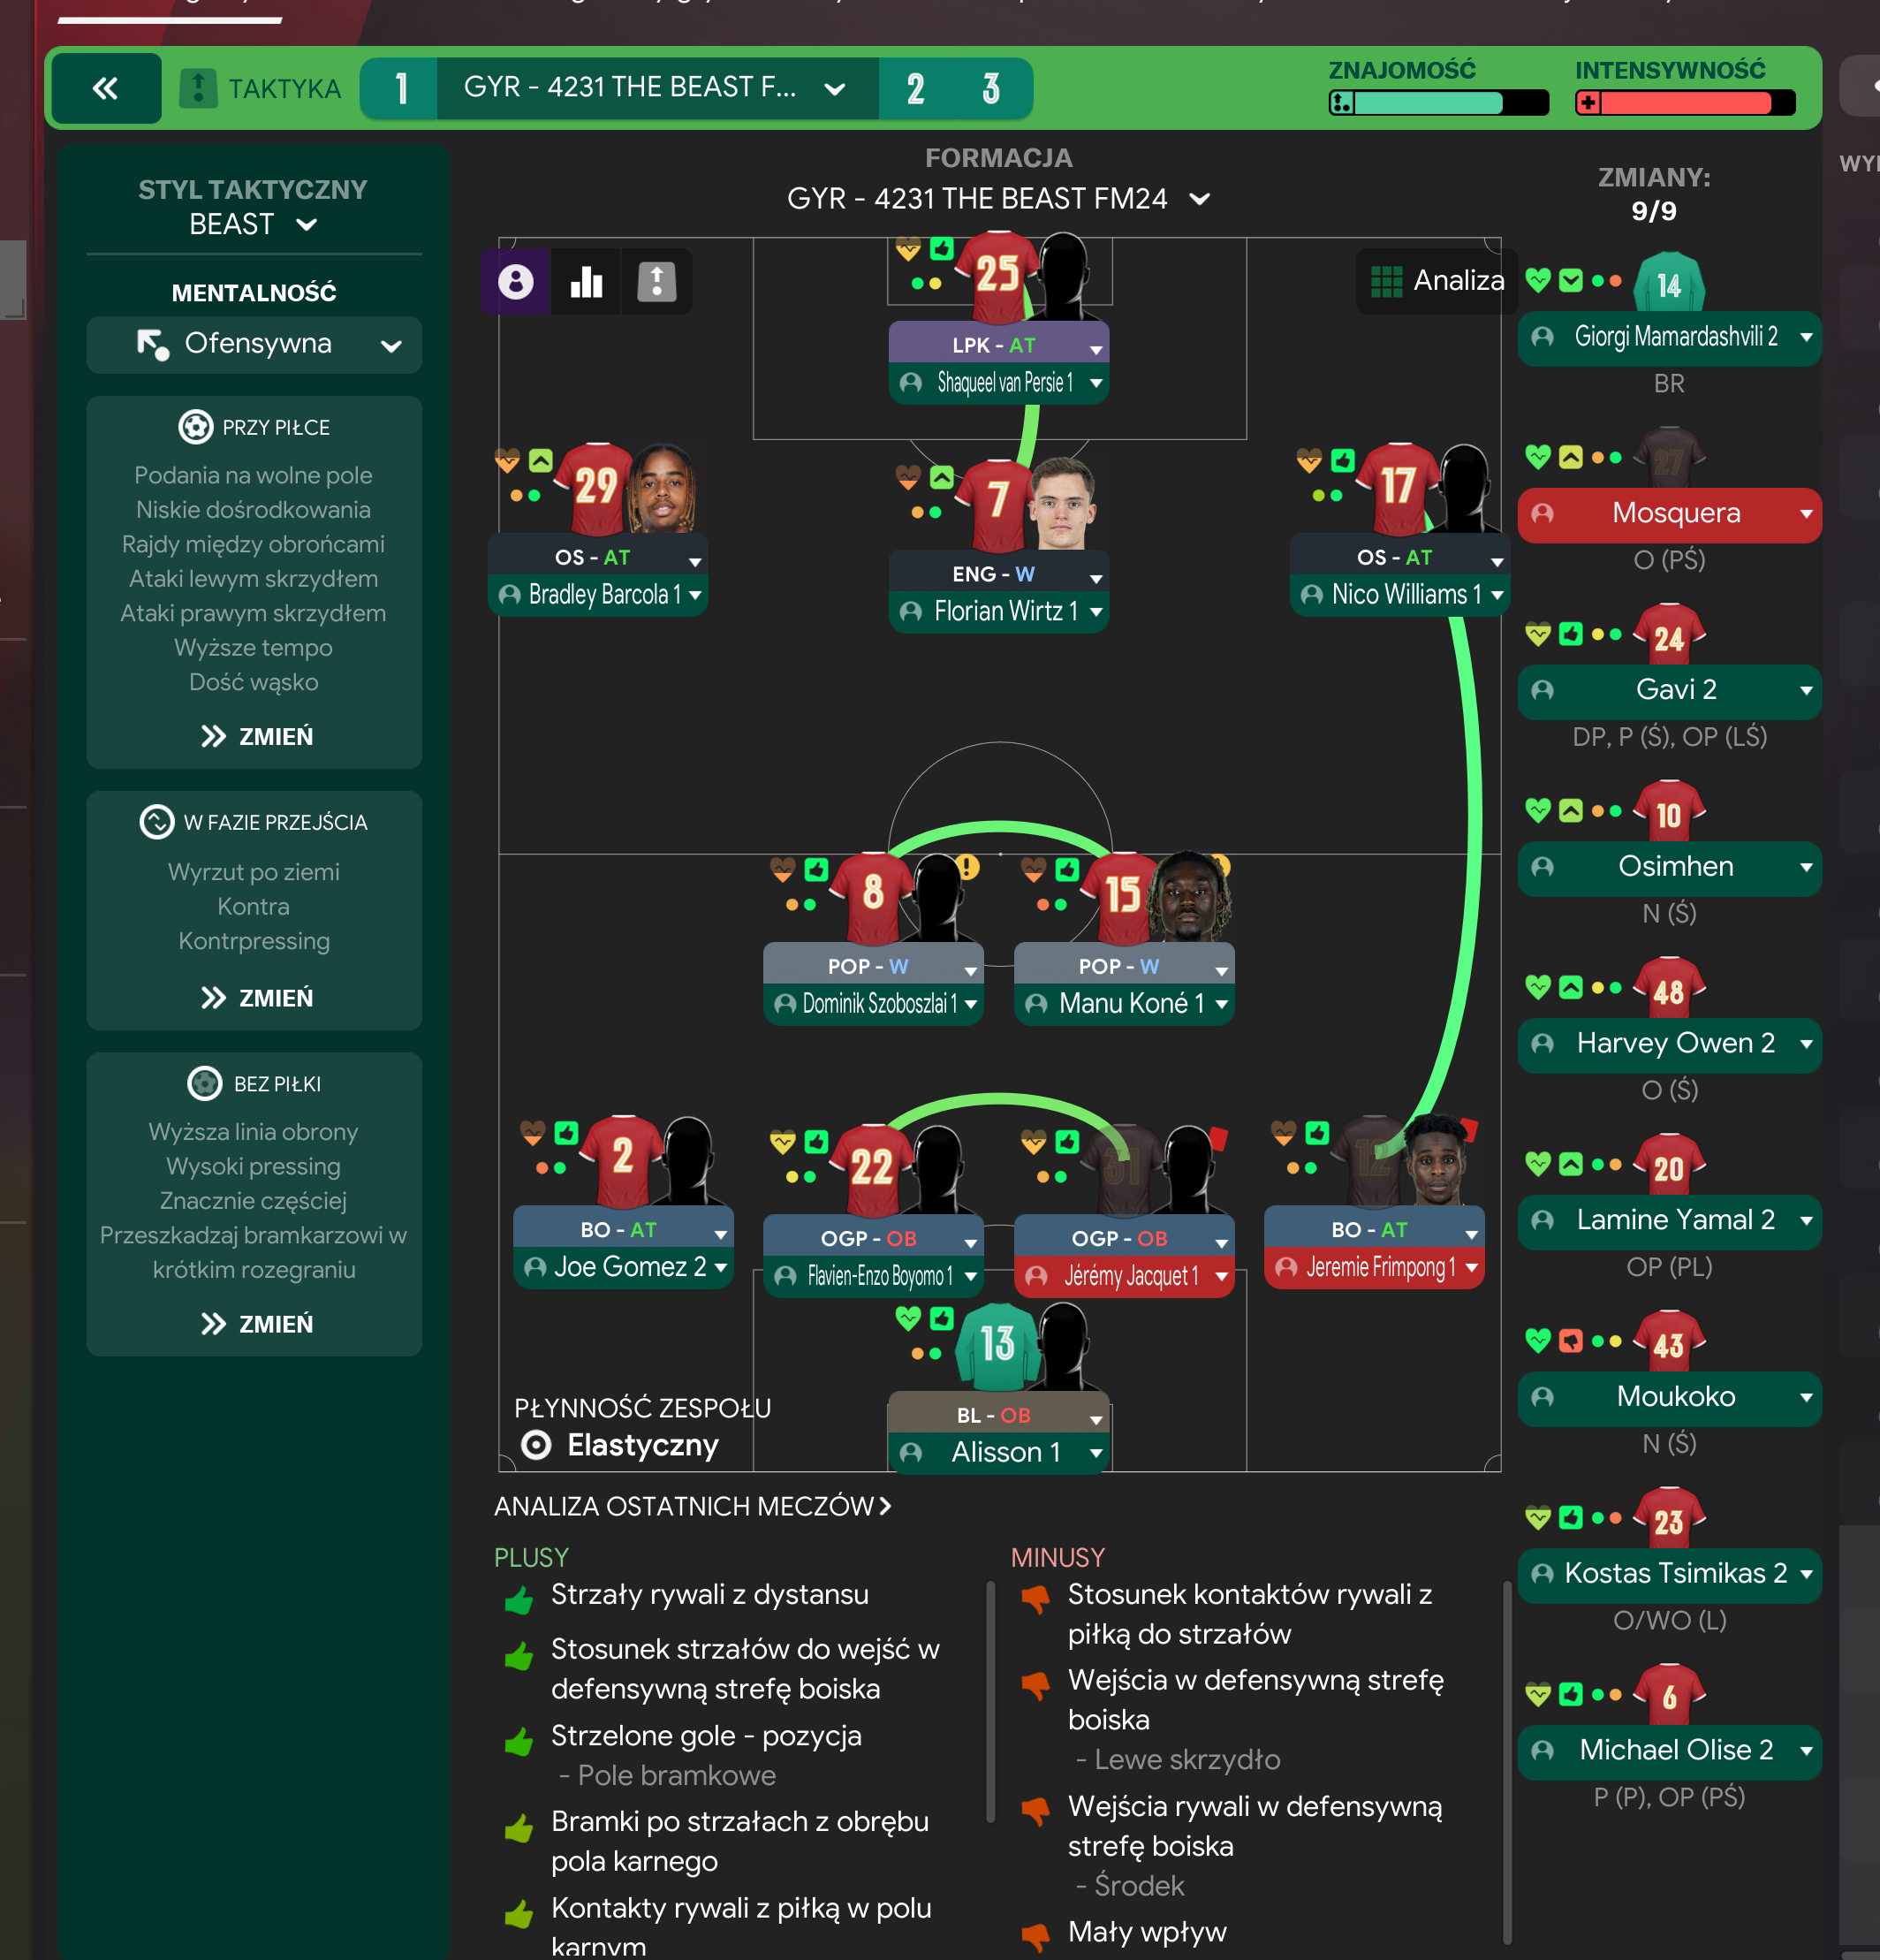
Gegenpress 4-2-3-1 Wide
Gegenpress
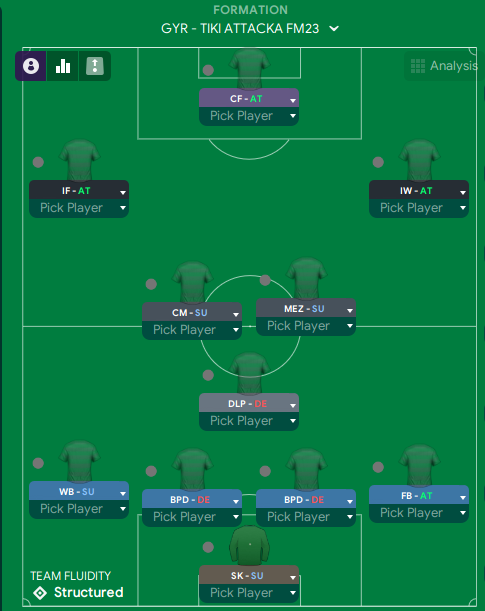
Tiki-Taka 4-2-3-1 Wide
Tiki Taka
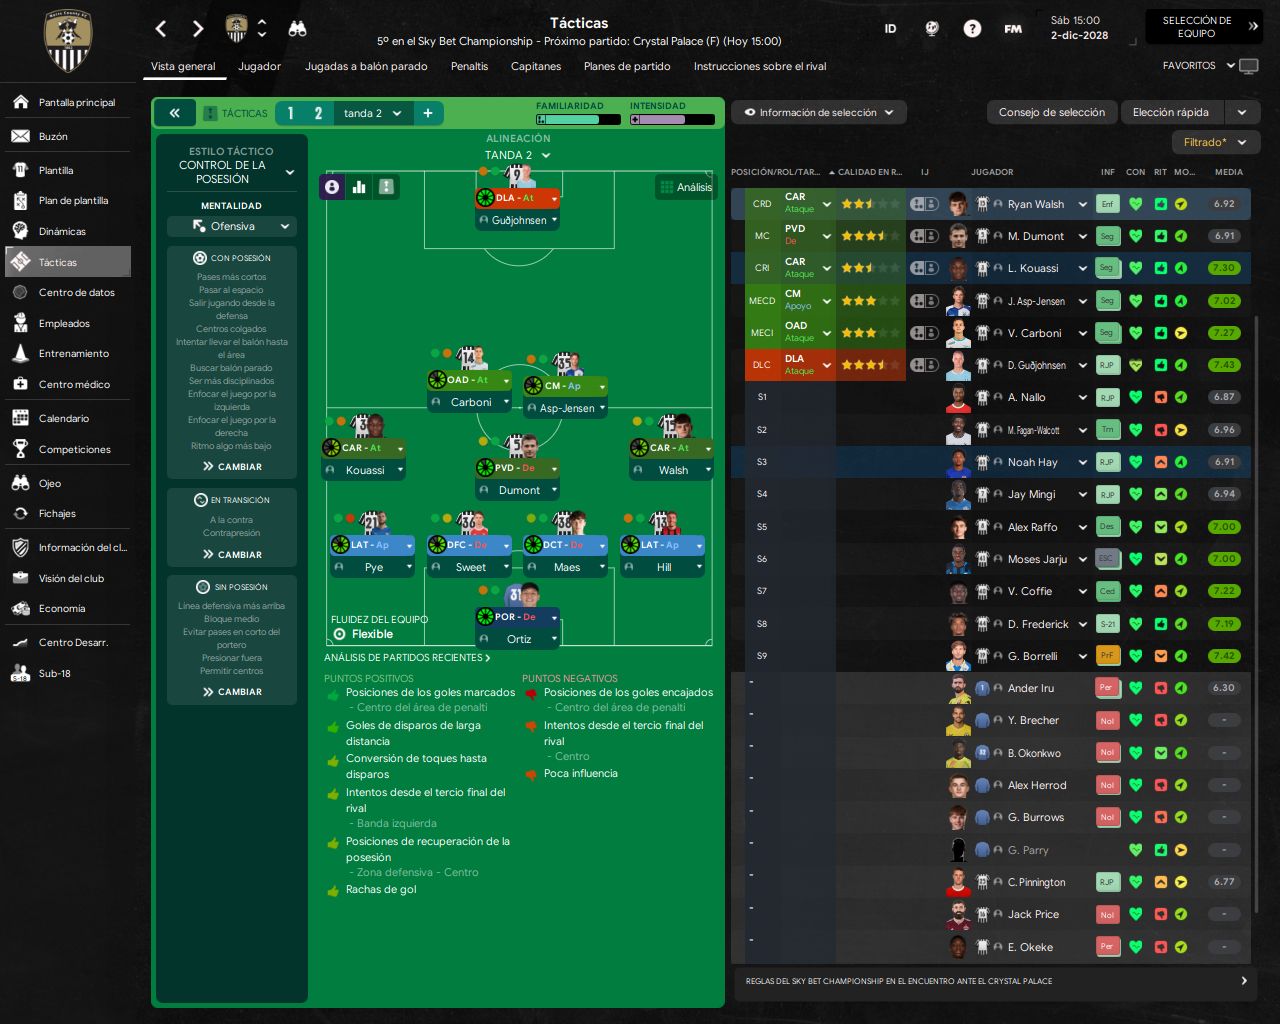
4-2-3-1 Wide Formation
Control de la posesión
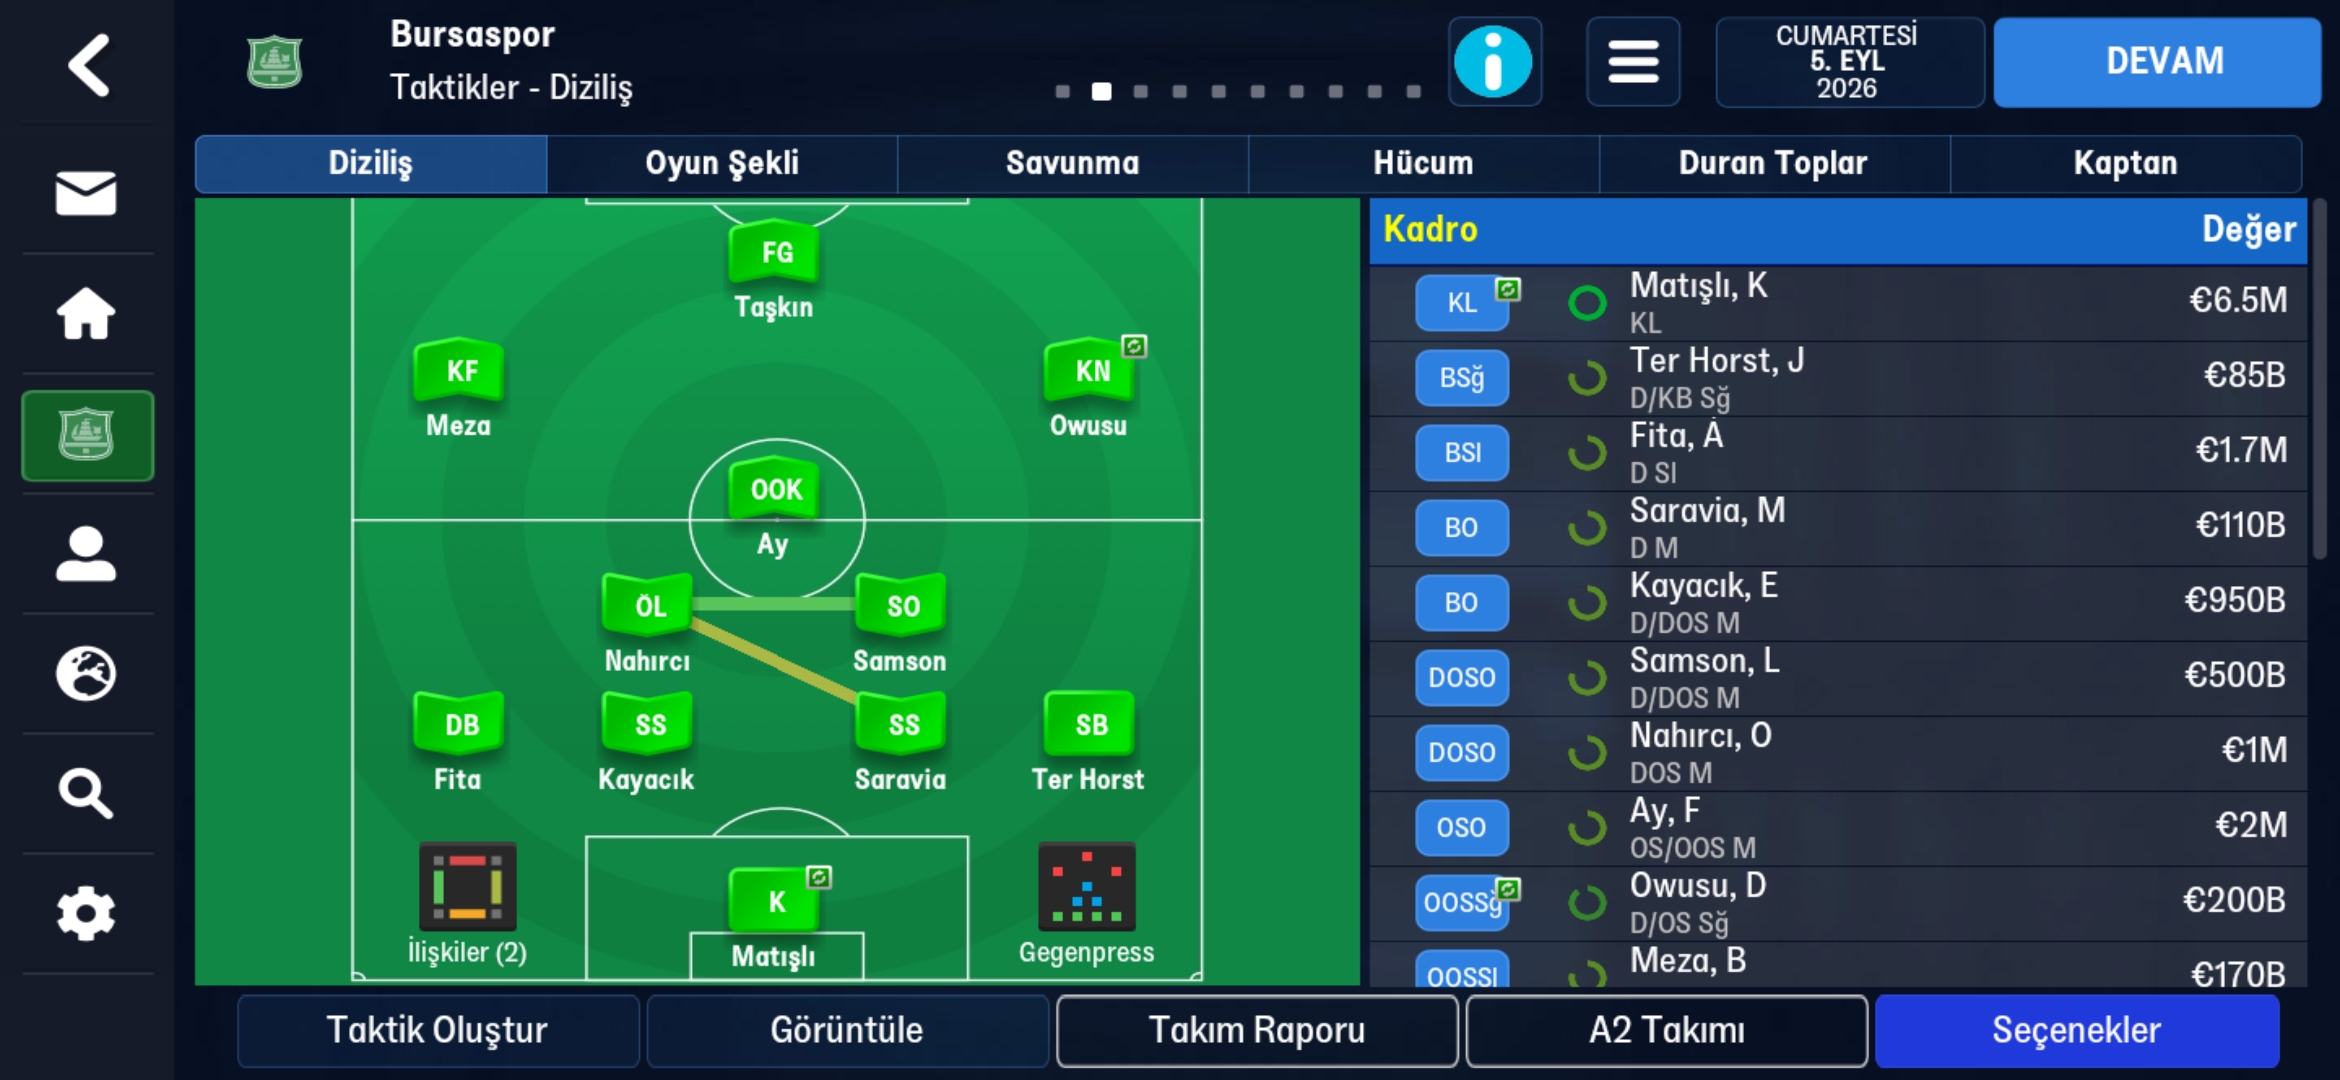
Gegenpress 4-2-3-1 Wide
Gegenpress
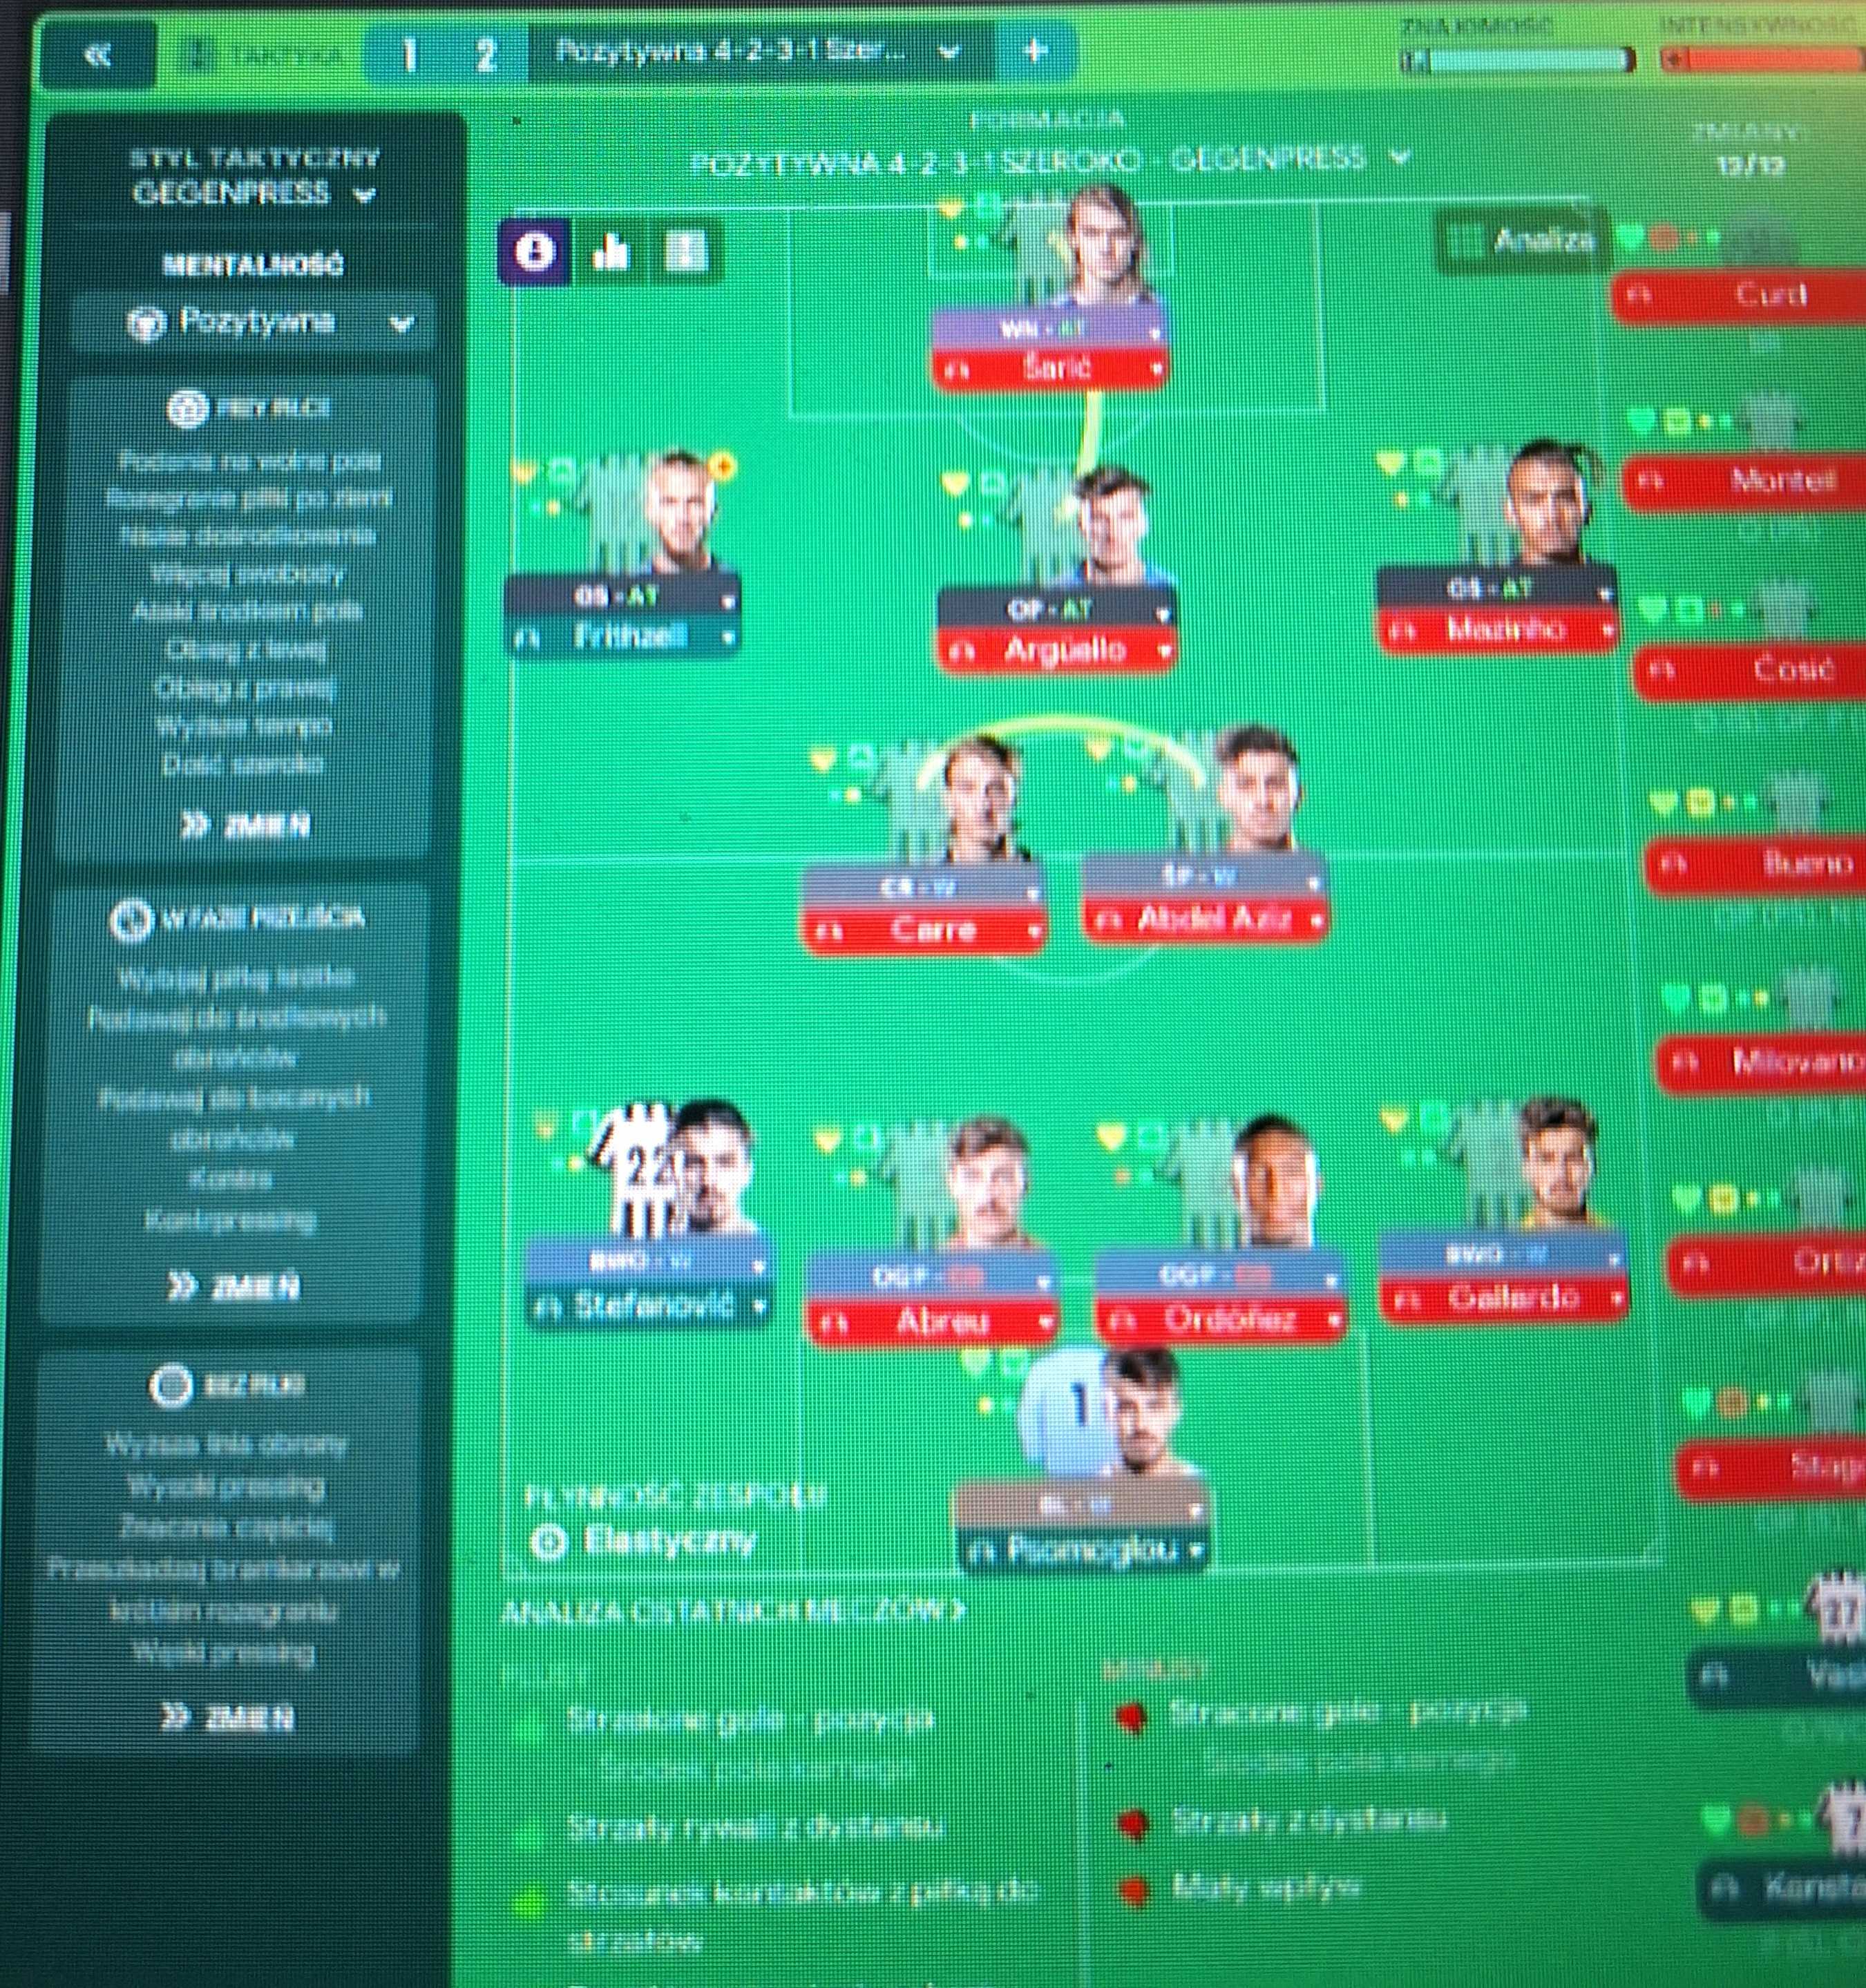
Gegenpress 4-2-3-1 Wide
Gegenpress
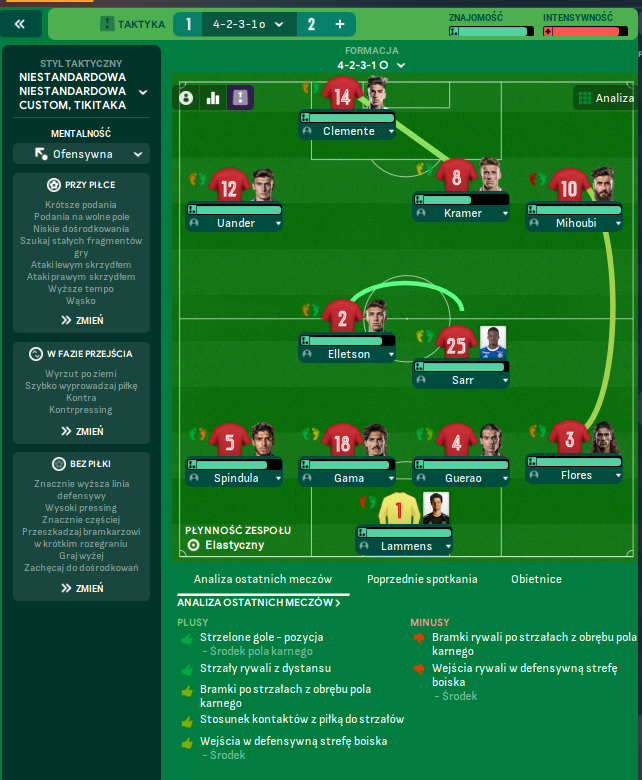
Tiki-Taka 4-2-3-1 Wide
Tiki-Taka
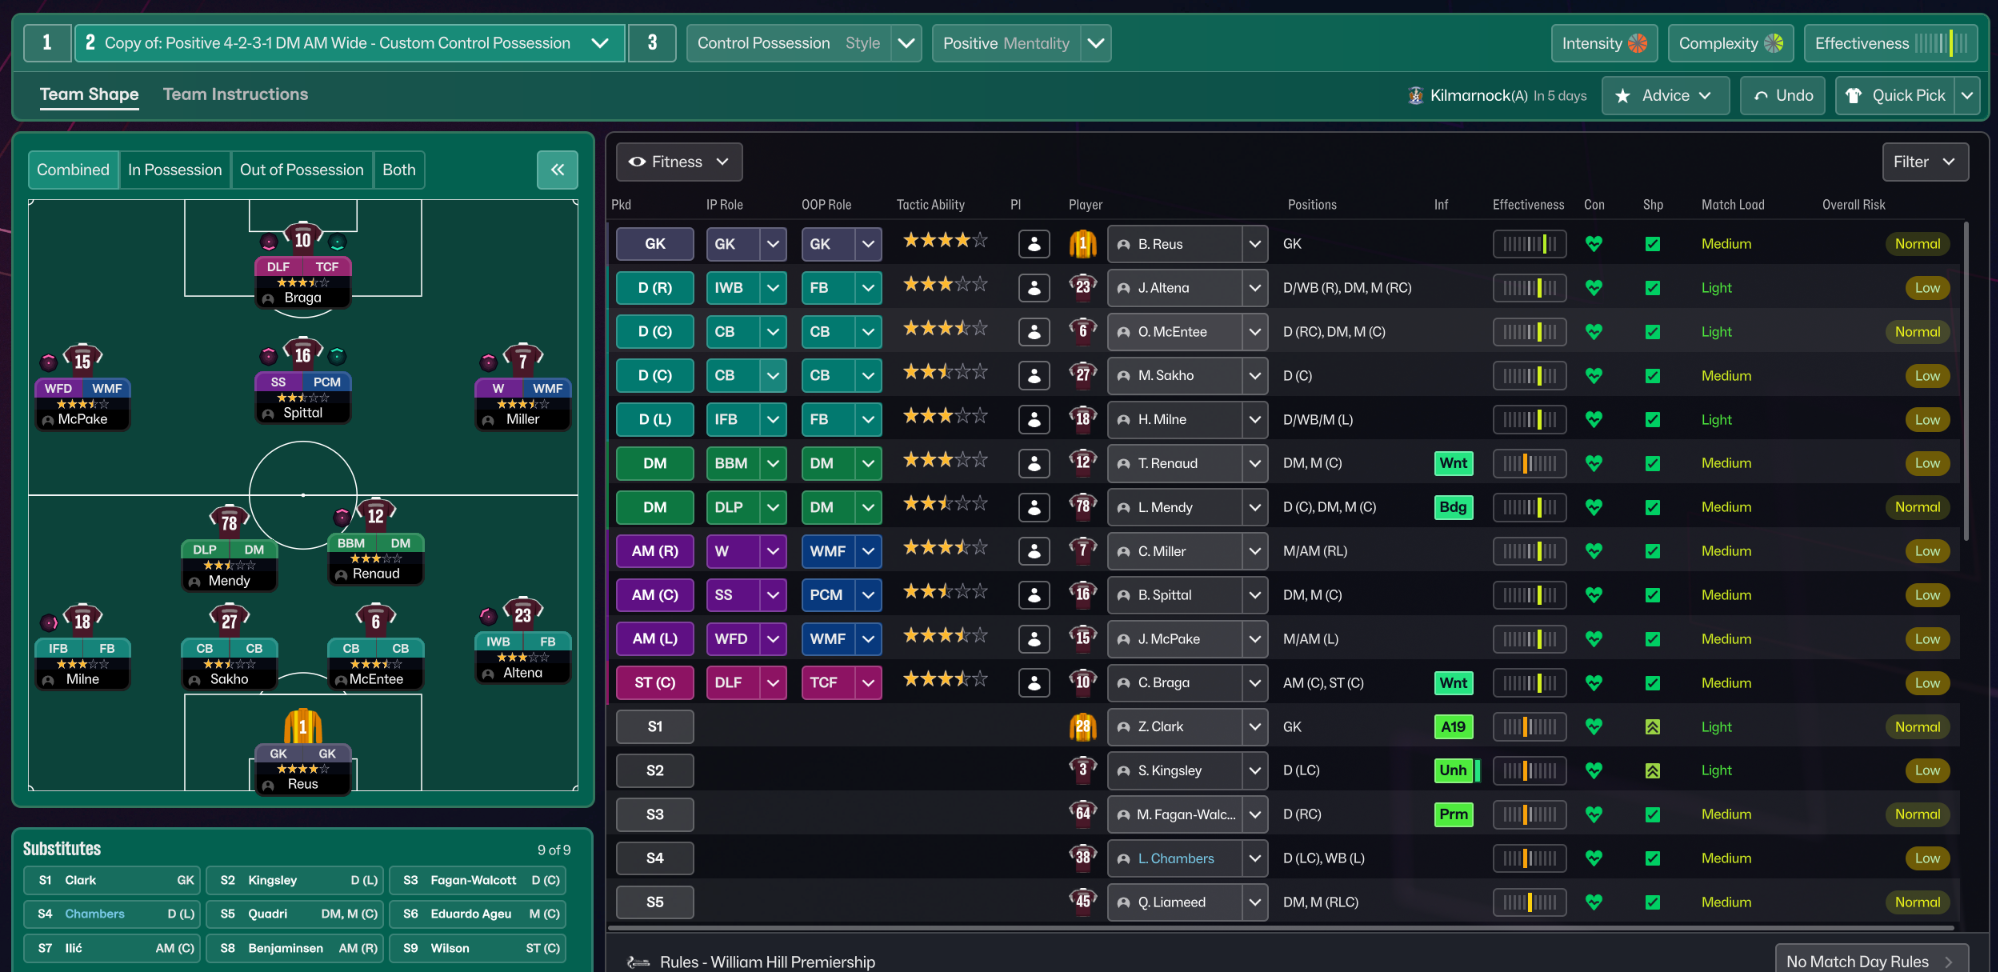
Control Possession 4-2-3-1 Wide
Control Possession
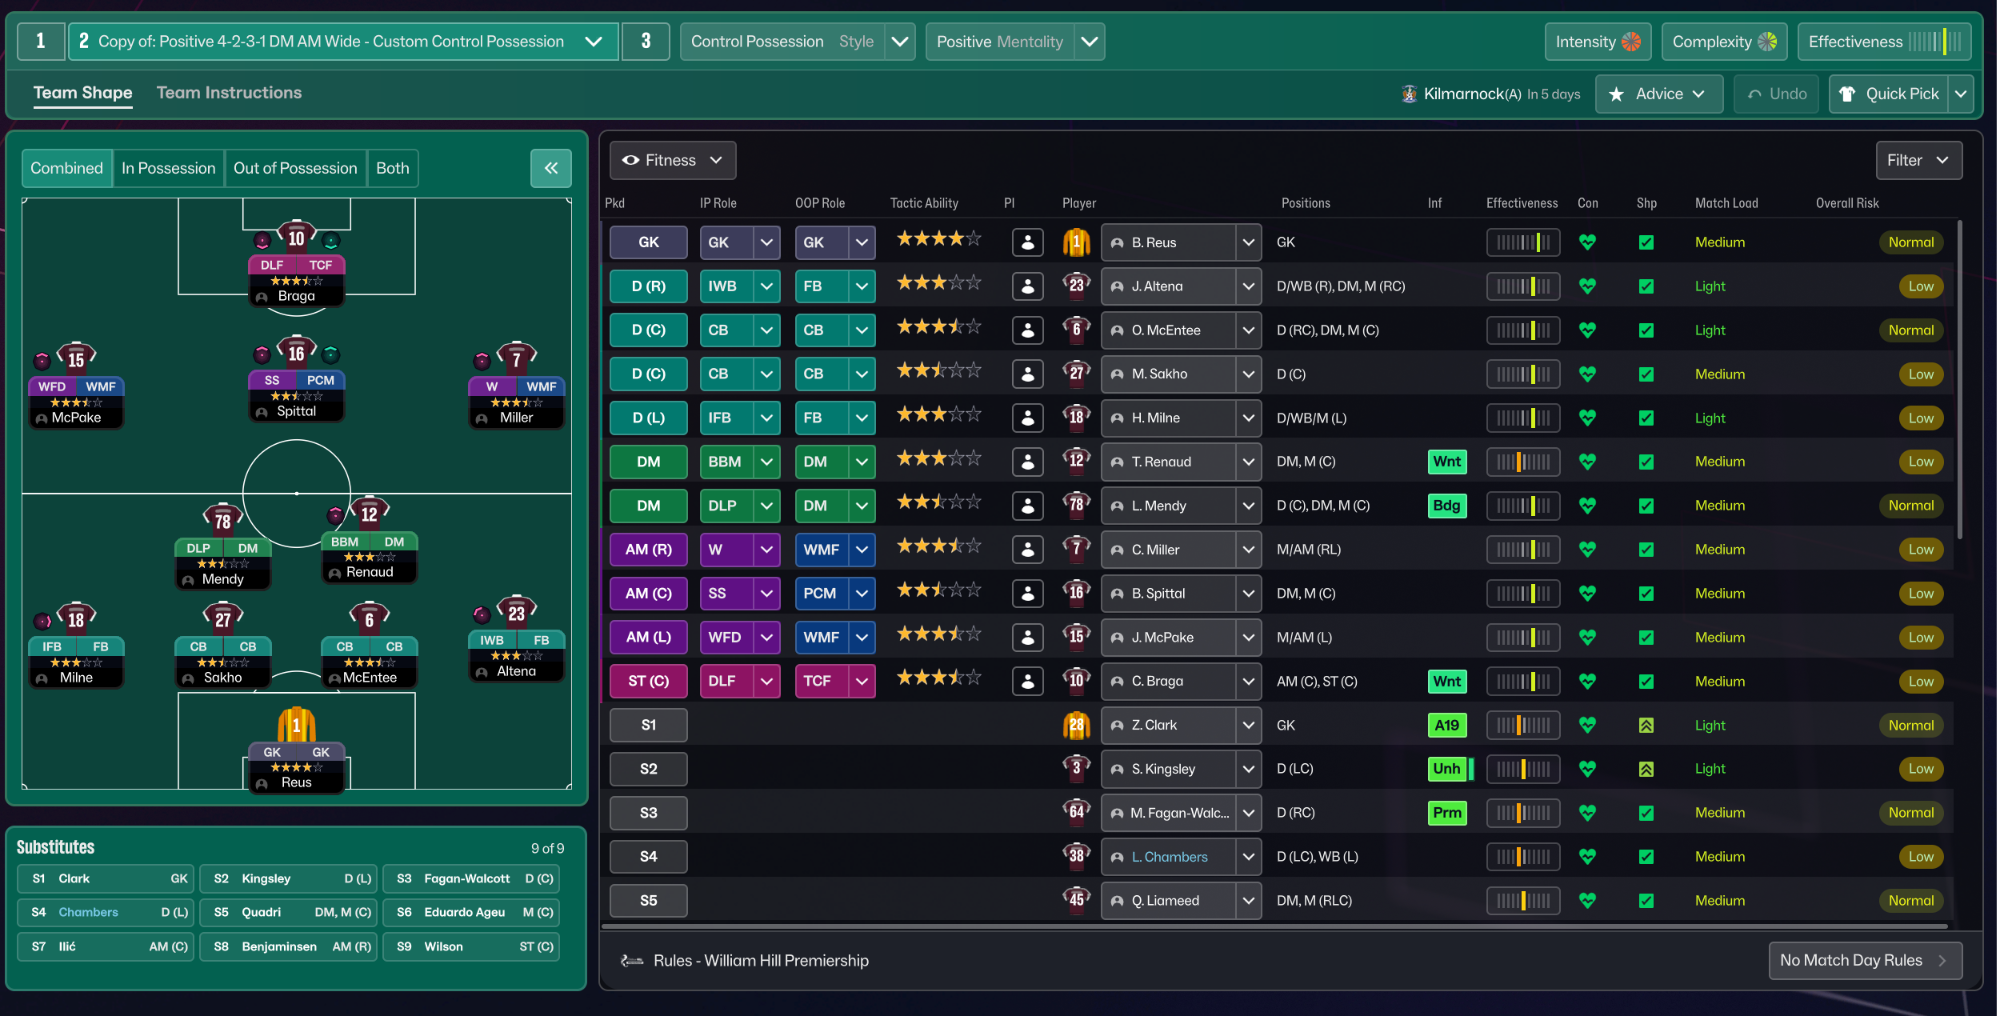
Control Possession 4-2-3-1 Wide
Control Possession
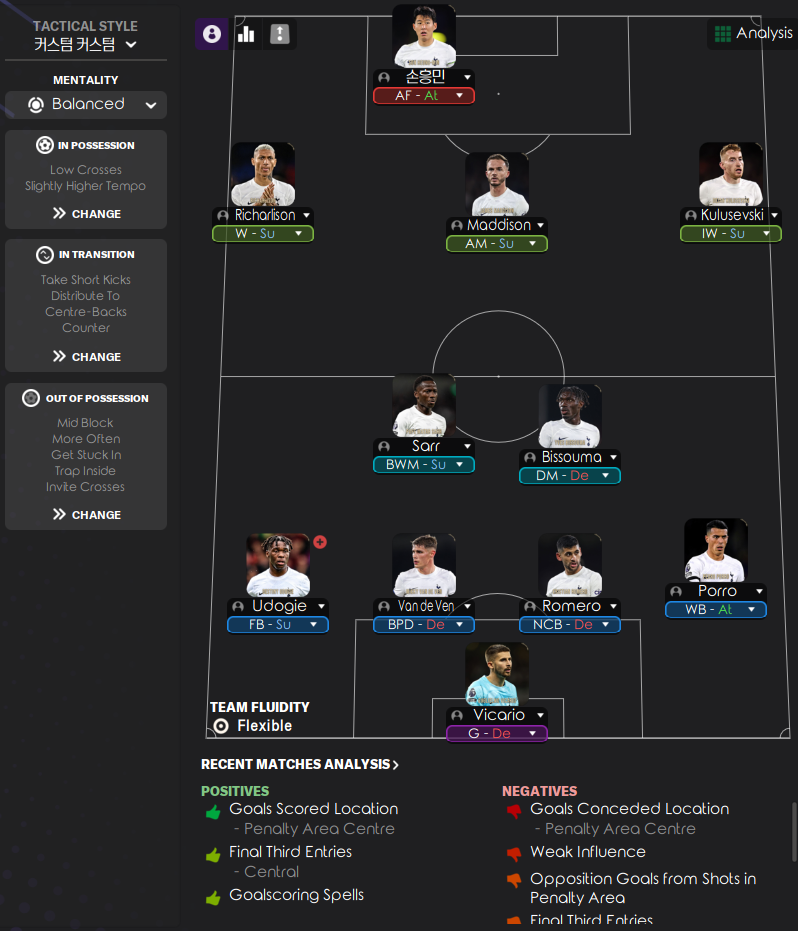
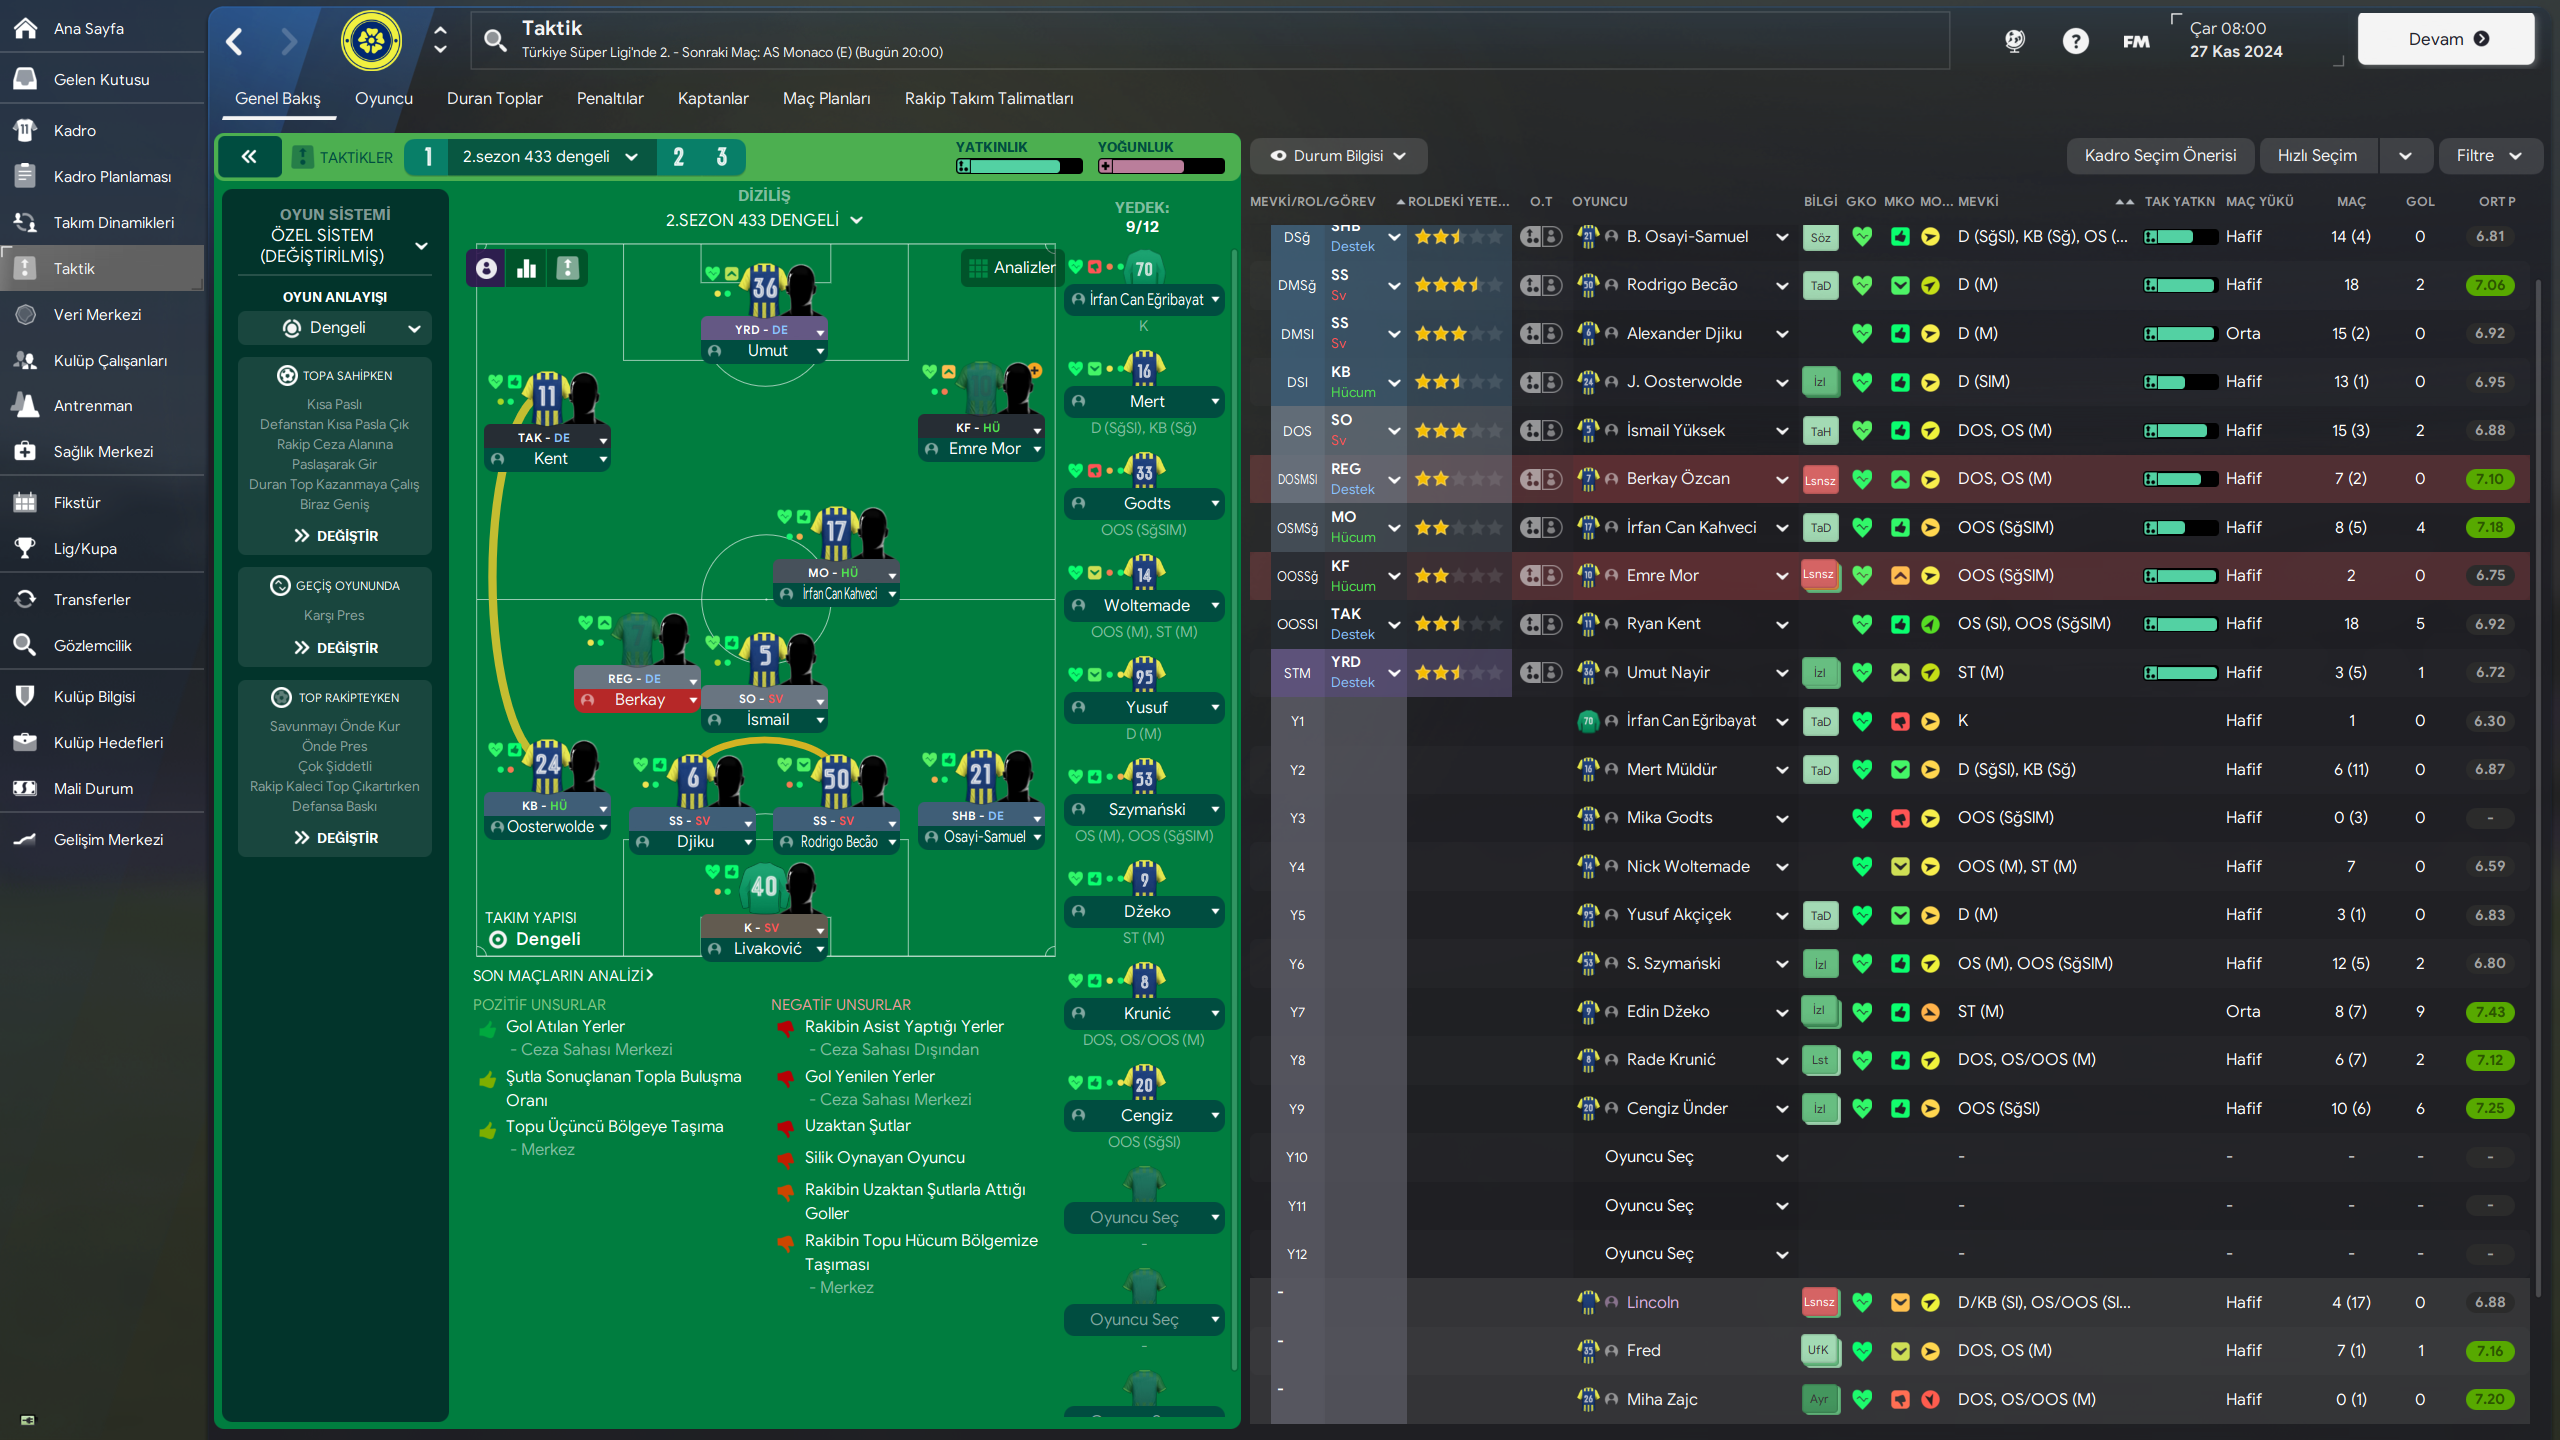
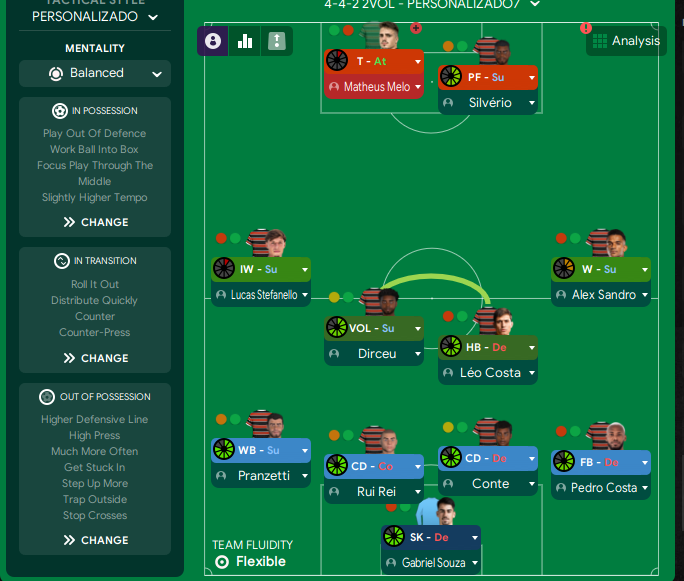
More Balanced tactics
Guides for this tactic
The tactical theory behind the 4-2-3-1 Wide: roles, instructions, and the trade-offs that decide whether the system holds up.
Playing styles
Gegenpressing: A Full Guide
Klopp-style gegenpressing in FM, including squad profile, line-and-press pairing, sustainable workload, and the antipatterns to avoid.
Read guide
Player pairings
Midfield Pairs in 4-2-3-1 and 4-4-2
Double pivots and flat pairs in 4-2-3-1 and 4-4-2: when each pairing works, when it collapses, and the AMC unicorn that rescues both.
Read guide
Foundations
Pressing Triggers and Intensity
Counter-Press, Regroup, Stand Off, Trigger Press: what each pressing instruction does in FM and how to pair them without contradicting.
Read guide