Tiki-Taka 4-3-3 DM Wide (Positive) Tactic
4-3-3 DM Wide
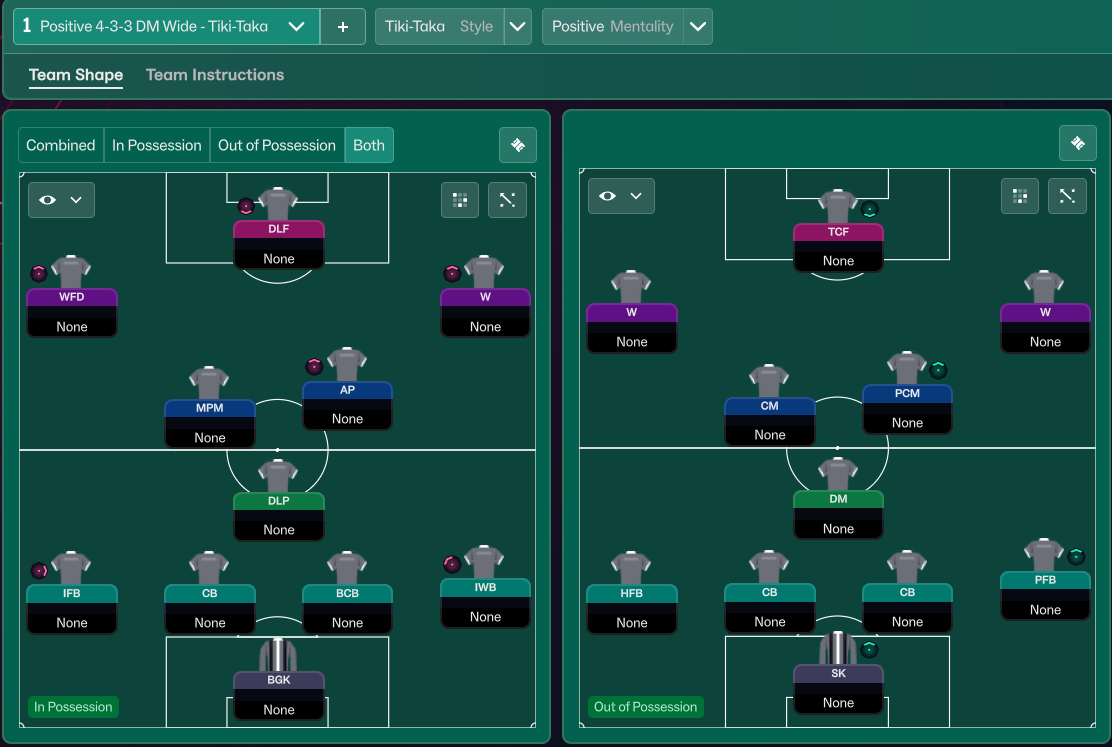
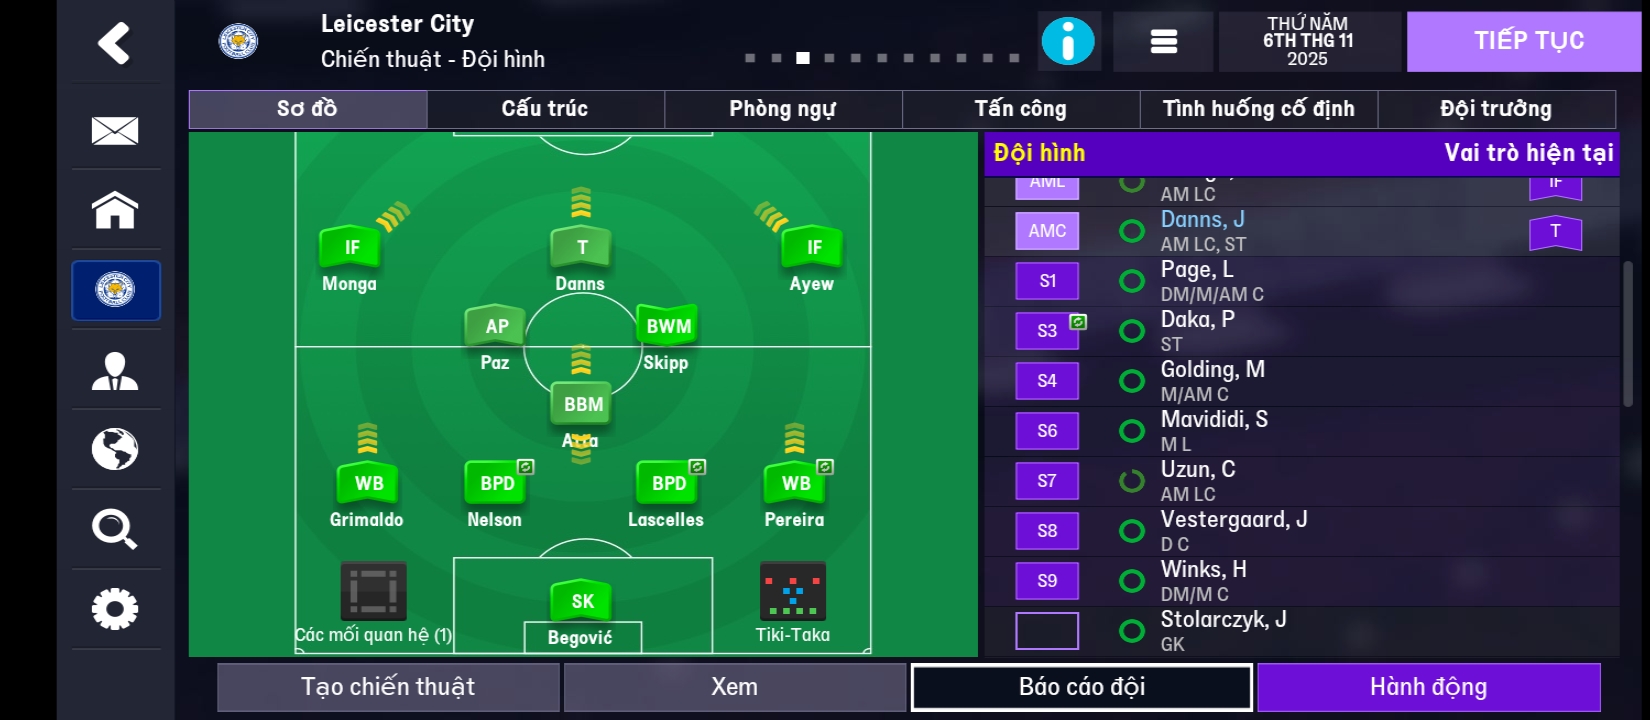
Ball possession through quick passes and movements, targeting fluid transitions from defense to attack. The three coordinated midfielders (DLP-S at [4,3],…
Loading tactical analysis...
Formation and style
Tiki-Taka
Positive
4-3-3 DM Wide
In possession
Play Out of Defence
Focus Play Through The Middle
Be More Expressive
In transition
Counter Press
Counter
Out of possession
Higher Line of Engagement
Higher Defensive Line
Use Offside Trap
Player roles
GK
Sweeper Keeper
Support
Defence
Inverted Full-Back
Support
Defence
Centre-Back
Defend
Defence
Ball-Playing Defender
Defend
Defence
Half Back
Support
Midfield
Deep-Lying Playmaker
Support
Midfield
Advanced Playmaker
Support
Midfield
Mezzala
Support
Attack
Trequartista
Support
Attack
Winger
Attack
Attack
Deep-Lying Forward
Support
Attack
Complete Forward
Attack
Phase description
Focus on short, quick passing to break through opposition lines, utilizing the wingers and advanced playmaker effectively.
Rapid recovery of shape with a commitment to pressing once possession is lost.
Ball possession through quick passes and movements, targeting fluid transitions from defense to attack.
Team shape defence
4-3-3
Defensive setup maintains a solid back four with a half-back a shield for the defense, while the midfield offers coverage and pressure.
CB at [2,2], BPD at [2,3], HFB at [2,4], and DM in support at [3,3].
Team shape attack
4-3-3
Utilizes width from wingers and the trequartista in central areas for creativity while the forward line provides depth and versatility.
W at [6,1] and [6,5] for width, with DLF at [6,3] and TCF at [6,4].
Key strengths
Solid Midfield Control
The three coordinated midfielders (DLP-S at [4,3], AP-S at [4,4], MPM-S at [4,2]) enhance ball retention while linking defense and attack.
DLP-S at [4,3], MPM-S at [4,2], AP-S at [4,4] ensuring fluid transitions.
Dynamic Attacking Options
Multiple attacking roles (W at [5,1] and [5,5], TCF at [5,4], DLF at [5,3]) offer versatility and options in the final third.
W position provides width while TCF and DLF offer central options.
Conflicting tactics
Overemphasis on Short Passing
With a Tiki-Taka style, the risk of slow build-up may lead to defensive setups countering effectively.
Focus on short passes may reduce quick transitions.
Winger Isolation
With wingers depending on the ball, if they receive no support, they can become isolated.
W at [6,1] and [6,5] can be easily marked out if not supported properly.
Risk exposures
Risk Exposures
Items
Wide Areas
Over-reliance on wide play can leave gaps in the center for opponents to exploit.
W at [5,1] and [5,5] should be cautious of central overloads.
Transition Phases
Quick transitions from the opponent can catch the high line off-guard.
Higher Defensive Line paired with a Counter Press can leave gaps.
Role synergies
Role Synergies
Items
DLP-S and AP-S
These roles complement each other with the DLP providing depth and the AP creating forward play.
DLP at [4,3] ensures possession while AP at [4,4] distributes effectively.
W and TCF
Wingers stretching the field can create space for the Complete Forward and Trequartista to operate.
W at [6,1] and [6,5] can provide width for attacking outlets.
Suggested questions
How can I improve my team's transition play?
What adjustments should I consider against teams employing a low block?
Are there specific scenarios where I should adjust my pressing intensity?
Related Tactics
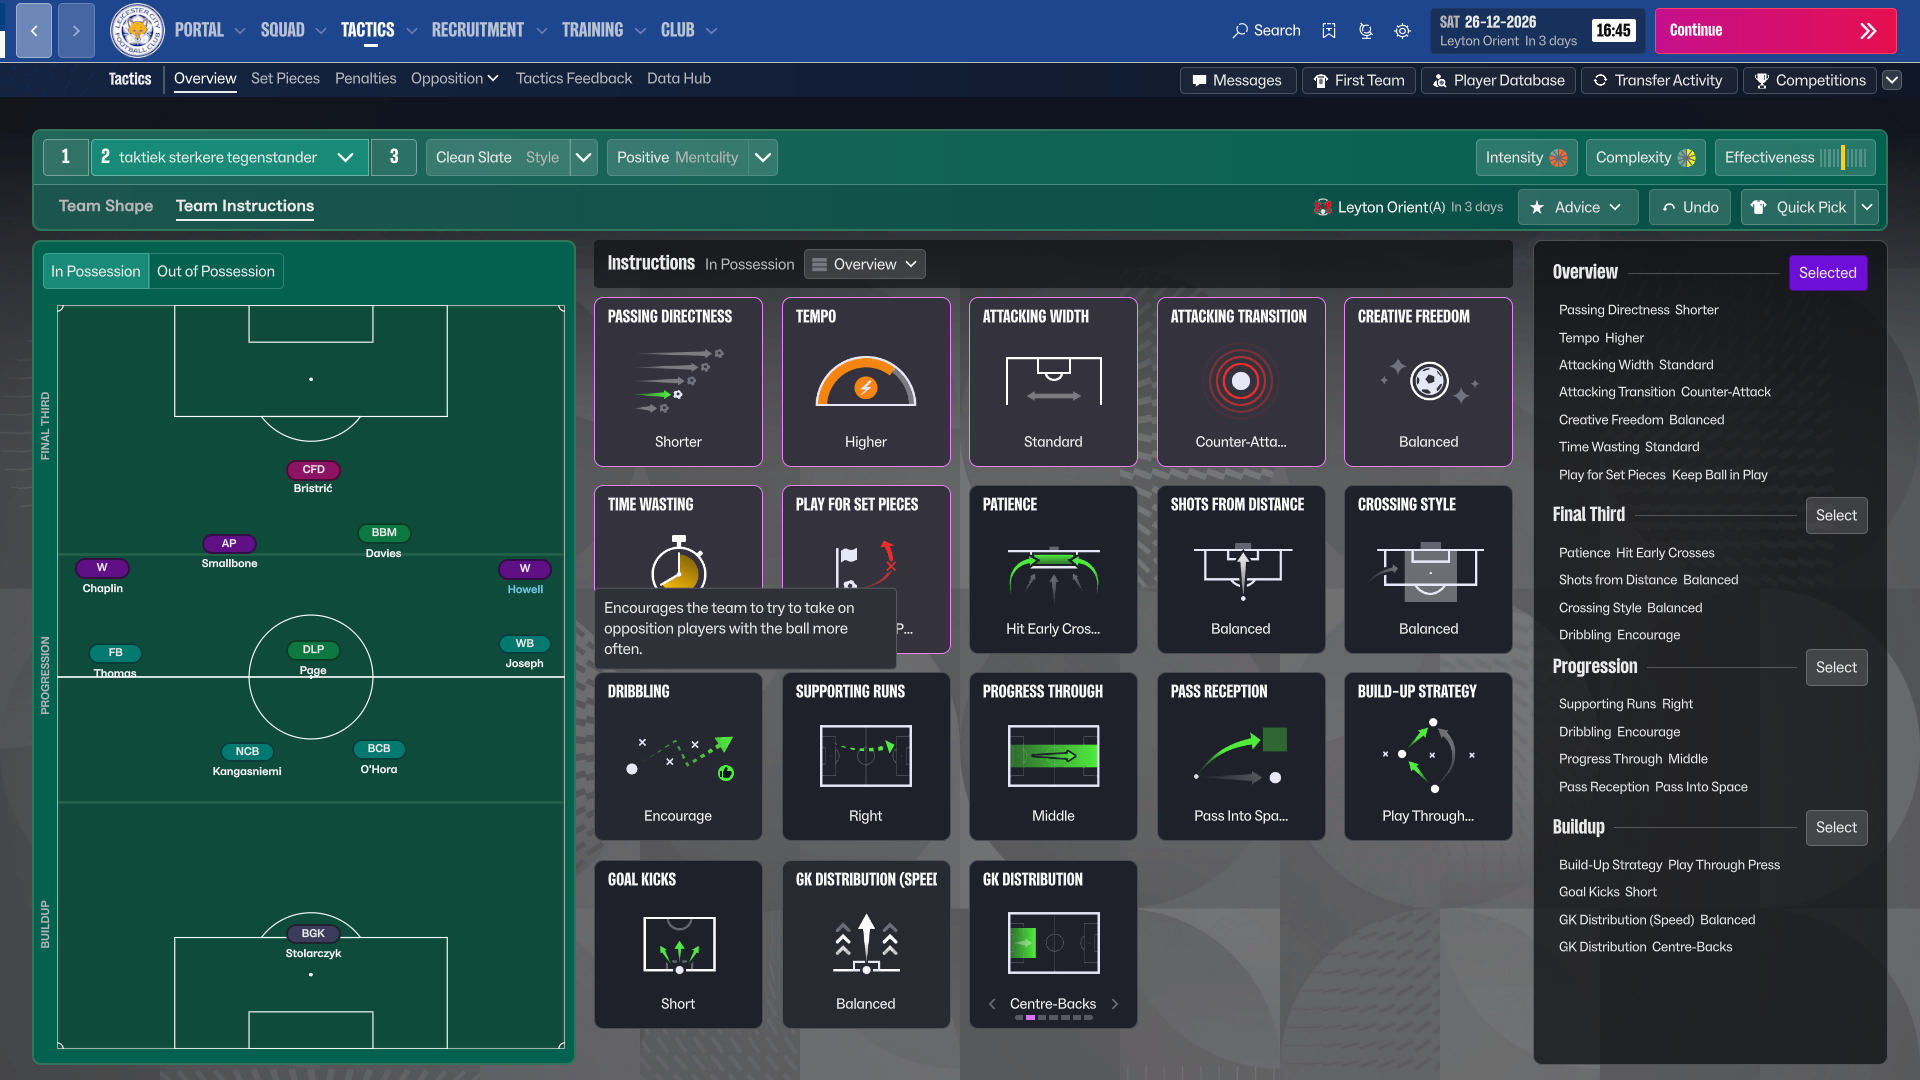
4-3-3 DM Wide Formation
clean slate
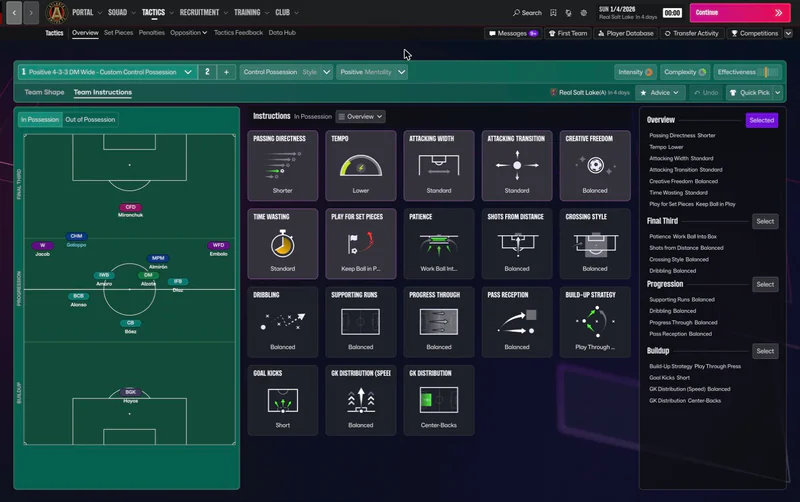
Control Possession 4-3-3 DM Wide
control possession
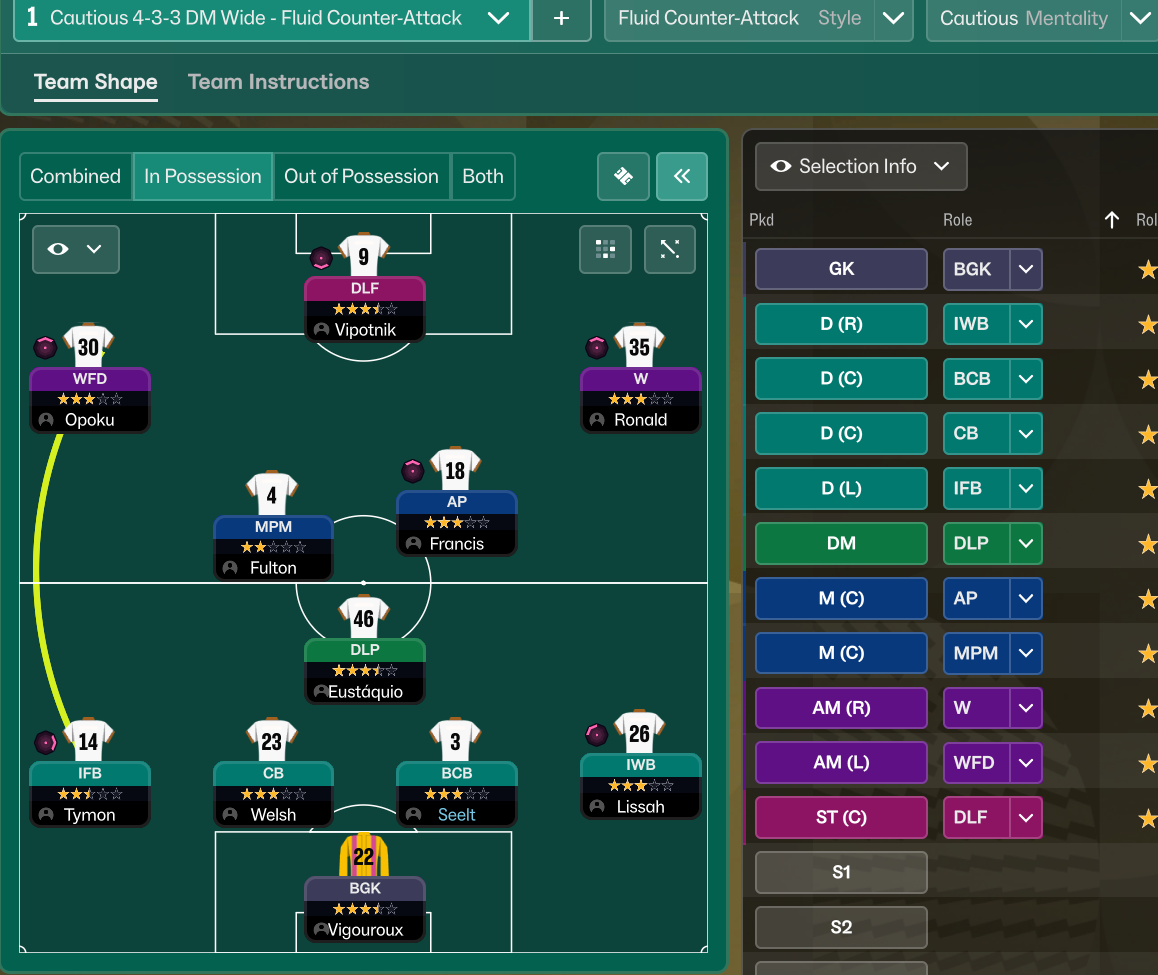
Fluid Counter-Attack 4-3-3 DM Wide
Fluid Counter-Attack
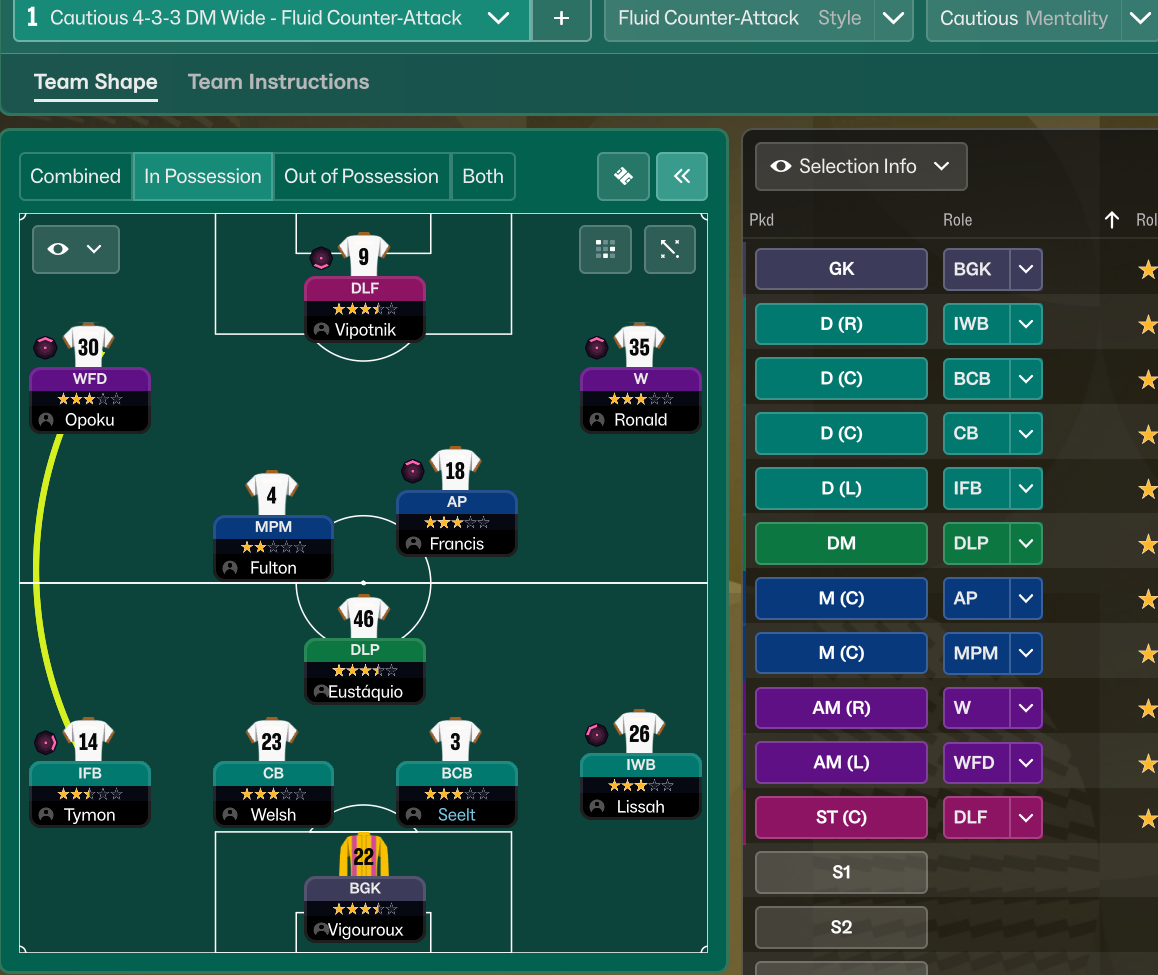
Fluid Counter-Attack 4-3-3 DM Wide
Fluid Counter-Attack
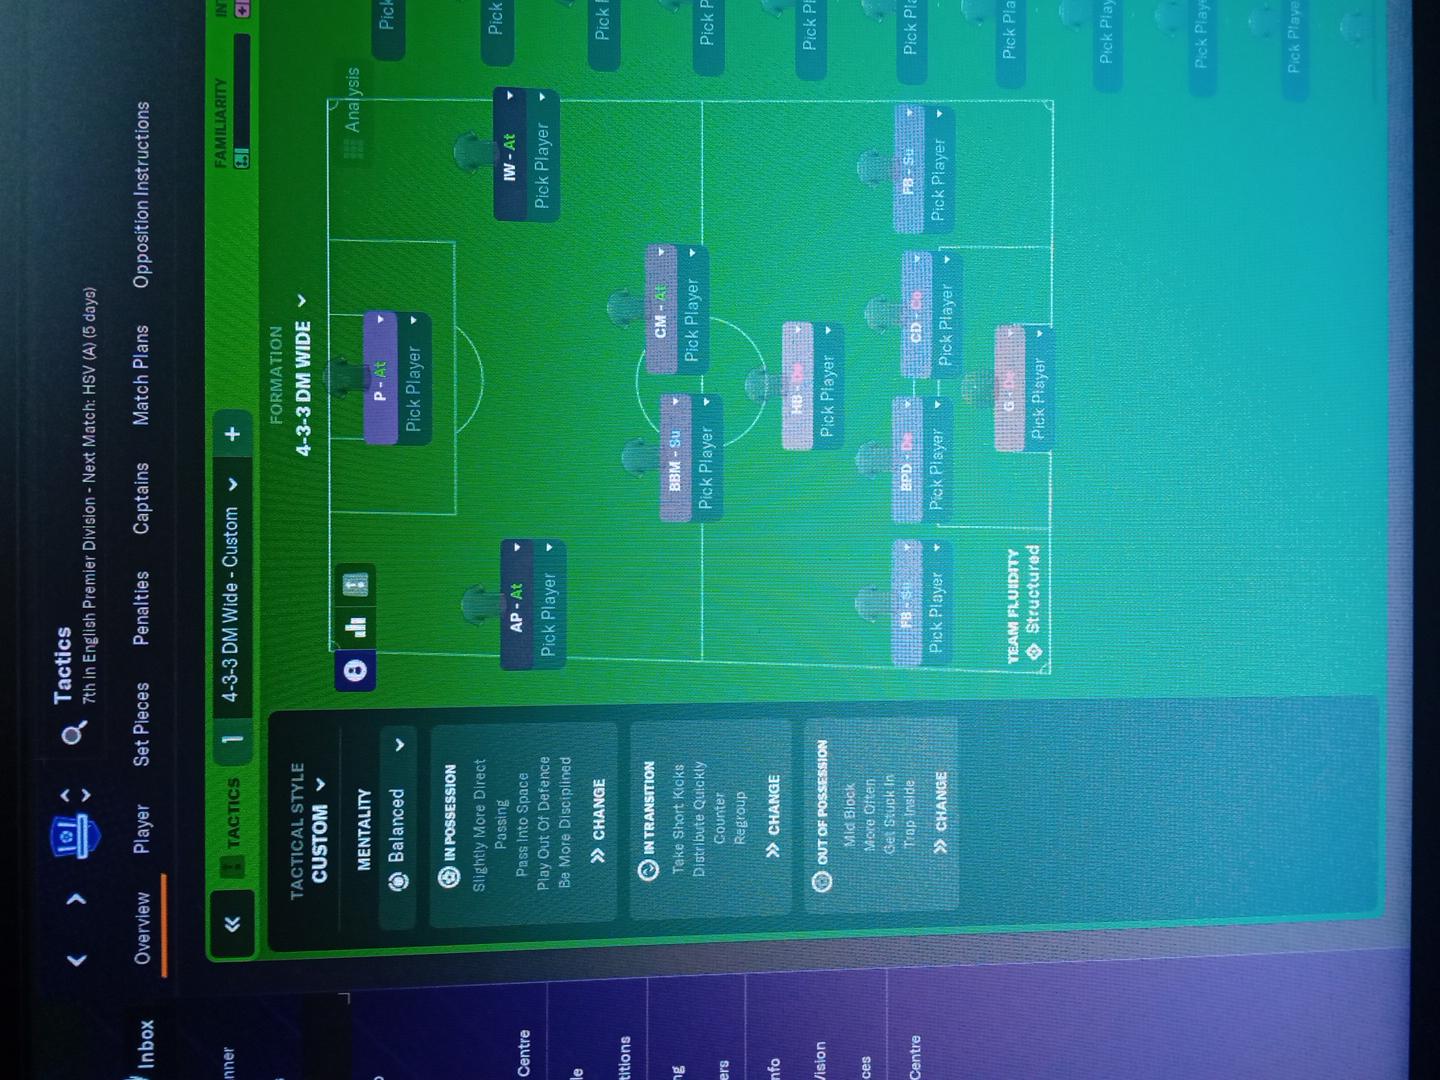
4-3-3 DM Wide Formation
Custom
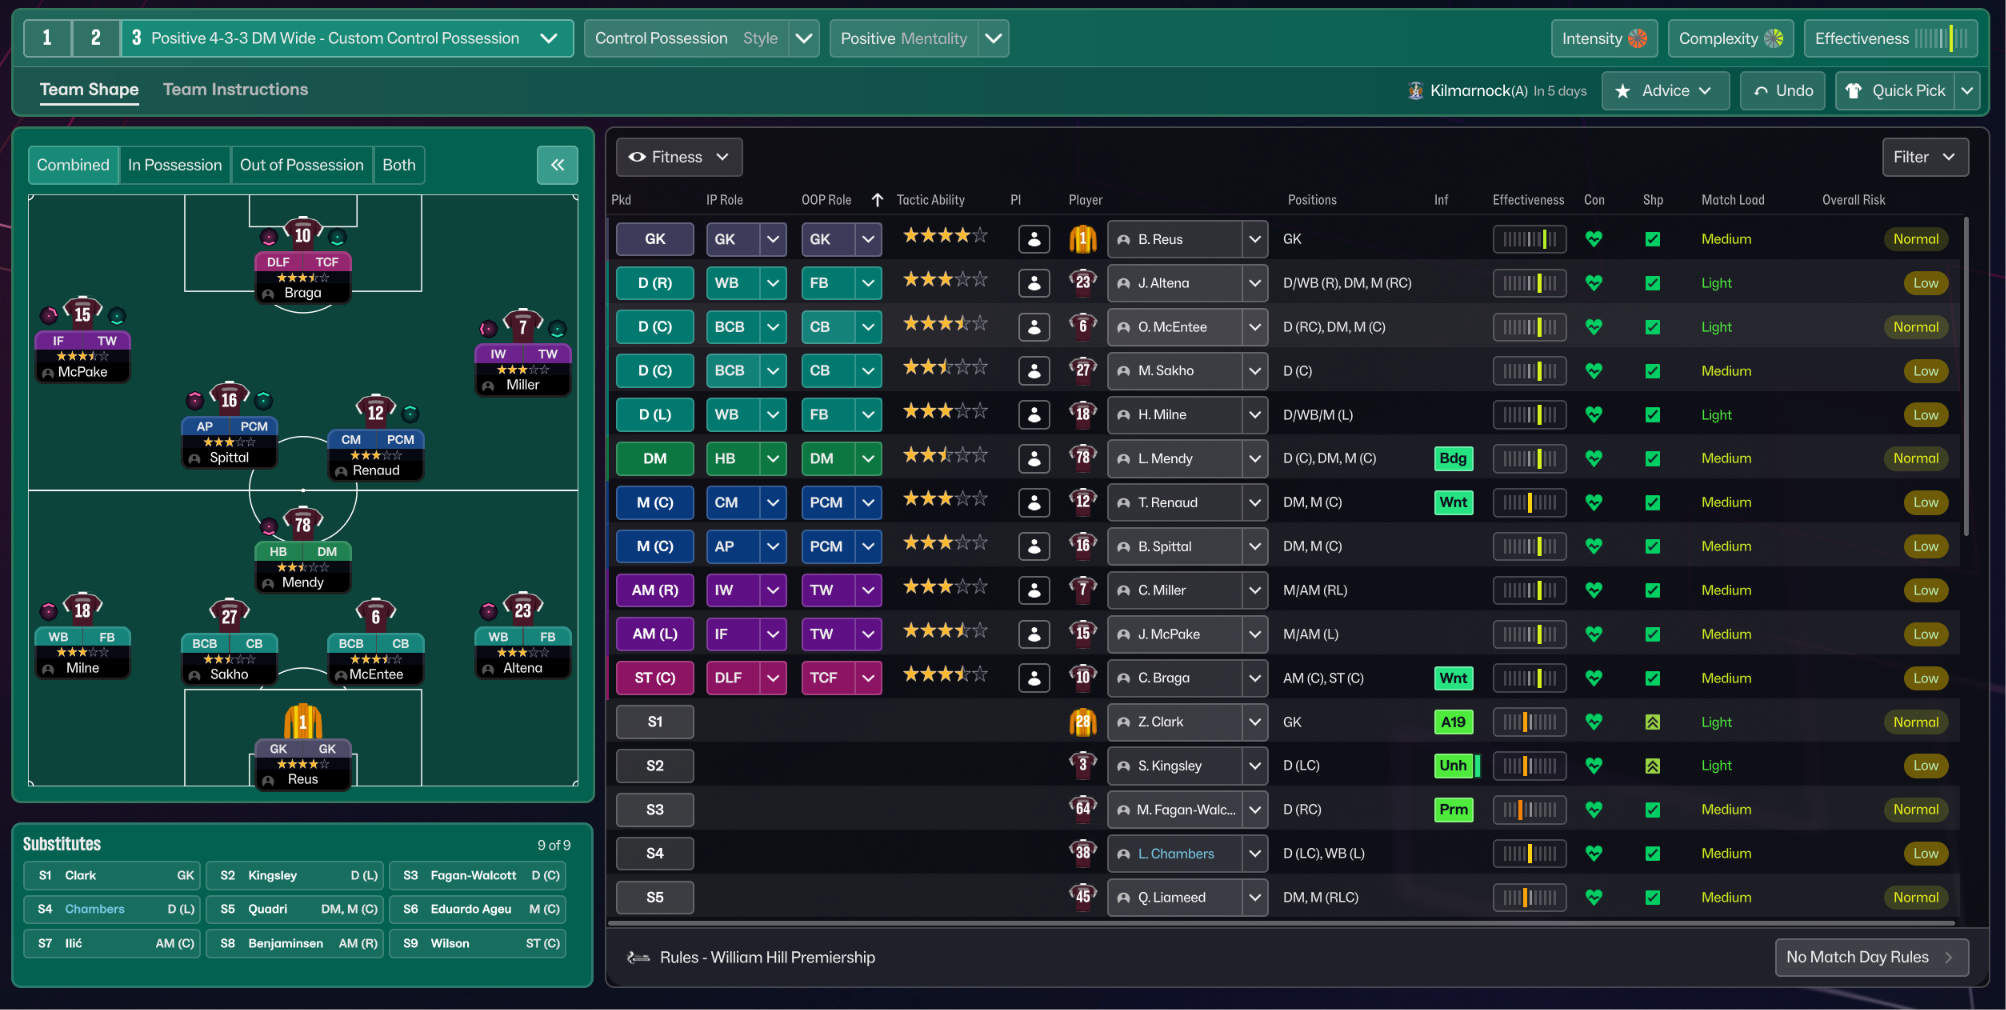
Control Possession 4-3-3 DM Wide
Control Possession
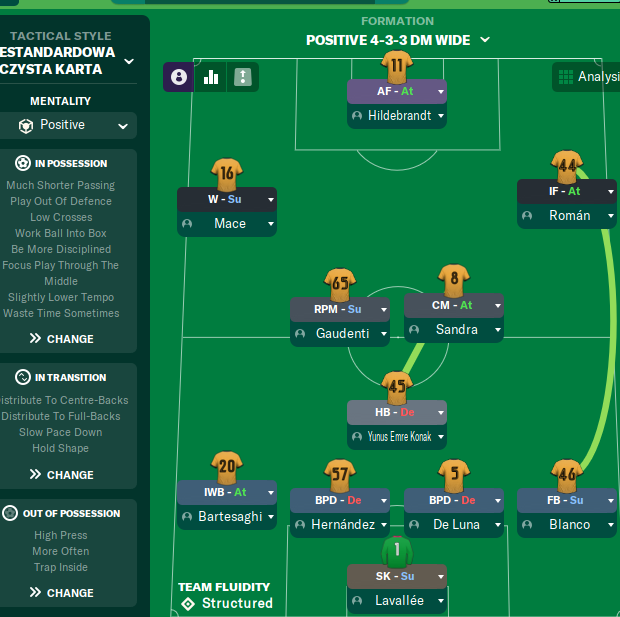
Positive 4-3-3 DM Wide
Positive
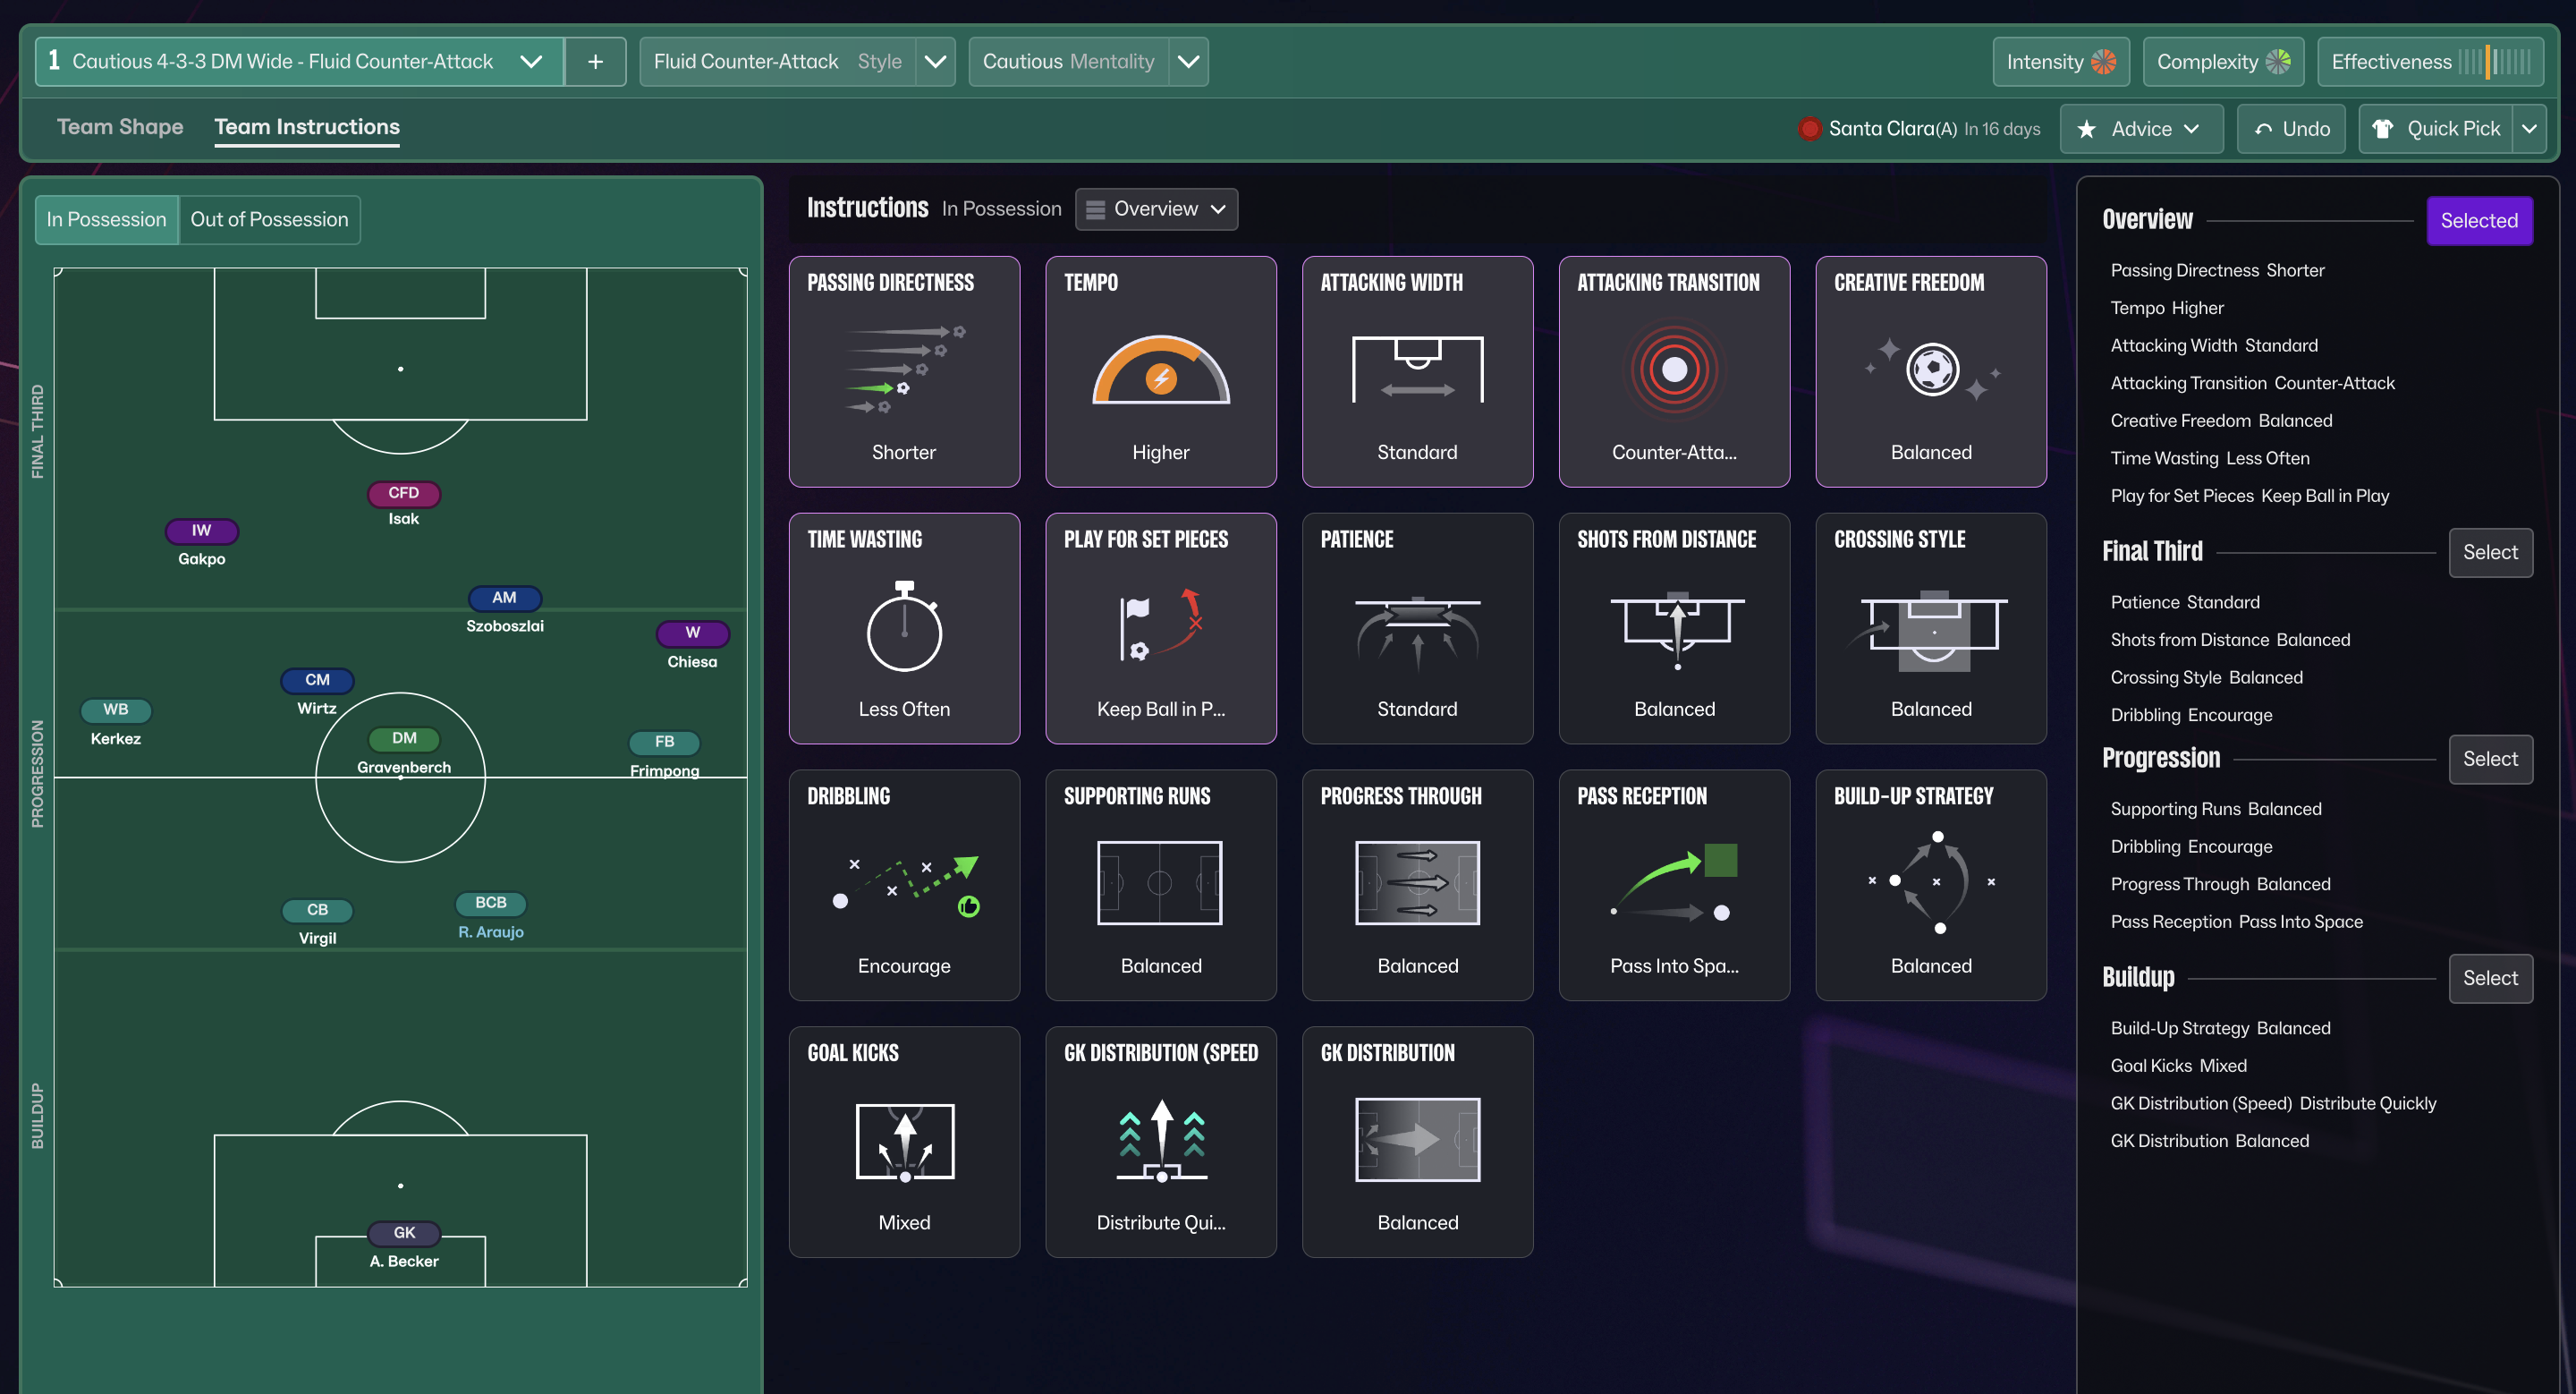
Fluid Counter-Attack 4-3-3 DM Wide
Fluid Counter-Attack
More Tiki-Taka tactics
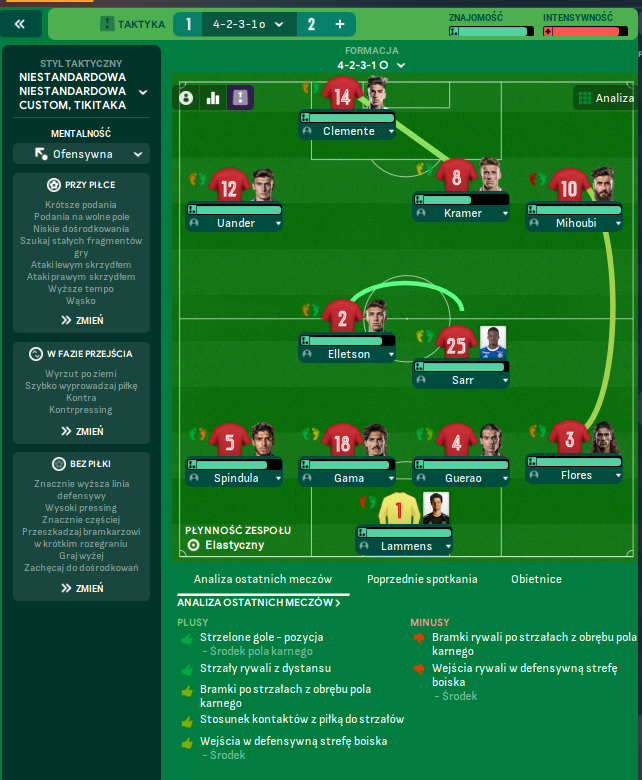
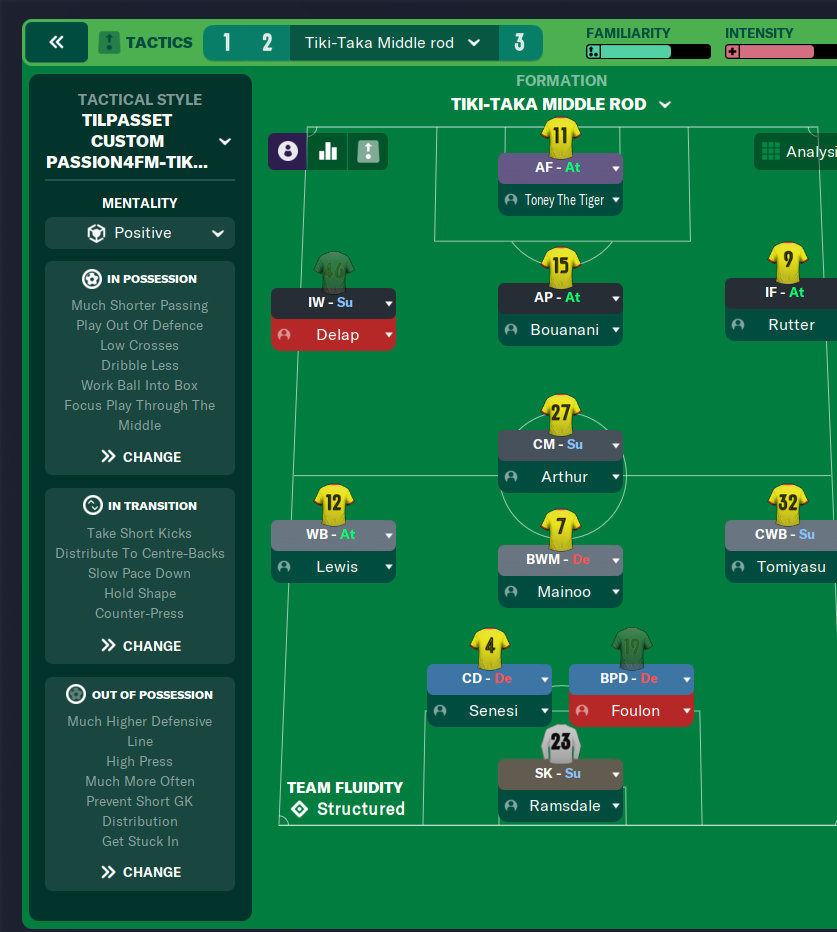
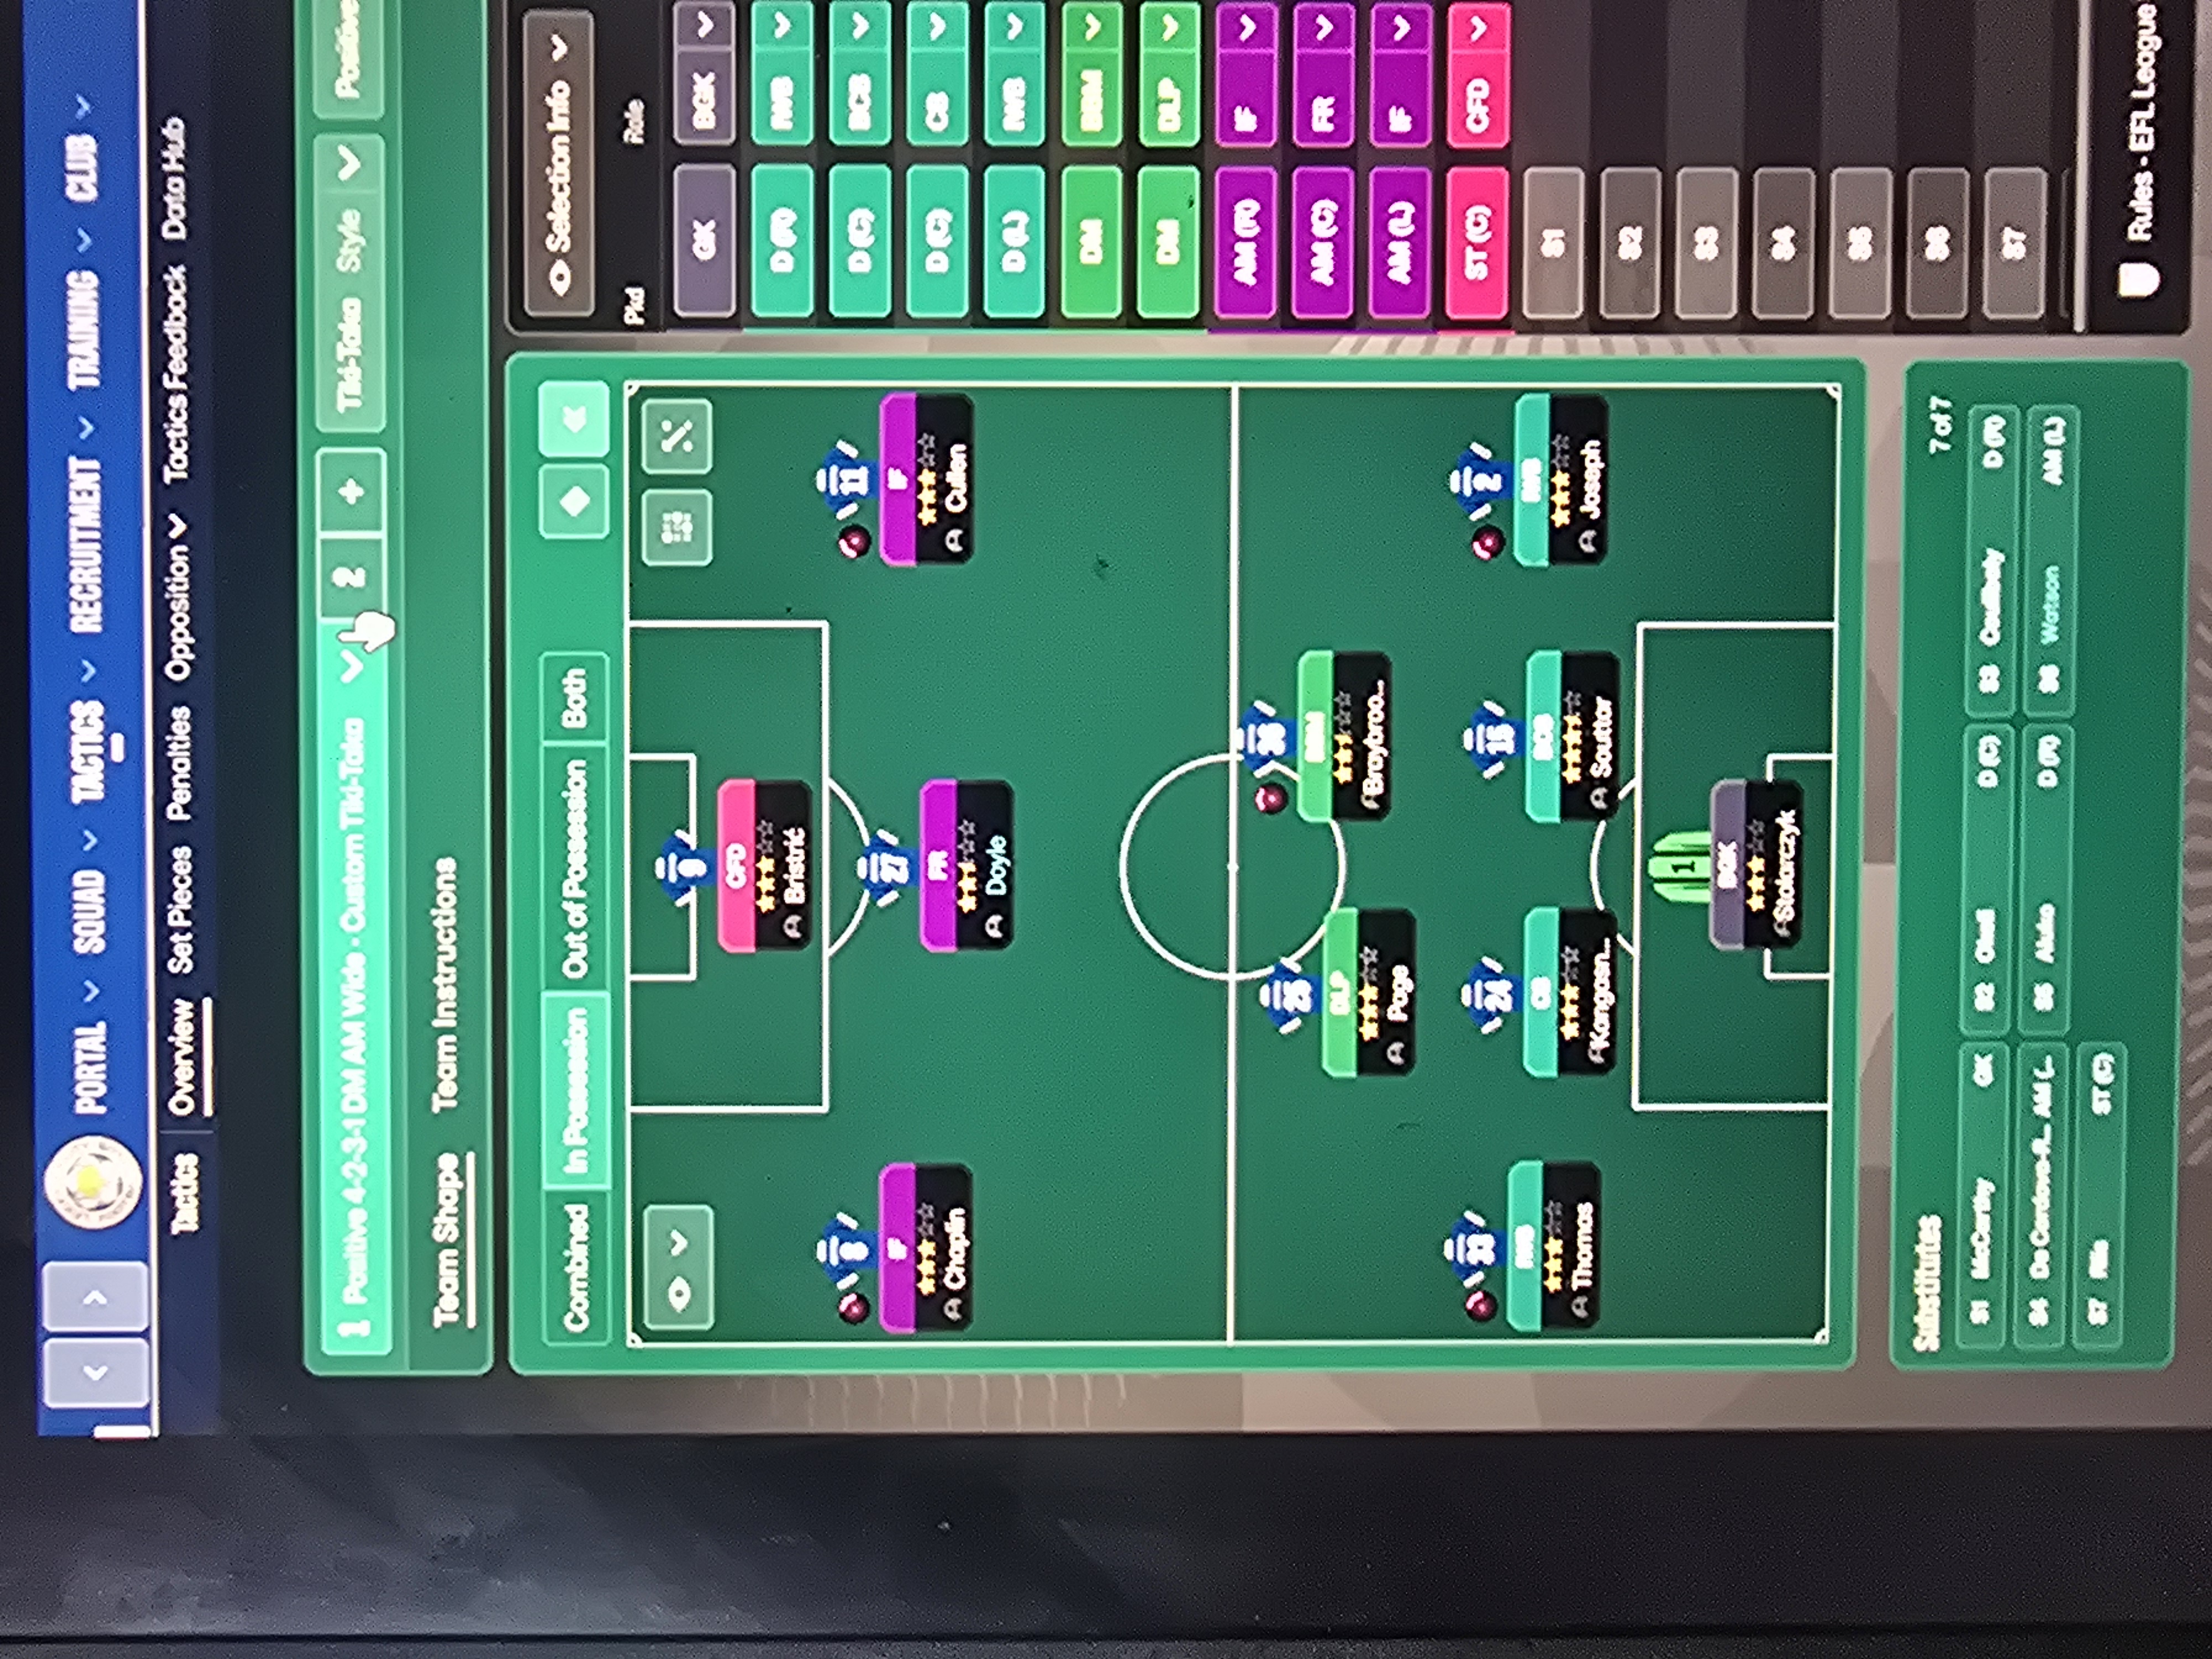
Guides for this tactic
The tactical theory behind the 4-3-3 DM Wide: roles, instructions, and the trade-offs that decide whether the system holds up.
Foundations
Understanding the 4-3-3 Formation
Master the classic 4-3-3: player roles, tactical variations, and the trade-offs that decide whether it sings or stalls.
Read guide
Player pairings
Midfield Trios
Holder, runner, creator: the role distribution rule for three-man midfields, the AMC variants, and the antipatterns that break them.
Read guide
Foundations
FM27 Tactics: What Changed from FM26
FM27 keeps FM26's tactic system. Here is what stays the same, the small changes that can catch you out, and what the new Tactical Effectiveness system asks of you.
Read guide