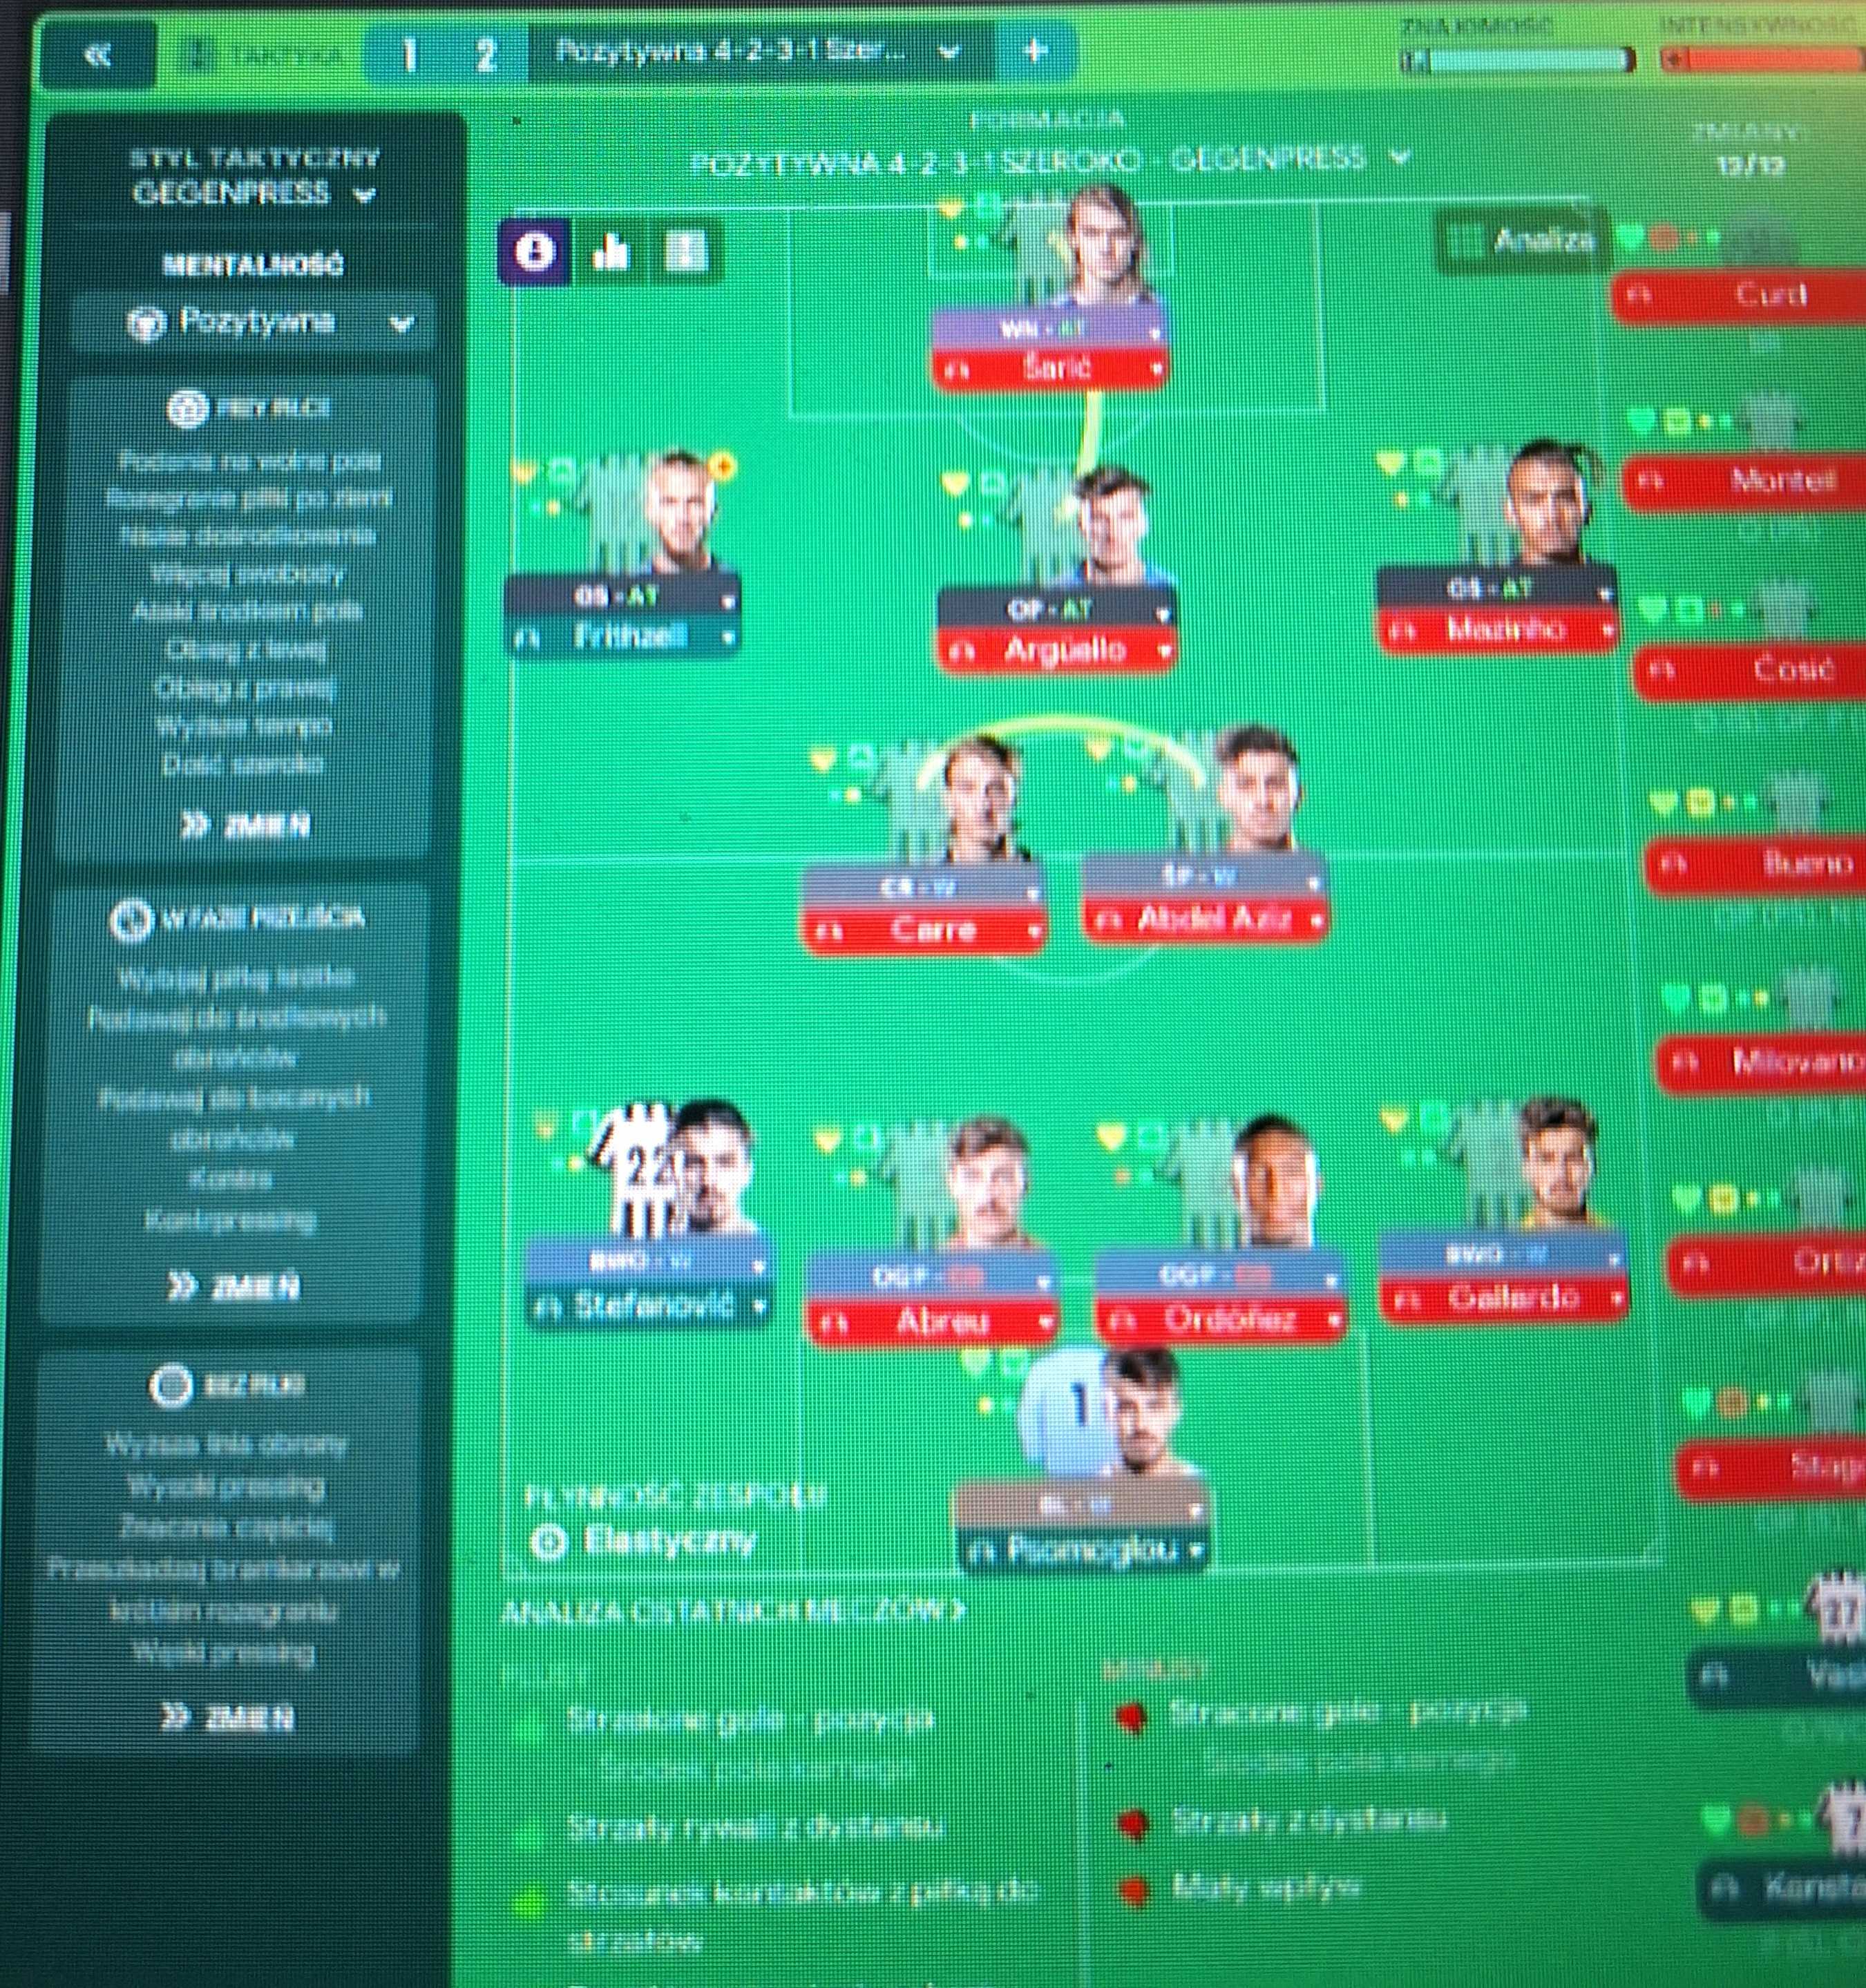
Gegenpress 4-2-3-1 (Attacking) Tactic
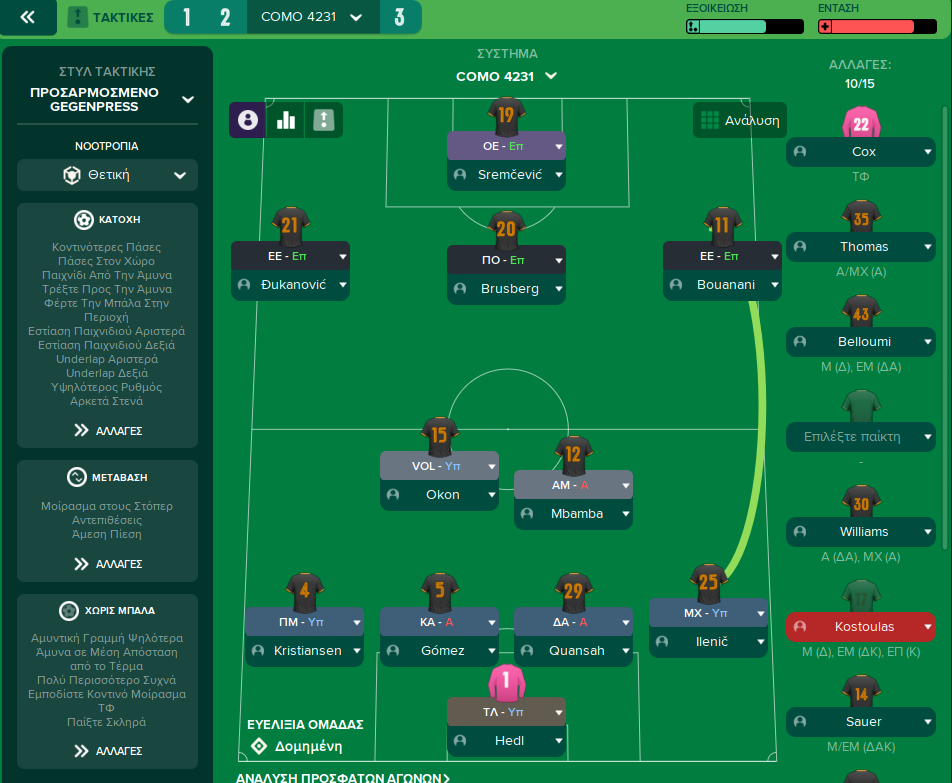
4-2-3-1
Aggressive pressing and quick attacks to exploit spaces. Effective at regaining possession quickly through aggressive pressing.
Loading tactical analysis...
Formation and style
Gegenpress
Attacking
4-2-3-1
Positive
In possession
Shorter Passes
Play Out of Defence
Focus Play Down Left
Underlap Left
Underlap Right
In transition
Counter-Press
Counter
Out of possession
Higher Defensive Line
Higher Line of Engagement
Trigger Press More Often
Player roles
GK
Goalkeeper
Support
DL
Wing-Back
Support
DC
Ball-Playing Defender
Defend
DC
Ball-Playing Defender
Defend
DR
Wing-Back
Support
DMC
Volante
Support
MC
Advanced Playmaker
Attack
AML
Inside Forward
Attack
AMC
Attacking Midfielder
Attack
AMR
Wide Playmaker
Attack
ST
Poacher
Attack
Phase description
Utilizing width and direct attacking movements with quick transitions.
Counter-pressing to regain possession promptly after losing the ball.
Aggressive pressing and quick attacks to exploit spaces.
Team shape defence
4-2-3-1
Compact defensive line with two holding midfielders screening defense.
The setup with two ball-playing defenders and a volante supports transitions.
Team shape attack
4-2-3-1
Wide players stretch the opponent's defense, allowing central players space to operate.
Wide playmakers and an attacking midfielder focus on exploiting gaps.
Key strengths
High Pressing Intensity
Effective at regaining possession quickly through aggressive pressing.
Trigger Press More Often, combined with Gegenpress tactical style.
Dynamic Attack
Players positioned to create overloads in wide areas for mixed attacking threats.
Wide Playmaker at [6,5] and Inside Forward at [6,1] create options.
Conflicting tactics
Counter-Attack Vulnerability
With high defensive line and pressing, risks exposure to counter-attacks.
Higher Defensive Line and Trigger Press More Often create space behind.
Defensive Midfield Exposure
The Volante role may leave gaps if not managed, limiting defensive stability.
Volante at [3,3] may lack cover if not supported adequately.
Risk exposures
Risk Exposures
Items
Defensive Transition
High risk of being countered due to high defensive positioning.
Higher Defensive Line leaves space behind for fast attacks.
Midfield Control
Potential for loss of midfield control if pressed effectively.
Dependence on DMC and AMC in controlling transitions.
Role synergies
Role Synergies
Items
Volante and Advanced Playmaker
Complement each other to link defense and attack seamlessly.
Volante at [3,3] supports transitions, while AP at [4,3] exploits gaps.
Inside Forward and Poacher
Creates depth in attacking options, stretching defenses.
IF at [6,1] and P at [6,3] work together to penetrate defenses.
Suggested questions
How can I adjust my pressing intensity to reduce vulnerability to counters?
What alternatives can I consider for player roles to improve midfield stability?
How can I adapt my tactics based on the opponent's strengths and weaknesses?
Related Tactics
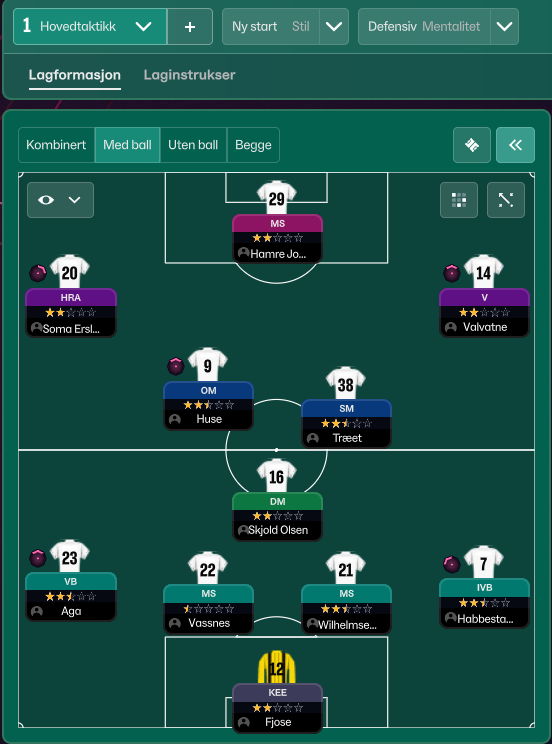
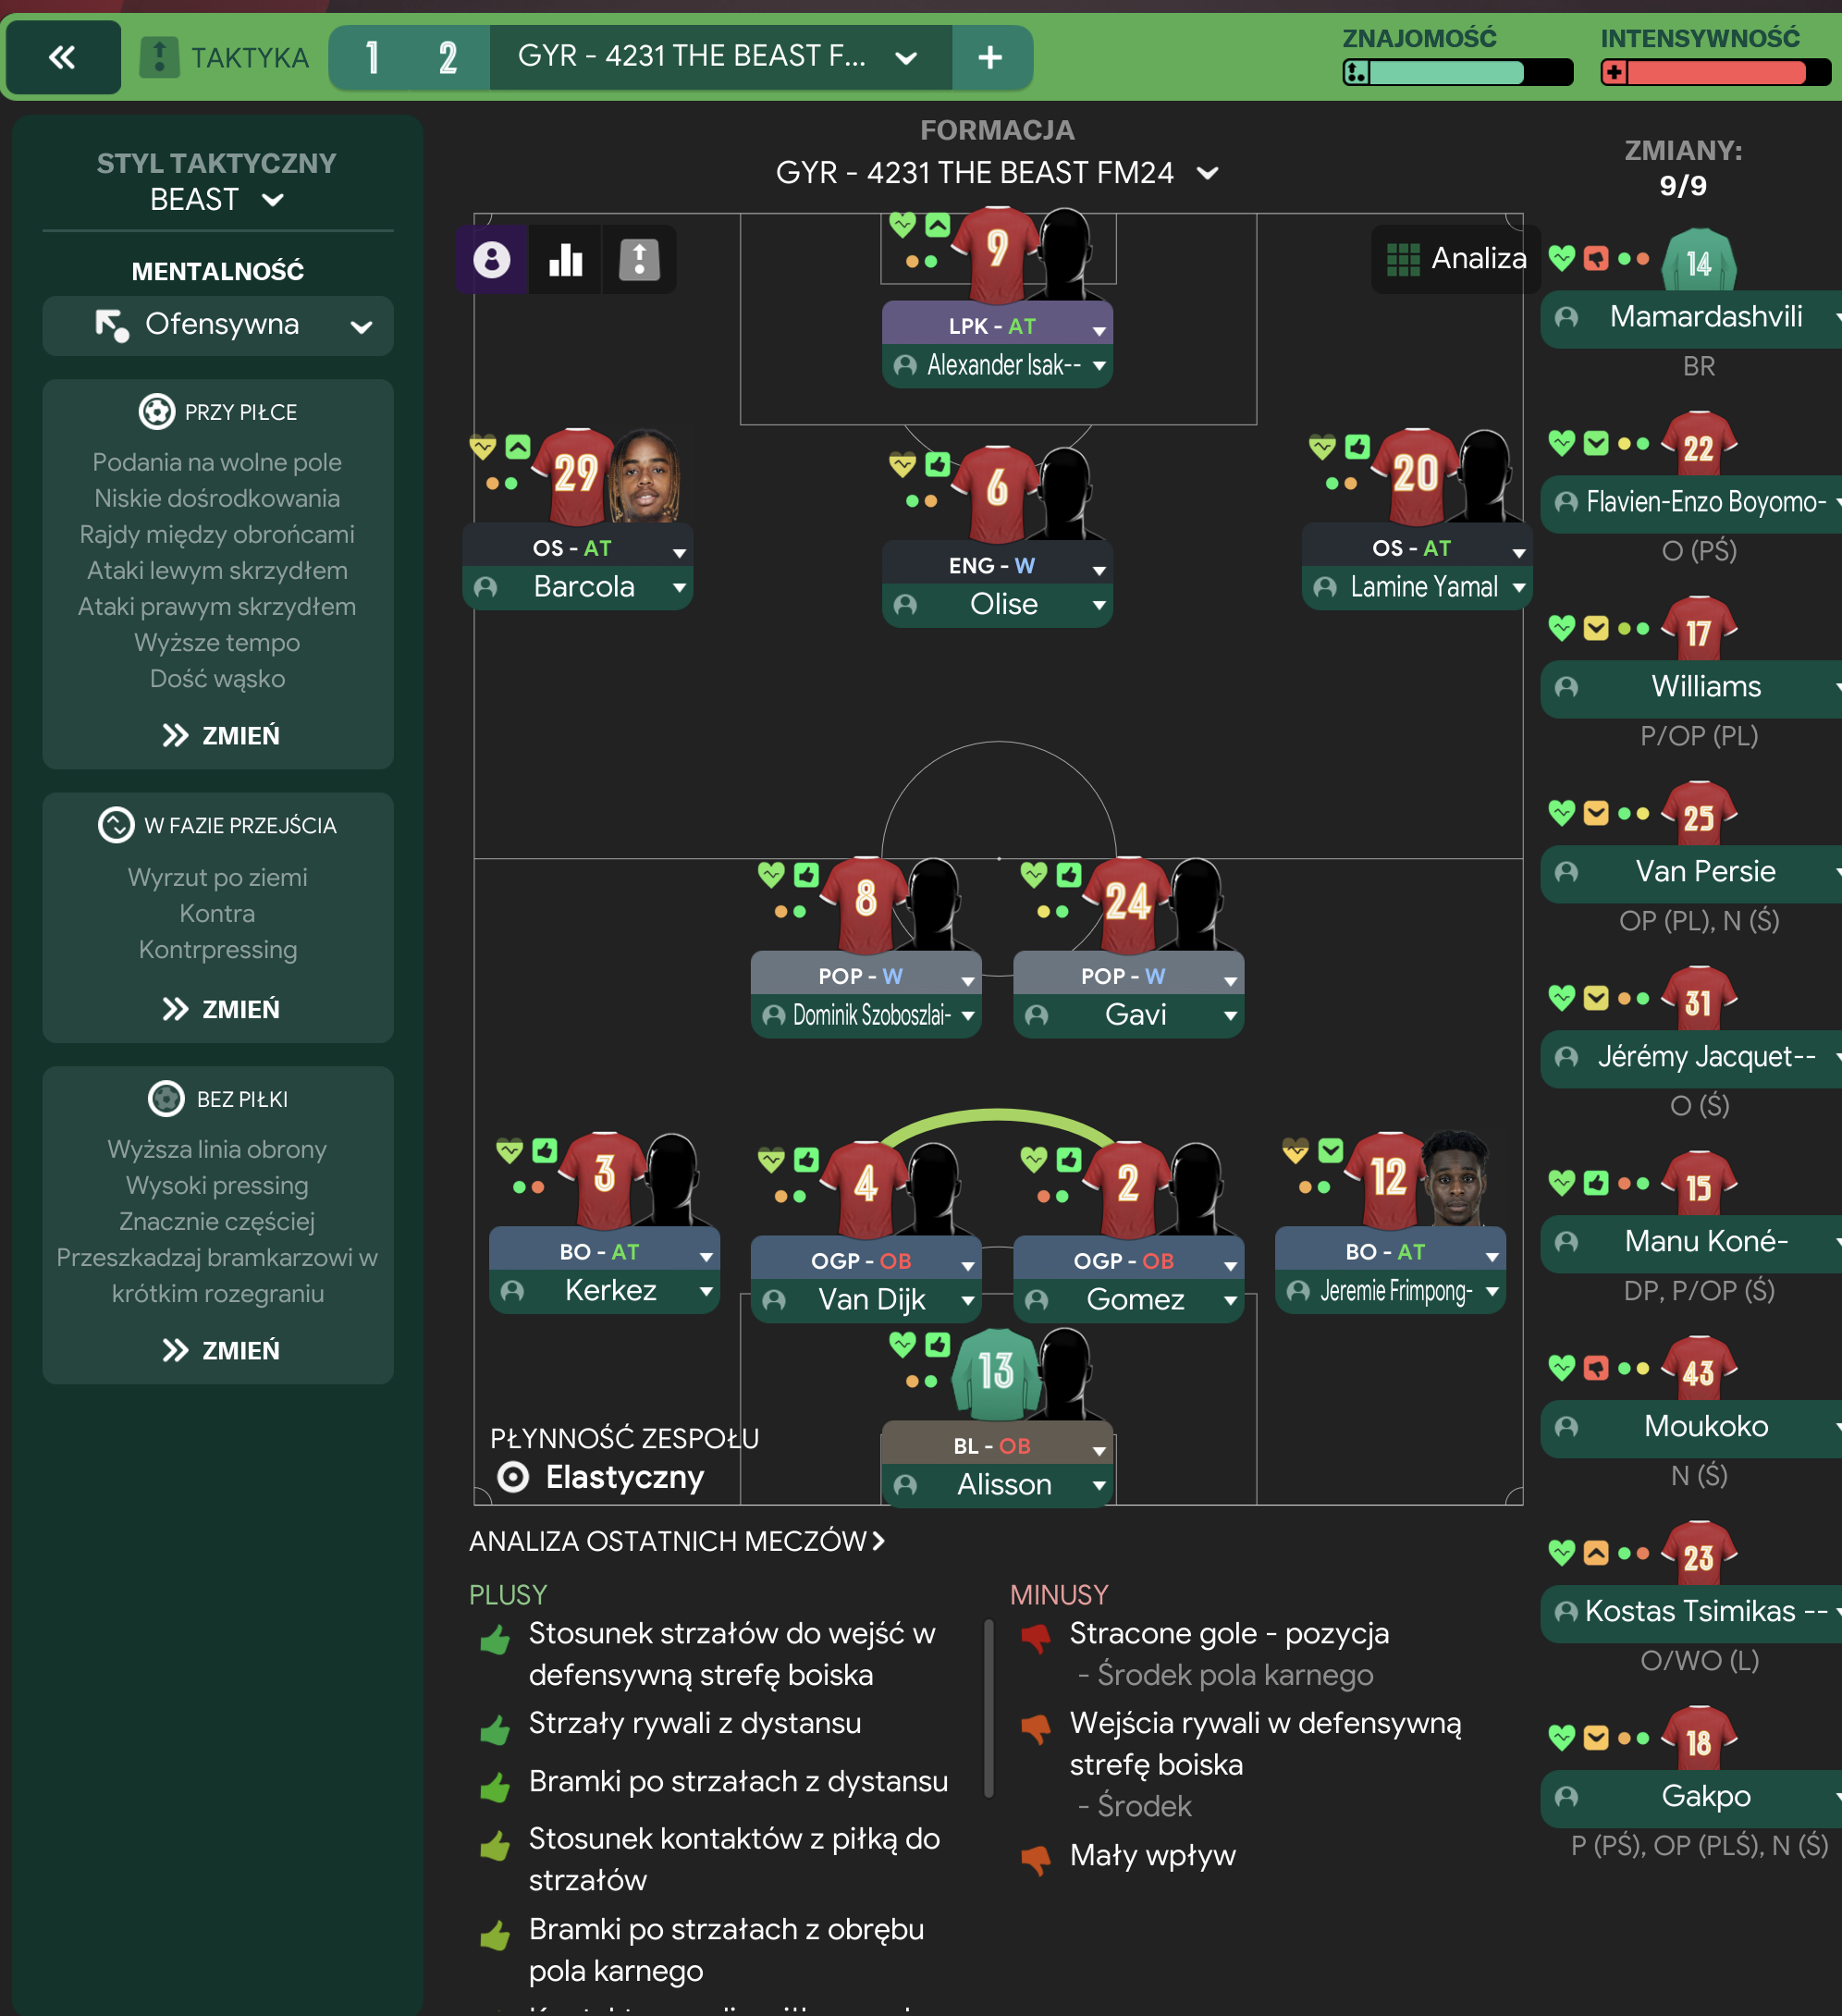
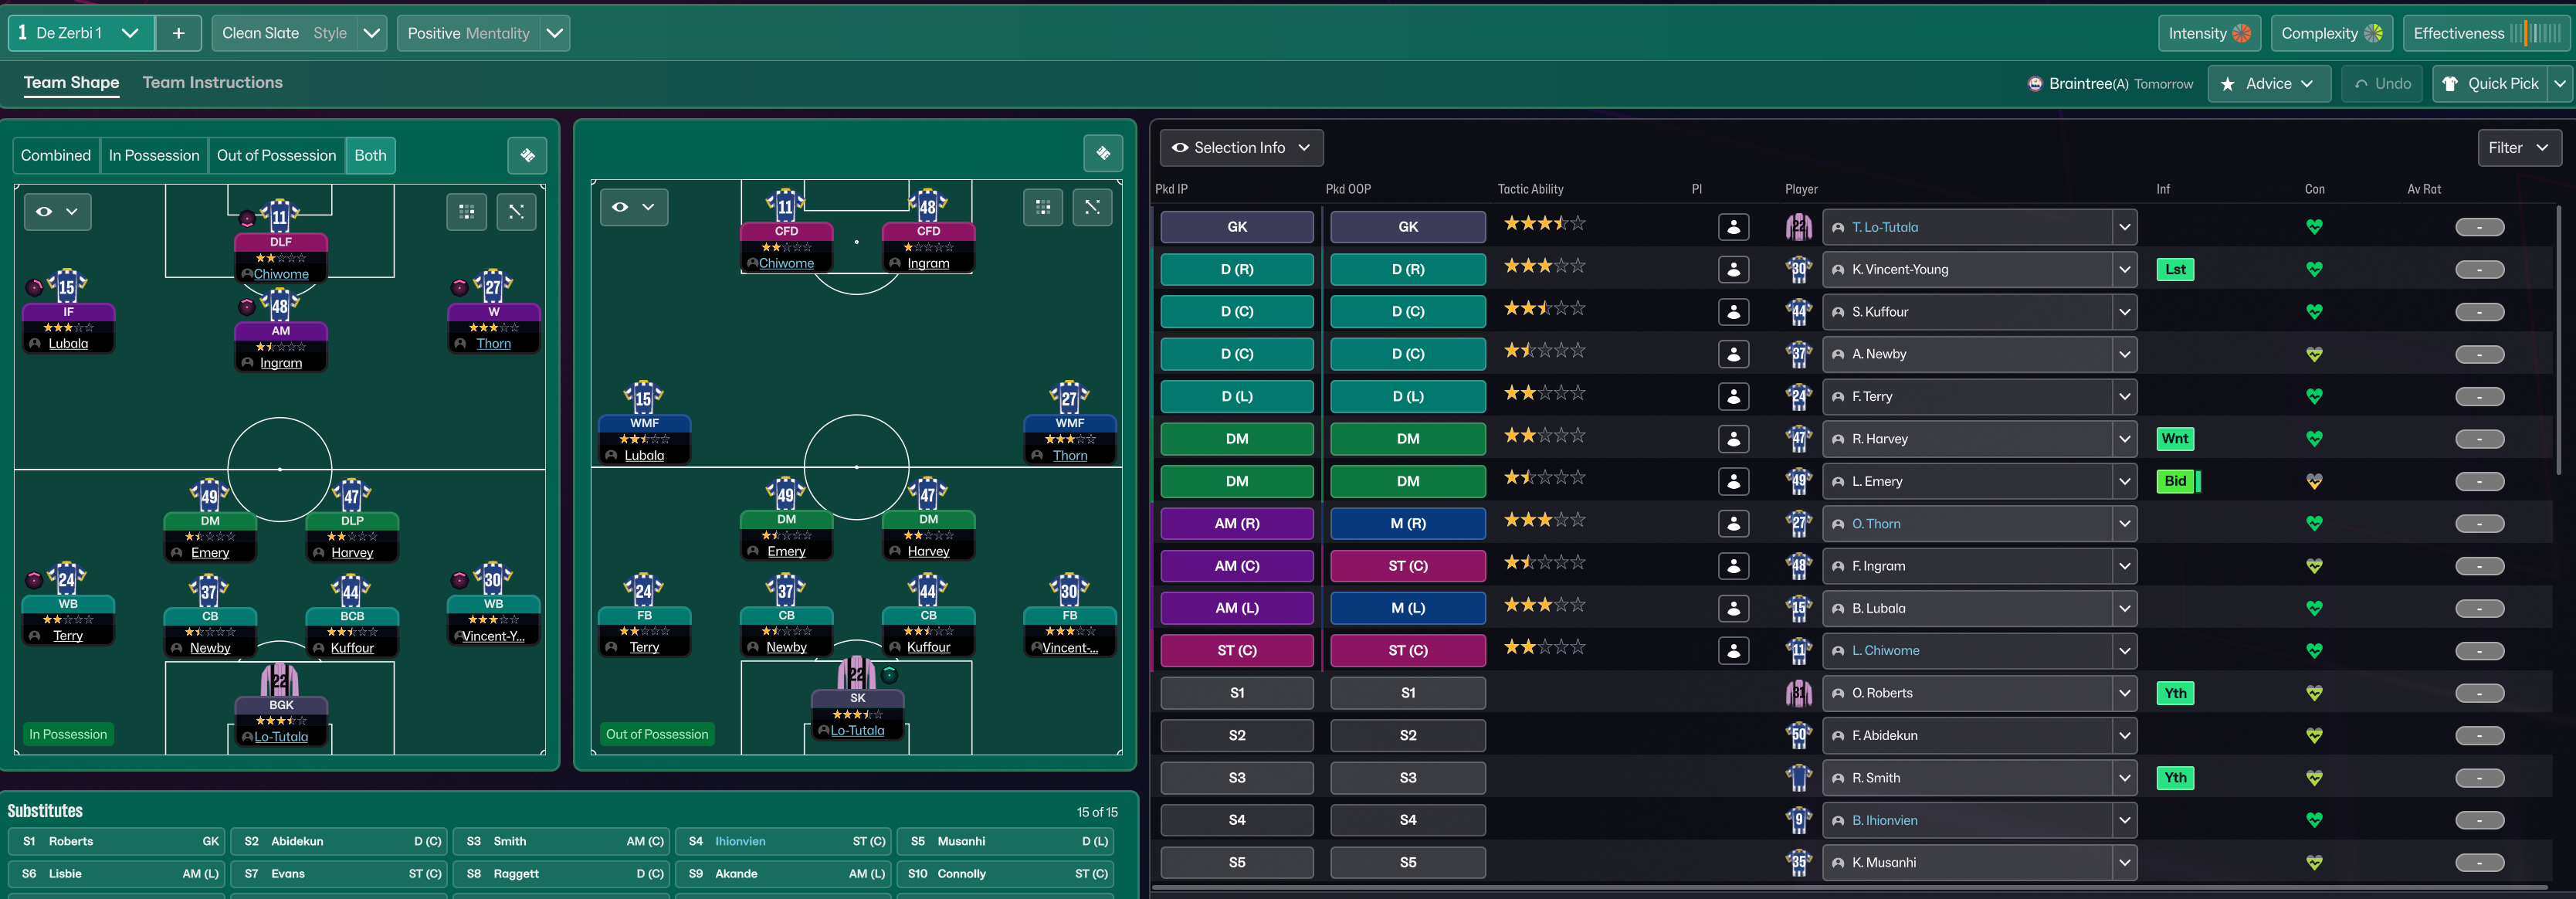
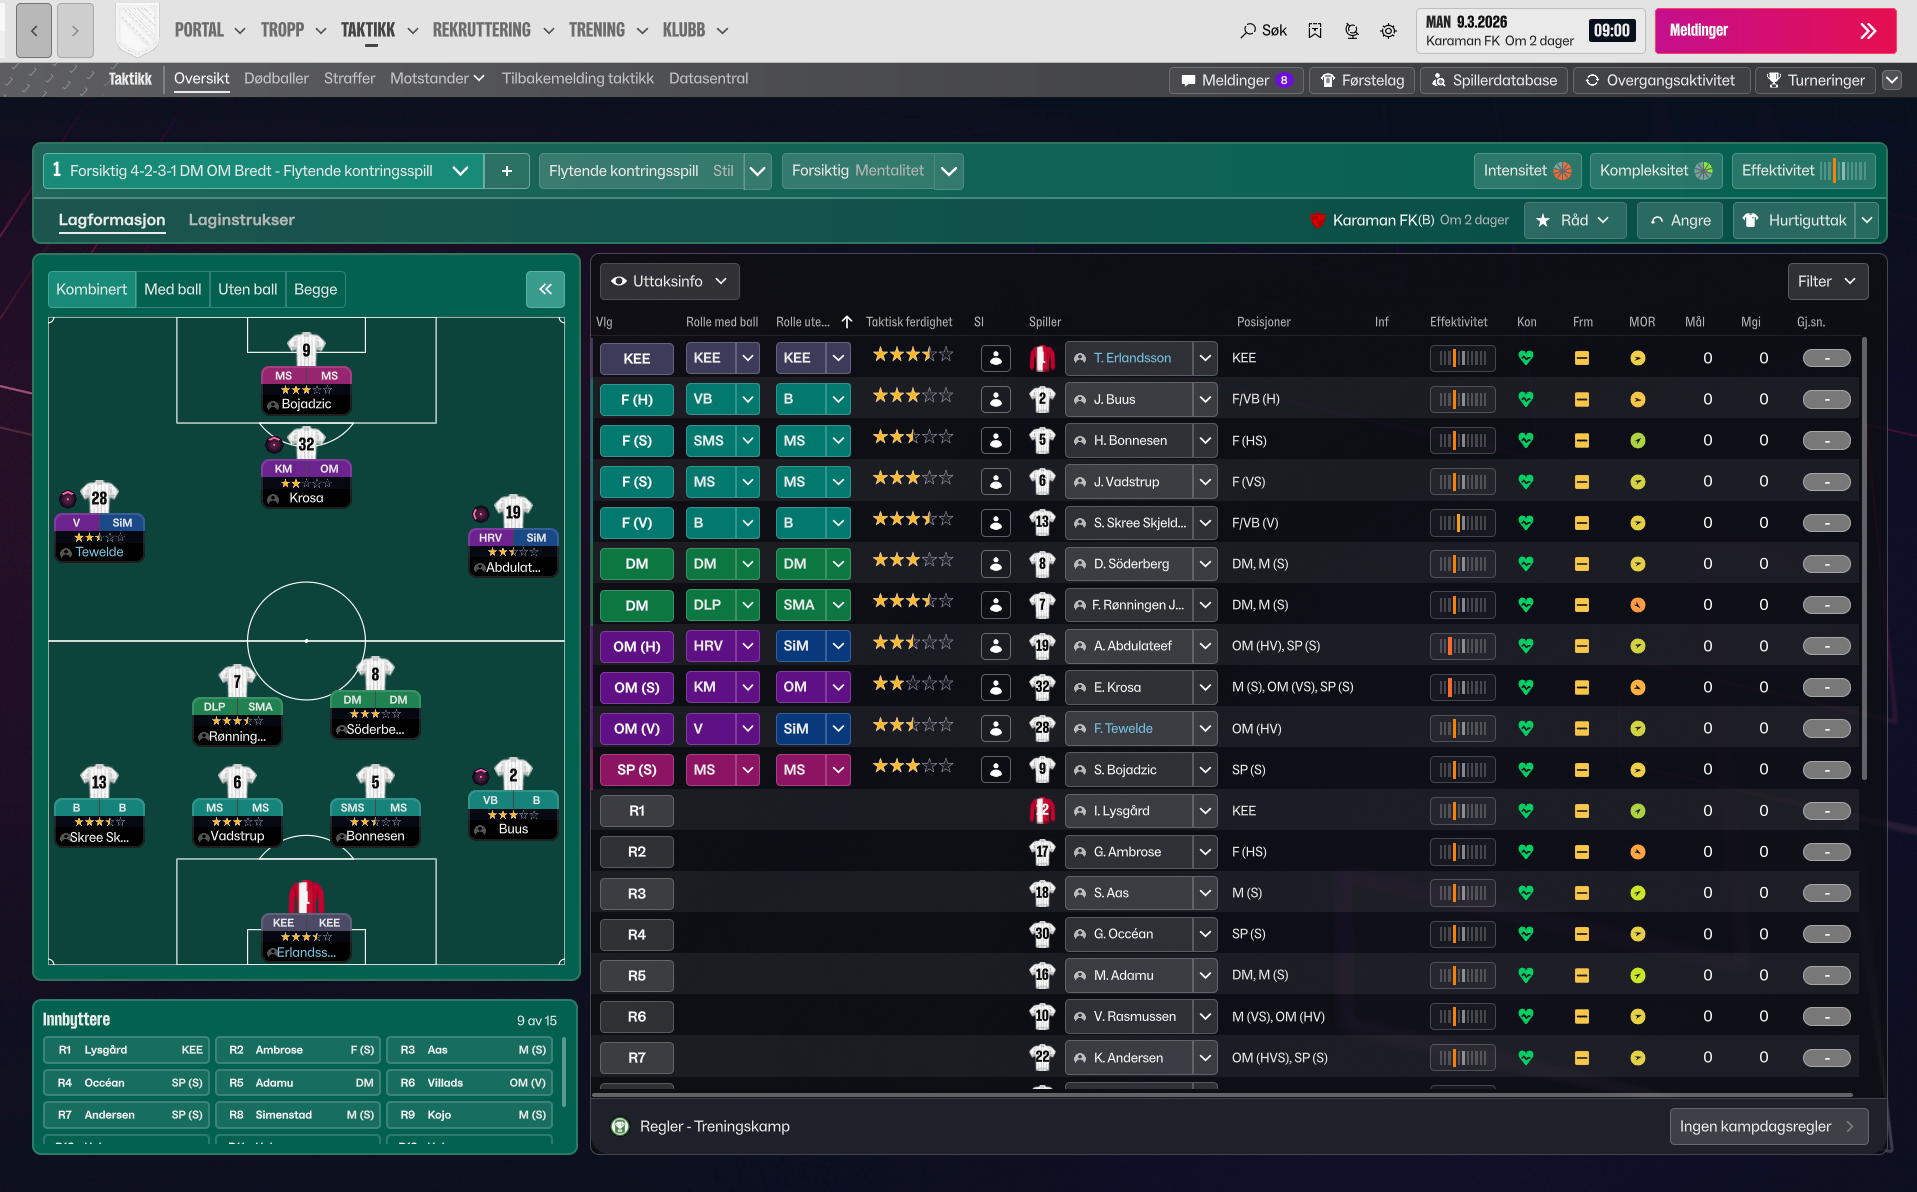
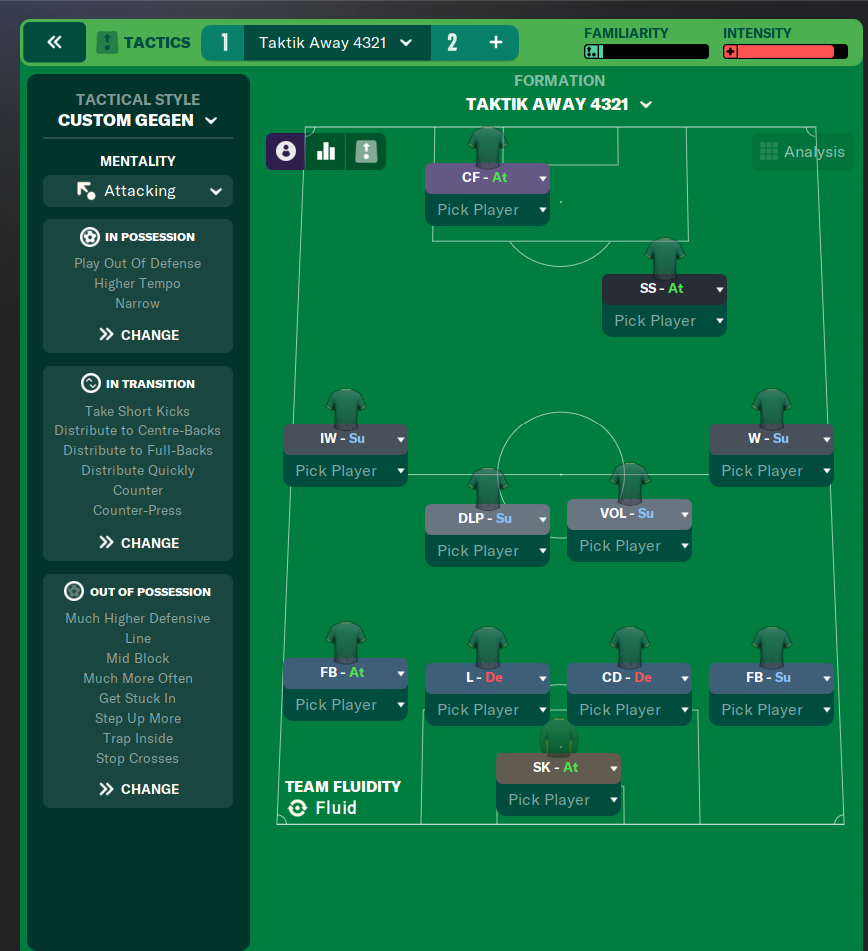
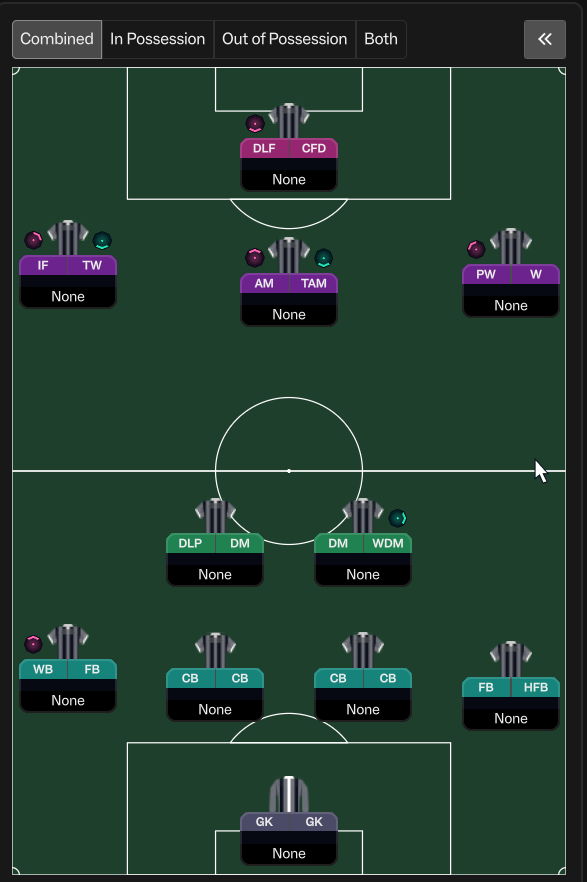
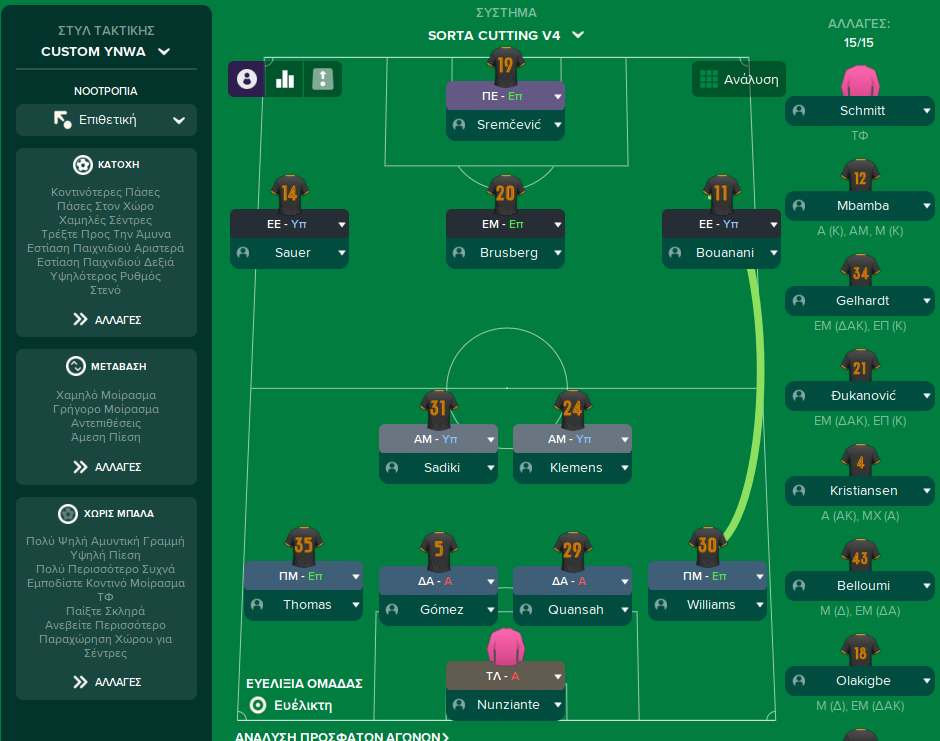
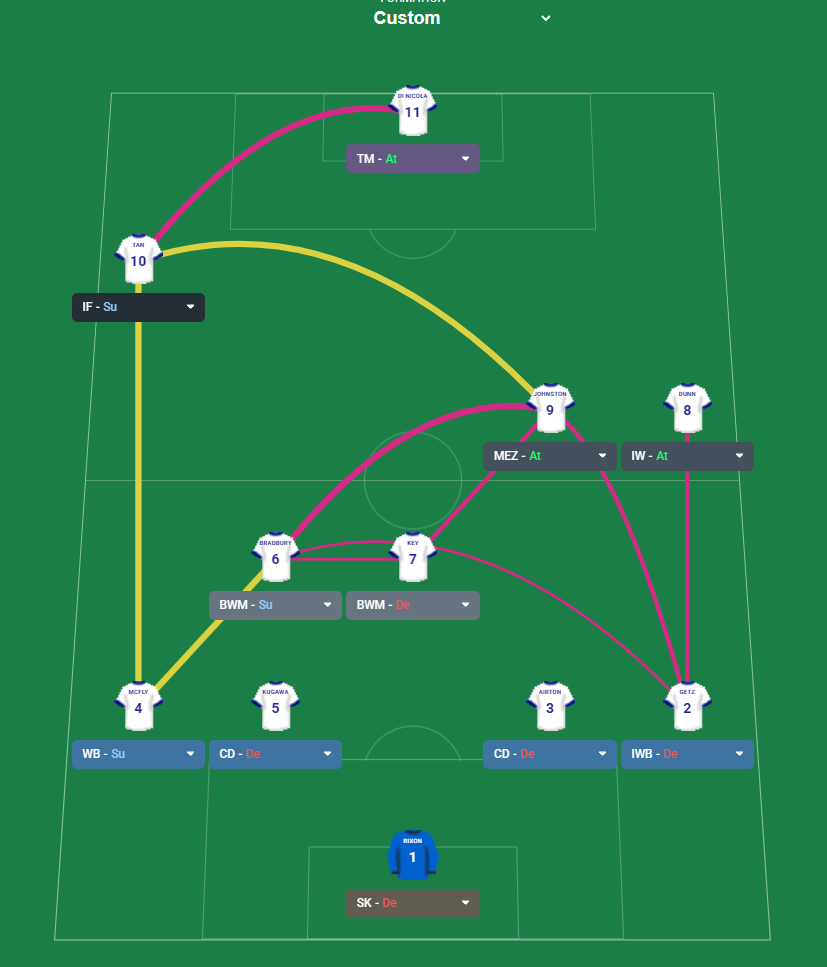
More Gegenpress tactics
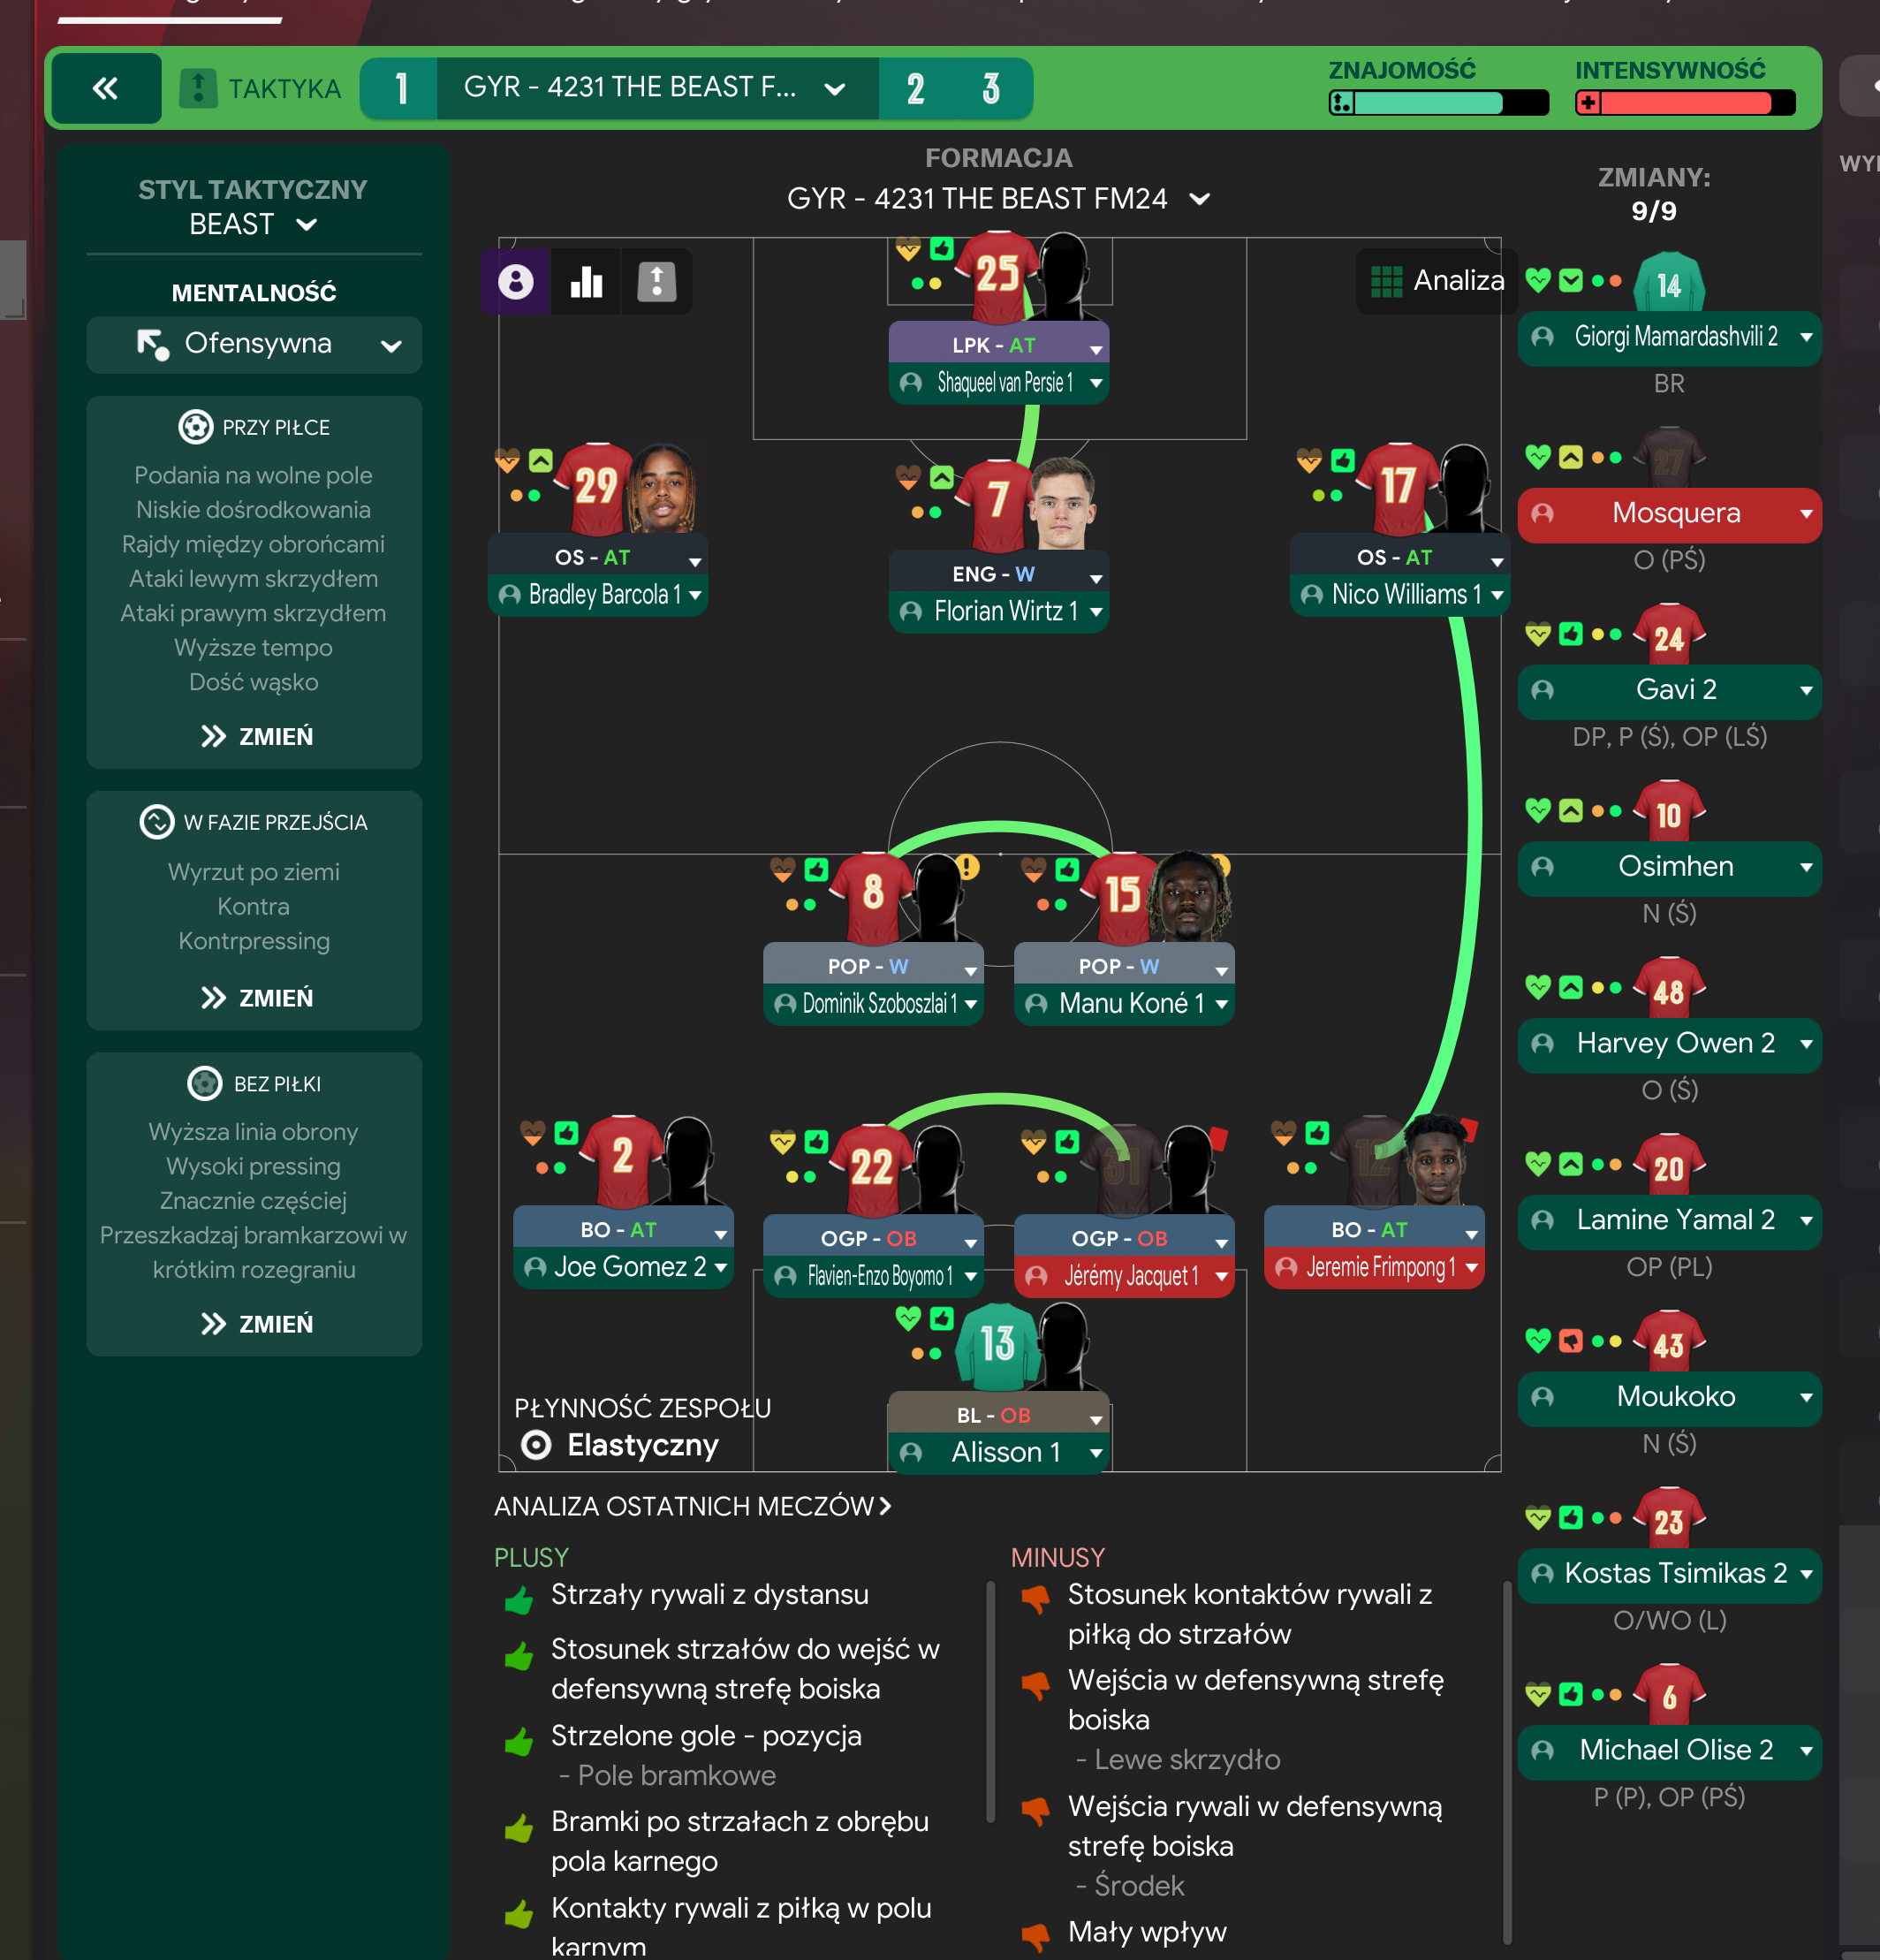
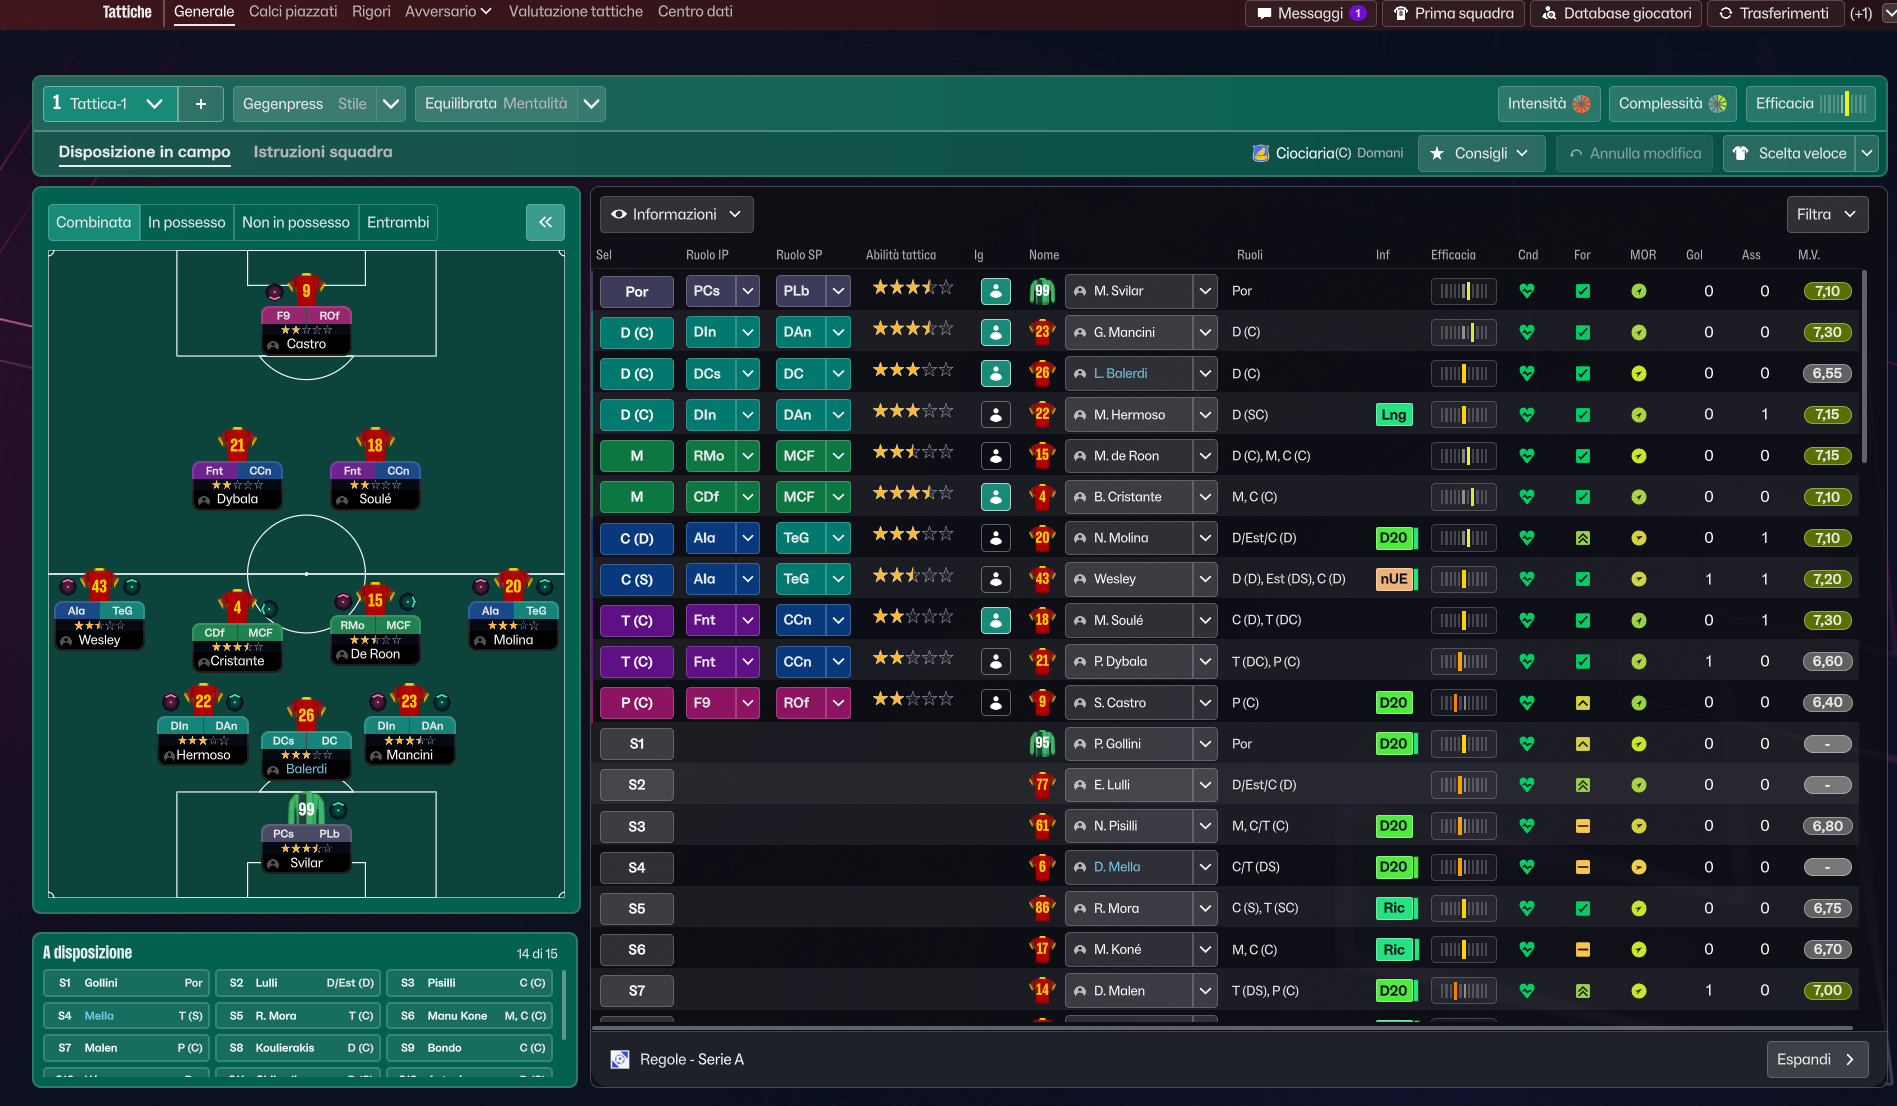
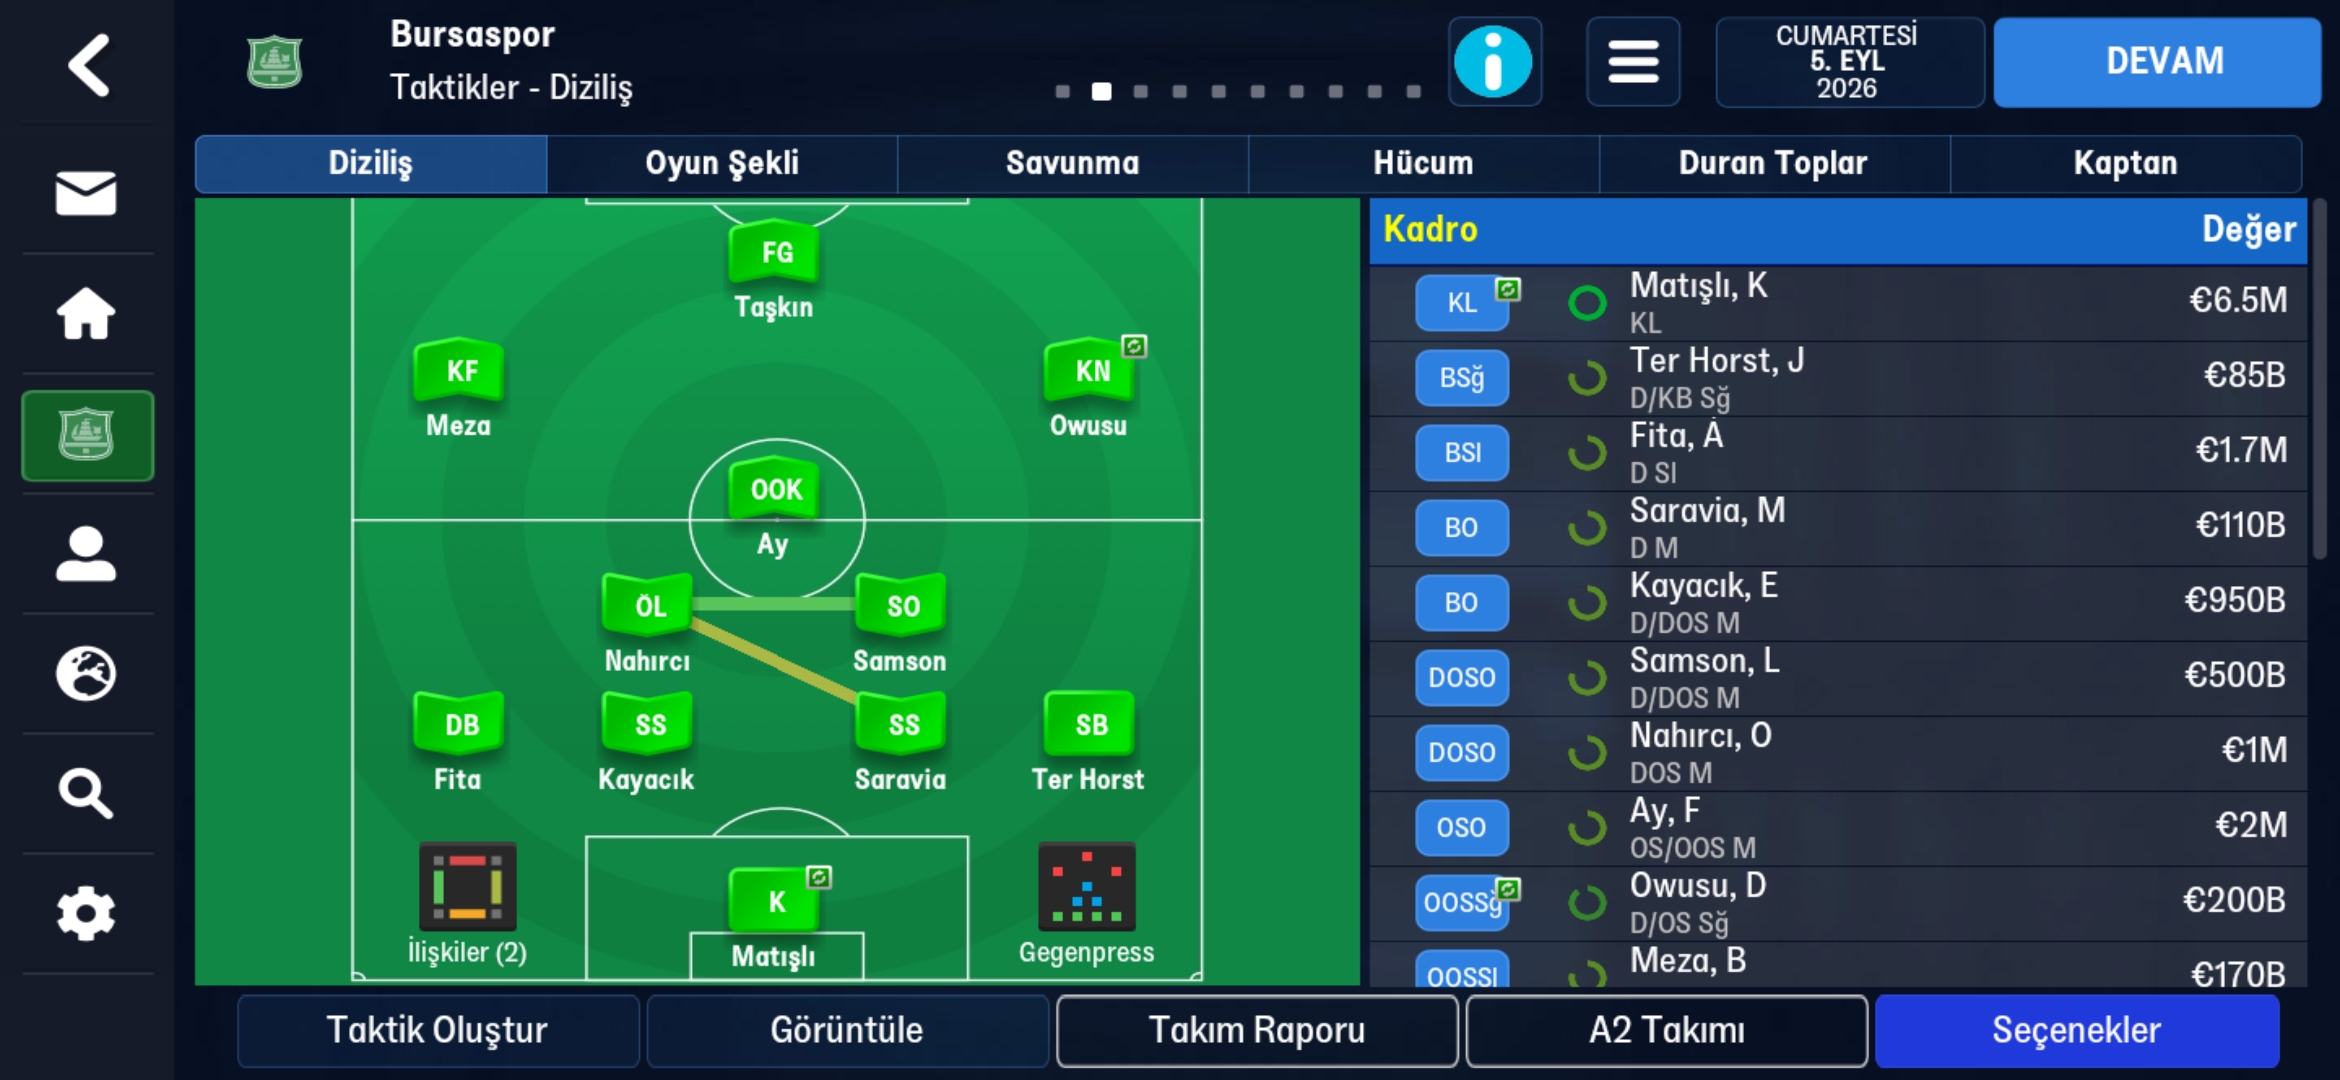
Guides for this tactic
The tactical theory behind the 4-2-3-1: roles, instructions, and the trade-offs that decide whether the system holds up.
Playing styles
Gegenpressing: A Full Guide
Klopp-style gegenpressing in FM, including squad profile, line-and-press pairing, sustainable workload, and the antipatterns to avoid.
Read guide
Player pairings
Midfield Pairs in 4-2-3-1 and 4-4-2
Double pivots and flat pairs in 4-2-3-1 and 4-4-2: when each pairing works, when it collapses, and the AMC unicorn that rescues both.
Read guide
Foundations
Defensive Line and Line of Engagement
The pairing rule for Defensive Line and Line of Engagement, all 9 combinations, and the gap that costs goals.
Read guide