Tiki-Taka 4-2-3-1 (Positive) Tactic
4-2-3-1
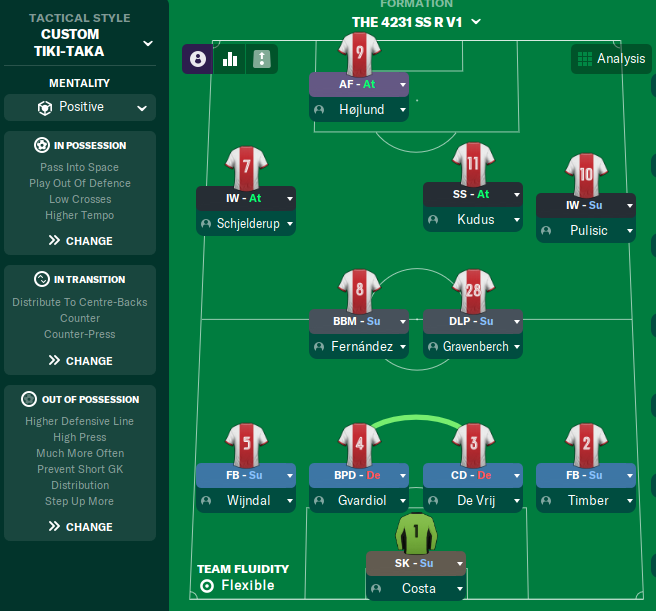
Utilizing width and fast interchanges to break down defensive lines. The combination of AF, IW, and SS roles allows for versatile attacking options.
Loading tactical analysis...
Formation and style
Tiki-Taka
Positive
4-2-3-1
Flexible
In possession
Pass Into Space
Play Out Of Defence
Low Crosses
Higher Tempo
In transition
Distribute To Centre-Backs
Counter
Counter-Press
Out of possession
Higher Defensive Line
High Press
Much More Often
Prevent Short GK Distribution
Step Up More
Player roles
GK
Sweeper Keeper
Support
Defence
Full-Back
Support
Defence
Ball-Playing Defender
Defend
Defence
Centre-Back
Defend
Defence
Full-Back
Support
Midfield
Box-to-Box Midfielder
Support
Midfield
Deep-Lying Playmaker
Support
Attack
Shadow Striker
Attack
Attack
Inside Winger
Attack
Attack
Advanced Forward
Attack
Attack
Inside Winger
Support
Phase description
Focus on short, quick passing to maintain possession and manipulate opposition structure.
Immediate counter-pressing to regain possession upon losing the ball.
Utilizing width and fast interchanges to break down defensive lines.
Team shape defence
4-4-2
Compact structure with players working to maintain proximity and deny spaces.
The use of a higher defensive line and pressing indicates a proactive defensive approach.
Team shape attack
4-2-3-1
Fluid attacking shape with IW and SS looking to provide support to the AF.
The emphasis on low crosses and inside runs enhances the attacking threat.
Key strengths
Dynamic Front Line
The combination of AF, IW, and SS roles allows for versatile attacking options.
Hojlund (AF-A at [6,3]), Schjelderup (IW-A at [6,1]), and Kudus (SS-A at [6,2]).
Midfield Control
Possession is sustained through DLP and BBM roles collaborating effectively.
Gravenberch (DLP-S at [4,3]) and Fernández (BBM-S at [4,2]).
Conflicting tactics
High Press vs. Build-Up Play
Pressing high may leave spaces behind that can be exploited during counter-attacks.
The combination of 'High Press' with a 'Higher Defensive Line' could risk backline exposure.
Tempo vs. Patient Play
A higher tempo may conflict with Tiki-Taka's essence of maintaining possession.
Higher tempo instruction may lead to rushed decisions when holding possession is key.
Risk exposures
Risk Exposures
Items
Defensive Transitions
Quick transitions by opponents may exploit spaces behind the full-backs.
High pressing with full-backs positioned higher creates vulnerabilities.
Isolation of Back Three
Aggressive pressing can leave the BPD and CB isolated if the first press fails.
With a BPD (Gvardiol) focused on carrying the ball, counters may catch defenders off guard.
Role synergies
Role Synergies
Items
Kudus (SS) and Hojlund (AF)
Complementary roles that support each other in goal-scoring scenarios.
Kudus as a Shadow Striker brings creativity and runs into the box, aiding the AF.
Gravenberch (DLP) and Fernández (BBM)
DLP supports and dictates play while BBM creates advanced runs.
This combination provides control and transition options effectively.
Suggested questions
How to balance pressing intensity with defensive stability?
What adjustments can optimize the midfield structure?
How can attacking fluidity be enhanced further?
Related Tactics
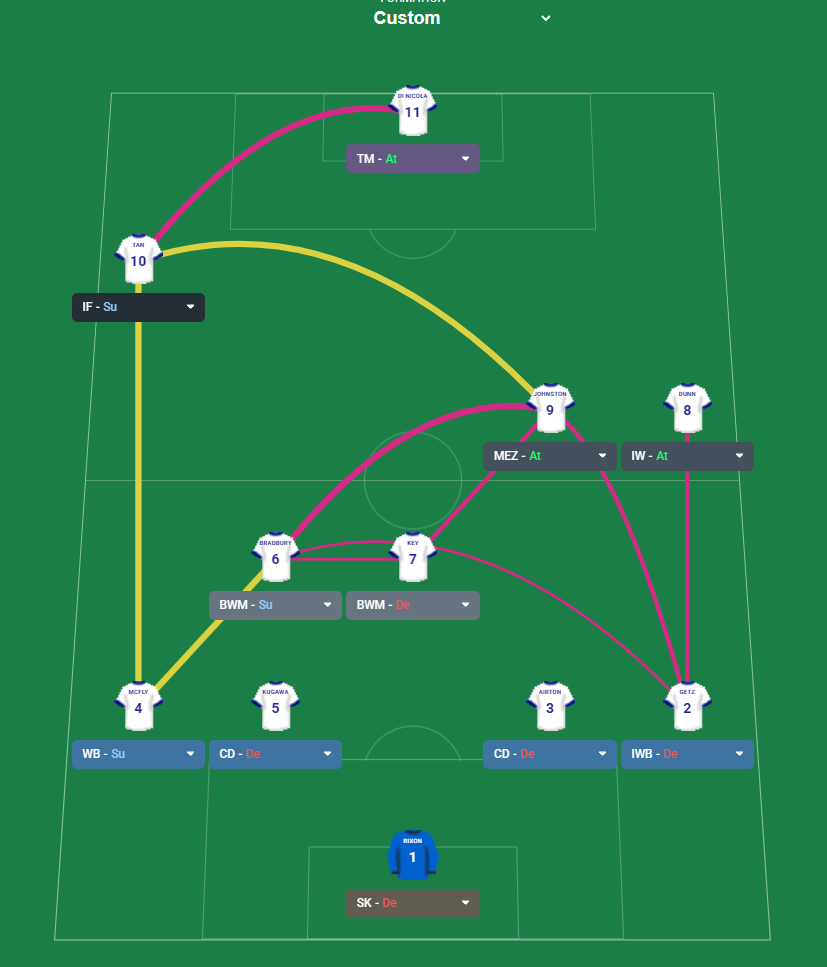
More Tiki-Taka tactics
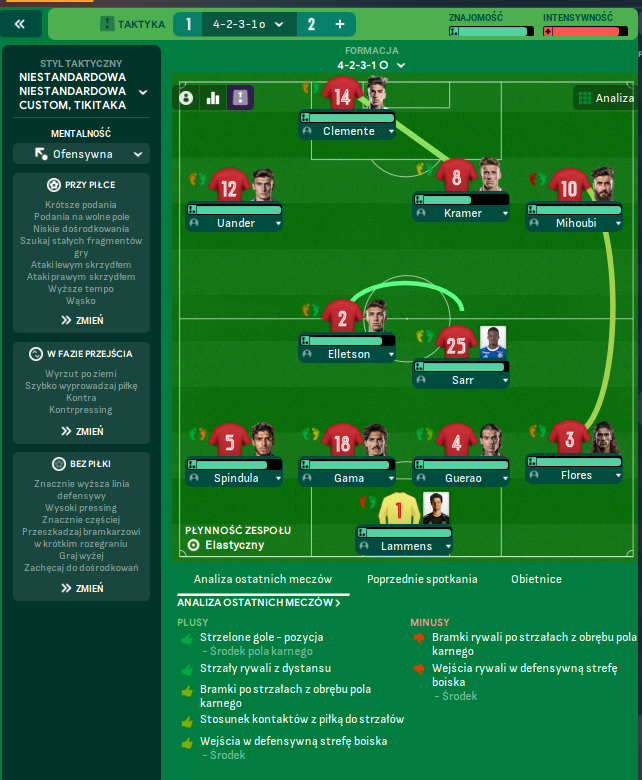
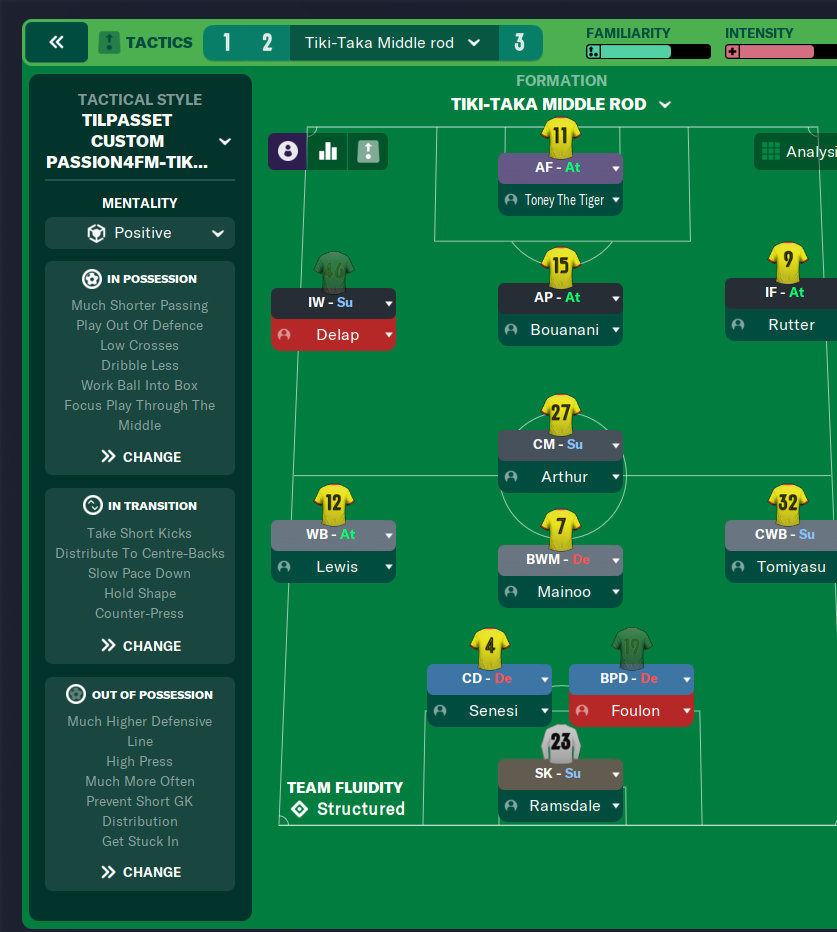
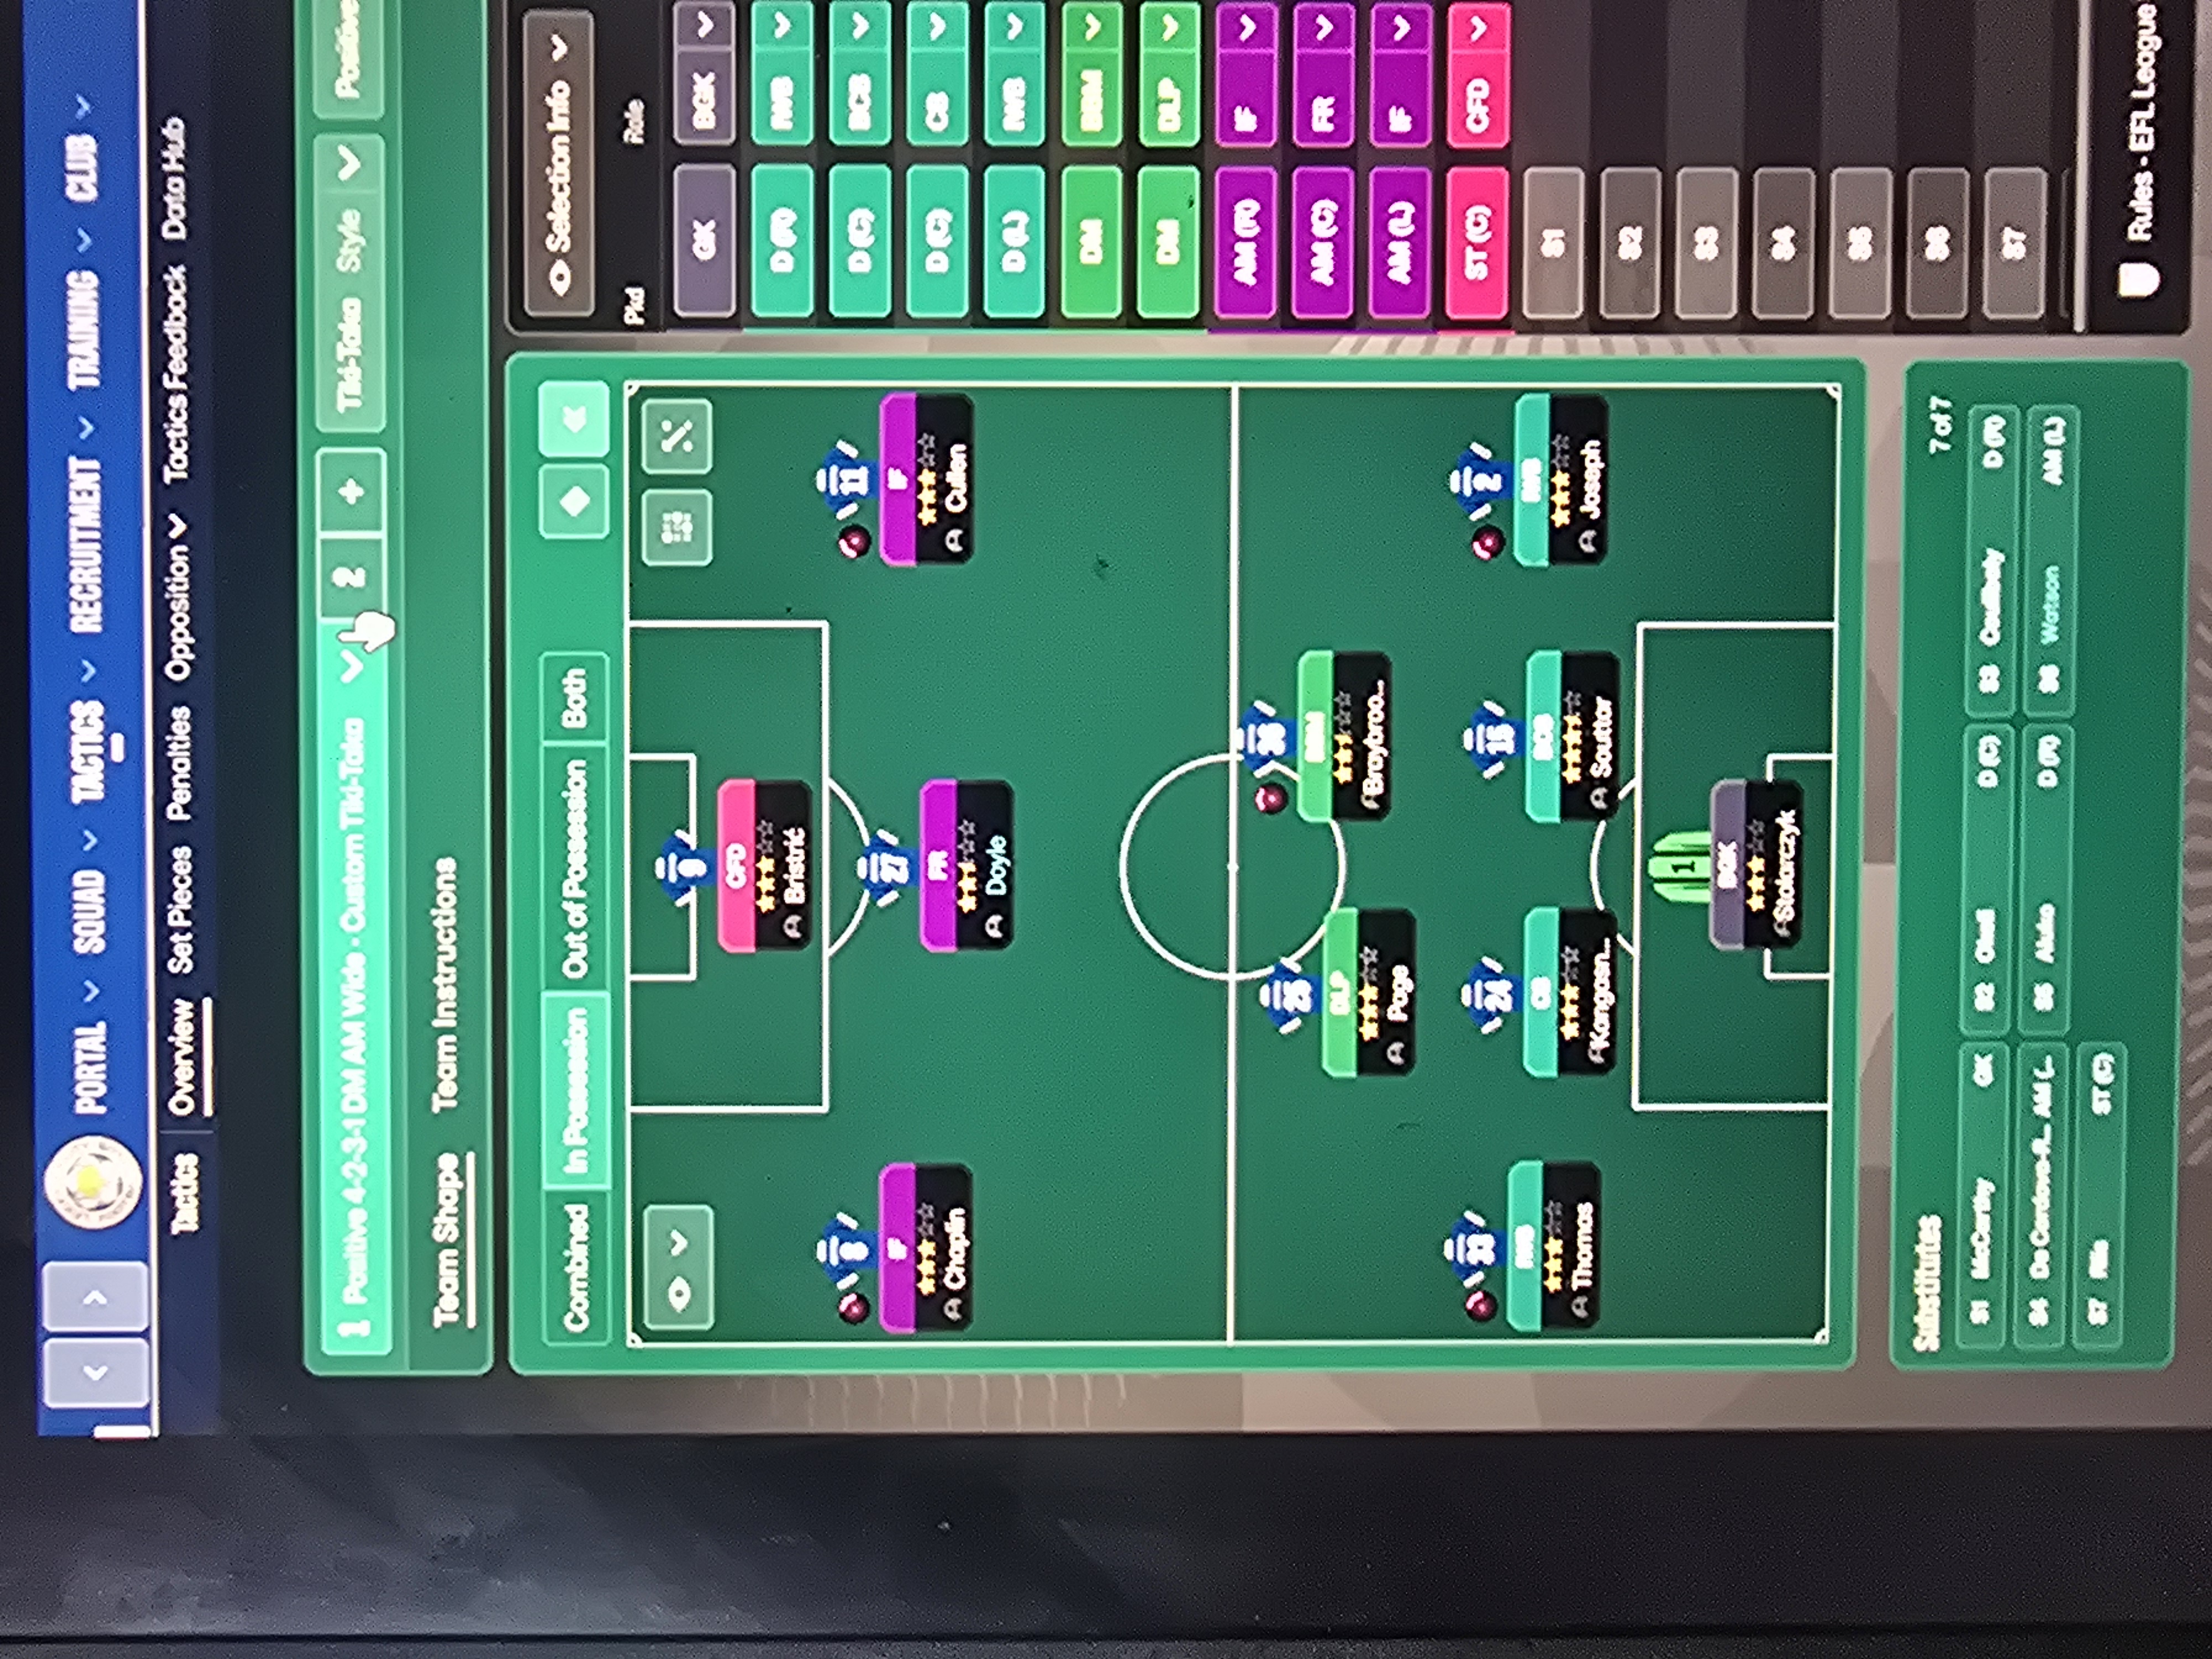
Guides for this tactic
The tactical theory behind the 4-2-3-1: roles, instructions, and the trade-offs that decide whether the system holds up.
Player pairings
Midfield Pairs in 4-2-3-1 and 4-4-2
Double pivots and flat pairs in 4-2-3-1 and 4-4-2: when each pairing works, when it collapses, and the AMC unicorn that rescues both.
Read guide
Playing styles
Gegenpressing: A Full Guide
Klopp-style gegenpressing in FM, including squad profile, line-and-press pairing, sustainable workload, and the antipatterns to avoid.
Read guide
Foundations
Defensive Line and Line of Engagement
The pairing rule for Defensive Line and Line of Engagement, all 9 combinations, and the gap that costs goals.
Read guide