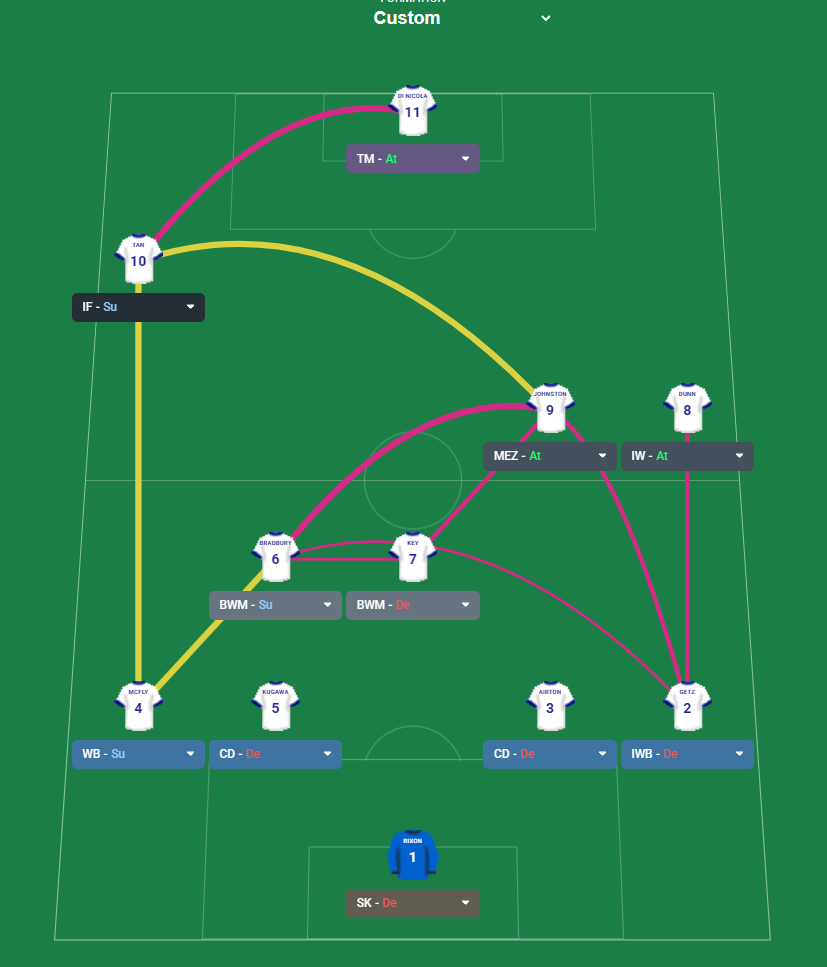
Vertical Tiki-Taka 4-2-3-1 (Positive) Tactic
4-2-3-1
Maintain possession while transitioning quickly into offensive situations. Utilizes both central and wide channels, with players capable of running at…
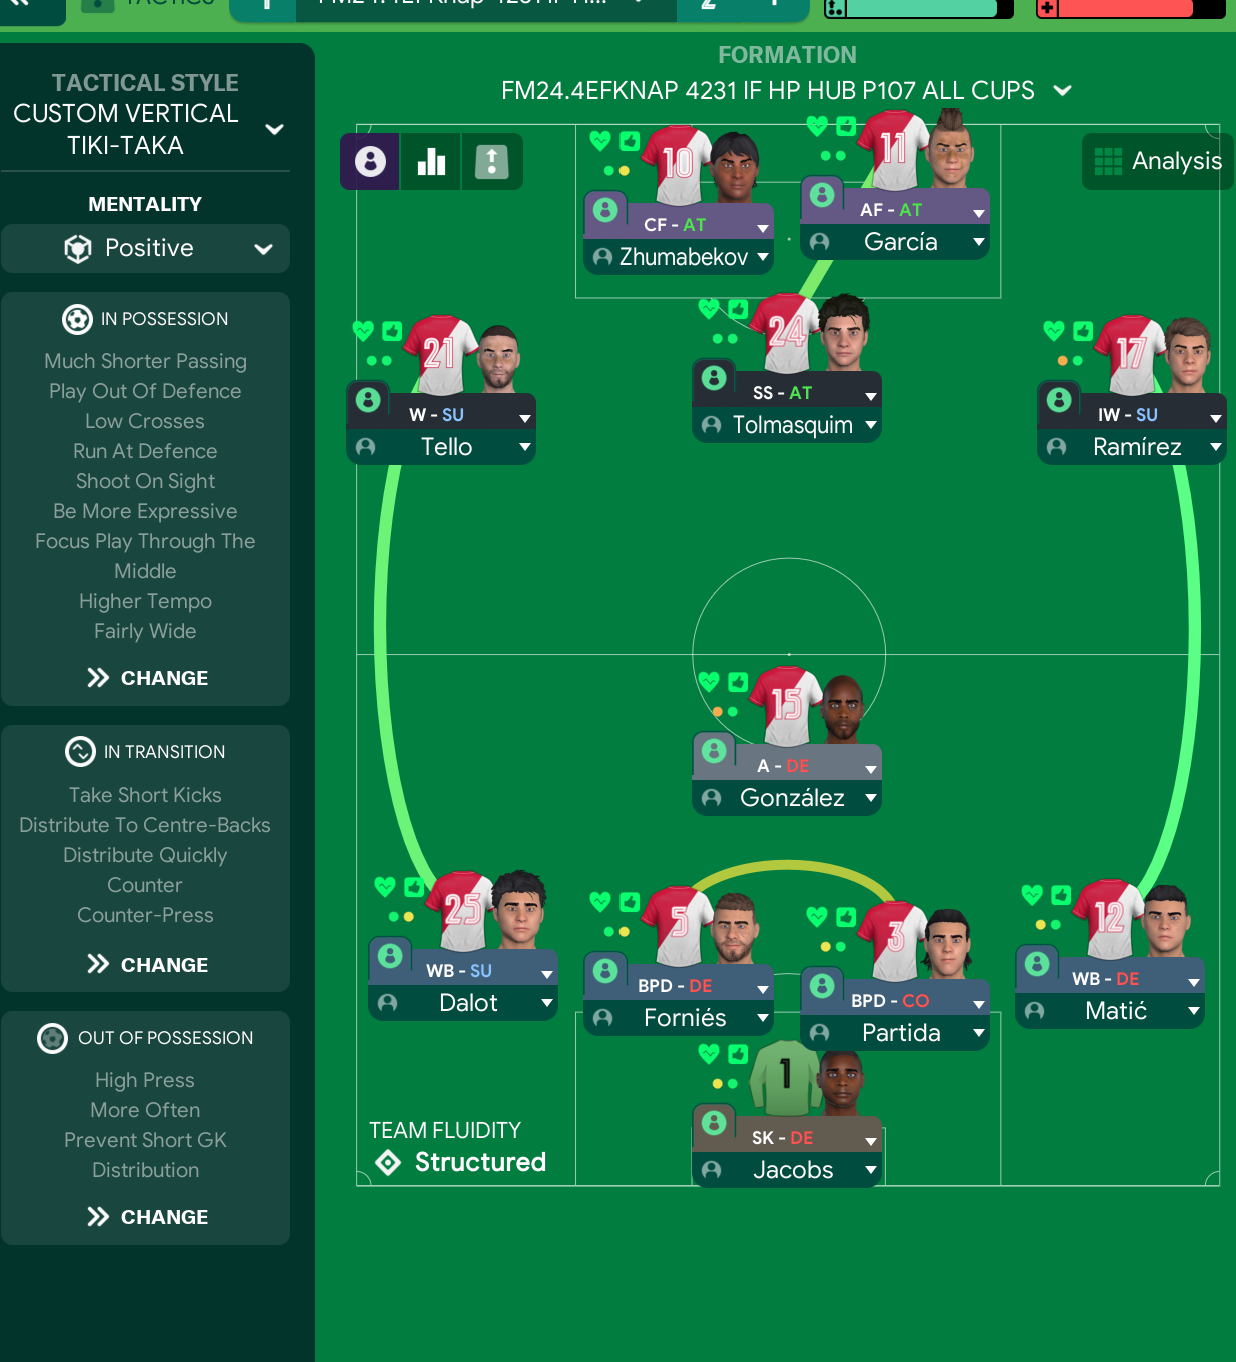
Loading tactical analysis...
Formation and style
Custom Vertical Tiki-Taka
Positive
4-2-3-1
Structured
In possession
Much Shorter Passing
Play Out Of Defence
Low Crosses
Run At Defence
Shoot On Sight
Be More Expressive
Focus Play Through The Middle
Higher Tempo
Fairly Wide
In transition
Take Short Kicks
Distribute To Centre-Backs
Distribute Quickly
Counter
Counter-Press
Out of possession
High Press
More Often
Prevent Short GK Distribution
Player roles
GK
Sweeper Keeper
Defend
CB
Ball-Playing Defender
Defend
CB
Ball-Playing Defender
Defend
CB
Ball-Playing Defender
Defend
LB
Wing-Back
Support
RB
Wing-Back
Support
DM
Anchor
Defend
CM
Advanced Playmaker
Attack
AM
Shadow Striker
Support
RW
Inside Forward
Support
LW
Inside Forward
Attack
CF
Complete Forward
Attack
Phase description
Fluid and dynamic with an emphasis on movement and quick passing. Focus on exploiting spaces through low crosses and runs at defensive lines.
Immediate pressing and a quick recovery phase after losing the ball, with short passes to maintain possession.
Maintain possession while transitioning quickly into offensive situations.
Team shape defence
Compact Block
The team retains a compact shape, placing pressure to regain the ball efficiently.
High Press and Counter-Press instructions combined with three central defenders.
Team shape attack
Fluid Offensive Structure
Utilizes width provided by wing-backs with a central pivot to dictate play.
Inside forwards and shadow striker position themselves to create goal-scoring opportunities.
Key strengths
Dynamic Attack
Utilizes both central and wide channels, with players capable of running at defenders.
Inside Forwards (Ramirez & Tello) and Advanced Playmaker (González) create opportunities through runs and precise passing.
Defensive Solidity
Strong defensive line with three Ball-Playing Defenders supported by an Anchor.
The defensive setup allows for ball recovery and distribution to advance play.
Conflicting tactics
Potential Overexertion
High pressing coupled with a higher tempo may lead to physical exhaustion over time.
The High Press strategy and Higher Tempo instructions could wear out players, especially wingers.
Midfield Overlap Risks
With an advanced midfielder and inner-focused wingers, midfield pressure may break down.
If both Inside Forwards drift in, it may create gaps in central midfield during transitions.
Risk exposures
Risk Exposures
Items
Defense
Potential gaps left behind during attacking phases may be exploited by quick counter-attackers.
The high pressing strategy combined with advanced attacking duties positions defenders further upfield.
Midfield
Central midfield may get overloaded if wingers do not track back effectively.
There’s a reliance on the Anchor (González) when both Inside Forwards focus on attack.
Role synergies
Role Synergies
Items
Ball-Playing Defenders and Wing-Backs
Allow for effective build-up through player interchange and stretching the opposition.
The Wing-Backs (Dalot & Matic) will support the build-up alongside BPDs (Forniés, Parteida).
Shadow Striker and Complete Forward
Creates attacking combinations that exploit defensive lapses.
The interplay between García and Tolmasquim is emphasized by their roles allowing fluid movement.
Suggested questions
How can we improve defensive stability during transitions?
What strategies should be implemented against teams that exploit counters?
Is player rotation sufficient to manage fatigue throughout the season?
Related Tactics
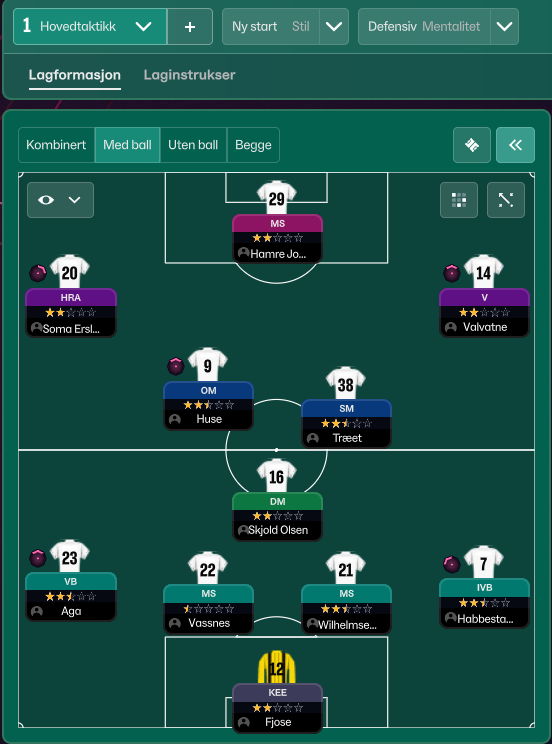
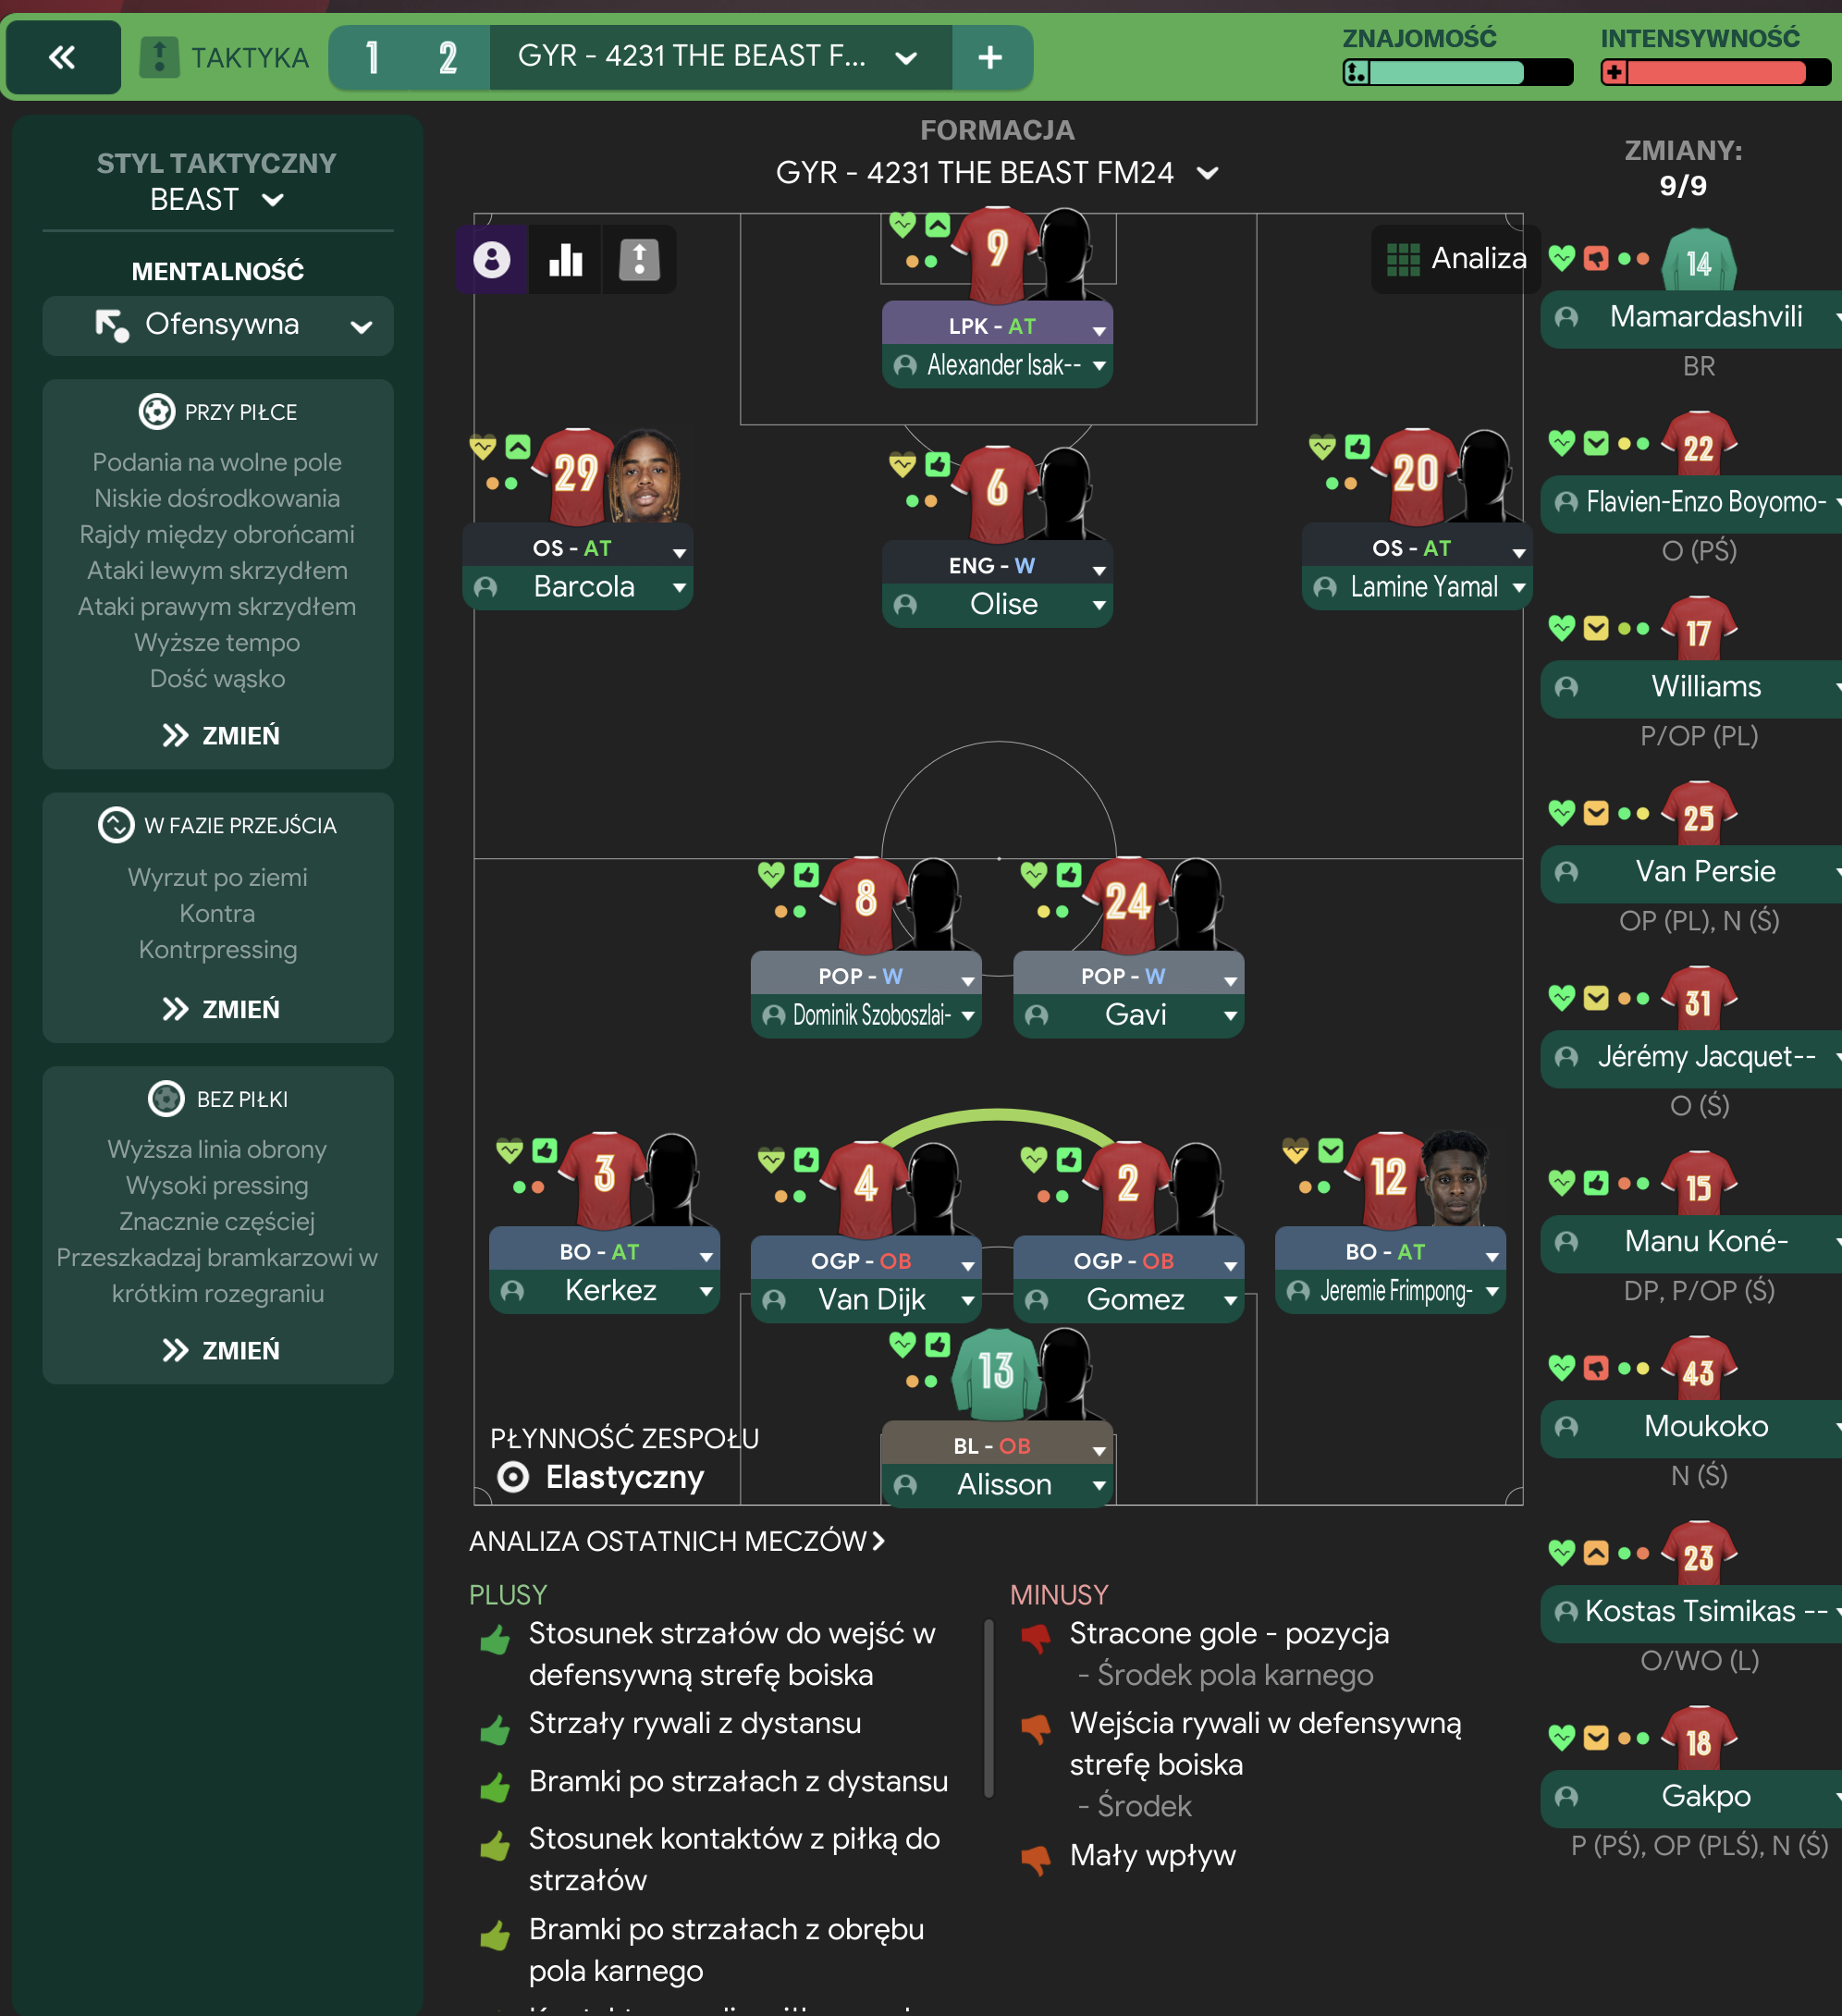
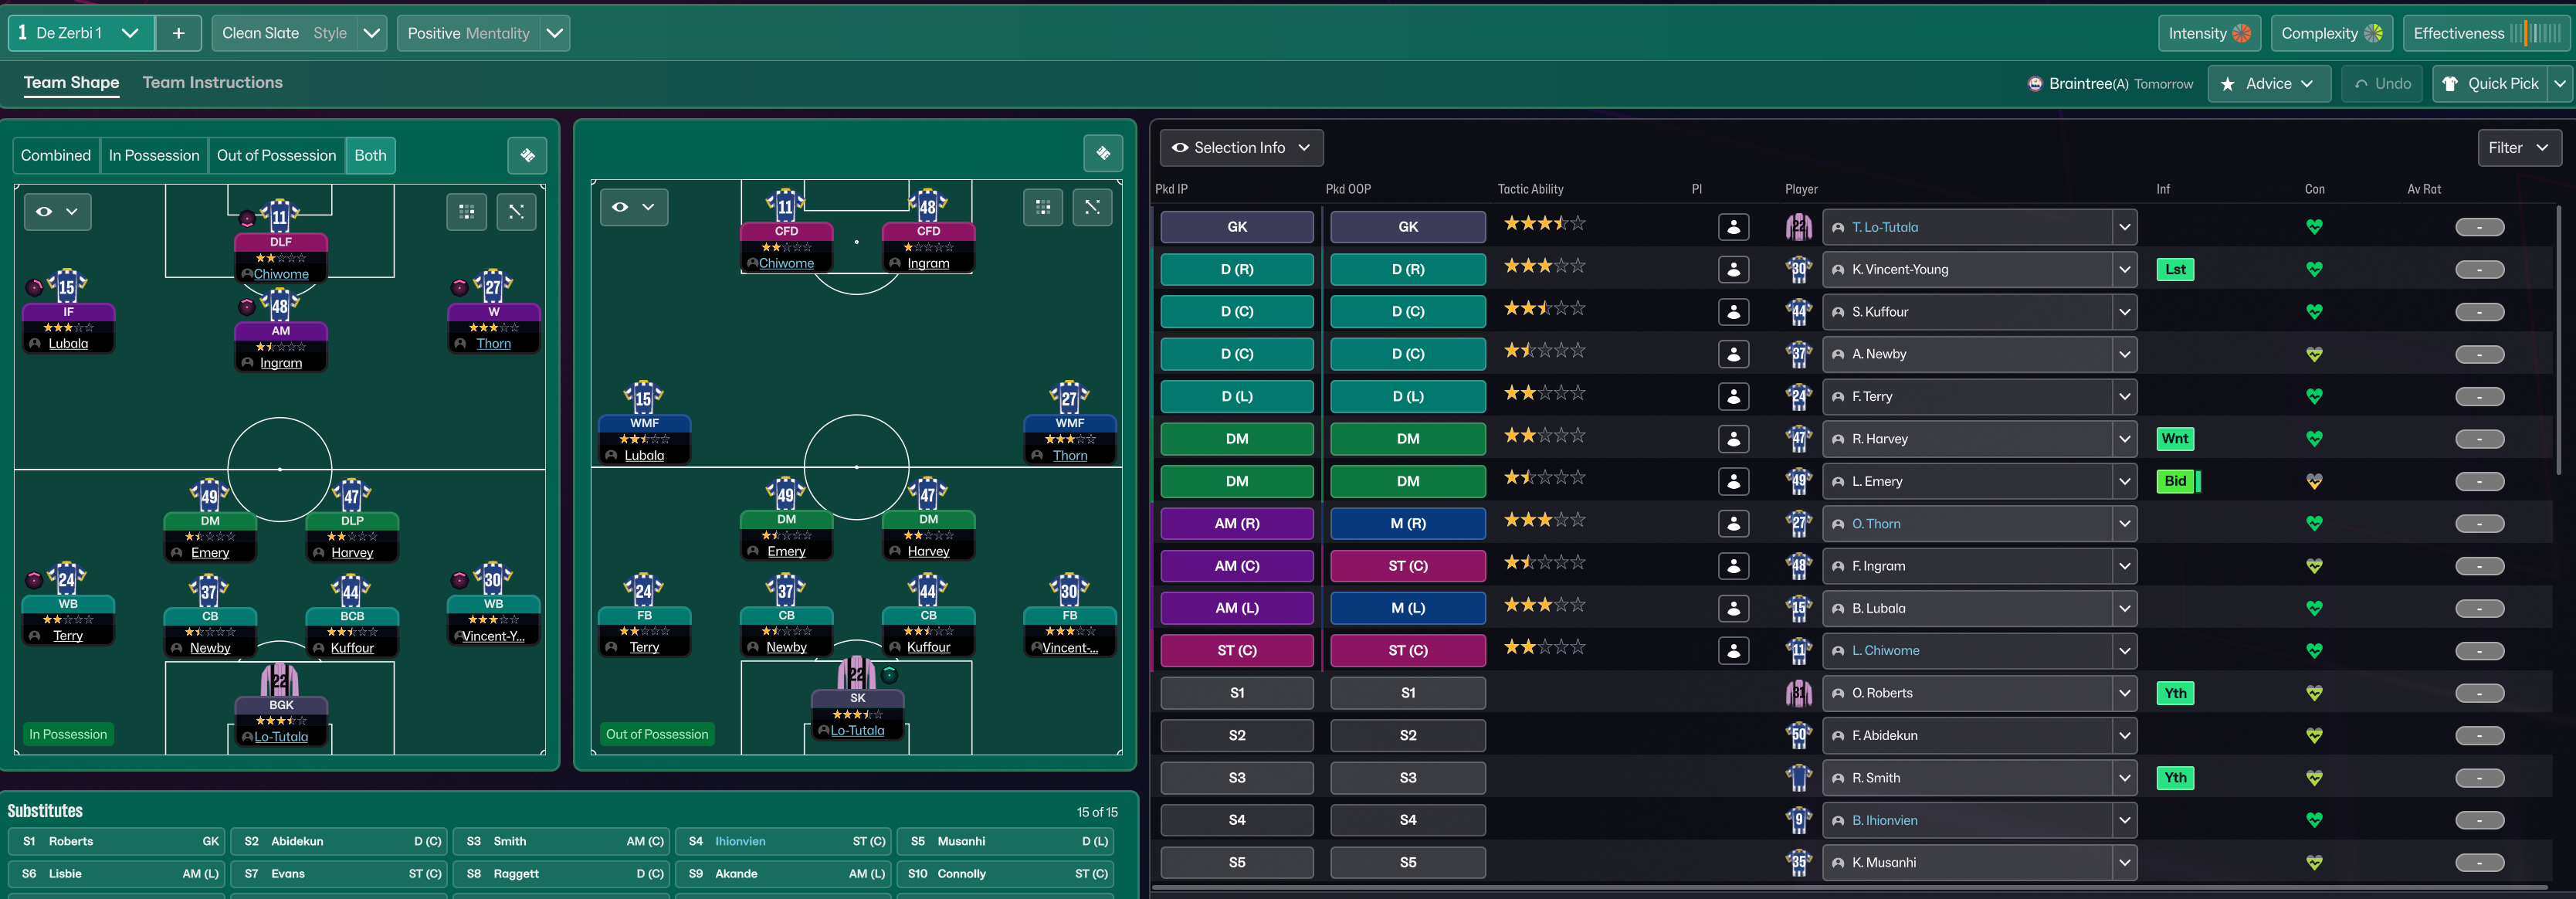
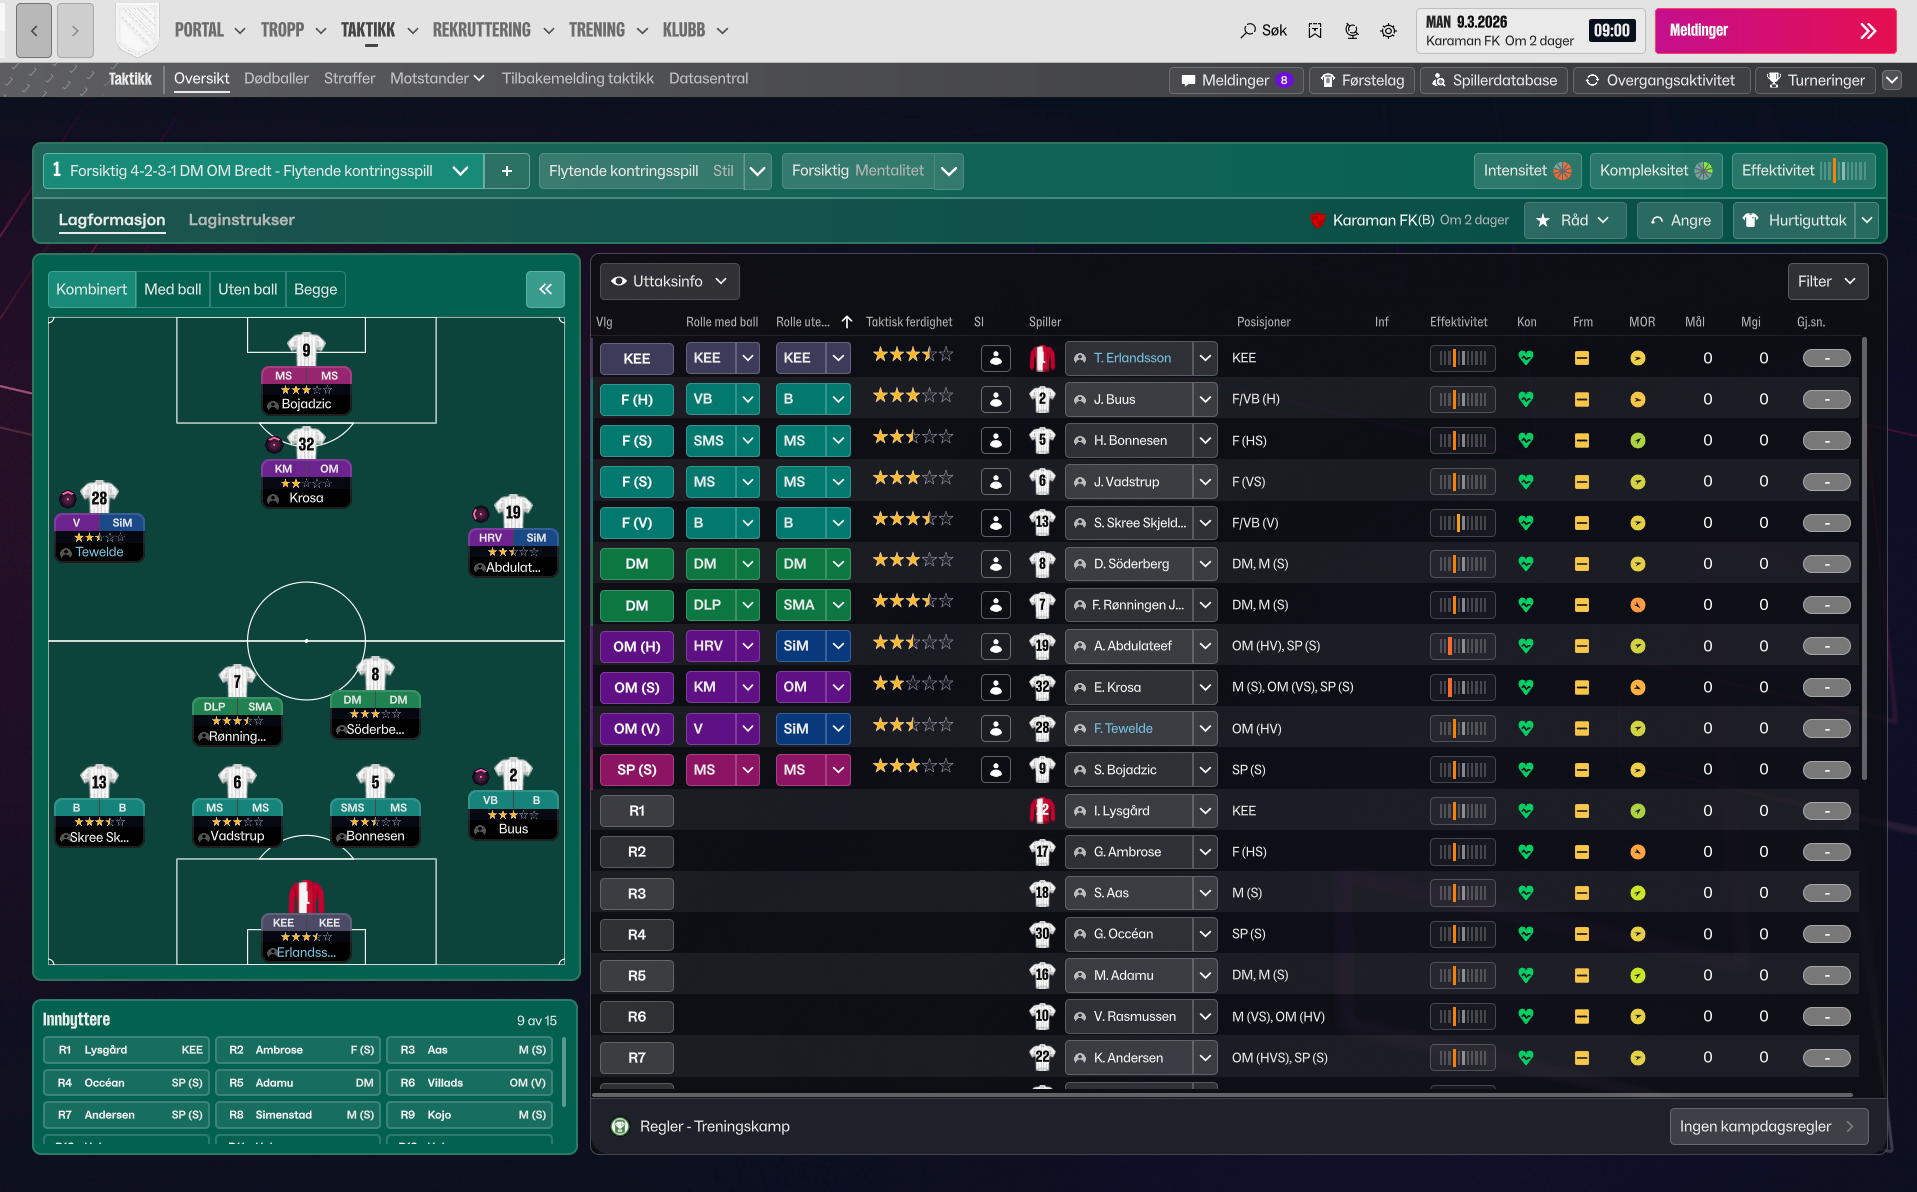
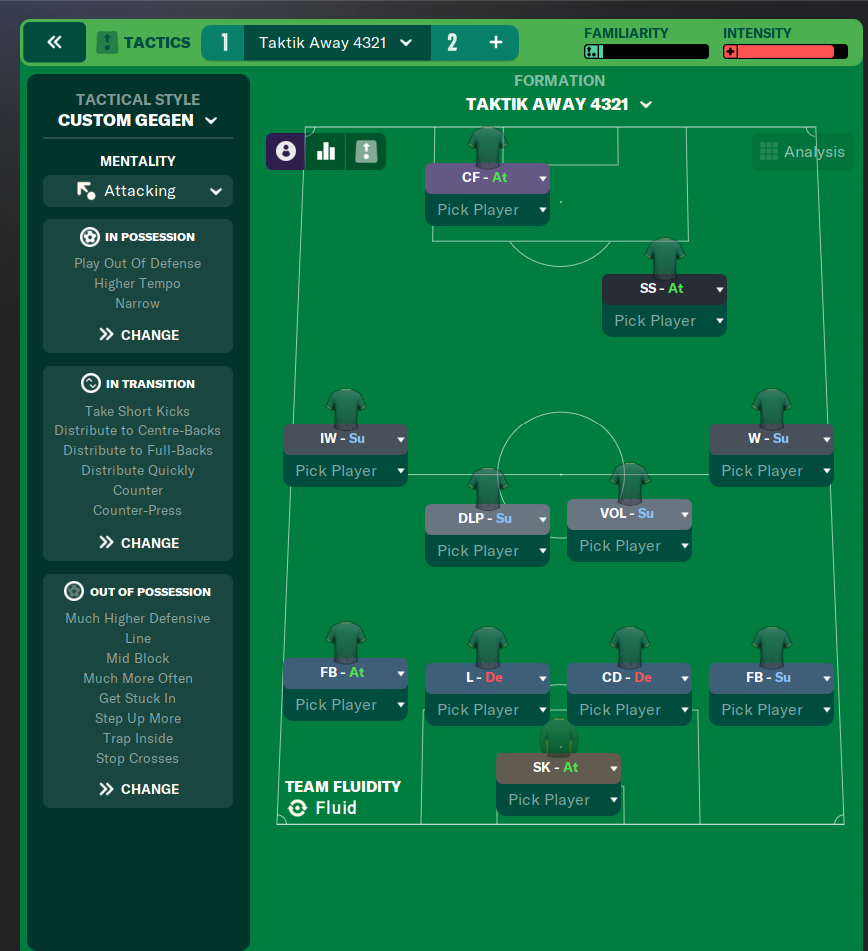
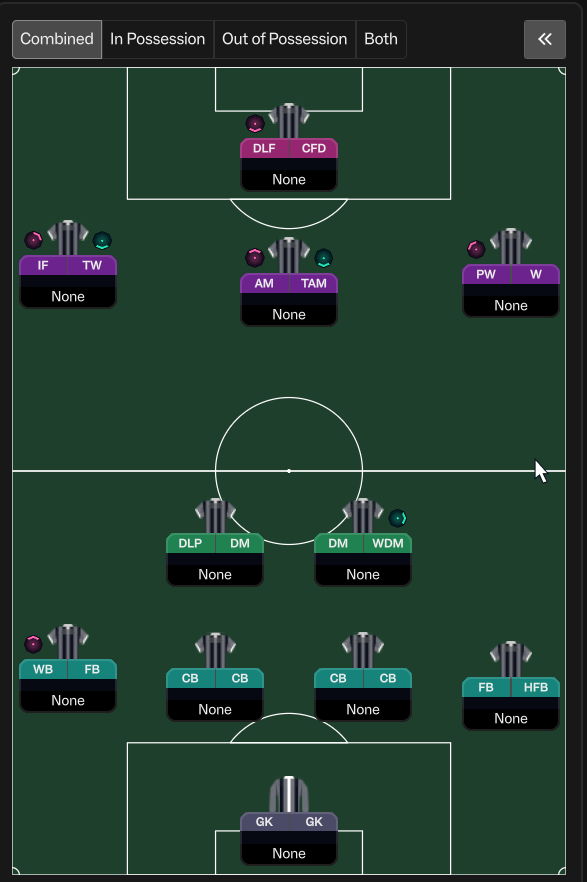
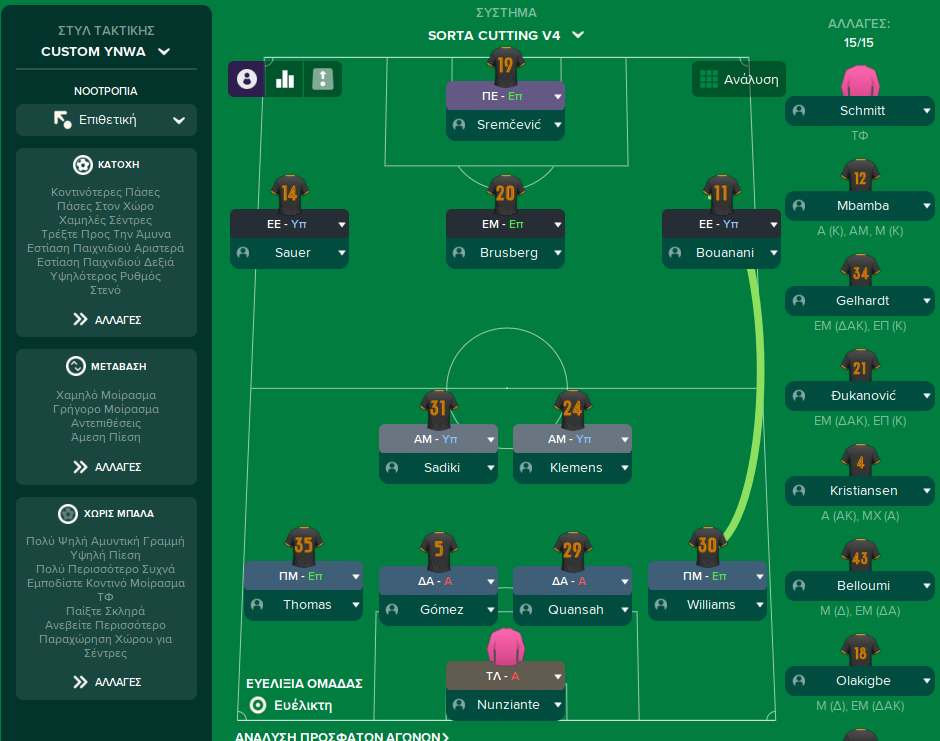
More Custom Vertical Tiki-Taka tactics
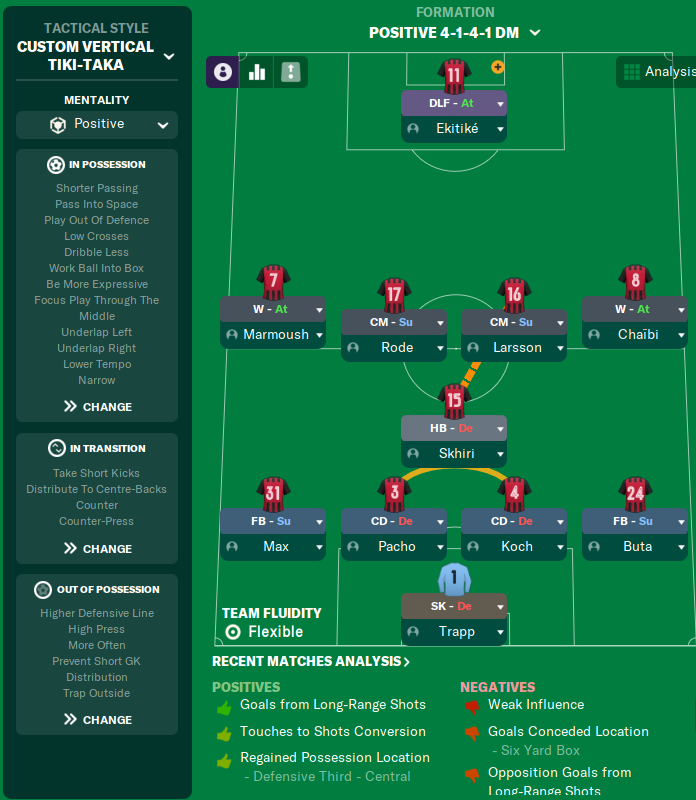
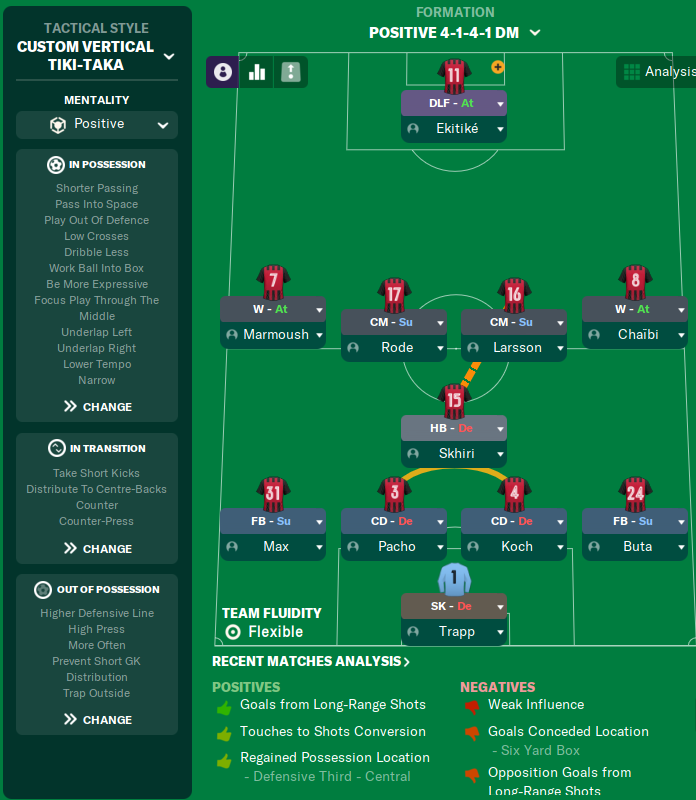
Guides for this tactic
The tactical theory behind the 4-2-3-1: roles, instructions, and the trade-offs that decide whether the system holds up.
Player pairings
Midfield Pairs in 4-2-3-1 and 4-4-2
Double pivots and flat pairs in 4-2-3-1 and 4-4-2: when each pairing works, when it collapses, and the AMC unicorn that rescues both.
Read guide
Playing styles
Gegenpressing: A Full Guide
Klopp-style gegenpressing in FM, including squad profile, line-and-press pairing, sustainable workload, and the antipatterns to avoid.
Read guide
Foundations
Defensive Line and Line of Engagement
The pairing rule for Defensive Line and Line of Engagement, all 9 combinations, and the gap that costs goals.
Read guide